

My First Jerky Adventure
I tried making jerky years ago. I was so nervous. I thought I would ruin good meat.
But it turned out wonderfully chewy and tasty. I still laugh at that. I was worried for nothing. This recipe is my favorite way. It feels like a kitchen secret.
Why We Slice and Soak
Freezing the meat first is a smart trick. It makes slicing so much easier. You get nice, even strips.
The long soak in the marinade is key. It lets all those salty, sweet, and spicy flavors sink in deep. Doesn’t that smell amazing when you mix it? This matters because flavor is everything. It turns simple beef into a special treat.
The Magic of Low and Slow
Your oven will be very low. Just 170 degrees! This is not for roasting. It is for gentle drying.
You wait for hours. The smell fills your house. It is a test of patience. But it matters. Rushing with high heat would cook the meat, not dry it. You want that perfect, chewy texture. Fun fact: This low-heat method is how people preserved meat for centuries before refrigerators!
Three Ways to Make It
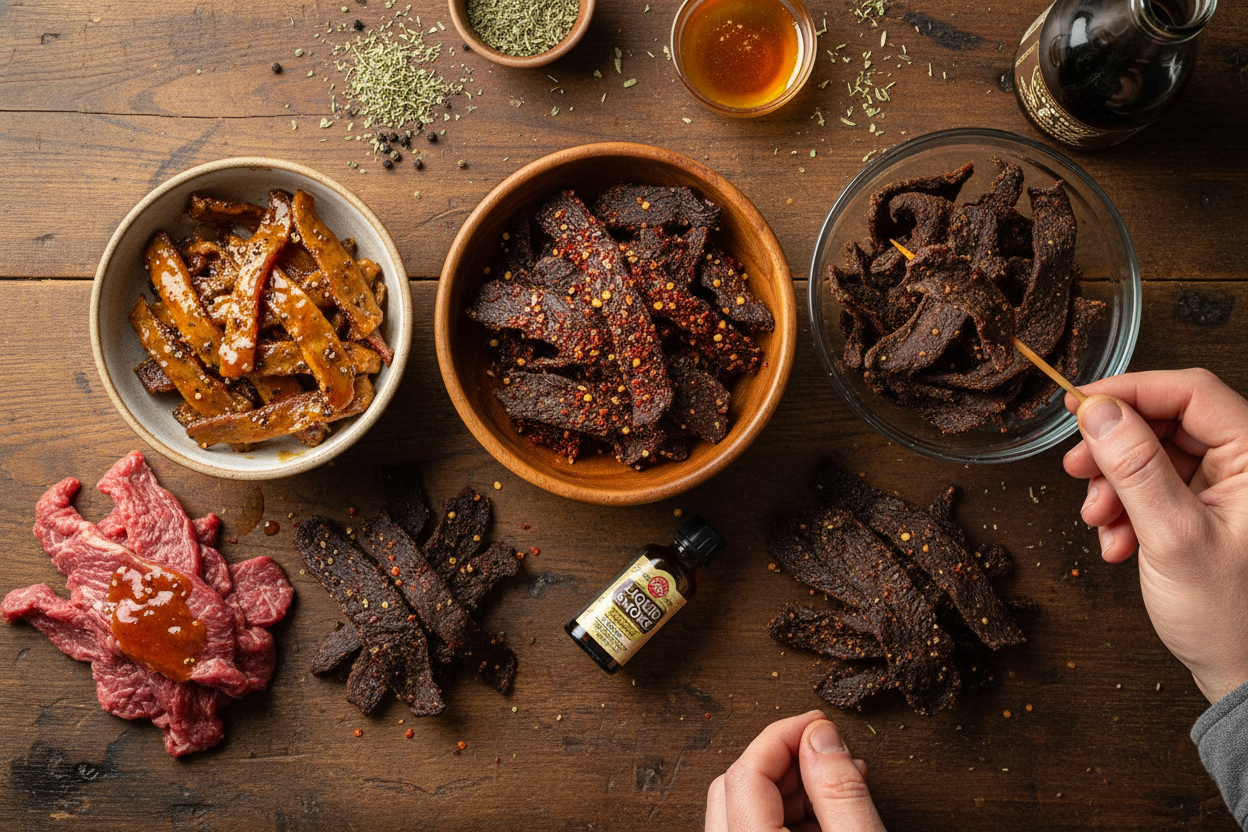
The oven way is written above. But you have choices! That’s the fun part.
You can use a dehydrator. It blows warm air around the meat. Or try a smoker for a deep, woodsy flavor. The first steps are always the same. So, which kitchen helper do you like best? I’m an oven girl myself, but I’d love to hear.
Your Turn to Share
Making jerky is a project. It’s perfect for a lazy weekend. The waiting is the hardest part!
When it’s done, let it cool completely. Then store it in a tight jar. It’s great for hikes or lunchboxes. What’s your favorite snack to take on an adventure? Tell me in the comments. And if you try this, what flavor would you add? More honey for sweet, or more pepper for heat?
Ingredients:
| Ingredient | Amount | Notes |
|---|---|---|
| beef flank steak | 1-1/2 to 2 pounds | |
| reduced-sodium soy sauce | 2/3 cup | |
| Worcestershire sauce | 2/3 cup | |
| honey | 1/4 cup | |
| coarsely ground pepper | 3 teaspoons | |
| onion powder | 2 teaspoons | |
| garlic powder | 2 teaspoons | |
| crushed red pepper flakes | 1-1/2 teaspoons | |
| liquid smoke | 1 teaspoon |
My Favorite Homemade Beef Jerky
Hello, my dears. It’s Chloe. Let’s make some jerky today. This recipe reminds me of my grandpa. He always had a bag in his pocket for fishing trips. Making it yourself fills the whole house with a wonderful, savory smell. Doesn’t that sound lovely?
You just need a little patience. The slow oven does all the work. I like to put it on in the morning. Then, by afternoon, you have a perfect snack. Let me walk you through it.
Step 1
First, trim any white fat from your steak. Fat doesn’t dry well. Then, cover the meat and put it in the freezer. Leave it for about half an hour. This firms it up and makes slicing so much easier. Trust me on this.
Step 2
Now, take the firm steak out. Slice it carefully into thin strips. Cut along the grain of the meat. This gives you that classic, chewy jerky texture. I use my sharpest knife for this job. My first time, I cut them too thick. We called them “jerky steaks!” I still laugh at that.
Step 3
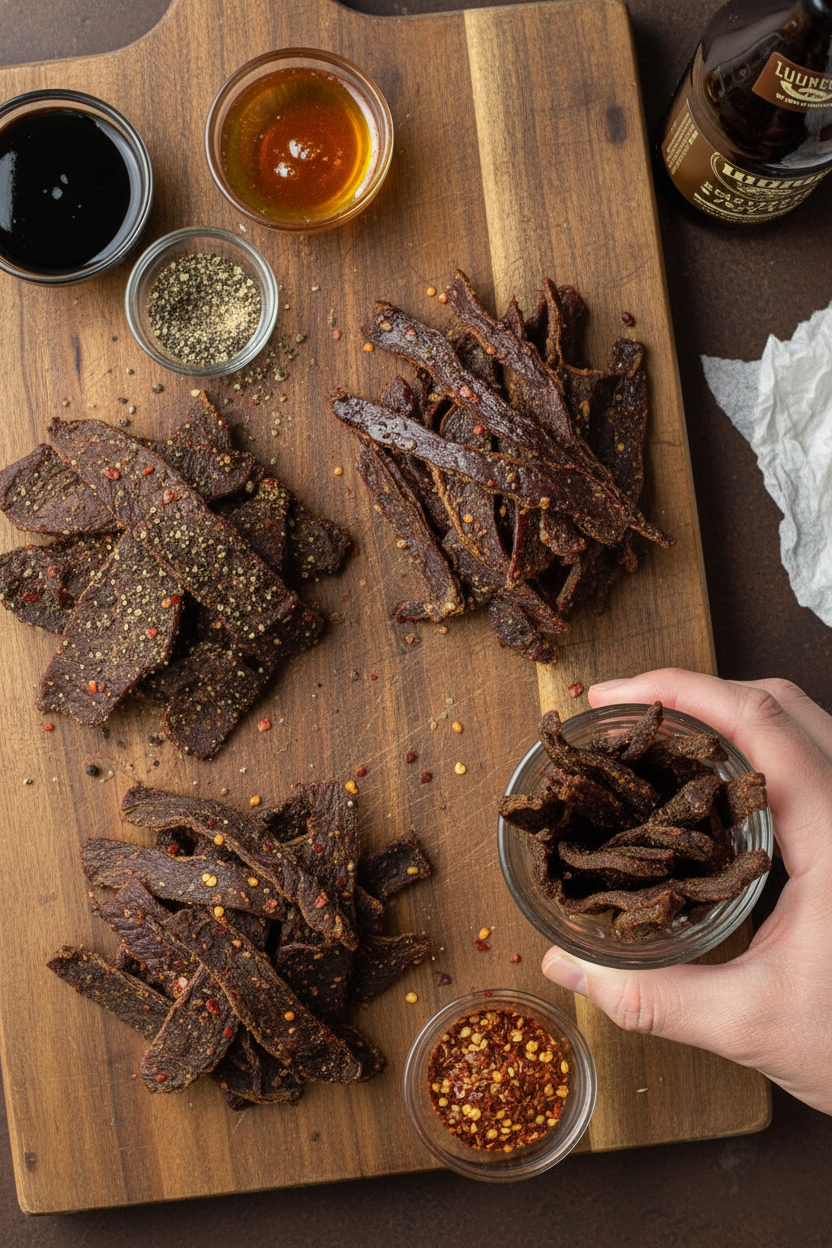
Put your beef strips in a dish. Now, let’s make the magic sauce. Whisk everything else together in a bowl. The honey, the soy sauce, the spices. Doesn’t that smell amazing already? This is my favorite part. (Hard-learned tip: use a container with a lid for marinating. It makes turning the meat so much less messy!)
Step 4
Pour that lovely marinade over the beef. Stir it all around so every piece is coated. Pop it in the fridge. Let it sit for a few hours or even overnight. Turn the meat once or twice if you remember. The longer it sits, the tastier it gets.
Step 5
Time to cook! Heat your oven very low, to 170°F. Put the beef and marinade in a pot. Bring it just to a boil, then simmer for five minutes. This step makes it safe to eat. You’ll see the color change. Why do we boil the marinade with the meat? Share below!
Step 6
Use tongs to lift the beef out. Let the strips drain on paper towels. Pat each one dry. This helps them dry evenly in the oven. You can toss out the leftover liquid now. Its job is all done.
Step 7
Lay the strips on wire racks over baking sheets. No overlapping! Dry them in the oven for 4 to 5 hours. They should feel dry and leathery. Rotate the pans halfway through. Your kitchen will smell incredible.
Step 8
You’re almost done! Take the jerky out. Blot any little oil spots with a paper towel. Let it cool completely. This is the hardest part—waiting! But it’s worth it. Now you have a big batch of homemade goodness.
Cook Time: 4–5 hours
Total Time: 6 hours 30 minutes (plus marinating)
Yield: About 10 servings
Category: Snack, Appetizer
Three Tasty Twists to Try
Once you master the basic recipe, have fun! You can change the flavors so easily. Here are three of my favorite ideas. They make great gifts, too.
Sweet & Smoky Maple
Swap the honey for pure maple syrup. Add an extra teaspoon of liquid smoke. It tastes like a campfire morning.
Zesty Orange Ginger
Use half orange juice for half the soy sauce. Add a tablespoon of fresh grated ginger. It’s bright and a little spicy.
Fiery Hot Honey
Use hot honey instead of regular. Double the crushed red pepper flakes. This one is for the brave souls in your family!
Which one would you try first? Comment below!
Serving Your Homemade Jerky
Jerky isn’t just for hiking. I love to serve it on a big wooden board. Add some sharp cheddar cheese cubes and salty nuts. A few sweet dried apricots are perfect, too. The mix of salty, sweet, and chewy is just right.
For drinks, a cold glass of apple cider is wonderful. The sweetness balances the salt. For the grown-ups, a cold lager beer is a classic pairing. It just works so well together.
Which would you choose tonight?
Keeping Your Jerky Tasty and Fresh
Homemade jerky is a wonderful snack to have ready. Store it in an airtight container. Keep it in a cool, dry cupboard. It should stay good for up to two months.
You can also freeze it for longer storage. I wrap mine in parchment paper first. Then I pop it in a freezer bag. It keeps for nearly a year this way.
I remember my first big batch. I left it in a bowl on the counter. It went stale in just a day! I was so disappointed. Now I always use a sealed jar.
Making a big batch saves you time later. You will always have a healthy snack ready. This matters for busy days and hungry kids. Have you ever tried storing it this way? Share below!
Simple Fixes for Common Jerky Troubles
Is your jerky too tough or too soft? The slice thickness is key. Cut it a consistent 1/8 inch thick. This helps it dry evenly.
Not getting enough flavor? Marinate longer. Two hours is good, but overnight is better. The meat soaks up all that tasty sauce. I once rushed it and the flavor was weak.
Jerky drying unevenly? Rotate your pans in the oven. Move the top pan to the bottom rack. Do this halfway through drying. This simple step makes a big difference.
Fixing these small issues builds your confidence. You learn how your kitchen works. It also makes your food taste so much better. Good flavor makes everyone smile. Which of these problems have you run into before?
Your Jerky Questions, Answered
Q: Is this jerky gluten-free?
A: Check your soy sauce. Use a gluten-free tamari instead for a safe swap.
Q: Can I make it ahead?
A: Absolutely! The marinating step is perfect for doing the night before.
Q: No liquid smoke?
A: That’s okay. Just leave it out. Your jerky will still be delicious.
Q: Can I double the recipe?
A: Yes, but use two baking pans. Do not crowd the meat strips.
Q: Any optional tips?
A: Try a pinch of smoked paprika. It adds a nice, cozy flavor. Fun fact: Paprika comes from dried peppers! Which tip will you try first?
Share Your Kitchen Adventures
I hope you love making this jerky. It is a fun project. The smell in your kitchen will be amazing.
I would love to see your results. Share a picture of your finished snack. You can tag my blog on Pinterest at @ChloesKitchen. It makes my day to see your creations.
Have you tried this recipe? Tag us on Pinterest! Thank you for cooking with me today. Happy cooking!
—Chloe Hartwell.
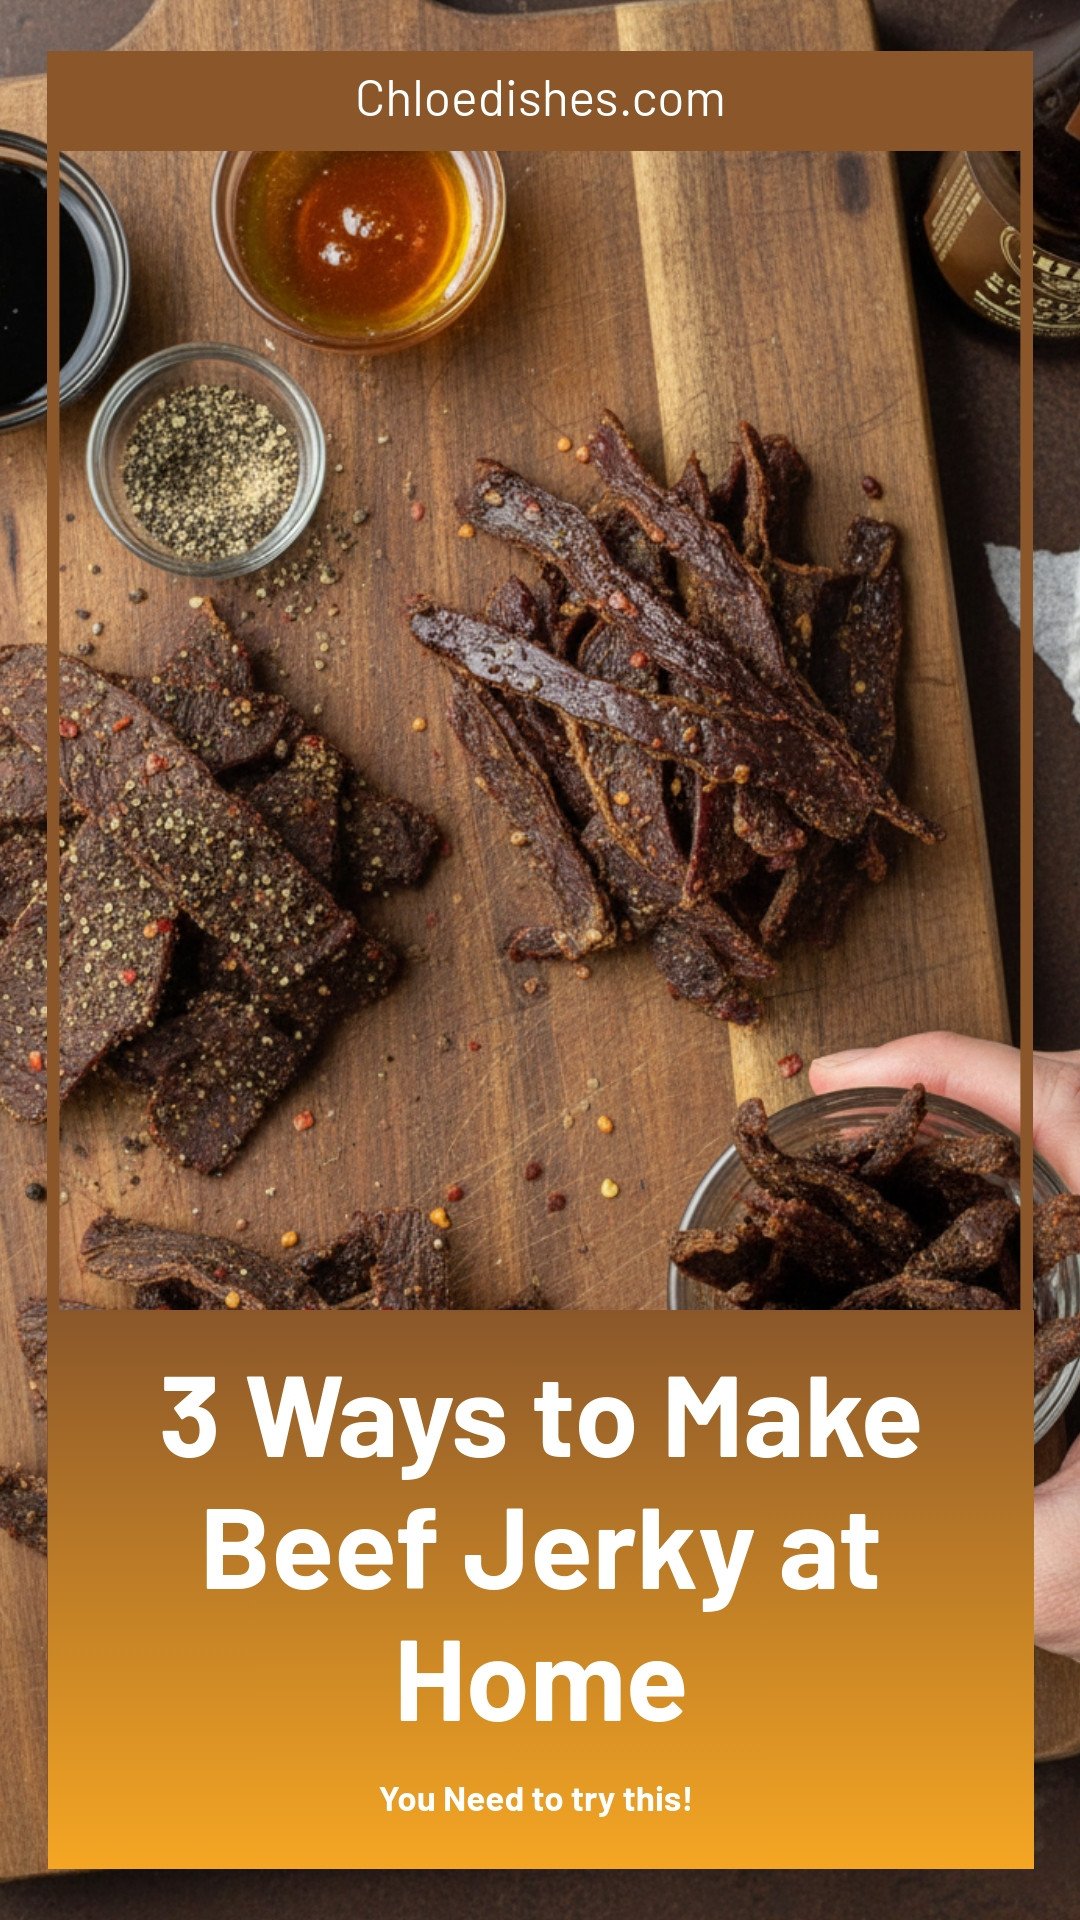
3 Ways to Make Beef Jerky at Home
Description
Learn 3 easy methods to make delicious, protein-packed beef jerky at home. Perfect for snacks, hiking, and meal prep. Save money with homemade!
Ingredients
Instructions
- Trim all visible fat from steak, then pop the meat in the freezer, covered, for 30 minutes or until firm.
- Carefully slice the steak along the grain into long 1/8-in.-thick strips.
- Transfer the meat to a shallow, resealable container. Then, in a small bowl, whisk together the remaining ingredients.
- Add the marinade to the container with the beef. Toss and stir the meat in the marinade to coat. Store in the refrigerator, covered, for 2 hours or overnight, turning occasionally.
- When ready to start cooking, preheat the oven to 170°F. Transfer the beef and marinade to a large Dutch oven or saucepan and bring the mixture to a boil. When you start to see rolling bubbles, reduce the heat and let it simmer for 5 minutes.
- Using tongs, remove the beef from the liquid and let it drain on a paper towel-lined pan or plate. Pat each piece of meat dry. Discard the liquid.
- Arrange beef strips in single layer on wire racks placed on 15x10x1-inch baking pans. Let the meat dry in the oven for 4 to 5 hours, or until beef becomes dry and leathery. Be sure to rotate the pans occasionally.
- When the jerky appears to have dried completely, take it out of the oven. Using paper towels, gently blot any beads of oil from the jerky. Let the batch cool completely before serving.
Notes
- For a Dehydrator or Smoker: Follow the first six steps of this recipe. Then use your appliance, following the manufacturer’s directions for temperature and time to dry out your beef.


Leave a Reply