
Why I Love These Minty Bars
I still remember the first time I tried a Nanaimo bar. It was at a church potluck in the middle of winter. The lady who brought them said they were from a town called Nanaimo up in Canada. I took one bite and my eyes went wide. Fun fact: These bars were named after the city of Nanaimo, British Columbia, and they won a recipe contest back in the 1950s. That first bar had a soft, crumbly bottom, a creamy mint middle, and a smooth chocolate top. I knew right then I had to make my own version. This recipe is special because it works for people who can’t eat gluten or dairy. Everyone needs a treat that feels like a hug. Have you ever tried a Canadian dessert before?The Base Layer Is Like Making Mudpies
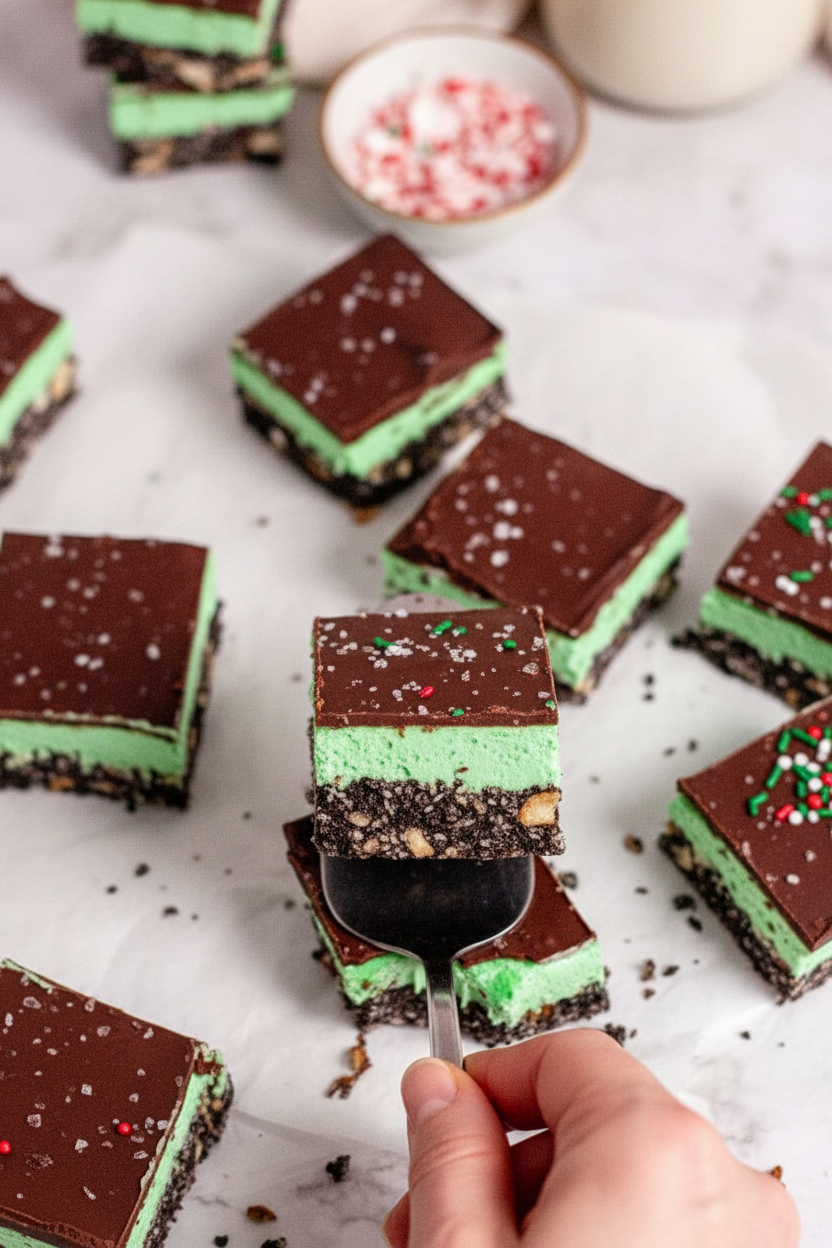
The bottom layer reminds me of the mudpies I made as a kid. You mix cookie crumbs, coconut, nuts, melted butter, and a little sugar. Then you press it all down firm and flat. It feels like patting sand into a bucket at the beach. Doesn’t that smell amazing? The coconut and cashews make it rich and toasty. Why does this matter? When you press the base down firmly, it holds everything together. If you are gentle, the bars will fall apart when you cut them. My grandmother always said, “Press like you mean it, Chloe.” I still laugh at that. What is one recipe you learned from a family member?The Minty Middle Is a Little Bit Magic
Now we get to the fun part. You take soft butter and beat it until it is light and fluffy. That takes about five minutes of mixing. Then you add powdered sugar, a splash of milk, and peppermint extract. The smell will make your kitchen feel like Christmas morning. Fun fact: Peppermint extract comes from peppermint leaves, and it is very strong. Two drops is plenty. I add a tiny drop of green food coloring because it makes me smile. You can skip it if you want. My neighbor says her kids love the green layer because it looks like a leprechaun made it. This matters because the mint taste wakes up your whole mouth. It makes the chocolate and coconut taste even better. Would you add sprinkles or leave the top plain?The Chocolate Top Is the Crown
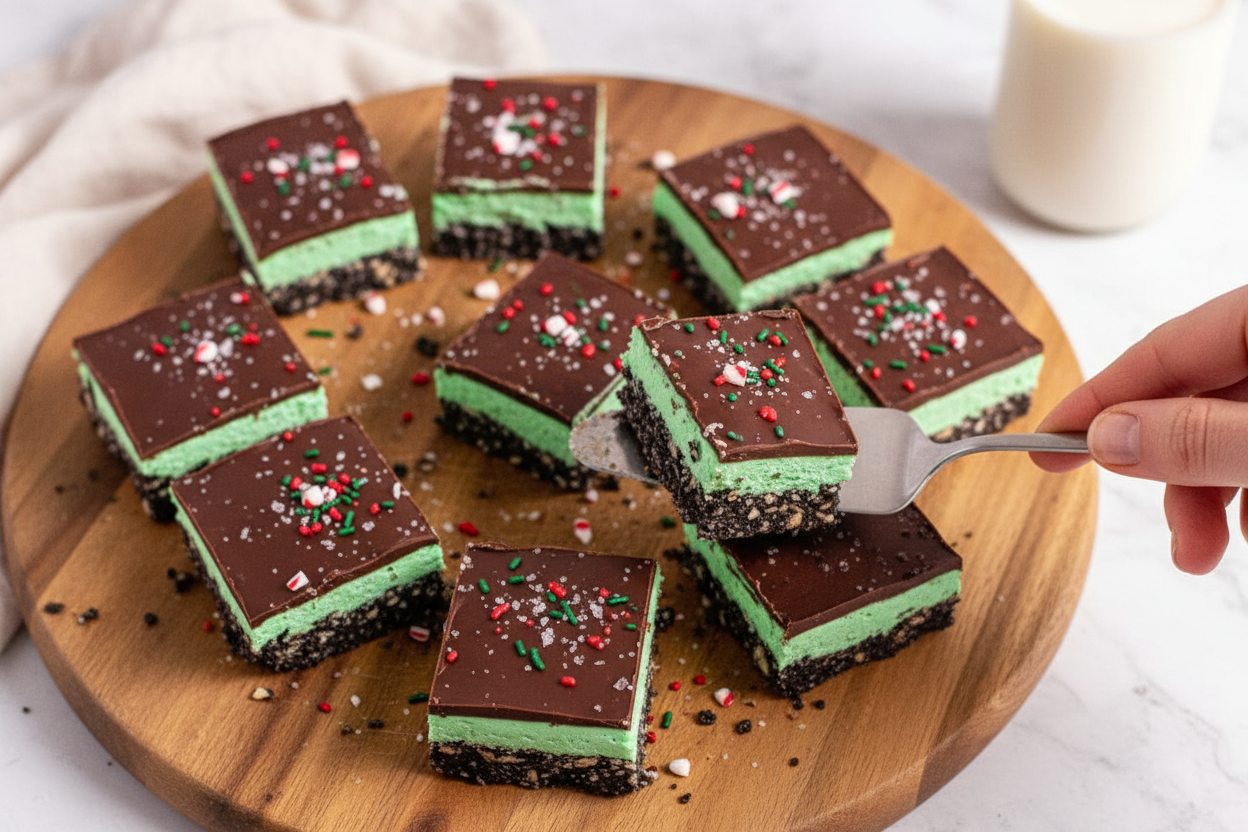
The last layer is simple. You melt chocolate with a little butter in the microwave. Do it in short bursts, stirring each time. It takes less than a minute. Pour it over the mint layer and spread it gently. Then you can add fun things like crushed candy canes or a pinch of salt. Why does this matter? The chocolate is like a seal. It keeps the soft mint layer safe and gives a satisfying snap when you bite into it. One time I forgot to let the bars set in the fridge. They turned into a gooey mess. I still laugh at that. Have you ever had a kitchen disaster that turned into a funny story?Patience Is the Hardest Ingredient
The hardest part about these bars is waiting. You have to let them sit in the fridge for at least one hour. Sometimes I sneak a peek after thirty minutes, and the chocolate is still soft. My daughter used to sit on the kitchen floor and watch the fridge door. She said she was guarding the dessert. Fun fact: Nanaimo bars are so popular in Canada that you can find them in almost every bakery from Vancouver to Halifax. This matters because good things come to those who wait. The bars cut cleanly and taste perfect when they are cold. Do you like your desserts frozen, cold, or at room temperature?Sharing These Bars Makes Hearts Happy
When you cut these into sixteen little squares, you will hear a small crackle from the chocolate. That sound means you did everything right. I love giving these to friends who think they can’t have treats. One bite and they smile. It reminds me that a simple recipe can make people feel seen and loved. This matters because food is not just about eating. It is about saying, “I thought of you.” I still remember the lady at the potluck. She shared her bars with strangers, and now I share mine with you. If you make these, tag a friend you would share them with. What dessert makes you feel the most loved?Ingredients:
| Ingredient | Amount | Notes |
|---|---|---|
| Vegan salted butter (melted) | 1/2 cup (120g) | For base layer |
| Granulated sugar | 1/8 cup (24g) | For base layer |
| Gluten-free chocolate cookie crumbs | 1 3/4 cups (210g) | For base layer |
| Sweetened shredded coconut | 1 cup (120g) | For base layer |
| Chopped cashews | 1/2 cup (80g) | For base layer |
| Vegan salted butter (room temperature) | 1/2 cup (120g) | For middle layer |
| Icing sugar | 1 1/2 cups (180g) | For middle layer |
| Vegan milk | 1 tablespoon | For middle layer |
| Pure peppermint extract | 1 teaspoon | For middle layer |
| Fine sea salt | 1/4 teaspoon | For middle layer |
| Green food colouring | optional | Optional for middle layer |
| Vegan semi-sweet chocolate | 3/4 cup (195g) | For top layer |
| Vegan salted butter | 2 tsp | For top layer |
| Festive sprinkles, coarse sea salt, or crushed candy canes | 1/2 cup (optional) | Optional topping |
My First Nanaimo Bar (A Funny Story)
The first time I tried a Nanaimo bar, I was visiting a friend in Canada. I took one big bite and got chocolate all over my nose. My friend laughed and handed me a napkin. I still laugh at that memory every time I make these. These Vegan Gluten Free Mint Nanaimo Bars are just as good as the classic. Maybe even better, because everyone can enjoy them. Doesn’t that smell amazing when the mint hits the chocolate?
Let me walk you through it, nice and easy. My kitchen is small, but it’s full of love and a little bit of flour. I want you to feel right at home while you make this treat. Take your time, and don’t worry about making it perfect. The best bites are the ones you share. Ready to get started? Let’s build these bars, layer by layer.
First, grab an 8×8 inch baking pan. Give it a good spray with non-stick baking spray. Then, lay a sheet of parchment paper inside, letting some hang over the edges. This little trick will help you lift the whole block out later. (Hard-learned tip: If you skip the parchment paper, you will cry when trying to get the first bar out. Trust me on this one.)
Building Your Minty Masterpiece
Step 1: In a big bowl, mix the melted vegan butter, sugar, gluten-free chocolate cookie crumbs, coconut, and cashews. Stir it all together until it looks like coarse, wet sand. My grandson loves to help with this part. He calls it “dirt for dessert.”
Step 2: Dump that sandy mixture into your prepared pan. Press it down very firmly with your fingers or the bottom of a flat cup. You really want it packed tight so the base doesn’t fall apart later. Think of making a sandcastle at the beach. Pack it like you want it to survive the tide!
Step 3: For the middle layer, beat the room-temperature vegan butter in a mixer on high for about 5 minutes. This step is important because it makes the butter fluffy and light. My old mixer makes a funny whirring sound that always makes me smile. If you don’t have a stand mixer, a hand mixer works just fine.
Step 4: Add the icing sugar, vegan milk, peppermint extract, salt, and optional green food coloring to the fluffy butter. Mix on low until it’s all combined, then turn the mixer up to high and whip for another 5 minutes. It will get really light and billowy. The mint smell will fill your whole kitchen. Doesn’t that just say “Christmas” or “party time”?
Step 5: Spread that minty frosting over the base layer. Use a spatula to make it even and smooth. Set it aside while you work on the top. Here’s a fun fact: The original Nanaimo bar was named after the city of Nanaimo in Canada. I still dream of visiting there one day just to try the original version. What’s your favorite city for food? … Share below!
Step 6: Melt the chocolate and butter in a microwave-safe bowl. Do it in 30-second bursts, stirring gently each time. Don’t rush this part, or the chocolate will burn and get lumpy. (Hard-learned tip: Burnt chocolate smells awful and tastes worse. Patience, my dear.) Once it’s smooth, pour it over the mint layer.
Step 7: Spread the chocolate evenly. If you want, add festive sprinkles, a dash of sea salt, or crushed candy canes right now. Pop the pan in the fridge for at least 1 hour to set. When it’s firm, lift it out using the parchment paper. Cut into 16 squares and enjoy every single bite.
Cook Time: 1 hour (fridge time)
Total Time: 1 hour 15 minutes
Yield: 16 squares
Category: Dessert
Three Fun Twists on the Classic
Want to make this recipe your own? Here are three fun ideas that my family loves. Each one changes the flavor just a little bit. I can’t pick a favorite, so maybe you can help me decide.
Crunchy Peanut Butter Swirl. Mix 2 tablespoons of peanut butter into the melted chocolate layer before spreading it. Swirl it around with a knife for a marbled look. It adds a salty, nutty kick that is simply irresistible.
Orange Creamsicle Surprise. Swap the peppermint extract for orange extract. Skip the green food coloring and add a drop of orange instead. It tastes just like a creamy creamsicle from the ice cream truck in summer.
Toasted Coconut Dream. Toast your shredded coconut in a dry pan for 3 minutes before adding it to the base. This gives the whole bar a warm, nutty flavor. It makes the kitchen smell like a tropical vacation. Which one would you try first? Comment below!
The Perfect Bite: Serving Ideas
These bars are rich, so a little goes a long way. I love to serve them on a pretty plate with a few fresh raspberries on the side. The tart berry cuts through the sweet chocolate perfectly. Another idea is to sprinkle a tiny bit of flaky sea salt on top right before serving. It makes the chocolate taste even more chocolatey.
For a cold drink, pour a tall glass of iced oat milk or a peppermint hot cocoa. If you are serving grown-ups, a small glass of chilled coffee liqueur is a lovely pairing. The flavors just dance together in your mouth. Which would you choose tonight?
How to Store Your Mint Nanaimo Bars
These bars love the fridge. Place them in an airtight container, and they will stay fresh for up to seven days. I remember my first batch. I left them on the counter overnight, and the top layer got soft. Now I always pop them in the fridge. The cold keeps the chocolate snappy and the mint layer firm.
You can also freeze them. Wrap each bar in parchment paper, then place them in a freezer-safe bag. They will keep for up to three months. When you want a treat, let one thaw in the fridge for an hour. This is perfect for making a big batch ahead of the holidays. Storing them right means you always have a dessert ready for guests or a quiet night in. Have you ever tried storing it this way? Share below!
Common Problems and Easy Fixes
The base can be too crumbly. This happens if you do not press it down firmly enough. Use the bottom of a glass or your knuckles to pack it tight. I once had a base fall apart as I cut it. Now I press for a full minute. A firm base holds everything together like a good hug. Why this matters: A solid base makes slicing clean and easy. You get neat squares every time.
The middle layer can be too soft. This happens if the butter is too warm. Make sure your butter is at room temperature, not melted. Whip it for a full five minutes until it is fluffy. I remember one batch where the frosting slid right off the base. It was a minty mess. A stiff frosting spreads like a dream. Why this matters: You build confidence when your layers stay put. Your friends will ask for the recipe.
The top layer can crack. This happens if the chocolate gets too hot. Heat it in short 30-second bursts and stir gently. Let it cool for a minute before spreading. Which of these problems have you run into before? Tell me in the comments so we can fix it together.
Your Top Questions Answered
Q: Can I make these gluten-free? A: Yes, use gluten-free chocolate cookie crumbs. I like the ones with a shortbread taste. They work perfectly here.
Q: Can I make these ahead of time? A: Absolutely. Make them a day or two before. They actually taste better after a night in the fridge.
Q: What can I swap for cashews? A: Use chopped almonds or walnuts. Even crushed pretzels add a nice salty crunch.
Q: Can I double the recipe? A: Yes, just use a 9×13 pan and bake for the same time. You will have more bars to share.
Q: Can I skip the green food coloring? A: Of course. The mint taste stays the same. The bars just look white and pretty. Which tip will you try first?
A Warm Goodbye from My Kitchen to Yours
Thank you for making these bars with me. I hope they bring you as much joy as they bring my family. The minty middle and crunchy base always make my kitchen smell like a holiday. *Fun fact: Nanaimo bars got their name from a city in Canada.*
I would love to see your creations. Take a photo of your finished bars. Have you tried this recipe? Tag us on Pinterest! Let me know how they turned out. Remember, cooking is about sharing and having fun. Happy cooking! —Chloe Hartwell.
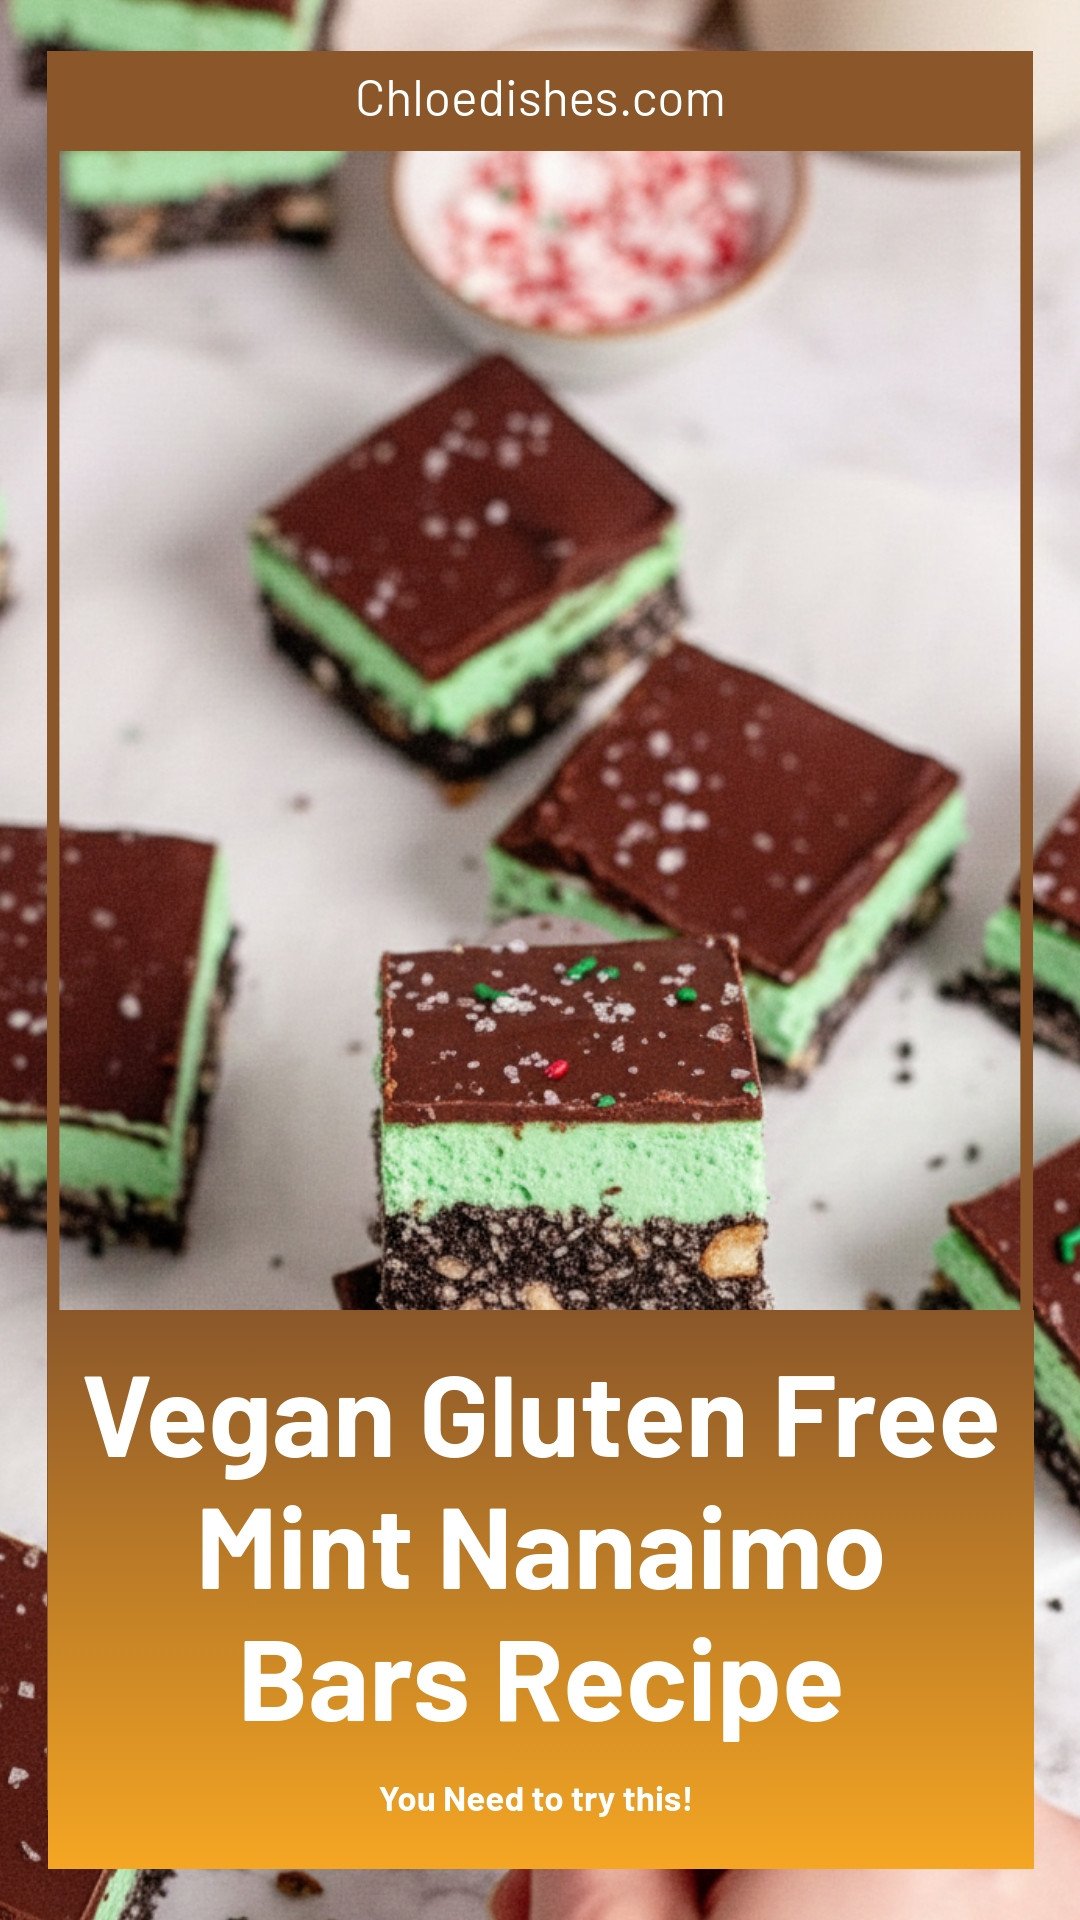

Vegan Gluten Free Mint Nanaimo Bars Recipe
Description
Vegan Gluten Free Mint Nanaimo Bars: a rich, no-bake dessert with a creamy mint layer & chocolate top. Perfect for St. Patrick’s Day!
Ingredients
Instructions
- Prepare an 8×8 inch baking pan with non-stick baking spray and parchment paper.
- In a large mixing bowl combine all of the base ingredients and mix until a coarse sand-like texture is achieved.
- Place the base mixture into the prepared baking pan and very firmly and evenly press down. Set aside.
- In the bowl of a stand mixer cream the butter on high until light and fluffy. This should take approximately 5 minutes.
- Add in the icing sugar, milk, mint extract, and salt and mix on low until combined.
- Add in 2 drops of green food coloring if desired.
- Turn the mixer up to high and allow the frosting the whip for 5 minutes.
- Spread the mint frosting evenly over the base layer and set aside.
- Combine the chocolate and butter in a microwave-safe bowl and heat in 30-second intervals until fully melted and smooth. Make sure to stir gently after each interval.
- Spread the chocolate evenly on the mint buttercream layer and add sprinkles/toppings if desired.
- Allow to fully cool and set for at least 1 hour in the refrigerator before slicing. See slicing tips in post.
- Cut into 16 squares and enjoy! Store the leftovers in an airtight container in the fridge for up to 7 days.


Leave a Reply