
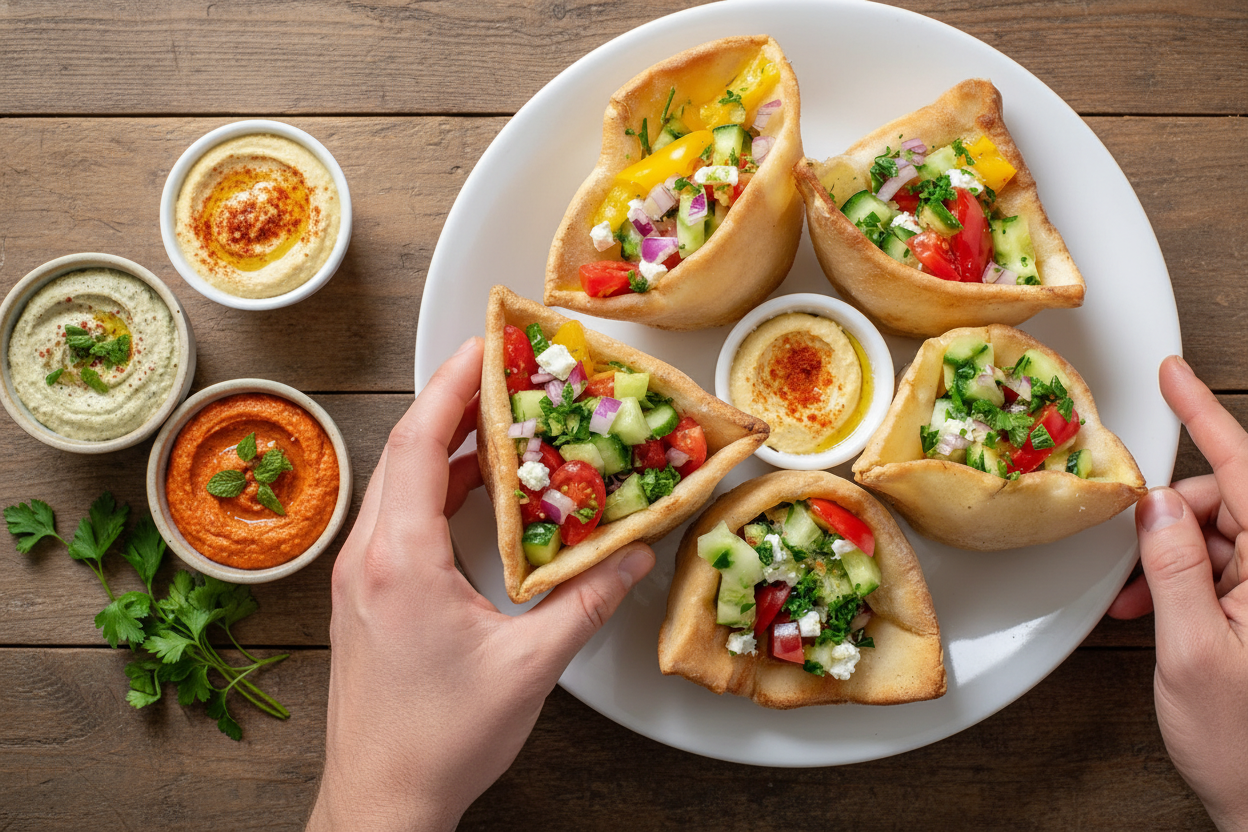
A Snack Story from My Kitchen
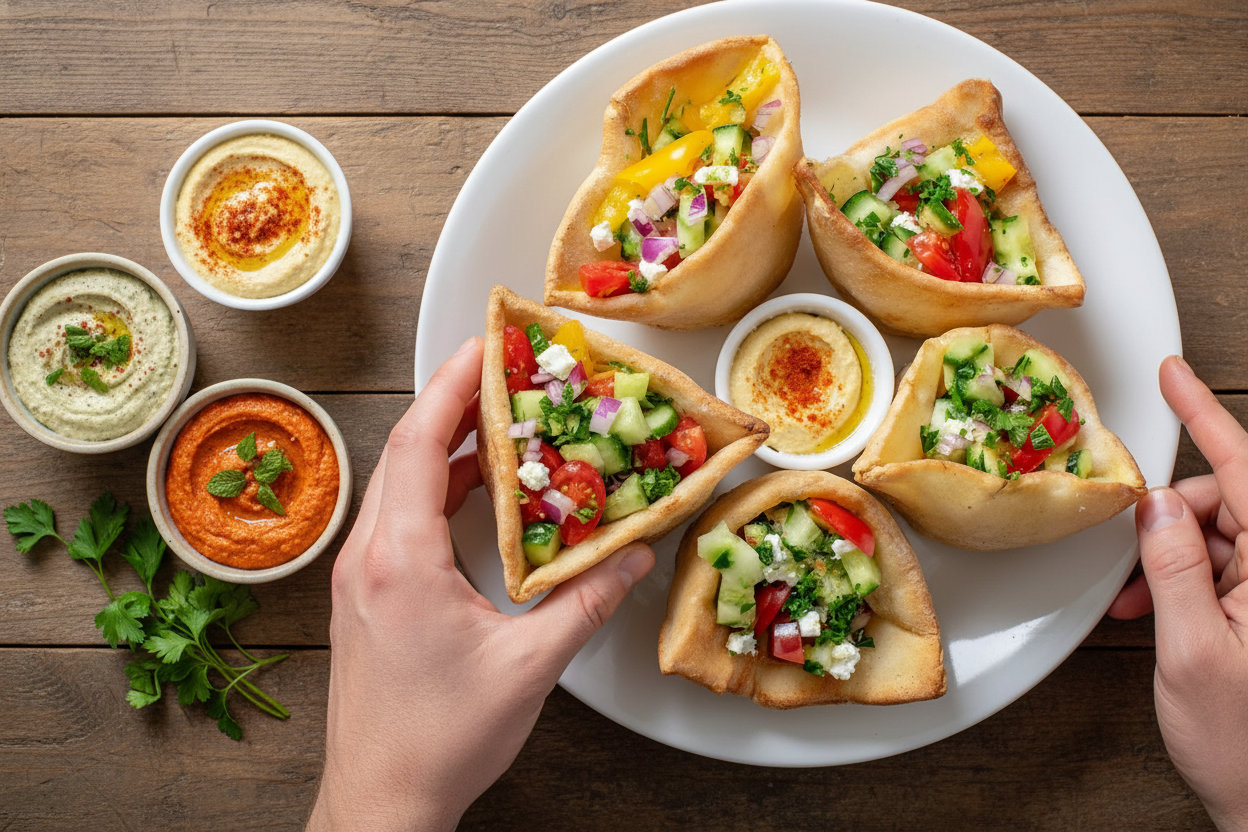
I remember the first time I made these little pita pockets. My grandson was about seven, and he called them “mini treasure bags.” He stuffed them so full of tomatoes that the hummus squirted out the side. I still laugh at that memory. These pockets are perfect for when you want to build your own snack. No two will ever look the same. Doesn’t that sound fun? Have you ever made a “build your own” meal before? What did you put in it?The Warm Pita Secret
Warming the pita bread is the secret step that makes everything better. Cold pita can feel a little stiff. Warm pita feels like a soft hug for your fillings. Just brush each little pita with olive oil and sprinkle on some sea salt. Pop them in a 350-degree oven for five to seven minutes. Your kitchen will smell amazing, I promise. *Fun fact: Pita bread is one of the oldest kinds of bread in the world. People have been making it for over 4,000 years.*Why Fresh Fillings Matter
The fillings are where you get to be an artist. Cherry tomatoes, crunchy cucumber, and bright red bell pepper all add different colors and crunch. This isn’t just about making your plate pretty. *Why this matters:* Fresh vegetables give you energy to play, learn, and run around. They also make your snack taste bright and happy, not heavy. What is your favorite crunchy vegetable? I always grab cucumber first.Hummus is the Star
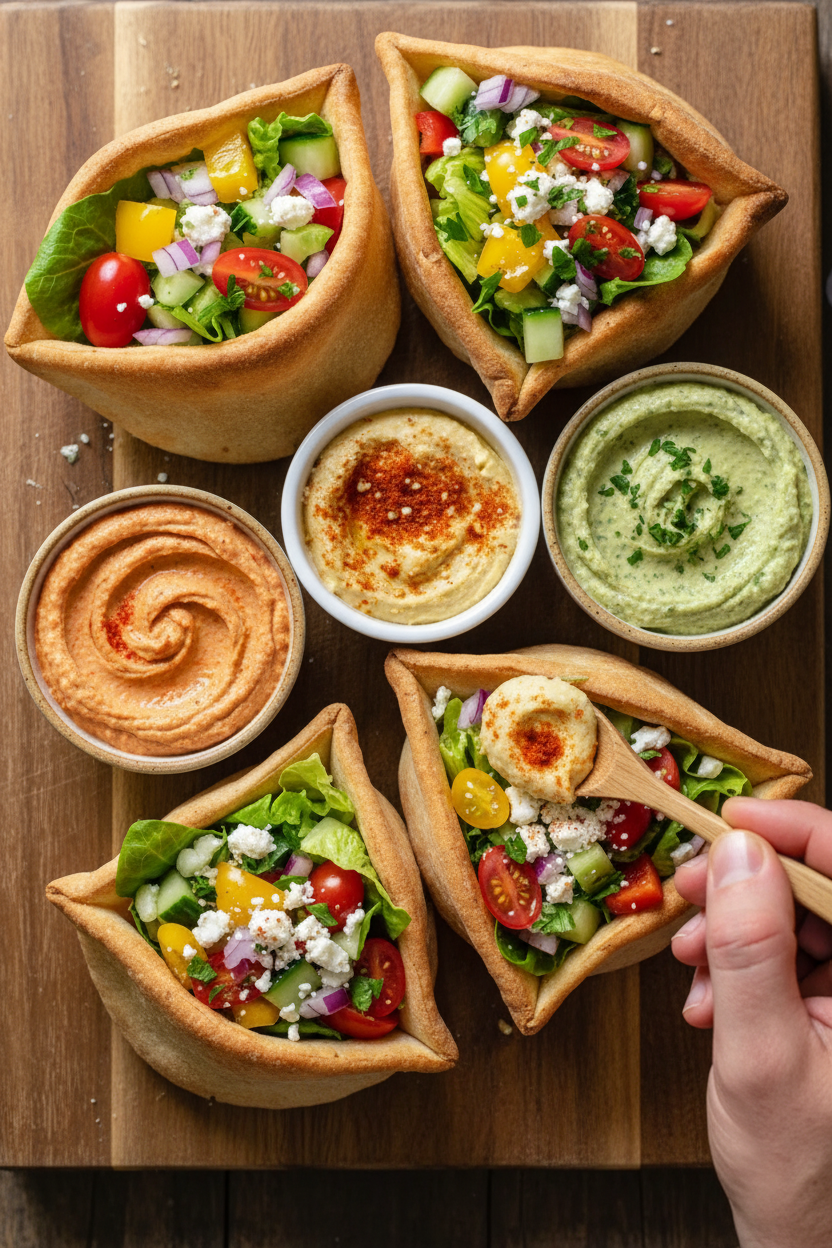
Hummus is like a creamy, delicious blanket for your vegetables. You can use classic hummus, roasted red pepper, or even garlic lemon herb. I love setting out three little bowls so everyone can pick their favorite. A drizzle of olive oil and a sprinkle of smoked paprika on top makes it feel fancy. But it is still simple enough for a hungry kid to make. *Why this matters:* Hummus is made from chickpeas, which are full of protein. Protein helps you stay full and strong so you don’t get hungry five minutes later.The Joy of Building Your Own
When you let everyone build their own pita pocket, it becomes an adventure. You can stuff it with lettuce first, then add tomatoes and onion. Or you can dip the whole pocket straight into the hummus like a chip. There are no rules. I once watched a little girl fill her pita with only feta cheese and parsley. She said it was a “green and white garden.” I still laugh at that. What is the silliest combination you have ever tried in a sandwich or wrap?A Little Story About Sharing
Years ago, I made these for a picnic at the park. A whole family of ducks waddled over because they smelled the parsley. We ended up sharing a few crumbs with them. That day reminded me that food is best when it brings people—or even ducks—together. These pockets are small enough to pass around and big enough to share a laugh over.Your Turn to Make Treasure
Now it is your turn. Warm your pitas, chop your veggies, and set out the hummus. Let your family or friends grab, stuff, and dip. I would love to hear how yours turn out. Did anyone make a funny face when they tasted the red pepper hummus? Did anyone stuff in too many tomatoes and make a mess? Tell me your story. I still love hearing new kitchen tales. They always make me smile.Ingredients:
| Ingredient | Amount | Notes |
|---|---|---|
| Mini pita breads | 12 | |
| Olive oil | 2 tablespoons | For brushing |
| Sea salt | 1/2 teaspoon | |
| Cherry tomatoes | 1 cup | Halved |
| Cucumber | 1 cup | Diced |
| Red bell pepper | 1/2 cup | Finely diced |
| Shredded romaine lettuce | 1/2 cup | |
| Red onion | 1/4 cup | Thinly sliced |
| Crumbled feta cheese | 1/4 cup | Optional |
| Fresh parsley | 2 tablespoons | Chopped |
| Classic hummus | 1 cup | |
| Roasted red pepper hummus | 1 cup | |
| Garlic or lemon herb hummus | 1 cup | |
| Olive oil for drizzling | 2 teaspoons | |
| Smoked paprika | 1/2 teaspoon | For garnish |
| Fresh herbs (parsley or cilantro) | 1 tablespoon | Chopped |
The Story Behind These Little Pita Pockets
I still remember the first time I made these mini pita pockets for my granddaughter’s birthday party. The kids built their own little sandwiches, giggling the whole time. Doesn’t that sound like a perfect afternoon? This recipe is all about fun, not fuss. You get warm, toasty bread and a rainbow of crunchy veggies. Plus, creamy hummus for dipping that makes everything taste better.
Each person can choose their own fillings, so nobody feels left out. My grandson loves piling in extra feta cheese. Which would you load into your pita first? Share below!
Now, let’s get started. Here’s the easy step-by-step for making these little bites of joy.
Let’s Make Mini Pita Pockets Together
Step 1: First, preheat your oven to 350 degrees Fahrenheit. While it warms, grab your 12 mini pita breads and a pastry brush. Lightly brush each pita with olive oil on both sides. Sprinkle a tiny pinch of sea salt over them. Pop them on a baking tray for 5 to 7 minutes until they are soft and warm. (Hard-learned tip: Don’t skip the salt—it makes the bread taste toasty and special, not just plain.)
Step 2: While the pitas warm up, it’s time to prep the fresh fillings. Halve one cup of cherry tomatoes, dice one cup of cucumber, and finely chop half a cup of red bell pepper. Shred half a cup of romaine lettuce and thinly slice a quarter cup of red onion. Arrange everything in little bowls or on one big platter. Doesn’t that colorful spread look like a painting?
Step 3: Now for the hummus bowls. Spoon one cup of classic hummus into a small bowl. Do the same with one cup of roasted red pepper hummus and one cup of garlic or lemon herb hummus. Drizzle each bowl with a little olive oil, then sprinkle smoked paprika and fresh chopped herbs on top. The smell will make your kitchen feel like a cozy café.
Step 4: Time to serve! Carefully slice each warm pita in half to form little pockets. Set out the bowls of veggies, feta cheese, and parsley. Let everyone fill their own pita pockets with whatever they like best. What’s the one filling you can’t live without? Share below! Then they can dip each bite into a hummus bowl or spoon it right on top.
That’s all it takes. Simple, warm, and full of flavor. These little pockets always disappear fast at my house.
Cook Time: 7 minutes
Total Time: 15 minutes
Yield: 6 servings (2 pockets each)
Category: Appetizer, Lunch
Three Fun Ways to Switch It Up
Feeling adventurous? Try one of these twists to make the recipe your own.
Go Spicy: Swap the red bell pepper for sliced jalapenos. Add a drizzle of hot honey to your hummus for a sweet heat that wakes up your taste buds.
Make It a Garden Bowl: Skip the pitas entirely. Pile the veggies, feta, and herbs right onto a big scoop of hummus. Eat it with a fork or crunchy cucumber slices. So fresh and simple!
Try a Seasonal Swap: In summer, add fresh corn kernels and sliced peaches. In fall, use roasted butternut squash cubes and a sprinkle of cinnamon. Which one would you try first? Comment below!
How to Serve and What to Sip
These pockets are perfect for a picnic or a lazy lunch at home. Serve them with a side of crunchy carrot sticks and a handful of olives. A few lemon wedges on the plate add a bright pop of flavor.
For a drink, try iced mint tea for the kids—cool and refreshing. Grown-ups might enjoy a light, crisp white wine like a Sauvignon Blanc. It matches the hummus and veggies beautifully. Which would you choose tonight?
Whatever you pick, these little pockets will make everyone smile. That’s what food is all about, isn’t it?
Storing Your Mini Pita Pockets
I remember the first time I made these for a family picnic. We had so many leftovers, I just tossed them in the fridge. The next day, the pitas were hard as rocks! Now I know better. Store the pitas and fillings separate in airtight containers. They stay fresh in the fridge for up to three days. For the freezer, wrap the pitas tightly in foil. They last a month that way. When you want them again, warm them in the oven at 350°F for five minutes. Batch cooking is a lifesaver on busy nights. It means you can have a fun, healthy snack ready fast. Have you ever tried storing it this way? Share below!
Common Problems and Easy Fixes
Sometimes the pita pockets tear when you open them. I once had a little one cry because his pocket fell apart. The fix is simple. Warm the pitas for the full seven minutes. They get soft and flexible, not brittle. Another issue is soggy fillings. That happens when you mix wet veggies with hummus too early. Keep the fillings dry until you are ready to eat. Why does this matter? Because crunchy vegetables make the dish taste fresh and exciting. A third problem is bland hummus. Just add a pinch of smoked paprika and a drizzle of olive oil. It wakes up the flavor. I remember a neighbor said her hummus was boring. This tip changed her whole meal. Why does this matter? Small tweaks like these turn a simple snack into something you feel proud to serve. Which of these problems have you run into before?
Your Top 5 Questions Answered
Q: Can I make this gluten-free?
A: Yes, use gluten-free mini pitas or large lettuce leaves as wraps.
Q: Can I make the fillings ahead of time?
A: Absolutely. Chop the veggies the night before and store them in the fridge.
Q: What if I don’t like feta cheese?
A: Leave it out, or swap it for crumbled goat cheese or olives.
Q: How do I scale this for a party?
A: Double or triple the pitas and hummus. Keep the fillings colorful and plentiful.
Q: Any optional tips?
A: Try adding a squeeze of lemon juice over the veggies for a bright zing.
*Fun fact: Hummus is over 1,000 years old and was first eaten in Egypt.* Which tip will you try first?
A Warm Send-Off from Chloe Hartwell
I hope these little pockets bring you as much joy as they bring my family. There is nothing like watching someone build their own perfect bite. It makes me smile every time. I would love to see your creations. Have you tried this recipe? Tag us on Pinterest! Snap a photo of your pita pockets and share them. Let’s keep cooking simple, tasty meals together. Happy cooking!
—Chloe Hartwell.
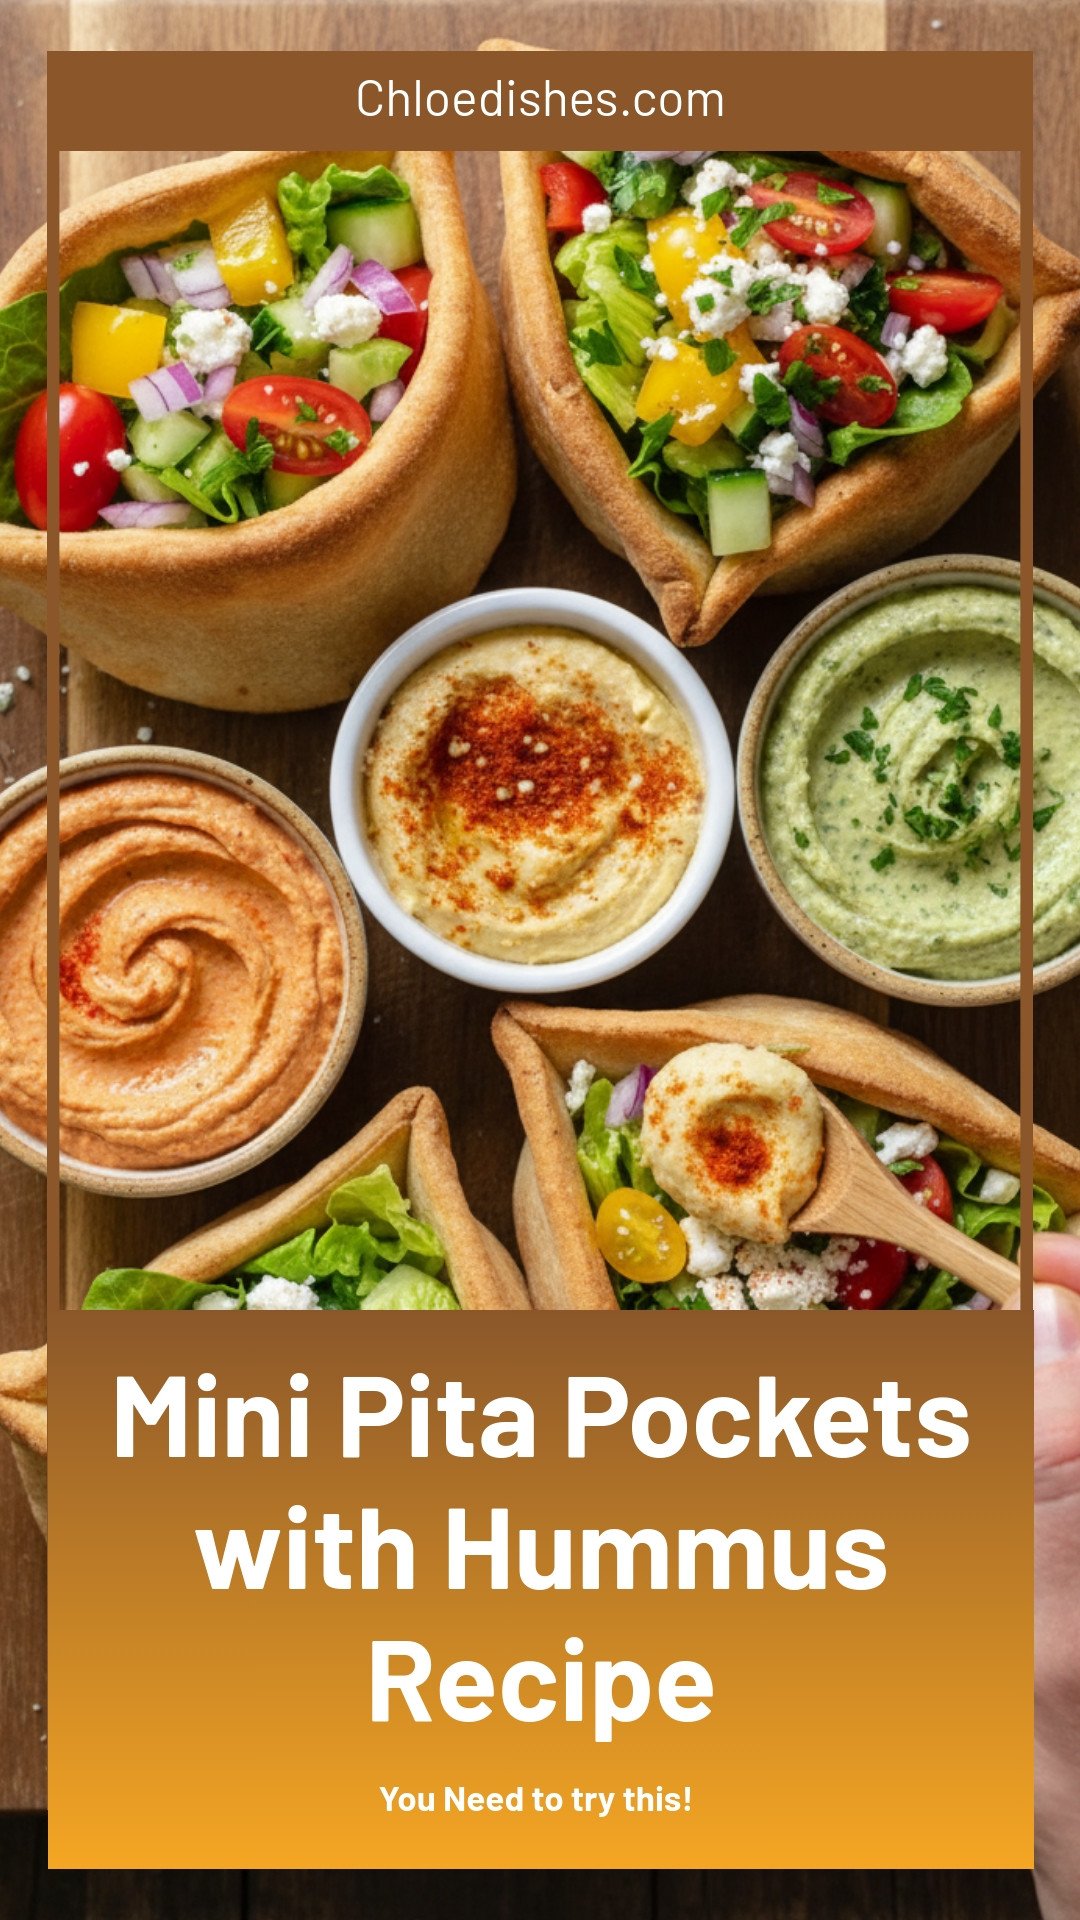
Mini Pita Pockets with Hummus Recipe
Description
Easy mini pita pockets stuffed with creamy hummus—perfect for snacks, lunches, and party appetizers. Quick, healthy, and delicious!
Ingredients
Instructions
- Warm Mini Pita Breads: Preheat oven to 350°F. Lightly brush mini pita breads with olive oil and sprinkle with sea salt. Warm on a baking tray for 5 to 7 minutes until soft and heated through.
- Prepare Fresh Fillings: While pitas warm, arrange cherry tomatoes, cucumber, red bell pepper, romaine lettuce, red onion, optional feta, and parsley in small bowls or on a large platter.
- Assemble Hummus Bowls: Spoon each hummus variety into separate small bowls. Drizzle with olive oil, sprinkle with smoked paprika, and top with chopped fresh herbs.
- Serve and Assemble: Slice each warm pita in half to form pockets. Allow guests to fill pockets with fresh vegetables, optional feta, and herbs, then dip or top with preferred hummus.
Notes
- For extra flavor, add a squeeze of lemon juice or a sprinkle of za’atar before serving. These pita pockets are also great with grilled chicken or falafel.




Leave a Reply