
Why I Started Making This Syrup
I remember the first time I made elderberry syrup. It was a cold, rainy Tuesday. My grandkids had the sniffles, and I wanted something gentle to help them feel better, not just yucky medicine. This recipe came from a friend who grows elderberries in her backyard. She told me, “Just trust the berries, Chloe. They’re little purple stars from the woods.” I didn’t really believe her until I tasted it. It was warm, sweet, and spicy all at once.
Doesn’t that smell amazing? The cinnamon and ginger fill your whole kitchen. It’s like a cozy hug in a pot. I still laugh at how nervous I was that first time. Now, I make it every autumn without even thinking. You will, too, once you try it.
The Secret Power of Elderberries
Elderberries have been used for hundreds of years. People in Europe and North America made syrups and teas from them long before refrigerators existed. They knew these little dark berries were special. The berries are packed with something called antioxidants. That’s a big word, but it just means they help your body fight off invisible bad guys, like germs.
Why this matters: A spoonful in the morning can help keep you feeling strong when the seasons change. It’s not a magic cure, but it’s a kind helper. And it tastes so good, you might sneak an extra lick off the spoon. I sure do.
*Fun fact: Elderberries are actually tiny fruits, like blueberries. But never eat them raw. You must cook them first, because raw elderberries can make your tummy unhappy. That’s why we boil them here.*
What Goes Into the Pot
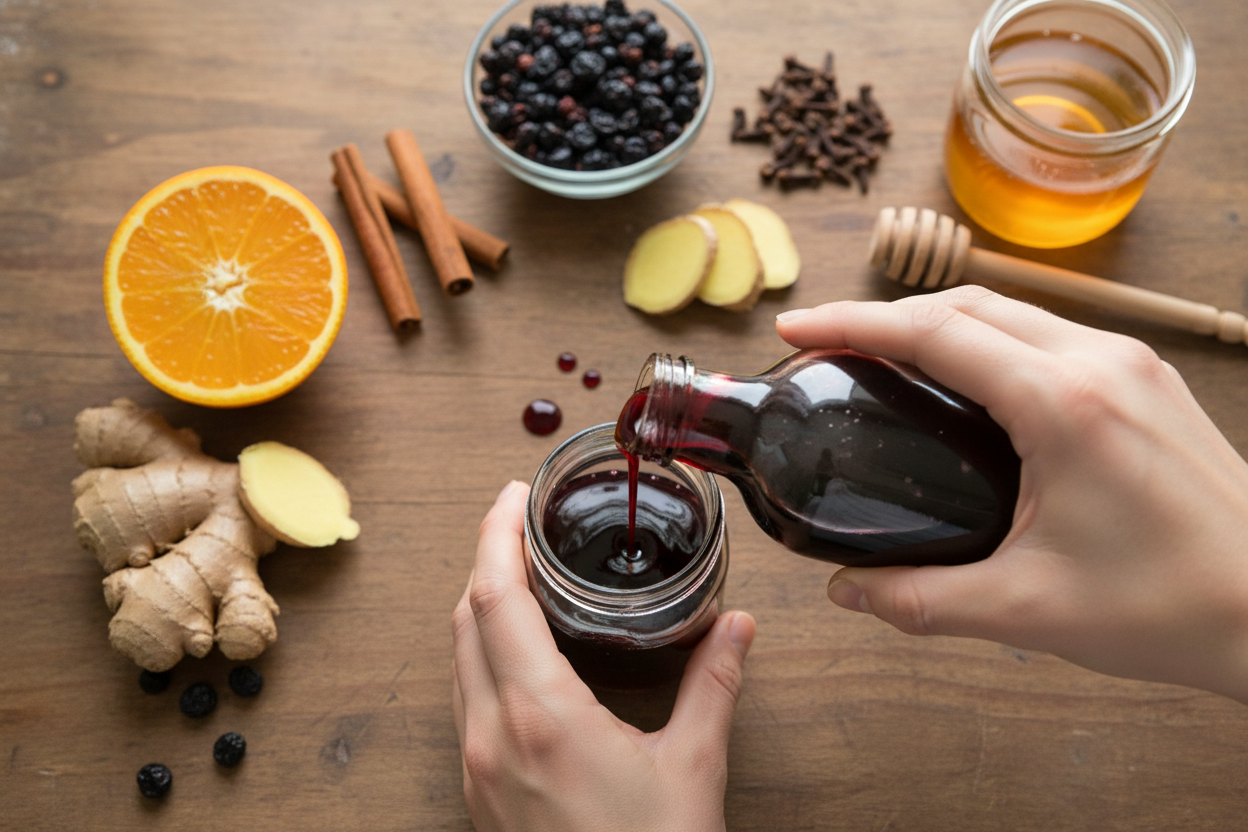
You only need a few things from the store. First, get dried elderberries. You can find them at health food stores or online. Then grab some fresh ginger, cinnamon sticks, whole cloves, and an orange. The orange rind adds a bright, happy flavor. Finally, you need raw honey. Don’t use the cheap stuff. Good honey is like liquid gold.
I love that this recipe uses just one pot and one strainer. No fancy machines or measuring cups that disappear. It’s simple, like cooking with Grandma. Have you ever cooked with cinnamon and cloves before? The smell alone makes you feel warm inside.
Cooking It Down to Goodness
Put everything except the honey into a medium pot. Add the water and turn the heat up high. When it starts to bubble, turn it down to medium-high and let it simmer. This is not a fast process. You let it cook for almost an hour. The liquid becomes dark and rich, like the color of strong tea.
Why this matters: The long simmering time pulls all the good stuff out of the berries and spices. It’s like squeezing a sponge. You want every drop of beneficial juice. Plus, your whole house will smell like a cozy bakery. Would you rather stir this while wearing fuzzy socks? I always do.
The Cooling and Straining Dance
After it’s done cooking, you let it cool for about 30 minutes. Don’t rush this part. If you add honey to boiling hot liquid, it destroys the honey’s good qualities. So be patient. Then, pour it through a mesh strainer into a big glass measuring cup. You will see all the berries and spices sitting in the strainer. They look like a little pile of treasure.
I once forgot to put the strainer over the cup and made a huge mess. The sticky purple syrup went everywhere. My dog, Sam, tried to lick it up. I still laugh at that. Learn from my silly mistake: double-check your setup first.
Adding the Honey Magic
Once the liquid is lukewarm, add the raw honey. Stir it gently until it all melts together. The honey makes it thick and sweet. It also helps preserve the syrup in the fridge. Pour it into clean jars or old glass bottles. I use a little funnel so I don’t spill any. Each jar looks like a tiny potion.
This syrup stays good in the fridge for up to three months. That means you can make one batch and enjoy it all winter long. My grandkids call it “Grandma’s purple gold.” What would your family name this syrup? I’d love to know.
Little Ways to Use It Every Day
Take one spoonful a day, especially during cold months. You can drizzle it over pancakes or oatmeal. Some people stir it into tea or hot lemon water. Or just eat it right off the spoon. I keep a jar in my fridge door, so I see it every morning. It’s a happy reminder to take care of myself.
Have you ever made your own syrup or medicine at home? If yes, tell me your story below. If not, this is a wonderful first try. I promise, you can do it. The kitchen loves you back when you make things from scratch.
Ingredients:
| Ingredient | Amount | Notes |
|---|---|---|
| Dried elderberries | 2/3 cup | |
| Water | 3 1/2 cups | |
| Fresh gingerroot | 2-inch nub | Roughly chopped |
| Cinnamon sticks | 3 | |
| Whole cloves | 1/2 teaspoon | |
| Rind of one orange | 1 orange | |
| Raw honey | 1 cup |
My Grandma’s Cold-Busting Secret
Every autumn, my grandma would fill the kitchen with this warm, spicy smell. She swore elderberry syrup kept us healthy all winter long. I still remember peeking into the bubbling pot, watching it turn deep purple. Doesn’t that smell amazing? It reminds me of cozy blankets and storytime.
This recipe is simple and uses things you might already have in your pantry. Dried elderberries, ginger, cinnamon, and cloves all work together. The honey at the end makes it sweet enough for even a picky 12-year-old. I always sneak a little taste before it goes into jars. You will too, I bet.
Here is how to make your very own batch of this golden, sticky goodness. Follow these three steps, and you will feel like a kitchen hero. (Hard-learned tip: Do not skip the cooling step before adding honey. Hot syrup can ruin the honey’s good qualities.) Share a picture when you make it! What is your favorite cold-weather remedy? Share below!
Step 1: Put the elderberries, water, ginger, cinnamon sticks, cloves, and orange rind in a pot. Turn the heat to high and bring it to a boil. Once it bubbles, lower the heat so it simmers gently. Let it cook for 45 to 60 minutes. The liquid should shrink down to about half.
Step 2: Take the pot off the stove and let it cool for half an hour. Place a mesh strainer over a big glass measuring cup. Pour the mixture through the strainer, catching all the liquid. Let it sit until it feels just warm, not hot, to your finger.
Step 3: Stir in the raw honey until it is all mixed together and smooth. Pour the syrup into clean jars or bottles. Close the lids tight and put them in the fridge. Your syrup will stay good for up to three months. What is your favorite thing to mix this syrup into? Share below!
Cook Time: 45–60 minutes
Total Time: 1 hour 45 minutes
Yield: About 2 cups
Category: Syrup, Wellness
Three Fun Ways to Change the Flavor
Sometimes I like to mix things up with a new twist. These ideas are easy and add a little surprise. Try one next time you make elderberry syrup. Which one would you try first? Comment below!
Spicy Orange Kick: Swap the orange rind for a big slice of fresh lemon and add a pinch of cayenne pepper. It tastes like a warm hug on a cold day.
Apple Cider Version: Replace half the water with unsweetened apple cider. It makes the syrup taste like fall in a bottle. My little nephew asks for it on his pancakes.
Minty Fresh Twist: Toss in a handful of fresh mint leaves during the last 10 minutes of simmering. It gives a cool, bright finish. Perfect for a stuffy nose.
How to Serve Your Homemade Syrup
I love drizzling a spoonful over warm oatmeal or pancakes in the morning. You can also swirl it into a cup of hot tea for a cozy treat. A little dollop stirred into plain yogurt is a quick snack.
For a fun grown-up drink, mix one tablespoon into a mug of hot spiced rum. For the kids, try it in sparkling water with a squeeze of lemon. It tastes like a fancy soda without the sugar rush. Which would you choose tonight?
Storing Your Elderberry Syrup
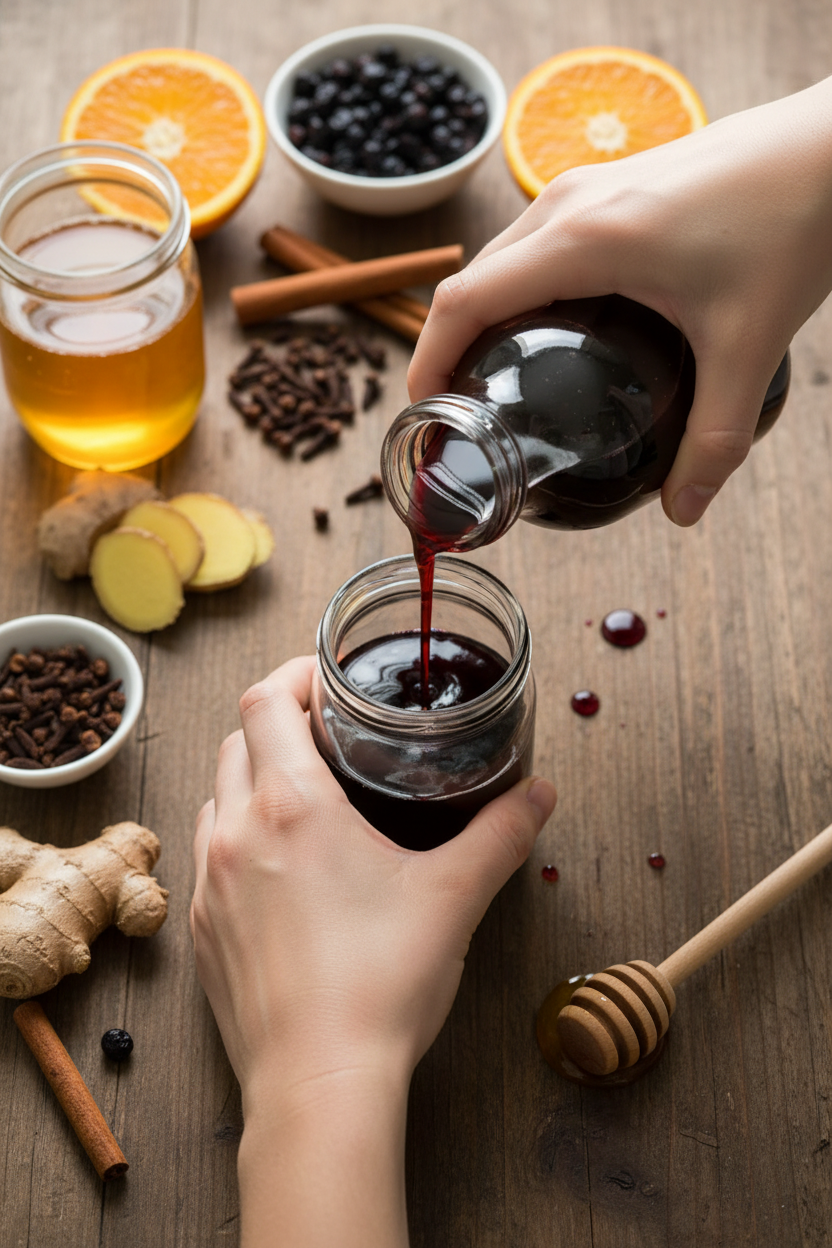
Once your syrup is made, keep it in a clean jar with a tight lid. I put mine in the fridge right away. It will stay good for up to three months. I once left a jar on the counter overnight by mistake. The next day it smelled funny, and I had to throw it out. That was a sad lesson. You can also freeze the syrup in ice cube trays. Pop out a cube whenever you need a spoonful. Thaw it in the fridge overnight, or just drop a cube into warm tea. Batch cooking saves you time. Make a double batch when the elderberries are on sale. Why does this matter? You will always have a spoonful ready when a cold comes knocking. Have you ever tried storing it this way? Share below!
Common Problems and Easy Fixes
Maybe your syrup turned out too thin. That happens when you do not cook it down long enough. Next time, let it simmer a full 60 minutes. I remember my first batch was like watery juice. My grandma just smiled and said, “Patience, dear.” Another problem is a bitter taste. That means you added the orange rind with too much white pith. Use only the bright orange part next time. A third issue is mold growing on top. This means your jar or spoon was not clean. Always use a dry, clean spoon to scoop out syrup. Fixing these small problems builds your cooking confidence. Which of these problems have you run into before? Why does this matter? Because when you know how to fix things, you feel brave in the kitchen. You learn to trust your own hands.
Your Questions, Answered
Q: Is this recipe gluten-free?
A: Yes, all the ingredients are naturally gluten-free. It is safe for most diets.
Q: Can I make it ahead of time?
A: Absolutely. I make mine a month before cold season starts. It keeps in the fridge just perfect.
Q: Can I swap the sweetener?
A: Use maple syrup or agave instead of honey. It will taste different but still be good.
Q: How do I double the recipe?
A: Just use double of every ingredient. The cooking time stays the same. Easy peasy.
Q: Any tips for a stronger flavor?
A: Add an extra cinnamon stick and a pinch of fresh turmeric. Which tip will you try first?
A Warm Goodbye from My Kitchen to Yours
I hope this syrup keeps your family healthy and happy this season. Remember, cooking is just love made visible. Every time I stir a pot, I think of all the hands that came before mine. *Fun fact: Elderberries are one of the oldest natural remedies used by humans.* If you make this recipe, I would love to see it. Snap a photo and send it my way. Have you tried this recipe? Tag us on Pinterest! Your kitchen stories bring me so much joy. Now go put a pot on the stove. Happy cooking! —Chloe Hartwell.
Easy Delicious Homemade Elderberry Syrup Recipe
Description
Boost your immunity with this easy, delicious homemade elderberry syrup recipe. Natural, simple, and kid-friendly.
Ingredients
Instructions
- Add all ingredients except honey to a medium saucepan. Bring it to a boil on high heat. Once it starts to boil, reduce the burner to medium-high. Let the elderberry mixture simmer for 45-60 minutes until the liquid is reduced by half.
- Remove from heat and let cool for about 30 minutes. Pour the mixture over a mesh strainer, into a glass measuring cup. Let the mixture cool until it is lukewarm.
- Add honey and stir until it’s well incorporated. Then pour the contents into jars or bottles and store them in the refrigerator for up to 3 months.




Leave a Reply