
First Time I Made These
I remember the first time I tried baking with coconut flour. I was all alone in my kitchen, and my grandkids were coming over. I wanted to make something they would actually eat. Not just healthy stuff they push around the plate. Let me tell you, coconut flour is tricky. It soaks up liquid like a sponge. My first batch was dry as sand. I laughed out loud. I still laugh at that memory. Even my dog gave me a look. Here is what I learned: trust the recipe. These cookies look loose and wet at first. But give the dough a minute. The flour drinks up the honey and eggs and turns into something beautiful. Have you ever used coconut flour before?Why These Cookies Matter
These cookies are great for tummies that get upset with regular flour. My neighbor Betty cannot eat wheat. She feels sad watching others eat cookies. So I made these for her. Her face lit up like a Christmas tree. That is why this recipe matters. It uses simple ingredients you can find at any store. There is no strange science here. Just coconut flour, honey, eggs, and chocolate chips. You do not need a fancy degree to bake them. You just need love. Doesn’t it feel good to share food that makes everyone happy? I think so too.Secret Tips from My Kitchen
Here is a little trick. Use your fingers to press the dough into cookie shapes before baking. Coconut flour cookies do not spread out like regular ones. They stay in the same shape you give them. So make them look pretty. I also love to chill the dough for ten minutes. It makes it easier to handle. And if you put them in the fridge after baking, they last up to seven days. That is longer than most cookies live in my house. *Fun fact: coconut flour comes from dried coconut meat that has the oil squeezed out. It is packed with fiber. Just a little bit fills you up fast.*The Magic of Coconut Oil
Coconut oil is a special friend in this recipe. It melts easily and gives the cookies a soft, tender bite. Do not use butter instead. I tried it once and the cookies felt heavy. Not the warm feeling we want. When you stir the honey and oil together, it smells like a tropical vacation. I close my eyes and pretend I am on a beach. You can do that too. Cooking is about playing pretend sometimes. What smells remind you of a happy place? I would love to hear.My Favorite Ways to Change Them
You can swap the chocolate chips for dried cranberries or chopped nuts. My grandson Oliver likes them with white chocolate chips. I think he just likes the color. But I do it anyway. Sometimes I add a pinch of cinnamon. It makes the kitchen smell like a holiday. You can also use less honey if you want them less sweet. The cookies will still taste good, I promise. Which mix-in would you pick? Chocolate, nuts, or something else? Tell me your answer.Baking with Little Helpers
My youngest granddaughter loves to pour the chocolate chips in. She always counts them out loud. “One, two, three…” She gets distracted around twenty. But the joy is in the counting, not the number. Coconut flour dough does not stick much to little fingers. That is a big win for clean-up. You can let kids help roll the dough into balls. Then they can press them flat. It feels like playing with soft clay. Baking together builds memories. That matters more than perfect cookies.Cooling and Keeping
Leave the cookies on the pan for five minutes after they come out of the oven. They are fragile when hot. Moving them too soon makes them crumble. I learned that the hard way. My floor got a chocolate chip snack. Once they cool, pop them in a container with a lid. They taste even better from the fridge. The coconut oil gets firmer, and the honey gets chewy. I sneak one every time I open the door. Do you do that too?Ingredients:
| Ingredient | Amount | Notes |
|---|---|---|
| Coconut flour | ½ cup | |
| Coconut oil | ¼ cup | Melted |
| Honey | ¼ cup | |
| Large eggs | 2 | |
| Vanilla extract | ¼ teaspoon | |
| Sea salt | ¼ teaspoon | |
| Baking soda | ¼ teaspoon | |
| Chocolate chips | ⅓ cup |
My Grandma’s Little Cookie Secret
I still remember the first time I tried coconut flour. My grandma handed me a cookie that looked a little flat, but it smelled like a sunny beach. Doesn’t that smell amazing? I took a bite and my eyes went wide. It was soft, sweet, and totally different from anything I’d ever tasted. That’s the moment I fell in love with these little treats.
These cookies are special because they’re low in sugar and gluten-free. But you’d never guess it from the taste. They have a cozy, buttery flavor that makes you want another. And another. I always make a double batch because they disappear fast. My neighbor once ate six before I could even blink.
The key is the coconut flour. It’s very thirsty stuff—it drinks up liquid like a sponge. So don’t worry if your dough looks a little loose at first. Give it a minute. It will thicken up right before your eyes. That’s the magic part.
I love using honey instead of white sugar here. It adds a gentle sweetness and a little floral note. Plus, it keeps the cookies soft and chewy. (Here’s a hard-learned tip: don’t swap the honey for maple syrup unless you want cookies that spread too thin. I learned that the messy way!)
One time, I forgot the eggs. That was a goopy disaster. So double-check your ingredients before you start. So tell me: Have you ever baked with coconut flour before? Share below!
Let’s Make These Cookies Together
Here’s how to bake them step by step. Grab a bowl and let’s get started.
Step 1: Preheat your oven to 350°F. Line a baking sheet with parchment paper or a silicone mat. This keeps the cookies from sticking and makes cleanup easy. My mom taught me that trick, and I still use it every time.
Step 2: In a medium bowl, whisk together the melted coconut oil, honey, eggs, and vanilla extract. Whisk until the mixture looks smooth and golden. I like to count to twenty while I stir. It’s a silly habit, but it makes me feel like a real baker.
Step 3: Add the coconut flour, salt, and baking soda to the wet mixture. Stir gently until everything comes together. The dough will seem loose at first, but wait a few seconds. Watch as it thickens into a soft, slightly sticky dough. That’s your sign it’s ready.
Step 4: Stir in the chocolate chips. Use a spatula or a wooden spoon. Make sure they’re spread evenly through the dough. I always sneak a few extra chips on top for luck.
Step 5: Scoop the dough onto your prepared baking sheet. Use a cookie scoop or just a spoon. Press each ball flat with your fingers into a little cookie shape. Don’t worry if they’re not perfect—homemade cookies are supposed to look a little rustic.
Step 6: Bake for 12 to 14 minutes. You’ll know they’re done when the edges turn golden brown and the bottom looks firm. Let them cool on the pan for five minutes. Then move them to a wire rack. (Tip: Don’t skip the cooling step, or they might fall apart!)
Step 7: Store your cookies in an airtight container. They keep well at room temperature for a few days. But I think they taste best straight from the fridge. They get a little chewy and cold, like a sweet treat on a hot afternoon.
Cook Time: 12–14 minutes
Total Time: 30 minutes
Yield: 12 cookies
Category: Dessert, Snack
Three Fun Twists to Try
Want to change things up? Here are three easy ways to make these cookies your own.
1. Tropical Twist: Swap the chocolate chips for dried pineapple and shredded coconut. It tastes like a vacation in your mouth.
2. Nutty Buddy: Fold in a handful of chopped walnuts or pecans. The crunch is perfect. Add a pinch of cinnamon for extra warmth.
3. Spiced Pumpkin: Replace the honey with pumpkin puree and add a dash of pumpkin pie spice. These are amazing in the fall with a cup of tea.
Which one would you try first? Comment below!
How to Serve and Sip
These cookies are wonderful all by themselves, but they love a little company. Serve them alongside a bowl of fresh berries for a bright, sweet contrast. Or place them on a plate with a dollop of whipped cream and a sprinkle of cinnamon. That’s my favorite way to dress them up for guests.
If you’re feeling fancy, sandwich two cookies together with a smear of dark chocolate or nut butter. It makes a cozy little dessert that feels special without much work.
For a drink, try a tall glass of cold oat milk. It’s creamy and gentle. Grown-ups might enjoy a small glass of port or a warm chai latte. Both pair beautifully with the sweet, coconut flavor.
Which would you choose tonight?
How to Store Your Coconut Flour Cookies
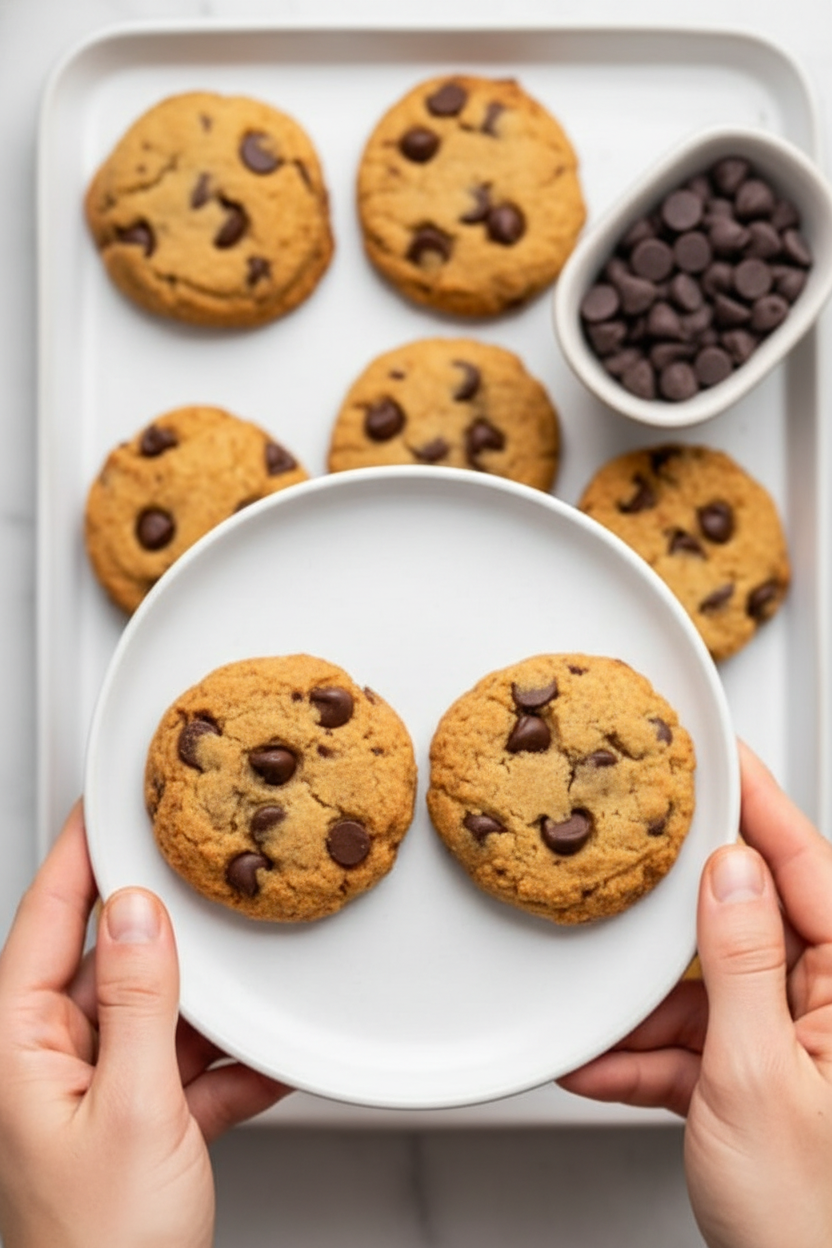
Let me tell you about the first time I made these cookies. I left them on the counter in a tin. By day two, they were hard as little rocks. That is when I learned coconut flour loves the fridge. It keeps them soft and chewy for up to seven days. Just pop them in an airtight container and set them in the fridge. I actually like them cold right from the fridge. The texture gets nice and firm. You can also freeze them for up to three months. Just layer them with wax paper in a freezer bag. To reheat, warm them in a 300-degree oven for five minutes. Or let them sit on the counter for ten minutes. Batch cooking these is a lifesaver for busy weeks. Make a double batch and freeze half. Then you always have a healthy treat ready. Why does this matter? It saves you from last-minute baking stress. And it keeps your treats fresh without any waste. Have you ever tried storing cookies this way? Share below!
Three Common Problems and Easy Fixes
If your cookies come out too crumbly, do not worry. I once made a batch that fell apart in my hands. The fix is simple. Add one more tablespoon of honey or a splash of milk. Coconut flour soaks up liquid like a sponge. Next, if your cookies taste too dry, it means you baked them too long. Ovens can be tricky. Pull them out when the edges are just golden. They will keep cooking on the hot pan. Last, if your dough seems too sticky, that is normal. Wet your fingers with a little water before pressing the dough into shapes. It helps a lot. Why does fixing these things matter? It builds your confidence in the kitchen. You stop guessing and start knowing. And when your cookies turn out perfect, you feel proud. Which of these problems have you run into before?
*Fun fact: Coconut flour needs more liquid than regular flour. That is why this recipe uses honey and eggs to keep it moist.*
Your Top 5 Questions Answered
Q: Can I make these cookies gluten-free?
A: Yes, coconut flour is naturally gluten-free. No special swaps needed.
Q: Can I make the dough ahead of time?
A: Sure. Cover the dough and keep it in the fridge for up to two days. Bake when ready.
Q: Can I swap honey for maple syrup?
A: Yes, use the same amount. The cookies will taste a little different but still good.
Q: Can I double or triple the recipe?
A: Absolutely. Just use a bigger bowl and give it a good stir.
Q: Can I leave out the chocolate chips?
A: Yes, or swap them for dried fruit or nuts. Make it your own.
Which tip will you try first?
A Warm Goodbye from My Kitchen to Yours
I hope these little cookies bring you joy. They are simple and kind to your body. That is what good food is all about. I would love to see your batch. Snap a photo and share it with me. Have you tried this recipe? Tag us on Pinterest! Your pictures make my day. Keep baking, keep tasting, and keep sharing. You are doing great. Happy cooking!
—Chloe Hartwell.
Coconut Flour Cookies Recipe Healthy Low Carb Treats
Description
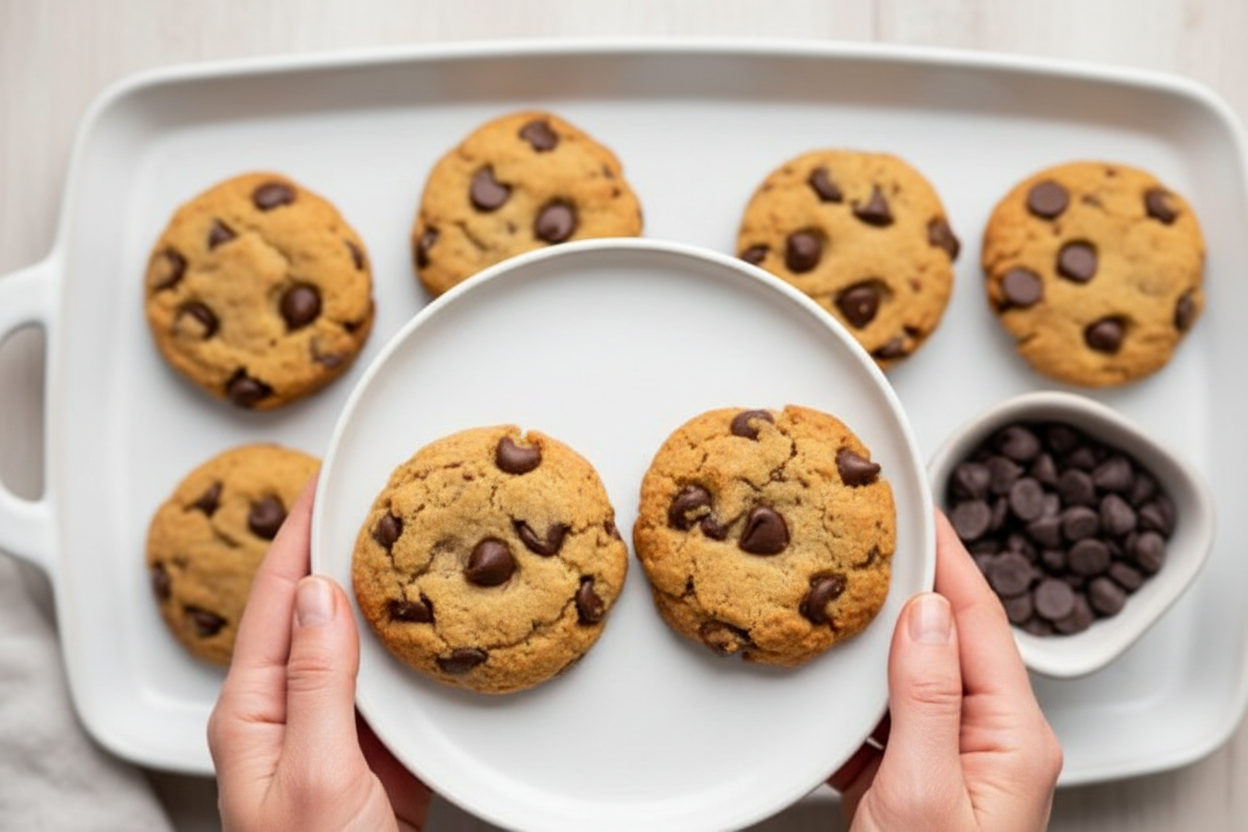
Healthy low carb coconut flour cookies recipe, a quick & easy keto dessert. Gluten-free, sugar-free treat for guilt-free snacking.
Ingredients
Instructions
- Preheat oven to 350°F and line a baking sheet with parchment paper or a silicone baking mat.
- In a medium mixing bowl stir together the coconut oil, honey, eggs and vanilla.
- To the same bowl, add coconut flour, salt and baking soda and mix until combined. It may seem a little loose at first but the dough will begin to thicken as the coconut flour soaks up the liquid.
- Stir in chocolate chips, if using.
- Scoop dough using a cookie scoop and press into a cookie shape with your fingers.
- Place cookies on the baking sheet and bake for 12-14 minutes, or until the bottom and edges of the cookies are golden brown. Remove from oven.
- Allow to cool on the pan, then transfer to a baking rack to cool completely and enjoy!
Notes
- Store cookies in an air-tight container at room temp or in the refrigerator. Cookies will last much longer (up to 7 days) stored in the refrigerator. I personally really like how they taste straight from the fridge.




Leave a Reply