
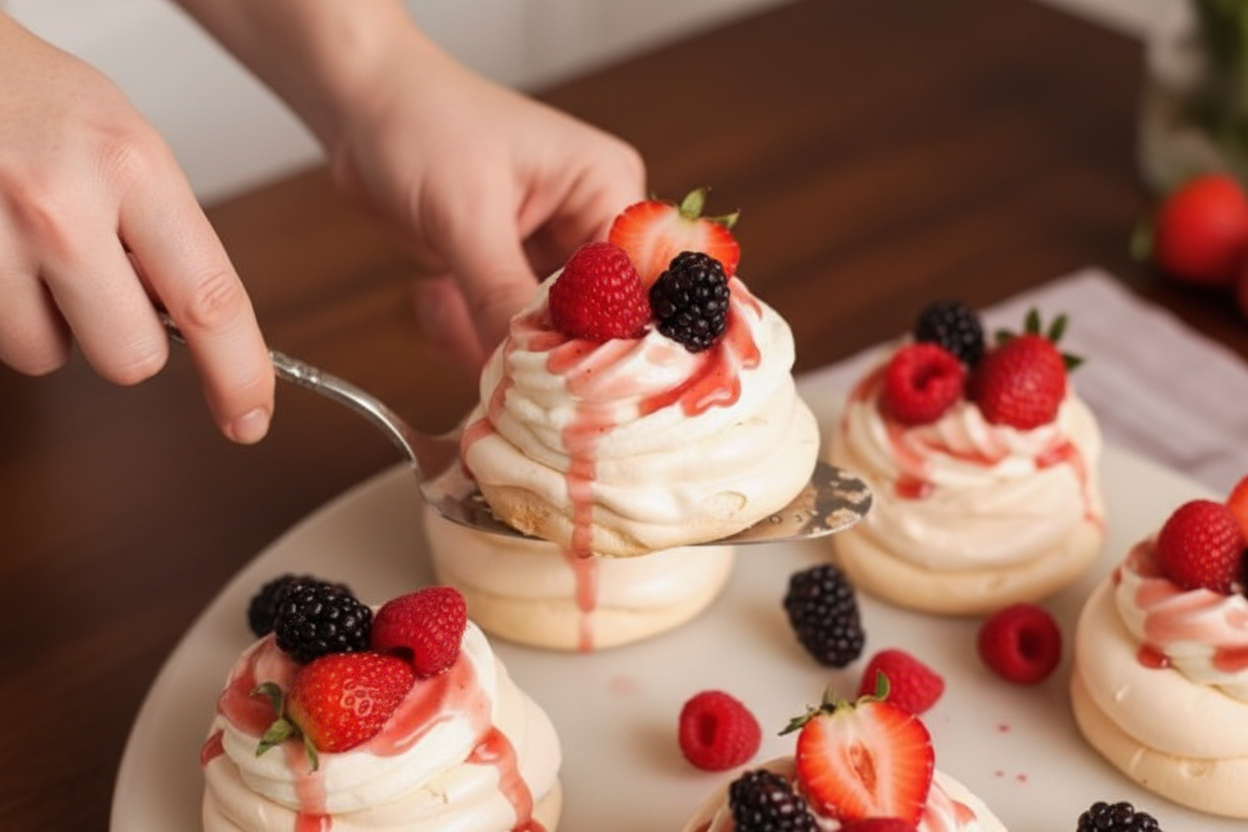
Why This Dessert Stole My Heart
I still remember the first time I made these Mini Cheesecake Pavlovas. My kitchen was a mess, and I was sure I’d ruined the meringue. But when I bit into that crunchy, sweet shell with the creamy filling, I actually laughed out loud. Doesn’t that smell amazing when it bakes? The trick is patience. You bake these low and slow, like a secret the oven is keeping for you. Have you ever made a meringue before? I’d love to hear your stories.A Little History in Every Bite
Pavlova is named after a famous dancer named Anna Pavlova. She toured the world long ago, and someone made this dessert to honor her. It’s light and airy, just like a ballerina. But here’s the thing I love: I added cheesecake filling because I wanted two desserts in one. Why not? Life is too short to choose just one treat. What’s your favorite dessert combo?My Secret to a Perfect Shell
The meringue needs a clean bowl. No grease, no yolk, not even a tiny speck. I once used a bowl that had a little butter on it, and my meringue never got stiff. I still laugh at that. You add the sugar one spoon at a time. It feels slow, but it matters. The sugar melts into the egg whites and makes them glossy. *Fun fact: This is called a “French meringue,” and it’s the fluffiest kind.* Why this matters: When you take your time, the meringue holds its shape. That means you get a pretty little cup for your filling. Do you think you could try adding the sugar slowly?The Creamy Heart of the Recipe
While the pavlovas bake, you make the cheesecake filling. It’s like making a cloud but with cream cheese. I always use room-temperature cream cheese, or the filling gets lumpy. Why this matters: Lumpy filling doesn’t taste bad, but it feels less special. And this dessert deserves to feel special. The lemon juice cuts the richness, so you want another bite. Have you ever added lemon to your cheesecake?A Glaze That Ties It All Together
The berry glaze is the easiest part. You just heat jam with a little water and sugar. It turns into a shiny, fruity sauce that makes everything look fancy. I like to put a tiny spoon of glaze at the bottom of each pavlova. It keeps the filling from making the shell soggy. Isn’t it funny how such a small step can save everything? What kind of jam do you keep in your fridge?Putting It All Together (Your Way)
Once the shells are cool, you pipe in the filling. I use a star tip because it looks like a fancy bakery did it. But you can just spoon it in too. No one is judging here. Top with fresh berries and a drizzle of glaze. Then serve right away. The shell stays crunchy, and the filling stays cold. This is the kind of dessert that makes people close their eyes when they eat it. I promise you’ll be proud. What’s the first thing you’ll put on top? Strawberries, blueberries, or maybe both?Ingredients:
| Ingredient | Amount | Notes |
|---|---|---|
| Egg whites | 5 large | |
| Cream of tartar | ½ teaspoon | |
| Salt | ½ tsp | |
| Granulated sugar | 1 cup + 2 tablespoons (225g) | For pavlova shells |
| Pure vanilla extract | 1 teaspoon | For pavlova shells |
| Cream cheese | 12oz (340g) | Room temperature |
| Sugar | ½ cup (100g) | For cheesecake filling |
| Vanilla | 1 tsp | For cheesecake filling |
| Salt | ¼ tsp | For cheesecake filling |
| Lemon juice | 2-3 tablespoons | |
| Heavy cream | 1 cup (240g) | |
| Berry jam of choice | 4 tablespoons | For glaze |
| Water | 2 tablespoons | For glaze |
| Sugar | 1 tablespoon | For glaze |
| Fresh berries of choice | As needed | For decoration |
Mini Cheesecake Pavlovas
I first made these for a spring tea party, and my niece squealed when she saw them. Doesn’t that sound like the best kind of compliment? Let me walk you through it, step by simple step.
Step 1: Preheat your oven to 220F. Line a baking sheet with parchment paper. Make sure your mixing bowl and whisk are squeaky clean—any grease will ruin the egg whites. I once used a bowl that had a tiny bit of butter on it, and the meringue flopped. I still laugh at that flop!
Step 2: Put the egg whites, cream of tartar, and salt in the bowl. Whisk on medium speed until the mixture looks frothy and white, like a fluffy cloud. This takes a few minutes. (Hard-learned tip: No speck of yolk can sneak in, or the whites won’t whip up right.)
Step 3: Add the sugar one spoonful at a time while whisking. Add the vanilla, too. Keep going until the meringue is stiff and glossy, forming a peak that stands straight up when you lift the whisk. The ripples in the bowl should feel firm. My grandmother used to say, “When it shines like a pearl, you’re done.”
Step 4: Spoon the meringue into a piping bag. Snip a half-inch hole at the tip. Pipe little nests onto the baking sheet—each about three inches wide with raised edges. Don’t leave big holes in the sides. You should get about ten mini pavlovas. What’s your favorite fruit to top pavlovas with? Share below!
Step 5: Bake at 220F for 90 minutes. Look for a light golden color. They should feel firm and not sticky. Let them cool completely on the sheet. Once cool, they crisp up and lift right off the paper. Patience here is worth it.
Step 6: While they bake, make the filling. Beat the cream cheese, sugar, salt, vanilla, and lemon juice until creamy. Add the heavy cream and whisk until thick and pipeable. Pop it in the fridge to chill. The lemon juice adds a little zing, like sunshine in a bowl.
Step 7: For the berry glaze, stir the jam, water, and sugar in a small saucepan over low heat. Cook until smooth and slightly thick. Let it cool. Step 8: Spoon a tiny bit of glaze into each cooled pavlova. Pipe in the cheesecake filling. Drizzle more glaze on top and add fresh berries. Serve immediately!
Cook Time: 90 minutes
Total Time: 2 hours (with cooling)
Yield: 10 mini pavlovas
Category: Dessert
Three Fun Twists to Try
Want to change things up? These are my favorite tweaks for new flavors. They’re all super simple.
Lemon-Blueberry Burst: Swap the berry glaze for a quick lemon curd. Add fresh blueberries on top. It tastes like a sunny summer morning.
Chocolate Hazelnut Dream: Use chocolate-hazelnut spread in place of the berry glaze. Sprinkle chopped hazelnuts over the cheesecake filling. Rich and cozy.
Spiced Apple Cider: Stir a pinch of cinnamon and nutmeg into the glaze. Top with diced, sautéed apples. Perfect for a crisp fall day.
Which one would you try first? Comment below!
Serving & Sips
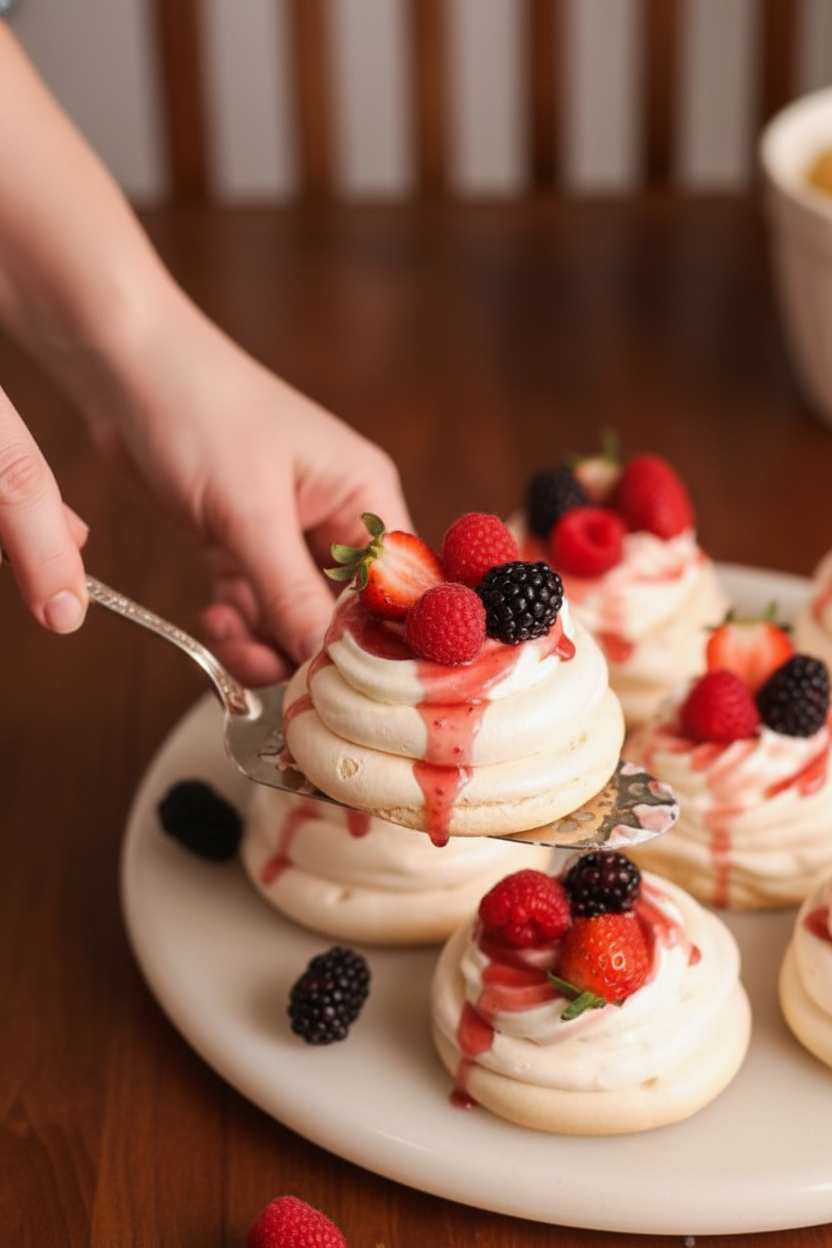
For a pretty plate, set each pavlova on a small doily or a dessert plate. Add a mint leaf on top for a pop of green. Serve with a side of extra berries for munching.
Pair them with a fizzy lemonade for a non-alcoholic treat. It cuts through the sweet cream perfectly. For grown-ups, a light sparkling wine or a dry Riesling is lovely.
Which would you choose tonight?
Storing and Reheating Your Mini Cheesecake Pavlovas
These little desserts are best the day you make them. But you can still save extras with care. Keep the pavlova shells in an airtight container at room temperature. Do not put them in the fridge, or they will get soft and sticky. The cheesecake filling and berry glaze can stay in the fridge for up to two days. I once stored a shell too close to the fridge fan, and it turned soggy overnight. That was a sad lesson!
For batch cooking, bake the shells a day early. Store them in a dry, cool spot away from heat. Keep the filling and glaze in separate bowls in the fridge. Then assemble everything just before serving. This saves time and keeps the shells crisp. Why does this matter? Storing each part separately keeps the textures just right. No one wants a mushy meringue! Have you ever tried storing it this way? Share below!
Common Problems and Easy Fixes
First problem: your meringue won’t get stiff. This happens if even a speck of egg yolk gets into the whites. I remember dropping a yolk once and had to start over. The fix is simple: separate eggs into small bowls first. Then add them one at a time to the mixer. Why this matters? Stiff peaks mean a light, crunchy shell. Floppy meringue makes flat, chewy pavlovas.
Second problem: the pavlova shells crack after baking. This usually means they baked too long or cooled too fast. Let them cool slowly inside the turned-off oven with the door cracked open. I always leave them in for an extra hour. Third problem: the cheesecake filling turns runny. Make sure your cream cheese is truly soft room temperature, not cold. Cold cheese makes lumpy filling. Which of these problems have you run into before? Fixing these small issues will make you a more confident baker. And your pavlovas will taste amazing every time.
Your Questions, Answered
Q: Can I make these gluten-free? A: Yes, this recipe is naturally gluten-free. Just check your jam and vanilla label to be safe.
Q: Can I make the shells ahead of time? A: Yes, bake them up to two days early. Store in a dry, airtight container at room temperature.
Q: Can I swap the cream cheese for something else? A: You can use mascarpone or even plain Greek yogurt for a lighter filling. The texture will be softer.
Q: Can I scale this recipe up or down? A: Yes, just double or halve all ingredients. Baking time stays the same for the shells.
Q: Any tips for piping the shells? A: Pipe them thick around the edges to make a little bowl. Use a round tip for easiest control. Which tip will you try first?
A Little Goodbye from My Kitchen to Yours
I hope these mini cheesecake pavlovas bring you as much joy as they brought me. There is something so happy about a crunchy shell filled with creamy, tangy cheesecake. The berry glaze on top is like a little jewel. *Fun fact: Pavlovas are named after a famous ballerina, Anna Pavlova, because they are light and airy like her dancing.*
I would love to see your creations. Take a photo of your pavlovas before they disappear! Have you tried this recipe? Tag us on Pinterest! Your notes and tips help other home cooks too. Happy cooking! —Chloe Hartwell.
Mini Cheesecake Pavlovas: Mini Cheesecake Pavlovas Recipe
Description
Indulge in Mini Cheesecake Pavlovas with a crisp shell, creamy cheesecake filling, and fresh berries. Perfect for elegant desserts!
Ingredients
5 large egg whites
12oz cream cheese (340g), room temp
4 tbsp berry jam of choice
Instructions
- Pre-heat oven to 220F and line a large baking sheet (light colored preferred) with parchment paperAdd the egg whites to the clean bowl of a stand mixer. Make sure there are no yolk specks in the egg whites, and make sure the bowl and whisk are completely clean with no grease on them. Add the cream of tartar and saltUse the balloon whisk attachment (or standard paddle beaters of an electric mixer) to whisk on medium speed for a few minutes until the egg whites look frothy and whiteAdd the sugar one spoon at a time while continuing to whisk on medium speed. Towards the end, add the vanilla extract tooKeep whisking until the egg whites turn into a stiff and glossy meringue that starts to collect in ripples around the whisk and leaves a stiff peak when the whisk is lifted out of it. This process can take several minutes. Do not overmix, as that will cause the meringue to separate and leak waterTransfer the meringue to a piping bag and cut a ~½ inch hole in itPipe mini pavlova cups onto the baking sheet, about ~3 inches in diameter. Make sure to pipe raised edges so the pavlovas can hold the cheesecake filling, and ensure there aren’t any large gaping holes in them (see video tutorial). You should get ~10 mini pavlovasBake at 220F for ~90 minutes or until the pavlovas look a light golden color and are firm to touch (i.e., not sticky)Remove from the oven and let them cool down fully. Once cooled, they should become crispy and should easily come off the parchment paper
- Make the filling while the pavlovas are bakingAdd the cream cheese, sugar, salt, vanilla and lemon juice to a bowl and whisk until the mixture looks creamy. Scrape the bowl along the wayAdd the heavy whipping cream and whisk for a few seconds until a thick, pipeable mixture formsTransfer to a piping bag and keep refrigerated
- Add the jam, water and sugar to a saucepan. Cook and stir on low heat for a few minutes until a smooth glaze forms that just starts to thicken up. Remove from heat and let cool down
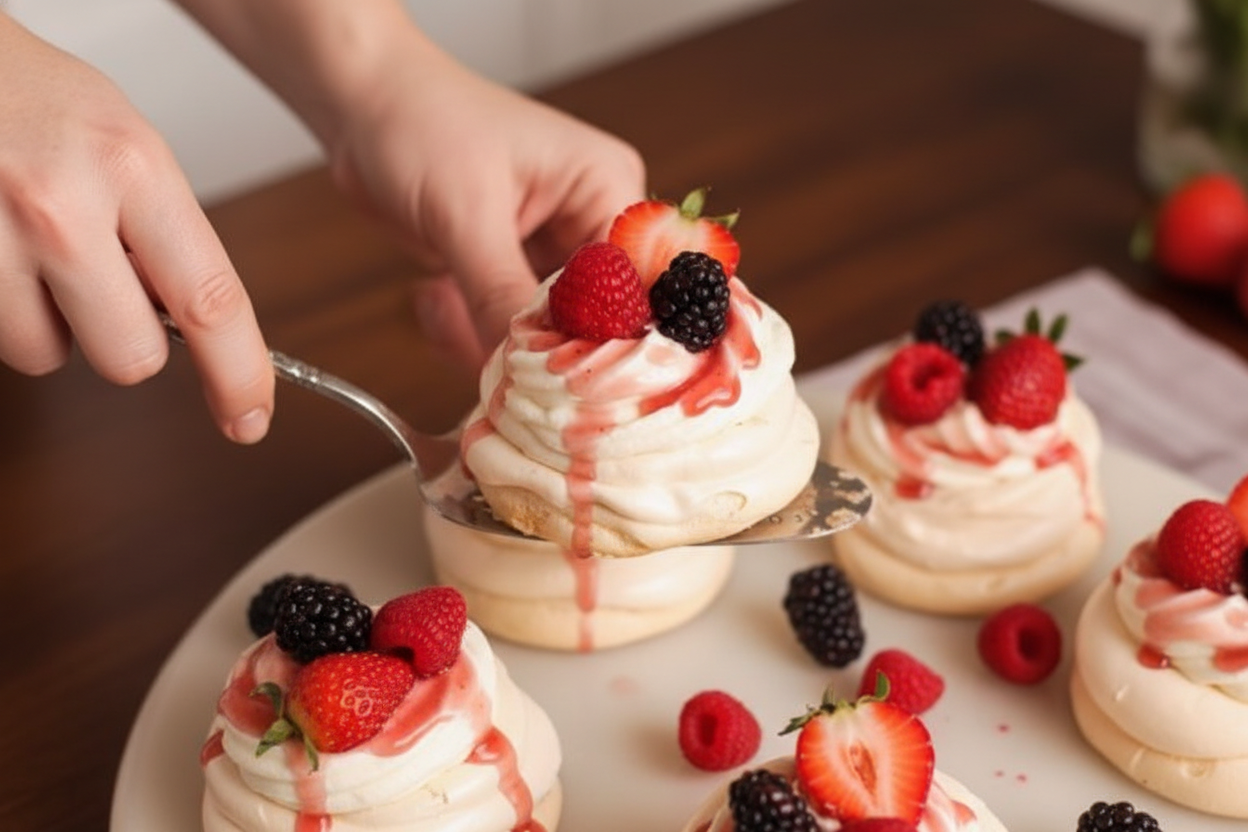
- Once the pavlovas have completely cooled down, it’s time to assembleAdd a small spoon of the glaze to the bottom of each pavlova. Then pipe a generous swirl of the cheesecake filling into each pavlova (I like to use a star piping tip for this)Decorate with a drizzle of the berry glaze and top off with fresh berriesServe immediately & enjoy!
Notes
- For best results, ensure all equipment is clean and grease-free when making the meringue. Pavlovas can be stored in an airtight container for up to 2 days before filling.




Leave a Reply