
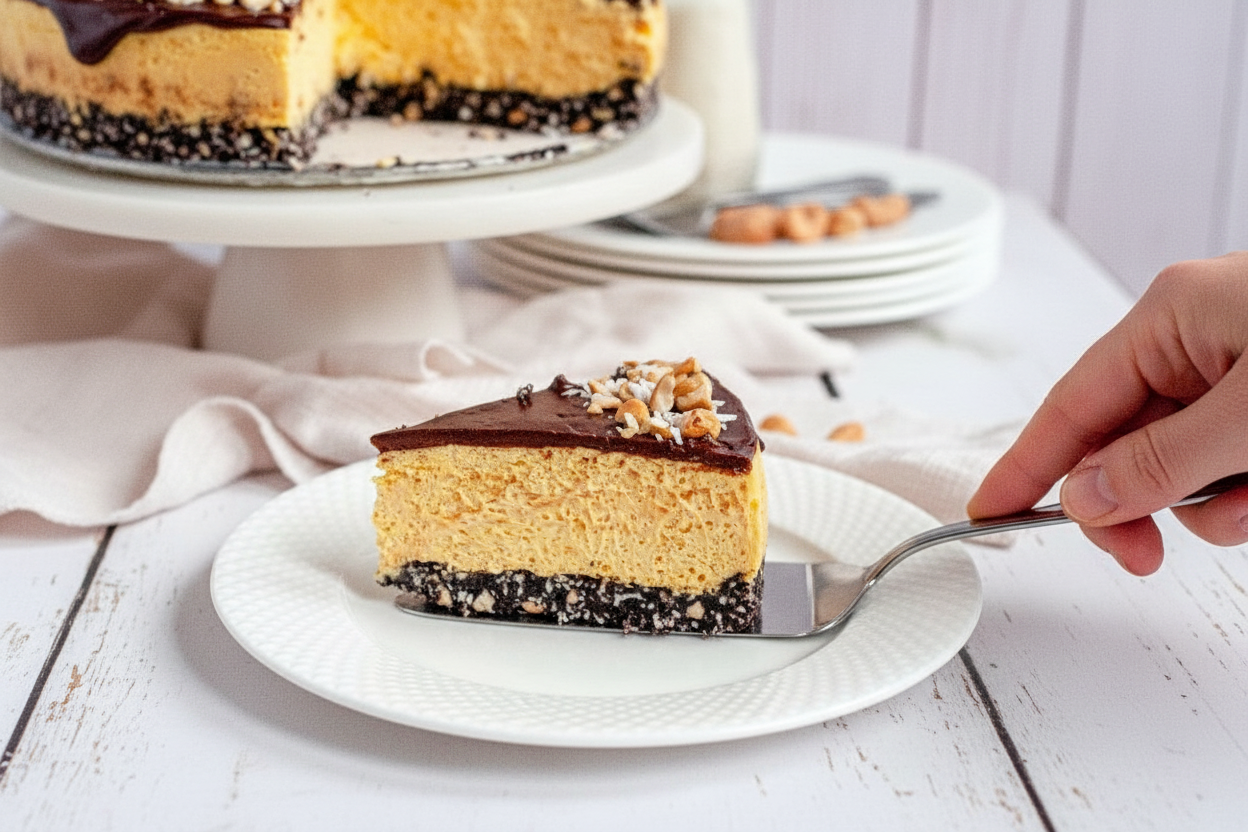
A Dessert That Came From Canada
I first tasted a Nanaimo bar at a potluck twenty years ago. My friend’s aunt brought them from British Columbia. I took one bite and asked for the recipe three times. She just laughed and said “Maybe next year.” That bar had three layers. A chocolate coconut bottom. A creamy yellow middle. A shiny chocolate top. This no-bake cheesecake turns those three layers into one big beautiful slice. What is your favorite layered dessert?Why We Make It Without an Oven
I love that this recipe stays cool from start to finish. No oven needed. That means hot summer days don’t stop us from baking. The crust is just cookie crumbs, coconut, nuts, and butter. You press it down with a glass. That pressing part feels like making a sandcastle. I still laugh at how serious I get about pressing the crumbs flat. Why this matters: keeping the crust firm means every slice holds together later.The Custard Layer That Tastes Like Childhood
Custard powder is the secret here. It gives that sunny yellow color and a mild vanilla taste. I remember my grandmother sprinkling custard powder into puddings on rainy afternoons. You beat the cream cheese until it is soft as clouds. Then you fold in real whipped cream very gently. If you stir too fast, the air pops out. Why this matters: the gentle folding makes the cheesecake light and silky instead of heavy. *Fun fact: Custard powder was invented in England in 1837 by a man named Alfred Bird. He made it because his wife couldn’t eat eggs.*Patience Is the Hardest Ingredient
This cheesecake needs at least nine hours in the fridge. Overnight is better. I know that sounds like forever. One time I tried to rush it after only five hours. The middle was still too soft. The slices looked like a sleepy pancake. Now I set a timer on my phone and walk away. Doesn’t that smell amazing when you finally open the fridge the next morning?Pouring the Shiny Top
The ganache is just two ingredients. Chocolate chips and warm cream. You pour the hot cream over the chips and wait six minutes. Do not stir early. Letting it sit is important. The heat slowly melts the chocolate without burning it. Then you stir gently until it turns glossy like a mirror. Spread it over the cold cheesecake and watch it set into a smooth shell. Have you ever made ganache before?Making It Yours
You can add extra cashews on top or sprinkle more coconut. Some people drizzle caramel over the ganache. I once added a pinch of sea salt on top and it tasted like a fancy bakery. The recipe already skips dairy and gluten. So almost anyone at your table can enjoy it. If you want it sweeter, add a little more sugar to the crust. If you want it nuttier, toast the cashews first. What would you put on top of yours?Ingredients:
| Ingredient | Amount | Notes |
|---|---|---|
| vegan salted butter, melted | 1/2 cup (113g) | Chocolate Crust |
| granulated sugar | 1/8 cup (24g) | Chocolate Crust |
| gluten-free chocolate cookie crumbs | 1 3/4 cups (210g) | Chocolate Crust |
| sweetened shredded coconut | 1 cup (120g) | Chocolate Crust |
| chopped salted cashews | 1/2 cup (80g) | Chocolate Crust |
| vegan cream cheese | 24 ounces (3 packages) | Custard Cheesecake |
| icing sugar | 1 1/2 cups (180g) | Custard Cheesecake |
| custard powder | 3/4 cup (126g) | Custard Cheesecake |
| fine sea salt | 1/2 teaspoon | Custard Cheesecake |
| vegan heavy whipping cream | 1 1/4 cup (296ml) | Custard Cheesecake |
| yellow gel food color (optional) | as needed | Custard Cheesecake |
| vegan chocolate chips | 1/2 cup (120g) | Chocolate Ganache |
| vegan heavy whipping cream | 1/3 cup (70ml) | Chocolate Ganache |
| shredded coconut (optional) | for decor | Chocolate Ganache |
| cashews (optional) | for decor | Chocolate Ganache |
My Grandma’s Kitchen Secret: This Cake Melts in Your Mouth
I still remember the first time I tried a Nanaimo bar. My friend’s mom brought them to a school bake sale, and I thought I’d died and gone to dessert heaven. That creamy middle layer and the crunchy chocolate top? Pure magic. So when I learned my niece needed a vegan and gluten-free version, I got to work in my little kitchen. Does that smell amazing? You bet it does. This cheesecake takes all those flavors and turns them into something even better.
What I love most is how the crust holds everything together. The coconut and cashews give it a wonderful crunch. And the custard cheesecake filling is so smooth and silky, you’ll never guess it’s dairy-free. I always use yellow food coloring for that classic Nanaimo bar look, but it’s totally optional. Just make sure you give it plenty of time to chill in the fridge.
Here’s a hard-learned tip: Don’t rush the chilling time. I once tried to serve this after only four hours, and the whole thing slid right off the plate. My dog was thrilled, but I was not. Let it sit overnight, and you’ll get perfect slices every time. Now let’s get our hands messy.
Step 1: Get your springform pan ready. Spray it with non-stick baking spray, then line the bottom with parchment paper. This little trick saves you from a stuck crust. My grandma taught me that, and I still smile every time it works perfectly.
Step 2: In a large bowl, mix the melted butter, sugar, cookie crumbs, coconut, and cashews. Stir until everything looks like wet sand. Pour it into your pan and press it down firmly with a glass. Pop it in the freezer while you make the filling. (Hard-learned tip: Press hard or the crust will crumble when you cut it!)
Step 3: Put a metal bowl and whisk in the freezer for ten minutes. Then beat the cream cheese in a stand mixer until it’s smooth and fluffy. Add the icing sugar, custard powder, and salt, and mix until combined. If you want that sunny yellow color, add a tiny drop of food coloring now.
Step 4: Take your cold bowl and whisk, and beat the heavy whipping cream until stiff peaks form. This takes about three minutes. Be patient. If you over-beat, you’ll get butter, and that’s not what we’re after. Gently fold this whipped cream into the cream cheese mixture using a spatula.
Step 5: Pour the cheesecake batter over the chilled crust and spread it even. Cover the pan with plastic wrap and place it in the fridge. The hardest part starts now: waiting. Let it chill for at least nine hours, but overnight is better. I always make mine the day before. That way, I can just relax and enjoy the party.
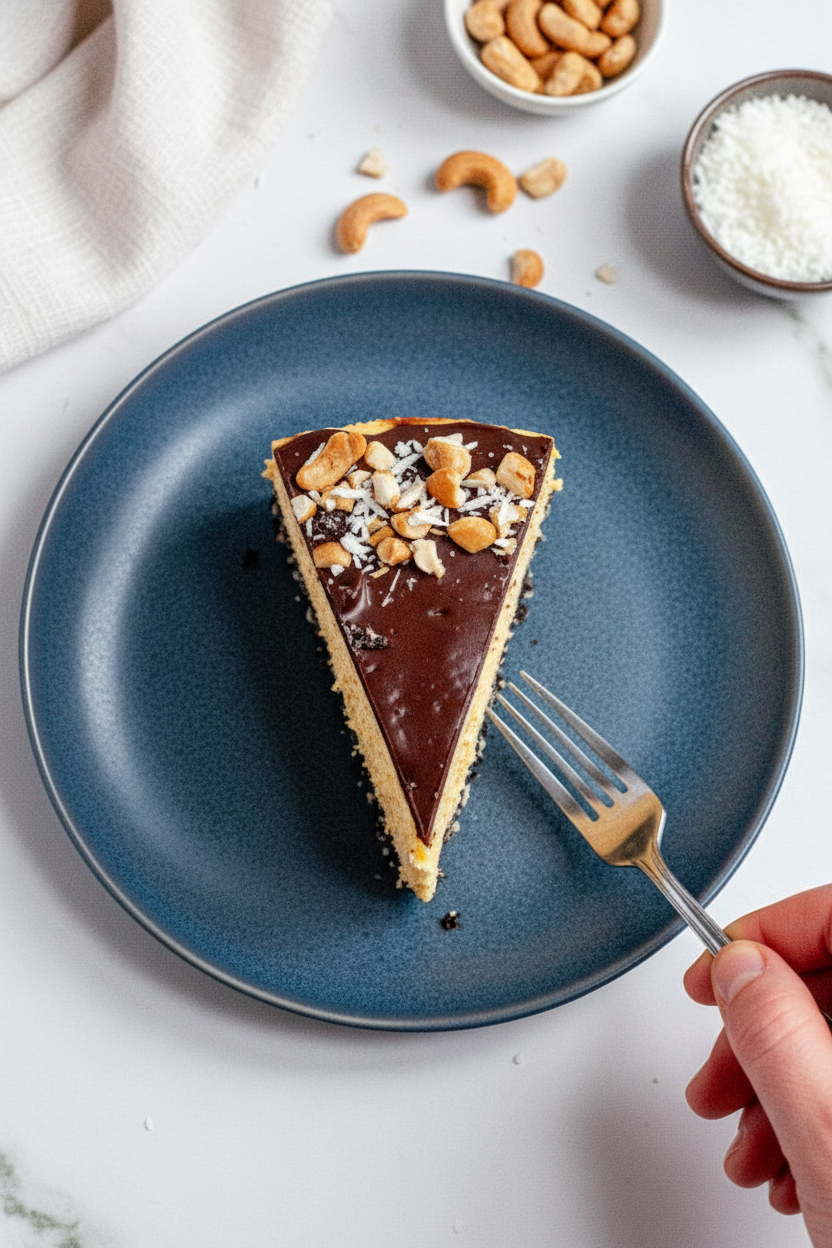
Step 6: On serving day, heat the cream in a small pot until it just starts to simmer. Pour it over the chocolate chips and let it sit for six minutes. Stir gently until it’s smooth and glossy. Let it cool to room temperature, then pour it on top of your set cheesecake. Decorate with extra coconut and cashews if you like.
Step 7: Run a knife around the edge of the pan before you open the springform. This helps the cake release cleanly. Slice with a warm knife for neat pieces. What’s the one dessert you’d turn into a cheesecake if you could? Share below!
Cook Time: 25 minutes
Total Time: 9 hours 25 minutes (plus overnight chilling)
Yield: 12 servings
Category: Dessert, Cheesecake
Three Fun Ways to Switch It Up
Sometimes I get bored making the same thing twice. So I play around a little. Here are three twists I’ve tried that my family loved. Which one would you try first? Comment below!
1. Peppermint Nanaimo Cheesecake. Add a half teaspoon of peppermint extract to the custard filling. It tastes just like a holiday candy cane. My kids go crazy for this in December.
2. Berry Swirl Dream. Swirl a half cup of raspberry jam into the cheesecake batter before chilling. The tart fruit cuts through the sweet custard. It’s like a party in your mouth.
3. Salted Caramel Crunch. Drizzle vegan caramel sauce over the chocolate ganache and sprinkle with flaky sea salt. The salty-sweet combo is irresistible. I almost ate the whole thing myself once.
What to Serve With Your Cheesecake
This cheesecake is rich, so a little goes a long way. I like to serve it with fresh berries on the side. A handful of raspberries or sliced strawberries adds a bright, tangy pop. For a cozy touch, drizzle a little extra vegan caramel around the plate.
For drinks, a cold glass of oat milk or a warm cup of peppermint tea is lovely alongside a slice. Grown-ups might enjoy a small glass of dark rum or coffee with a splash of Irish cream. Both drinks bring out the chocolate and custard flavors beautifully. Which would you choose tonight?
Storing and Reheating Your Cheesecake
This cheesecake needs to stay cold. Store it in the fridge for up to five days. Cover it with plastic wrap so it does not pick up any funny smells.
You can also freeze it for up to two months. Just wrap it tightly in plastic wrap and then foil. When you want a slice, let it thaw in the fridge overnight. Do not rush this. Cold cheesecake is happy cheesecake.
I remember my first Nanaimo bar. I left it on the counter and it turned into a gooey mess. My grandma laughed and said, “Chloe, cold is gold.” She was right. That is why keeping this chilled matters. It keeps the layers firm and the custard creamy.
If you want to make this ahead for a party, do it. Bake the crust one day before. Then finish the rest the day you serve it. Have you ever tried storing it this way? Share below!
Three Common Problems and Easy Fixes
Sometimes the crust crumbles. That happens if you do not press it down hard enough. Use a flat-bottomed glass and really push. I once had a crust fall apart like sand and I had to scoop it with a spoon. Not pretty.
Another trouble is a lumpy custard. This happens when your cream cheese is too cold. Let it sit on the counter for thirty minutes before you beat it. Smooth cream cheese means smooth cheesecake. That matters because lumps change the whole feel of the bite.
A third problem is a runny ganache. If your cream is too hot, the chocolate will split. Let the cream simmer, not boil. Then let it sit for six minutes. Patience is your friend here. Fixing these small issues gives you the confidence to try harder recipes later.
Which of these problems have you run into before? Tell me in the comments so we can learn together.
Your Questions, Answered
Q: Is this truly gluten-free? A: Yes, as long as you use gluten-free cookie crumbs. Check your labels carefully.
Q: Can I make this a day early? A: Yes. In fact, it tastes better after a full night in the fridge. The flavors blend together nicely.
Q: What can I swap for cashews? A: Try chopped pecans or walnuts. Even crushed pretzels work if they are gluten-free.
Q: Can I cut the recipe in half? A: Yes. Use a smaller pan, like a 6-inch springform. The baking time stays the same.
Q: Do I have to use food coloring? A: No. It is just for that bright yellow custard look. Your dessert will taste the same without it.
*Fun fact: Nanaimo bars are named after a city in Canada.* Which tip will you try first?
A Warm Goodbye from Chloe
Thank you for cooking with me today. I hope this cheesecake brings you joy. Remember, the best dishes are made with love and a little patience. Do not be afraid to get your hands messy.
When you make this, take a photo. Share it with your family and friends. I would love to see your creation. Have you tried this recipe? Tag us on Pinterest! Your photos help other new cooks feel brave. Happy cooking! —Chloe Hartwell.
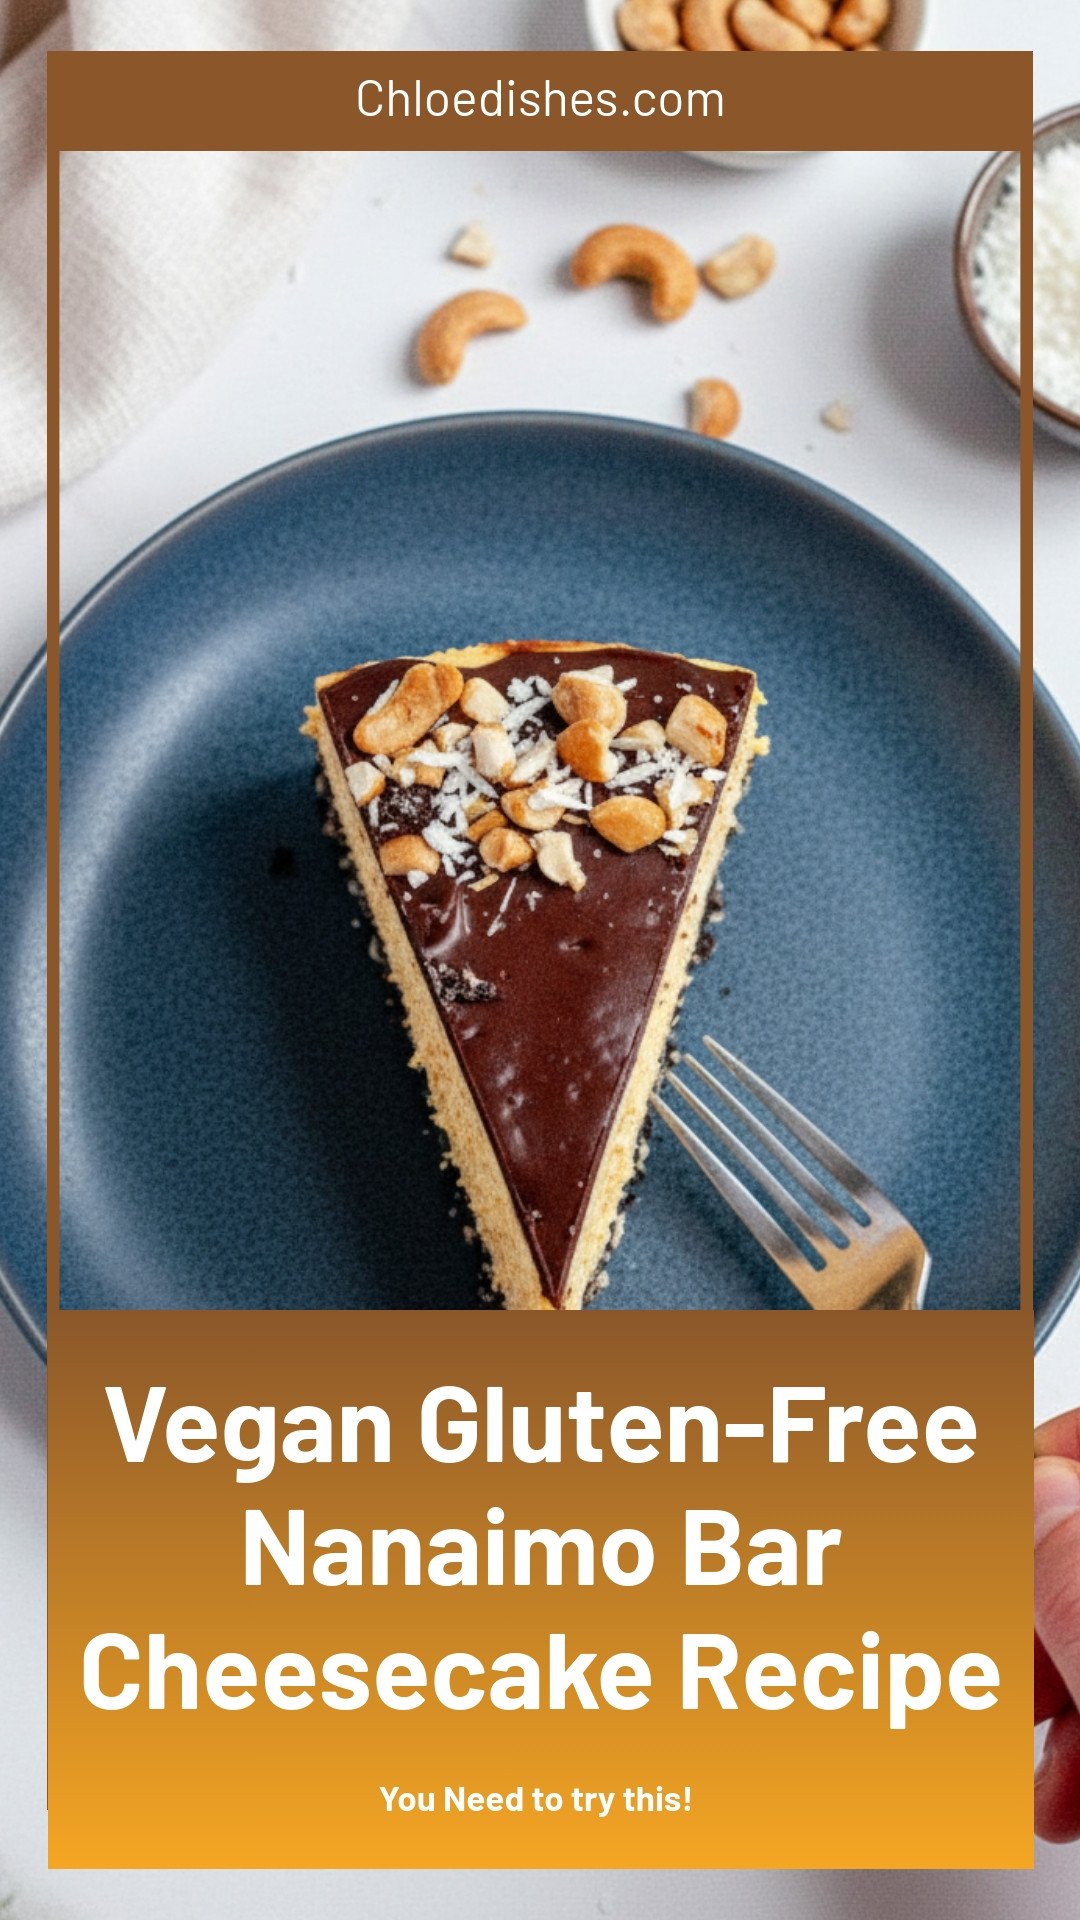
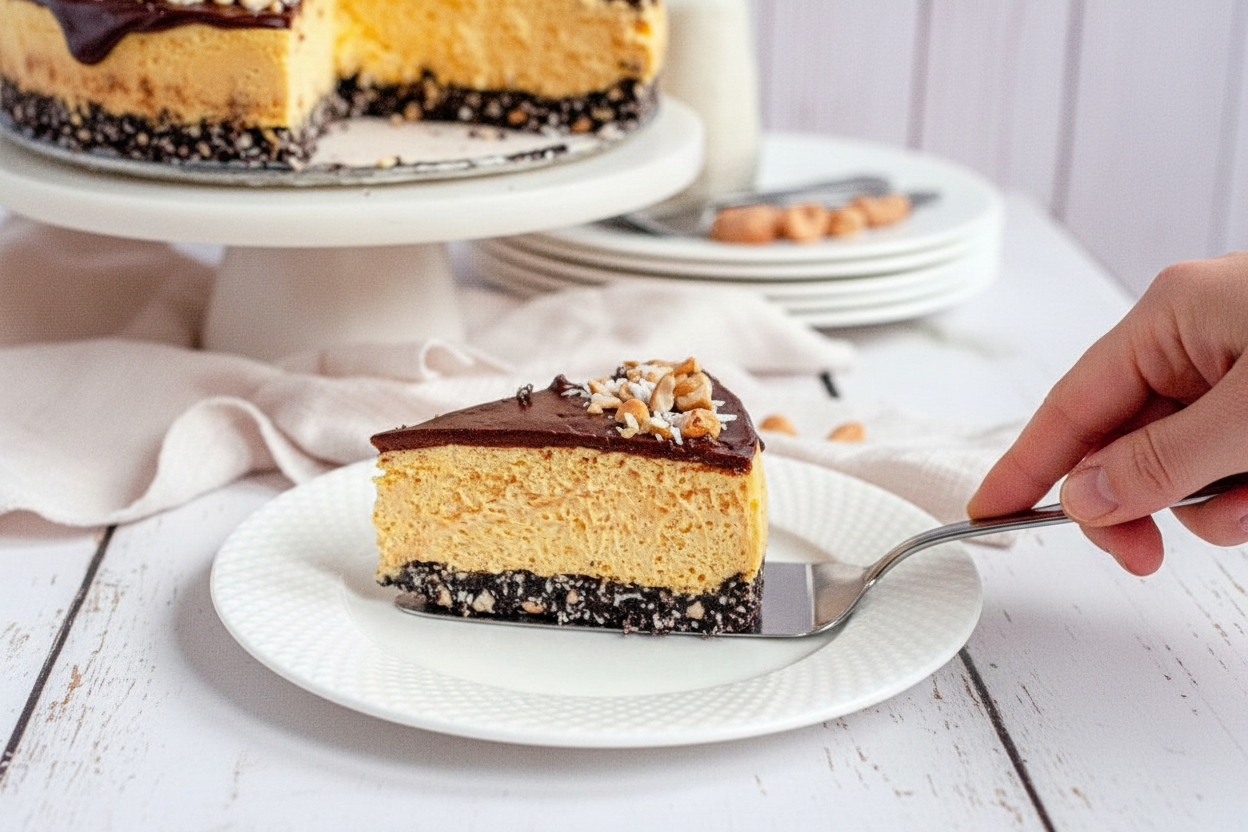
No-Bake Nanaimo Bar Cheesecake (Vegan & Gluten-Free): Vegan Gluten-Free Nanaimo Bar Cheesecake Recipe
Description
Indulge in a vegan gluten-free Nanaimo Bar Cheesecake – a rich, no-bake dessert that’s creamy, decadent, and easy to make.
Ingredients
Instructions
- Prepare a 9-inch springform pan with non-stick baking spray and parchment paper.
- Combine all of the base ingredients together and stir until combined. Pour into the prepared pan and firmly press the mixture down with a heavy-bottomed glass or measuring cup. Place in the freezer to chill.
- Place a metal bowl and whisk attachment in the freezer. In a stand mixer or large bowl with electric mixers, beat the cream cheese on high for approximately 1-2 minutes or until smooth. Add in the icing sugar, custard powder, and salt and combine until smooth. Add in the food coloring (if using) and mix until combined. Set aside.
- Remove the metal bowl and whisk attachment from the freezer and beat the heavy whipping cream on high until stiff peaks form. Add the whipped cream to the cream cheese mixture and gently fold in with a spatula. Be very gentle while folding to not beat the air out of the whipped cream. Pour the cheesecake batter over top of the crust and spread evenly. Place in the fridge and allow to chill for a minimum of 9 hours, preferably overnight.
- On the day of serving, heat the heavy whipping cream in a small pot on medium-high until it begins to simmer. Pour the whipping cream over the chocolate chips in a heatproof bowl and allow it to sit for 6 minutes. Stir together until fully melted and smooth. Allow it to cool to room temperature. Spread the chocolate ganache over the chilled and removed cheesecake (see above tips for removal) and decorate with shredded coconut and cashews if desired.
Notes
- For best results, chill the cheesecake overnight. The custard powder gives the classic Nanaimo bar flavor.




Leave a Reply