
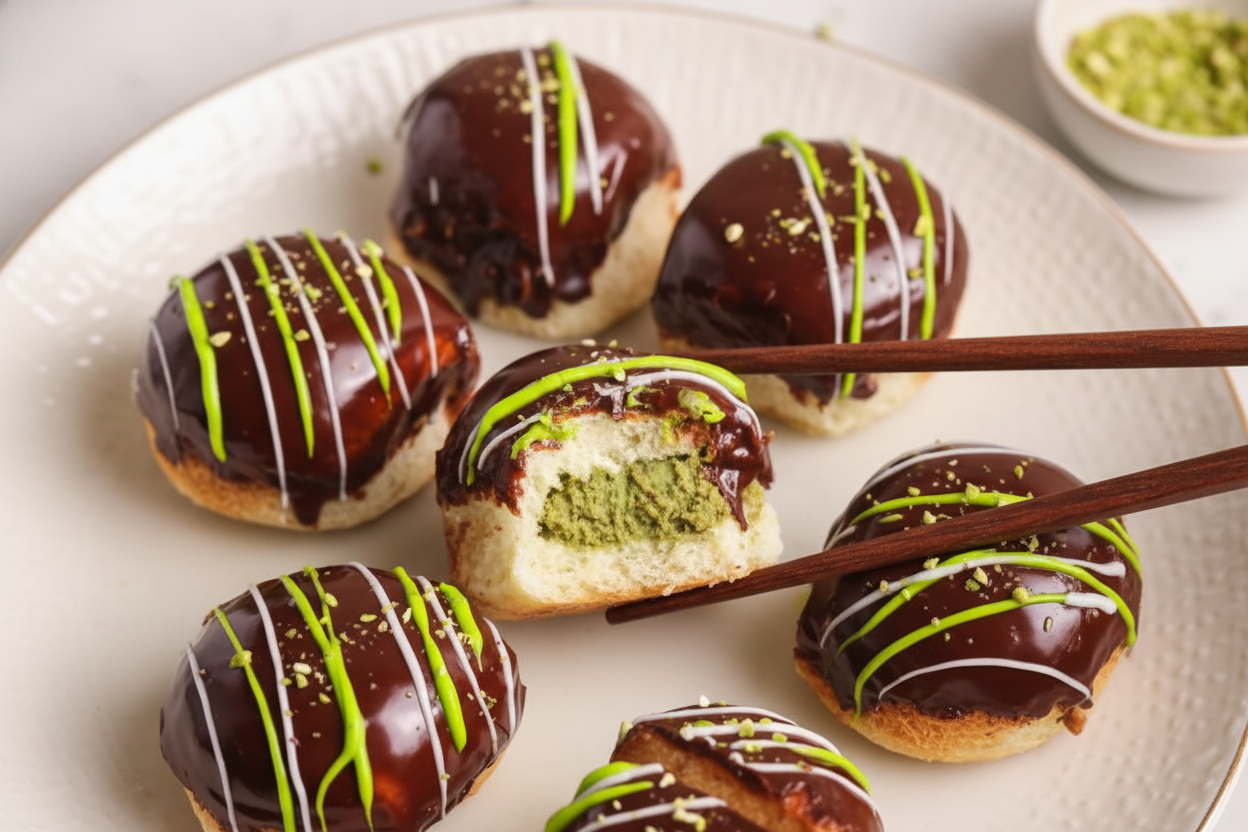
My First Taste of This Sweet Idea
A friend brought these little rolls to a potluck last spring. I took one bite and nearly dropped my coffee cup. The crispy, nutty filling inside a soft sweet roll, all covered in chocolate? I still laugh at that moment. I asked for the recipe three times before she wrote it down for me. This treat feels like a hug from a bakery in Dubai, but you make it right in your own kitchen. Doesn’t that smell amazing when the kataifi gets toasty? Have you ever tried a filled donut that wasn’t round?Why the Filling Takes Time
The kataifi looks like shredded wheat, all thin and golden. You have to cook it slowly, about ten minutes. I remember my first time, I got impatient and turned the heat up. It burned in spots and tasted sad. Cooking it low and slow makes the pieces crispy, like tiny crunchy noodles. This matters because the crunch is the whole magic. Without it, you just have a soft roll with mushy stuff inside. Have you ever ruined a recipe by rushing it? I sure have. *Fun fact: Kataifi dough is one of the oldest pastry doughs, used in desserts for over 500 years.*The Pistachio Cream Secret
Pistachio cream is a thick, sweet paste that tastes like nutty buttercream. You mix it into the crispy kataifi while it is still warm. I like to add a tiny pinch of salt because it makes the sweetness pop. This is why it matters: the salt balances the sugar so you don’t feel like you ate a whole candy shop. I once forgot the salt, and the rolls were too sweet even for me. What is your favorite nutty flavor?How to Fill Without Tearing
Take a sweet roll and use a small knife to cut a pocket from the side. Your fingers do the rest, opening a little cave inside. Be gentle. I ripped three rolls my first time and ate the evidence standing over the counter. Use a small spoon to stuff the filling in tight but not too tight. This matters because a full pocket tastes better than a half-filled one. You want that crunchy surprise in every bite. Have you ever made stuffed bread or pastries before?The Chocolate Bath
Melt chocolate with heavy cream and a little oil in the microwave. Go in twenty-second bursts, stirring each time. The oil makes the glaze shiny like a mirror. My daughter calls them chocolate-slick rolls. Dip each stuffed roll into the warm glaze. Let the extra drip off on a wire rack. Wait five minutes for the chocolate to set. The first time I did this, I dipped them too fast and chocolate dripped all over my fingers. I still laugh at that.Making Them Pretty with Icing
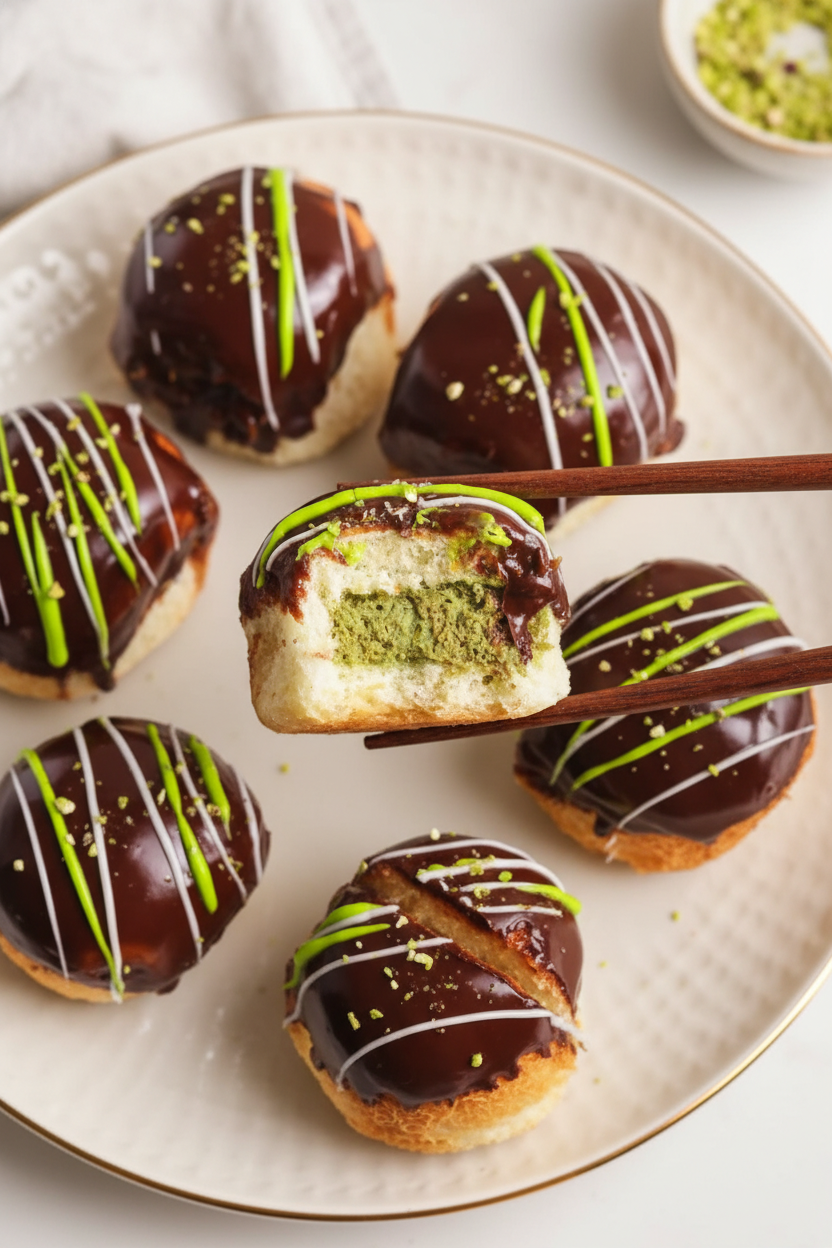
If you want, mix powdered sugar with a little cream until it is thick and runny. Put it in a small bag with a tiny hole cut in the corner. Drizzle zigzags over the chocolate. You can add green food coloring to match the pistachio inside. This is optional but fun. I like to make messy zigzags because they look happy, not perfect. Let the icing set for five more minutes. Then you can serve them fresh. Which shape would you drizzle on yours?Why These Are Perfect for Sharing
These rolls are small enough for little hands but fancy enough for a party. The mix of crunchy, creamy, soft, and smooth is something everyone loves. I brought them to a family dinner last month, and the whole plate vanished in ten minutes. This is why it matters: food that makes people smile and talk is the best kind. You don’t need special skills, just patience for the toasting step. Would you try these for your next celebration or just a Tuesday treat?Ingredients:
| Ingredient | Amount | Notes |
|---|---|---|
| Kataifi | 3 cups (100g) | For pistachio knafeh filling |
| Unsalted butter | 4 tbsp (56g) | Melted |
| Pistachio cream | ¾ cup (210g) | |
| Salt | Pinch | |
| Chocolate of choice | 100g | I used semi-sweet; for chocolate glaze |
| Heavy cream | 100g (⅓ cup + 1 tbsp) | For chocolate glaze |
| Oil | 1 tbsp | For chocolate glaze |
| King’s Hawaiian Original Hawaiian Sweet Rolls | 12 (1 pack) | For assembly |
| Powdered sugar | 1 cup | Optional icing |
| Heavy cream | 2-4 tablespoons | Optional icing |
The Sweetest Little Secret I Learned in My Kitchen
I still laugh at the first time I tried to stuff these little rolls. I made a big mess, and filling got everywhere but inside. But oh, what a happy accident. The crunchy pistachio filling and shiny chocolate glaze? They were meant for each other. Doesn’t that smell amazing just thinking about it? Let me show you how I do it now, nice and easy.
Step 1: First, grab your kataifi. It looks like shredded wheat, all thin and tangled. Put it in a big pan and use your fingers to break it into small pieces. Add the melted butter and stir it all around. (Hard-learned tip: Don’t skip breaking the threads! Big clumps won’t get crispy.)
Step 2: Turn the heat to medium-low and cook the kataifi. Stir it often so it doesn’t burn. You want it a deep golden color and super crispy. This takes about 10 minutes, and it is the most important part. My grandkids love watching it turn from pale to crunchy gold.
Step 3: Take the pan off the heat. Stir in the pistachio cream until everything is mixed. Add a tiny pinch of salt if you like. Taste it—I always do! Let it cool for five to ten minutes while you get the rolls ready. What is your favorite nut butter or spread? Share below!
Step 4: Now for the chocolate glaze. Put the chocolate, heavy cream, and oil in a microwave-safe bowl. Heat it in 20-second bursts, stirring each time. Stop when it is smooth and shiny. Be careful not to overheat it, or it will get thick and lumpy.
Step 5: Take your King’s Hawaiian rolls and separate them. Use a sharp knife to cut a small hole into the side of each roll. Wiggle your finger inside to make a little pocket. Fill each roll generously with the pistachio filling, but try not to tear the bread.
Step 6: Make sure your chocolate glaze is warm and runny. Dip each filled roll into the glaze, coating it like a donut. Let the extra drip off, then place them on a wire rack. Let the glaze set for five to ten minutes before you add the icing.
Step 7: For the optional icing, mix powdered sugar with cream one tablespoon at a time. Stir until it is thick but can still drizzle. Put it in a piping bag, snip a tiny hole, and drizzle over the rolls. Let it set for five more minutes, then serve and enjoy fresh!
Cook Time: 25 minutes
Total Time: 45 minutes
Yield: 12 donut rolls
Category: Dessert, Snack
Three Fun Ways to Switch Up This Recipe
Sometimes I like to change flavors just for fun. It keeps baking exciting for me and my family. Here are three ideas you can try at home.
Nutella Lover’s Twist: Swap the pistachio cream for Nutella. Use chopped hazelnuts on top instead of pistachios. It tastes like a giant chocolate-hazelnut hug.
Berry Bliss Filling: Mix a few spoonfuls of strawberry jam into the pistachio cream. The sweet-tart berries make the filling extra special. My neighbor’s kids ask for this one every time.
White Chocolate Dream: Use white chocolate chips for the glaze instead of semi-sweet. Add a drop of vanilla extract to the icing. It makes the rolls taste like a birthday party. Which one would you try first? Comment below!
How to Serve and What to Sip Alongside
These donut rolls are best warm, right after the glaze sets. Place them on a pretty plate with a tiny bowl of extra pistachios to sprinkle on top. A little dusting of powdered sugar makes them look fancy, too. They disappear fast at my table, so I always make a double batch.
For a drink, pour a tall glass of cold milk. It cuts the sweetness perfectly. Grown-ups might like a small cup of strong black coffee or a creamy latte. The warm chocolate and coffee are a classic pair. Which would you choose tonight?
How to Store and Reheat Your Sweet Donut Rolls
These rolls taste best fresh. But leftovers are a real treat too. First, let them cool completely on the wire rack. Then put them in an airtight container in the fridge. They will stay good for up to three days.
For the freezer, wrap each roll in plastic wrap. Then place them in a freezer bag. They last for up to one month this way. I once forgot a batch in the freezer for two weeks. They tasted just as lovely after a quick reheat.
To reheat, use a microwave for 15 seconds. Or warm them in a 300-degree oven for five minutes. The oven keeps the filling crispy. Batch cooking is a smart idea. You can make the filling two days ahead and keep it in the fridge.
Storing this way saves time on busy mornings. Why this matters: you get to enjoy homemade treats without rushing. You also waste less food. Have you ever tried storing it this way? Share below!
Three Common Problems and Easy Fixes
First, the rolls can get soggy. This happens if the chocolate glaze is too hot. Let the glaze cool for a minute before dipping. I once rushed and ended up with a sticky mess.
Second, the kataifi filling may clump. The fix is simple. Break the threads into small pieces before toasting. Stir often as they cook. This gives you that lovely crispy texture.
Third, the rolls might tear when filling. Use a sharp knife to cut the pocket. Go slowly and gently. Why this matters: fixing small mistakes builds your cooking confidence. You learn to trust your hands in the kitchen.
Another reason fixing these issues matters: the flavor improves. A crispy filling and smooth chocolate make every bite perfect. Which of these problems have you run into before?
Your Top 5 Questions Answered
Q: Can I make this gluten-free?
A: Yes. Use gluten-free kataifi or replace it with crushed gluten-free cereal.
Q: Can I make the filling ahead of time?
A: Yes. Store the cooled filling in the fridge for up to two days.
Q: Can I swap the pistachio cream?
A: Yes. Use almond butter or hazelnut spread instead.
Q: Can I double the recipe?
A: Yes. Just use two packs of rolls. Cook the kataifi in two batches.
Q: Can I skip the icing?
A: Yes. The chocolate glaze is enough for a sweet treat. Which tip will you try first?
A Sweet Goodbye from My Kitchen to Yours
Thank you for cooking along with me. These little rolls remind me of Sunday mornings at my grandmother’s table. She always said food tastes better when shared. Now I want to see your creations.
*Fun fact: Kataifi dough is one of the oldest pastries in the world. It dates back to medieval times.
Take a photo of your Dubai Chocolate Donut Rolls. Share it with your family. Then tag us on Pinterest so we can cheer for you. Have you tried this recipe? Tag us on Pinterest!
Happy cooking!
—Chloe Hartwell.

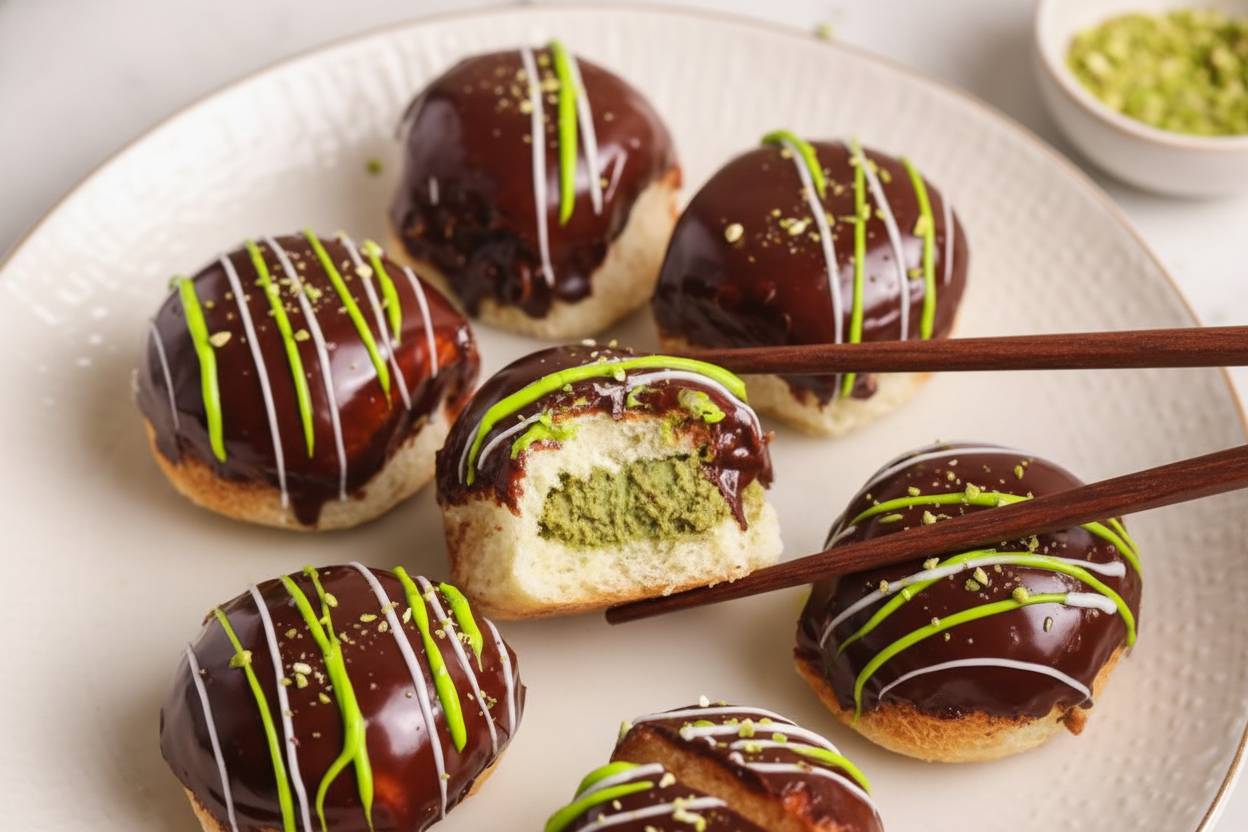
Dubai Chocolate Donut Rolls Sweet Delights
Description
Indulge in Dubai Chocolate Donut Rolls, crispy pastry filled with rich, creamy chocolate. A sweet, decadent treat you must try!
Ingredients
1 cup powdered sugar
2-4 tablespoon heavy cream
Instructions
- Add the kataifi to a large pan and break any long threads into smaller chunks with your hands. Add the melted butter and mix. Cook and stir on medium low heat until the kataifi is crispy and a deep golden color. This can take 10 minutes and is an important step in getting the crispy texture of the filling. Break any clumps as you go to ensure an even toasting. Remove from heat and mix in the pistachio cream. Taste and add more if desired, and add a pinch of salt optionally. Set aside and let it cool down for 5-10 minutes.
- Add the chocolate, cream and oil to a microwave safe bowl. Microwave in 20 second increments until the chocolate is melted a smooth, shiny glaze forms.
- Separate the rolls. Use a sharp knife to carefully cut holes into each roll from the side, and use your fingers to open the holes into pockets such that you can add filling to each roll from one side. Use a small spoon to generously fill each roll with the crispy pistachio knafeh filling. Try to add as much as you can without ripping them. Make sure the chocolate glaze is warm and runny, but not hot. Carefully dip each roll into the chocolate glaze to get it well coated just like a donut. Shake off any excess and place on a wire rack to catch any chocolate dripping. Let the glaze set for 5-10 minutes before icing or serving.
- Add cream to the powdered sugar 1 tablespoon at a time and mix until a thick, runny icing forms. Add food color if desired. Transfer to a piping bag and cut a small hole in it. Drizzle onto the donut rolls to decorate. Let set for another 5 minutes. Serve & enjoy fresh!




Leave a Reply