
The Morning I Learned to Fold
I still remember the first omelet I made by myself. I was maybe ten years old, and the cheese just slid right out the side like a runaway train. My grandma laughed and showed me the trick I will teach you today. It is all about folding it like a letter. Doesn’t that sound simple?
That is what this Chive Cheddar Omelet is about. It is a breakfast that feels fancy but takes only a few minutes. I love how the green chives look like little confetti against the yellow eggs. Have you ever grown chives in a pot by the window? They are the easiest little plants to keep alive.
Why Chives Are Not Just a Garnish
Some people think chives are just for looks. But they have a very mild onion taste that wakes up the eggs. It is like a quiet secret flavor that hides in every bite. That is why this matters: small ingredients can make a big difference in how a dish feels.
When you mince them tiny, they spread the flavor everywhere. I always smell my chives before I cut them because they smell like spring. *Fun fact: chives are part of the same family as onions and garlic. But they are much gentler on your tummy.*
The Butter Trick That Changed Everything
You need a 10-inch nonstick pan. And you need to let the butter melt slowly over medium-low heat. Not too hot, or the eggs will get brown spots. We want them soft and pale yellow, like a baby chick. I still laugh at the time I used too much butter and my omelet swam in a little pool.
Butter is not just for preventing sticking. It adds a cozy richness that makes the eggs taste like a hug. That is why this matters: a little bit of fat helps your body soak up vitamins from the eggs. It is nature’s way of helping you start the day.
The Waiting Game
After you pour the whisked eggs and chives into the pan, you must cover it. Then do not touch it for two to three full minutes. This is the hardest part for me, because I want to poke and stir. But the lid traps the steam and cooks the top without flipping.
When the edges look dry but the center still has a tiny bit of shine, you are ready. Turn off the heat first. That is very important. Then sprinkle your sharp cheddar right down the middle like a treasure line. What cheese do you like best in your eggs? I switch between cheddar and mozzarella depending on my mood.
Folding Like a Letter
Now comes the fun part. Use a spatula to lift one side of the omelet and fold it over the cheese. Then fold the other side over the top. You are making a little pillow of eggs. The heat from the pan and the eggs will melt the cheese in just 30 seconds under the lid.
I always peek after 20 seconds because I am impatient. But if you wait the full 30 seconds, the cheese gets perfectly stretchy. Slide it onto a plate and watch the steam rise. Have you ever tried folding in a little leftover ham or spinach? It works great too.
Small Moments That Matter
Eating this omelet reminds me that good food does not need a long list of steps. It just needs a little care and a quiet morning. I like to cut mine into strips and dip them in ketchup, which my grandma called a crime. But food should make you happy, not follow rules.
If you try this recipe, I would love to hear how it went. Did the fold hold together? Did you add anything extra? You can share your story with a friend or just whisper it to your pan while you cook. Cooking is like keeping a diary you can eat.
One Last Sprinkle
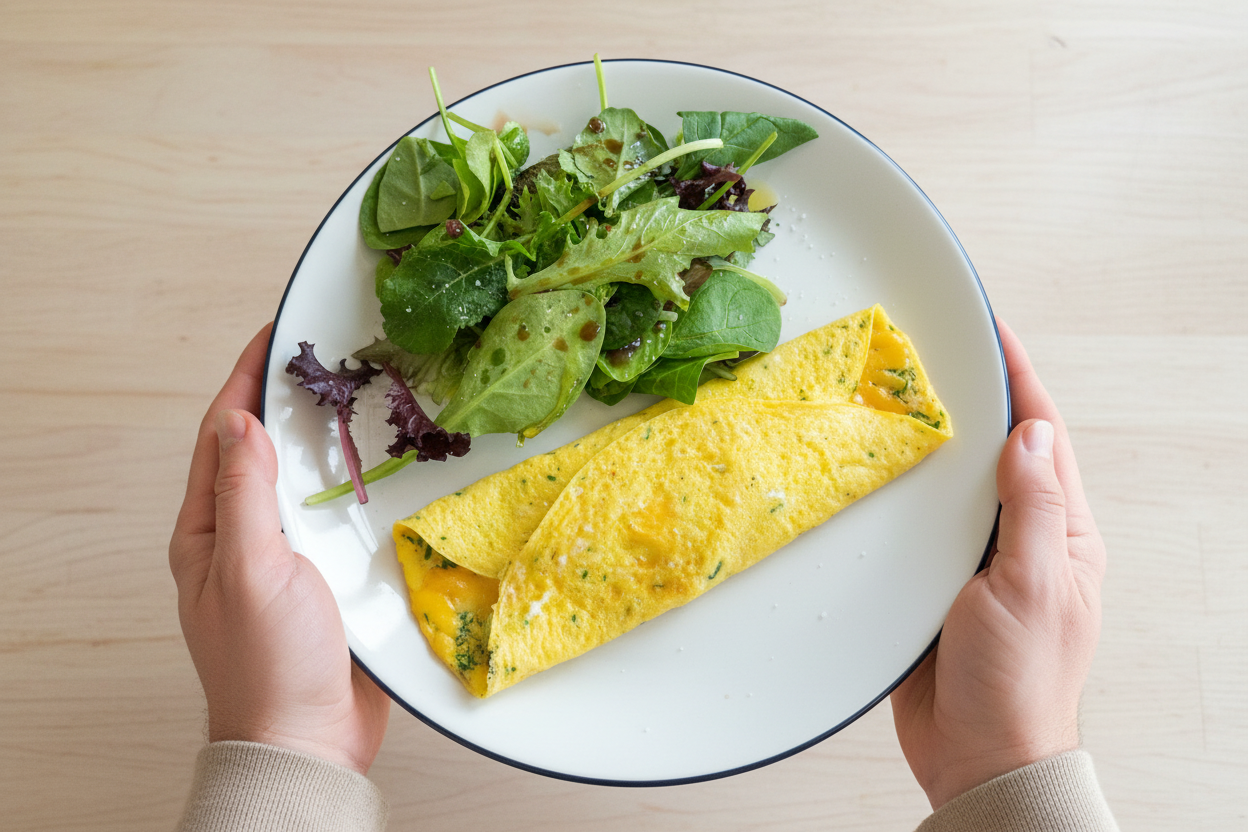
Before you take your first bite, stop and look at the green speckles against the golden egg. Notice how the cheese peeks out from the fold. That is a meal made by your own two hands. Doesn’t that feel good? It is a skill you can use for the rest of your life.
I am going to make another one right now, with extra chives from my garden. Do you prefer your eggs fluffy or a little flat? Either way, I am proud of you for trying something new in the kitchen. That is how we all learn, one little omelet at a time.
Ingredients:
| Ingredient | Amount | Notes |
|---|---|---|
| Fresh chives | 1 tablespoon | Minced |
| Large eggs | 2 | |
| Butter | 1 teaspoon | |
| Salt and pepper | To taste | |
| Sharp cheddar cheese | Sprinkle | Anything works |
The Little Omelet That Taught Me Patience
I learned this trick from my neighbor Carol, who always smelled like fresh chives. She was never in a hurry, and that’s the secret here. A good omelet needs a gentle heart and a slow pan. I still laugh at the time I tried to rush it and ended up with scrambled chive mush. Doesn’t that smell amazing just thinking about it?
This recipe is all about trusting low heat and a cozy lid. You aren’t flipping or fussing, just letting the eggs do their quiet work. My kids called it “the letter omelet” because of the fold. It’s that simple.
Let me walk you through it. I promise your kitchen will smell better than any diner.
Let’s Make It Together, Step by Step
Step 1: First, grab your smallest nonstick skillet and set it over medium-low heat. Let it warm up slowly while you get the eggs ready. I once forgot this step and my butter burned before the eggs hit the pan. (Hard-learned tip: Butter should melt gently, not sizzle and pop like popcorn.)
Step 2: Snip a little bundle of fresh chives with scissors into a small bowl. Crack in two large eggs, then add a pinch of salt and a tiny grind of pepper. Whisk them together for about twenty seconds until they are all one happy, sunny yellow color.
Step 3: Drop that teaspoon of butter into your warm pan and swirl it around until it melts into a shiny puddle. Pour in your whisked eggs and put a lid on the skillet right away. Now walk away for two to three minutes. No peeking every ten seconds, I mean it.
Step 4: Check the eggs. They should look almost set, with just a tiny bit of wet gloss on top. Turn the heat off completely. Sprinkle a small handful of sharp cheddar down the middle of the omelet in a straight line.
Step 5: Fold one side over the cheese, then fold the other side over the first, like you are tucking a letter into an envelope. Put the lid back on for thirty seconds. The trapped heat will melt the cheese perfectly. Slide it onto a plate and take a bite. What is your favorite cheese to sneak into an omelet? Share below!
Cook Time: 4 minutes
Total Time: 6 minutes
Yield: 1 serving
Category: Breakfast
Three Fun Twists for Your Next Omelet
Veggie Garden Twist: Add a handful of fresh spinach and a few cherry tomato halves right before you fold. It tastes like a sunny summer morning.
Spicy Southwest Twist: Swap the chives for a pinch of chili powder and add a spoonful of salsa on top after you fold. My neighbor says it wakes up your whole mouth.
Cheesy Herb Garden Twist: Stir in a pinch of dried dill or parsley with the eggs, and use creamy mozzarella instead of cheddar. It feels fancy, but it’s still just ten minutes.
Which one would you try first? Comment below!
How to Serve It and What to Sip
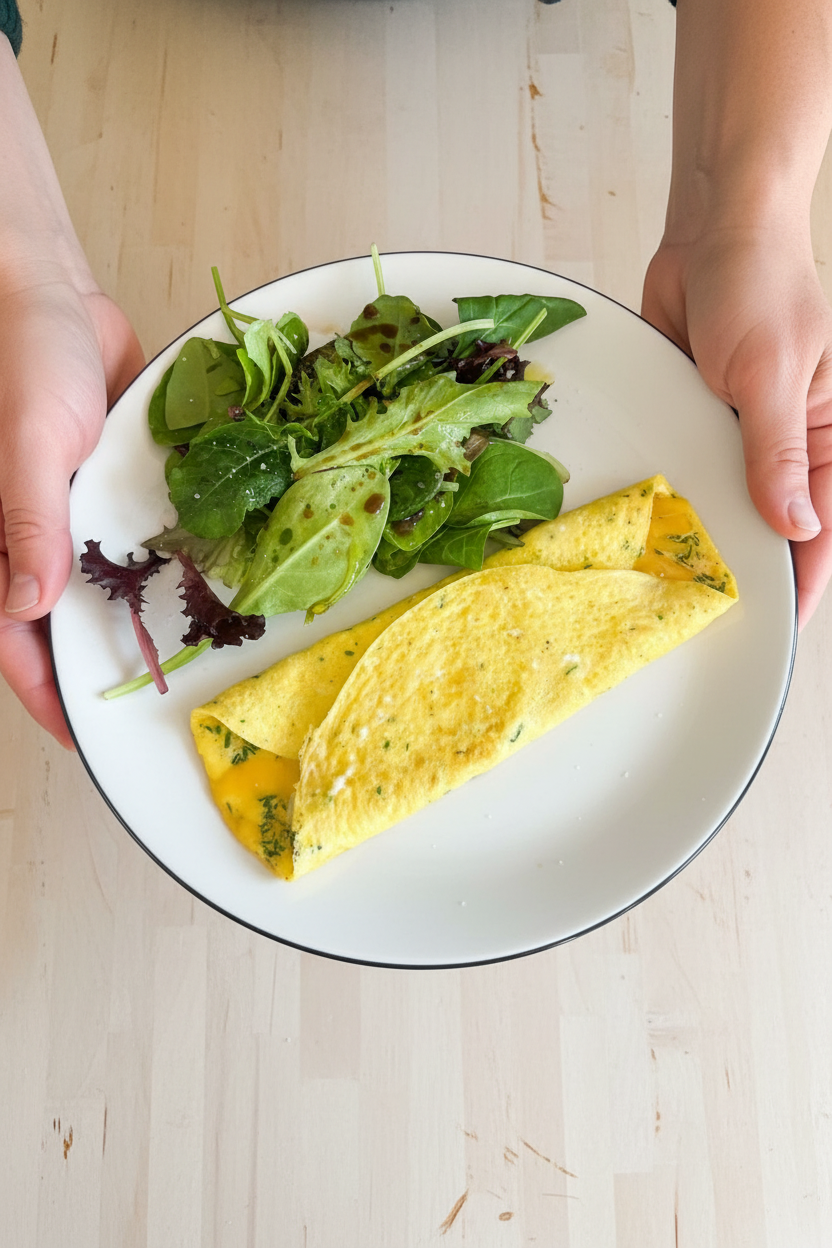
Slide this little golden omelet onto a plate next to a piece of buttered toast. A handful of cherry tomatoes on the side adds a pop of color and juice. If you want to feel extra cozy, tuck a few roasted potato wedges alongside.
For a grown-up sip, a glass of crisp, cold hard cider is perfect. It cuts through the rich cheese and makes the chives taste brighter. My favorite non-alcoholic choice is a tall glass of fizzy apple juice with a splash of sparkling water. Which would you choose tonight?
Storing Your Omelet for Later
Leftover omelets are a secret treasure. I remember my first one sitting in the fridge. I wrapped it tight in plastic wrap and ate it cold the next day. It was still so good. To reheat, pop it in a dry nonstick pan over low heat. Cover it for one minute. This keeps the eggs soft. You can also freeze these omelets. Just stack them with wax paper in between. They last for two weeks. Batch cooking is a lifesaver on busy mornings. You grab one and you are set. Storing food this way saves time and money. It means less stress and more happy breakfasts. Have you ever tried storing it this way? Share below!
Fixing Common Omelet Problems
First, a runny omelet. This means the heat is too high. I once burned my eggs in a rush. Use medium-low heat and be patient. Second, eggs sticking to the pan. Always use a good nonstick skillet. Let the butter melt fully before adding eggs. Third, a dry or rubbery omelet. You cooked it too long. Take it off the heat while it still looks a little wet. This matters because cooking should feel easy, not tricky. Fixing these problems gives you soft, fluffy eggs every time. That builds confidence in the kitchen. Which of these problems have you run into before?
Your Top 5 Questions Answered
Q: Is this recipe gluten-free? A: Yes, eggs and cheese have no gluten. Just check your chives are plain.
Q: Can I make this ahead of time? A: Yes. Cook it, cool it, wrap it, and reheat later.
Q: What can I swap for chives? A: Try green onions or a pinch of dried parsley.
Q: How do I scale this for two people? A: Double everything. Use a bigger pan.
Q: Any optional tips? A: Add a tiny splash of milk for fluffier eggs. Which tip will you try first?
From My Kitchen to Yours
I hope you make this simple omelet and love it. These chives and cheddar feel like spring on a plate. Remember, cooking is just playing with food until it tastes good. I would love to see your creation. Have you tried this recipe? Tag us on Pinterest! Snap a photo and share your version. My kitchen door is always open. Happy cooking!
—Chloe Hartwell.
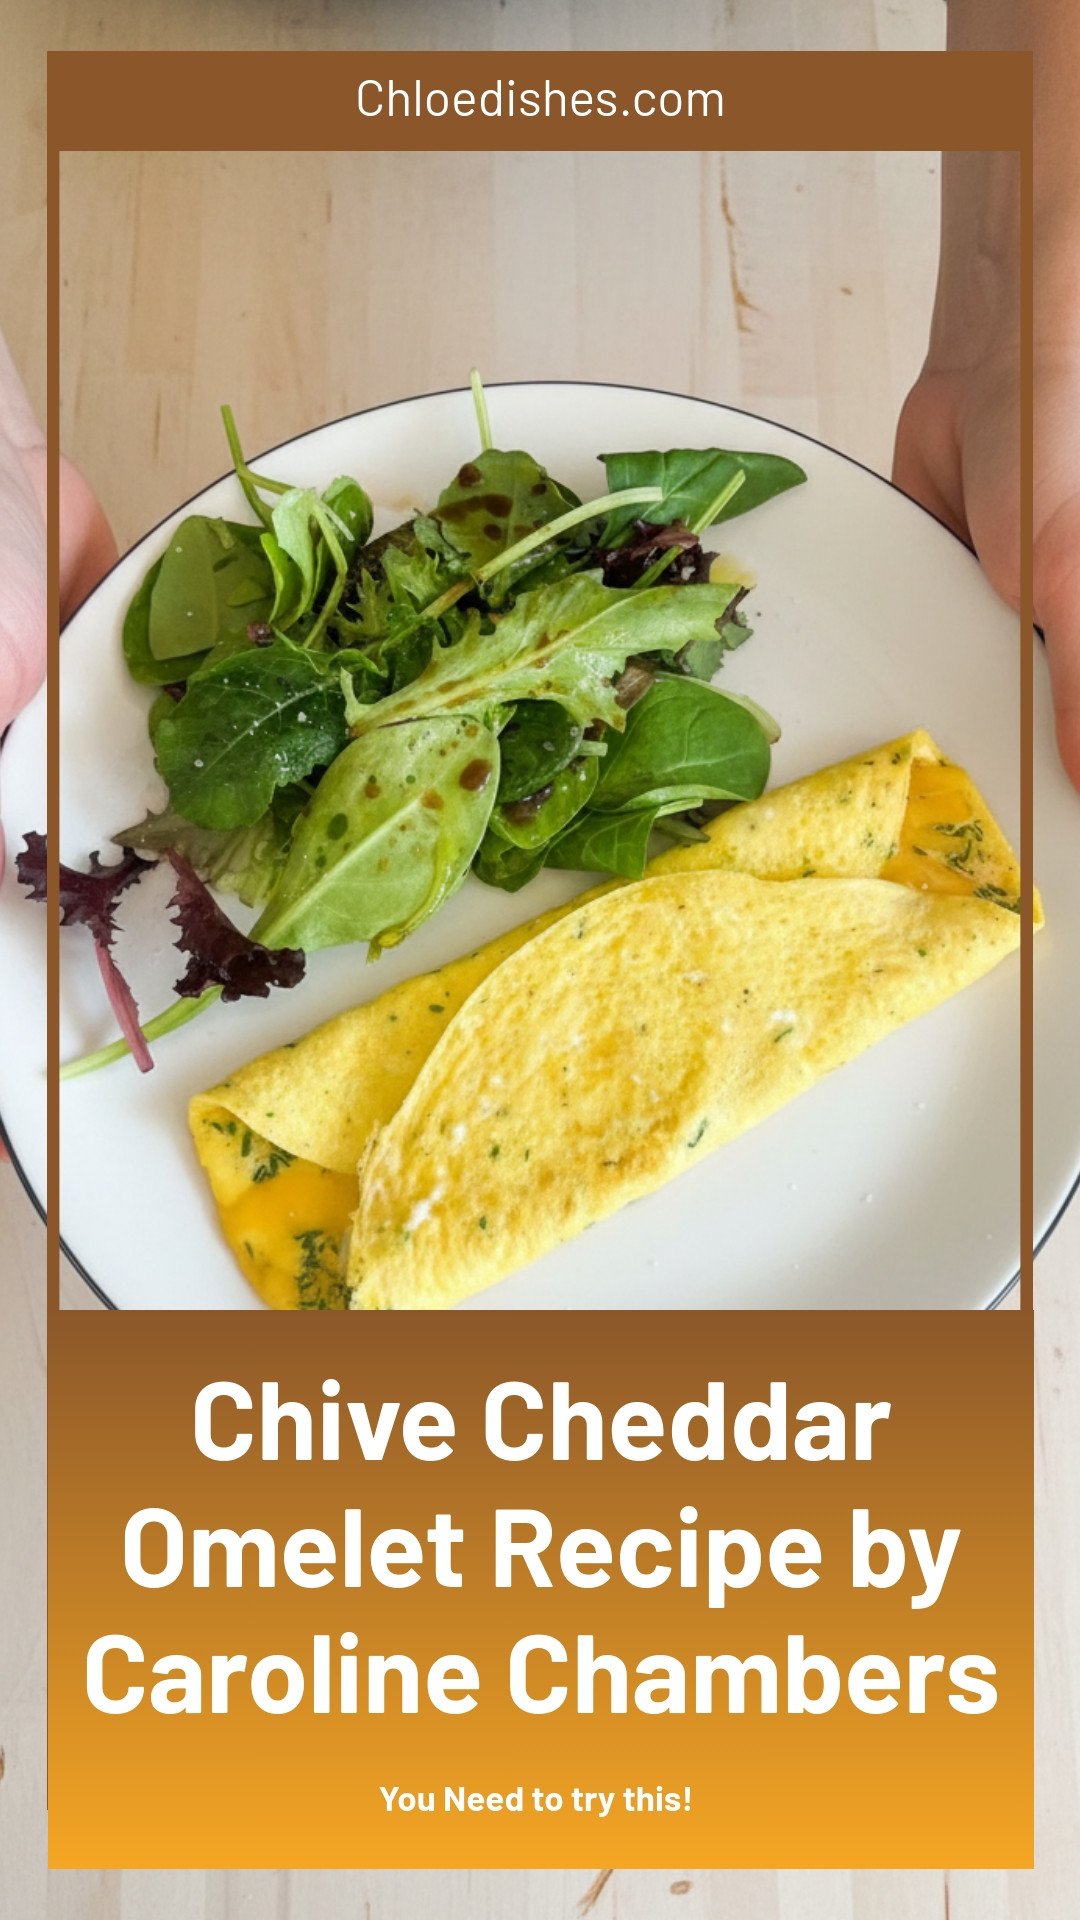
Chive Cheddar Omelet Recipe by Caroline Chambers
Description
Fluffy Chive Cheddar Omelet recipe with fresh chives and gooey cheddar cheese. Quick, easy, and perfect for a low-carb breakfast or brunch.
Ingredients
Instructions
- First things first, place a 10 inch nonstick skillet over medium-low heat to start preheating it.
- Mince your chives and whisk them together with 2 eggs, and a pinch of salt and pepper for 20 to 30 seconds, until totally combined.
- Coat the skillet in butter, then add the eggs and cover. Cook for 2 to 3 minutes, until the eggs are almost completely set — they can still be a tiny bit wet looking. Turn off the heat, sprinkle the cheese down the center, and fold the sides in over the cheese like you’re folding a letter.
- Cover for 30 seconds to melt the cheese in the residual heat.
Notes
- Nutrition: Not provided in the text.




Leave a Reply