
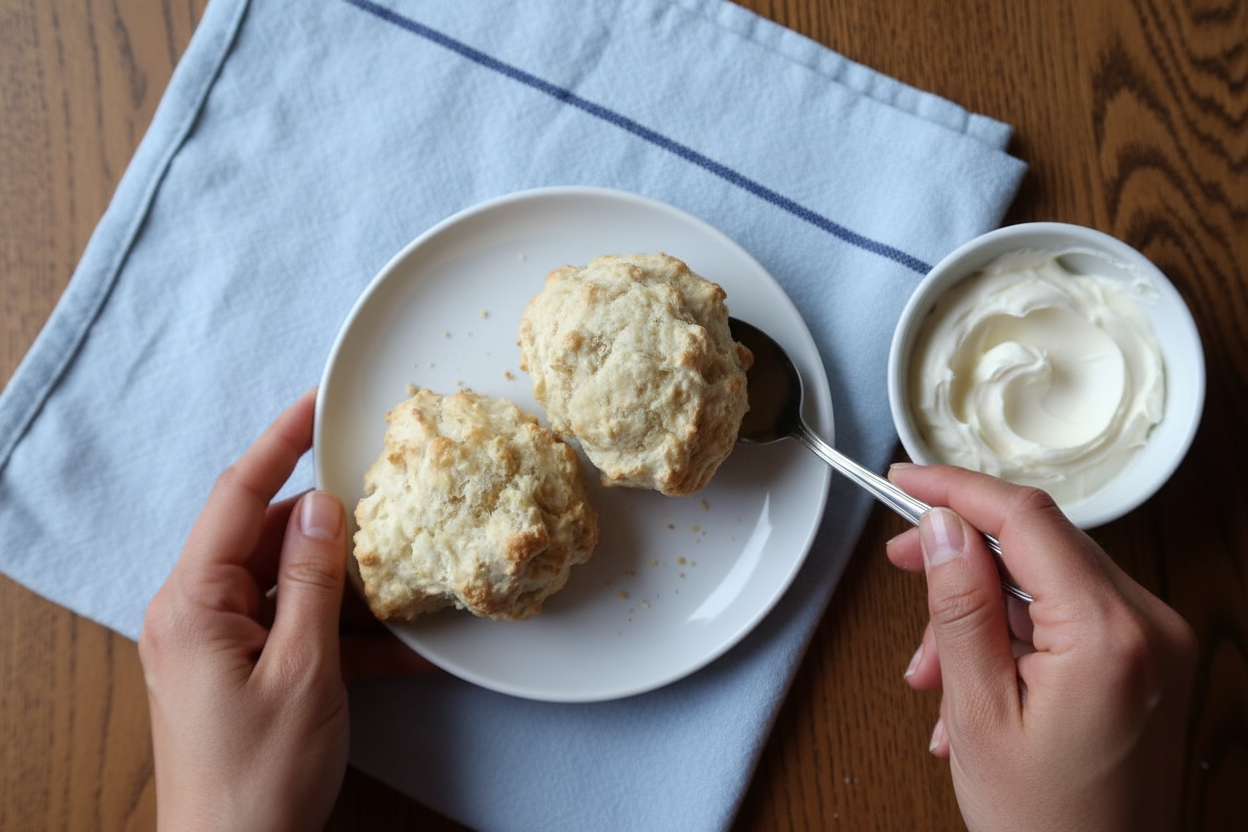
The Biscuit That Got Me Through Anything
I still remember the first time I made these. I was a brand-new bride, and my kitchen was a mess. The power had gone out, and I found an old cookbook by Fannie Farmer in a dusty box. I had no fancy tools, just a fork and a bowl. These biscuits saved my dinner that night. Doesn’t that smell amazing?
This dough is what I call an “emergency” dough. It comes together in minutes. No waiting. No fuss. Just you, a bowl, and a little bit of hope. Have you ever made bread from scratch before? It feels like a little magic trick in your own hands.
Why Your Great-Grandma Loved This Quick Dough
Long ago, folks didn’t have fancy stand mixers or air fryers. They had their hands, a bowl, and a strong back. This recipe is a copy of that kind of cooking. It uses just a few things you probably have in your pantry right now.
This matters because it teaches you to trust yourself. If the dough looks too dry, add a splash more milk. If it’s sticky, sprinkle in a pinch more flour. You are the boss of your dough, not the other way around. Have you ever felt a dough come together in your hands? That feeling is pure gold.
I still laugh at the time my mother-in-law showed me this trick. She said, “If you can mix this, you can feed an army.” She was right. A simple skill like this can make you feel like a hero on a busy Tuesday night.
The Secret Is in the Cold Butter
Here is the one big rule: keep your butter cold. Very cold. When you cut it into the flour, you want little pebbles of butter. Those pebbles melt in the oven and make little steam pockets. That’s what gives you a fluffy, tall biscuit, not a flat pancake.
I like to pop my butter in the freezer for ten minutes before I start. It’s a small step, but it makes a huge difference. The biscuits will thank you with a golden, crispy bottom. Do you like your biscuits soft and pillowy, or crispy on the outside?
How to Know When They’re Done
Fannie Farmer said “bake in hot oven eight minutes.” That was a different time. Ovens were smaller and hotter back then. I find that 20 minutes at 400 degrees works best for my modern oven. But every oven is a little different, just like people.
You want them golden brown on top. Tap one lightly with your finger. It should feel firm but give a little, like a soft pillow. Pull them out when the smell fills your kitchen and makes your stomach growl. That is your real timer.
*Here’s a fun fact for you: This dough is so old that Fannie Farmer wrote her recipe before people used measuring cups the way we do now. She just said “a pint of milk.” Imagine that!*
My Favorite Way to Eat Them
Serve these biscuits warm. Not hot, but gently warm. Split one open and watch the steam curl up. Put a tiny pat of butter on top and let it melt into a little golden pool. Then drizzle a bit of honey over the butter. The sweet and salty taste together is a party in your mouth.
This matters because food doesn’t have to be fancy to be wonderful. Some of the best meals are just bread and butter and a little honey. That simple joy is something you can share with anyone. What is your favorite thing to put on a biscuit? Jam? Gravy? Just plain butter?
What to Do If Your Dough Feels Funny
Don’t worry. I promise you can fix it. If the dough is too dry and crumbly, add milk one tablespoon at a time. Just stir gently until it all sticks together. If it’s too sticky and wet, add a little sprinkle of flour. You are in charge here.
I still laugh at the time I forgot the baking powder. My biscuits came out like little rocks. We called them “doorstops” and ate them with soup anyway. Mistakes are just stories waiting to be told. So don’t be scared. Just try it. What is the funniest kitchen mistake you’ve ever made?
Ingredients:
| Ingredient | Amount | Notes |
|---|---|---|
| Bread flour | 2 cups | |
| Baking powder | 5 teaspoons | |
| Kosher salt | 1/2 teaspoon | |
| Butter, cold and cut into small cubes | 2 tablespoons | |
| Milk, divided | 1-1/4 cups |
The Story Behind These Biscuits
My great-grandma kept this recipe tucked in her apron pocket. She called it her “emergency dough” because you could whip it up in a flash. I still remember the smell drifting from her tiny kitchen. Doesn’t that smell amazing? It is made with simple pantry things you almost always have on hand. Back then, company could show up anytime, and she was always ready. This dough saved her more times than she could count.
I love how forgiving this recipe is. You do not need to be a fancy baker to nail it. Even my first batch, which looked lumpy, came out golden and soft. My grandpa ate three before they even cooled down. That is the kind of success story we all need. Let’s get our hands floury and make some memories together.
Let’s Make Great-Grandma’s Biscuits
Step 1: First, grab a big bowl and a whisk. Toss in 2 cups of bread flour, 5 teaspoons of baking powder, and half a teaspoon of kosher salt. Whisk it all together until it looks like snowy sand. My grandma always said sifting was for show, but whisking worked just fine. (Hard-learned tip: Do not skip the whisking, or you will bite into a pocket of salt. Trust me, I learned the hard way!)
Step 2: Now we add the cold butter. Take 2 tablespoons of butter, cut it into tiny cubes, and drop them into the flour. Use a pastry blender or two knives to cut the butter in. Keep going until the mixture looks like little pebbles or coarse cornmeal. Why does cold butter matter? Because it makes the biscuits tall and flaky. I still laugh at the time I used melted butter by accident. The biscuits came out flat as pancakes!
Step 3: Pour in 1 and 1/4 cups of milk, but do not dump it all at once. Use a fork to stir gently until a shaggy, messy dough forms. If it looks too dry, add a tiny splash more milk. If it looks too wet, sprinkle in a little flour. The dough should be soft but not sticky. What is your secret to perfect biscuit dough? Share below!
Step 4: Time to get the biscuits onto a baking sheet. Butter the sheet or line it with parchment paper. Use a quarter-cup measuring cup to scoop up six big mounds of dough. Drop them onto the sheet, leaving a little space between each one. Brush the tops with a little milk so they turn shiny and golden. My grandma always said this step makes them look “company-ready.”
Step 5: Pop the sheet into a 400-degree oven. Bake for about 20 minutes, but keep an eye on them. Pull them out when they are golden brown and smell like heaven. Great-Grandma’s old recipe said eight minutes, but our ovens are different now. Serve them warm with a pat of butter and a drizzle of honey. Your kitchen will feel like her kitchen, I promise.
Cook Time: 20 minutes
Total Time: 35 minutes
Yield: 6 biscuits
Category: Bread, Quick Bread
Three Fun Ways to Switch It Up
Cheesy Herb Biscuits: Stir in a half cup of shredded cheddar and a teaspoon of dried rosemary before adding the milk. The cheese melts into little pockets of gooey goodness.
Cinnamon Sugar Sweet Biscuits: Add two tablespoons of sugar and a teaspoon of cinnamon to the dry mix. Brush the tops with melted butter and sprinkle more cinnamon sugar before baking. They taste like warm hugs.
Everything Bagel Biscuits: After brushing the tops with milk, sprinkle on everything bagel seasoning. You can find it in any grocery store. They turn out savory, salty, and perfect for breakfast sandwiches. Which one would you try first? Comment below!
How to Serve and Sip
These biscuits love being split open and filled with a slice of ham or fried egg. They also shine next to a bowl of tomato soup or a simple salad. For a sweet treat, drizzle them with honey and sprinkle a pinch of sea salt. My favorite way is to eat them plain, still warm from the oven, with butter melting down my fingers.
For a grown-up drink, try a cold glass of buttermilk or a light fizzy lemonade. Kids love them with a tall glass of chocolate milk or apple cider. I once served them with hot tea on a rainy afternoon, and nobody left the table. Which would you choose tonight?
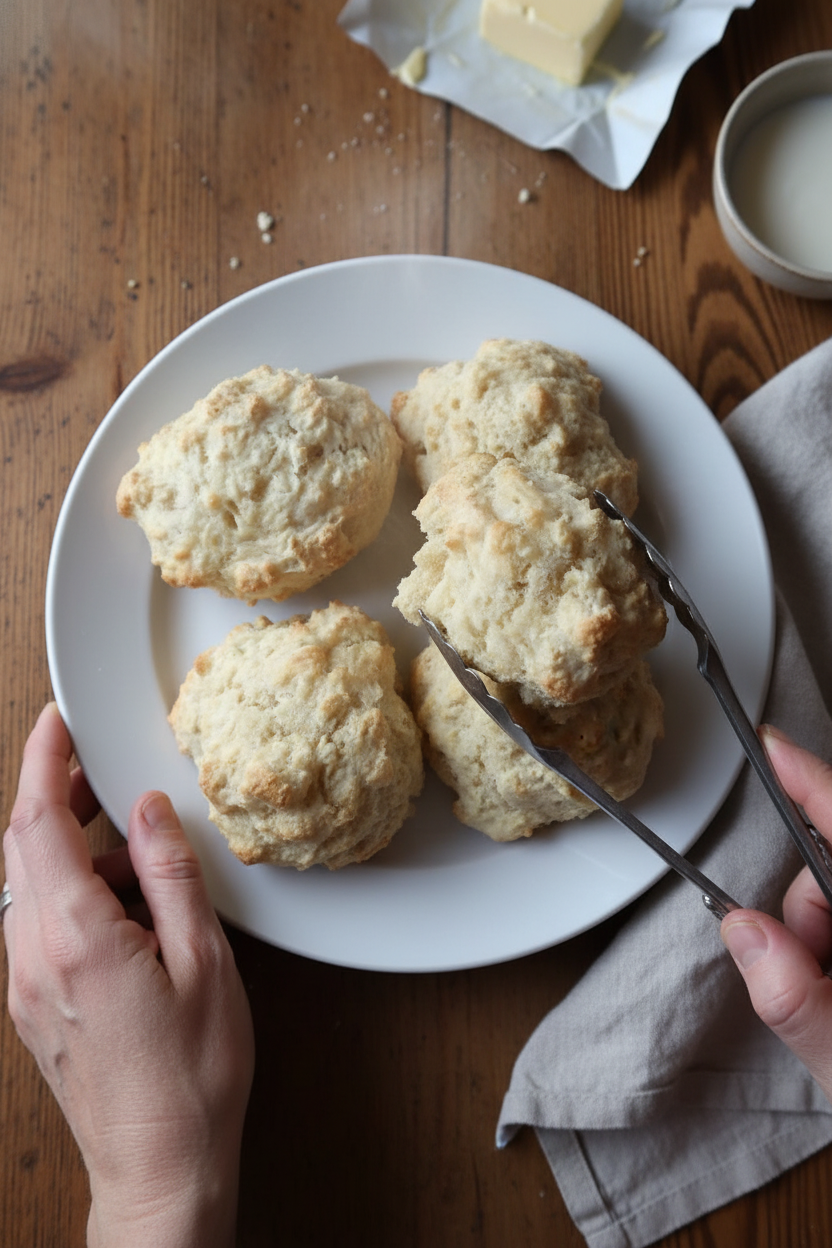
Storing and Reheating Your Emergency Biscuits
These biscuits are best warm from the oven. But you can save them for later. Let them cool completely first. Then put them in a zip-top bag. Squeeze out the air before sealing.
You can keep them on the counter for two days. For longer, pop them in the fridge for up to a week. I once forgot a batch in the fridge for three days. They were still soft and good after a quick warm-up.
Freezing is even better. Wrap each biscuit tightly in plastic wrap. Then put them all in a freezer bag. They will keep for three months. Why does this matter? You always have a warm side for soup or stew ready in minutes.
To reheat, use a 350-degree oven for about ten minutes. A toaster oven works great too. Do not use the microwave. It makes them tough and chewy. Have you ever tried storing it this way? Share below!
Three Common Biscuit Problems and Easy Fixes
First problem: the dough is too dry and crumbly. This happens when you measure flour wrong. Spoon it into your cup, then level it off. Do not scoop with the cup. You can also add milk one tablespoon at a time until it comes together.
Second problem: the biscuits are flat and hard. This means your baking powder is old. Baking powder loses its power after six months. I remember making my first flat biscuits and feeling sad. A fresh can fixed everything. Why does this matter? Fresh ingredients give you light, fluffy results every time.
Third problem: the bottoms burn before the tops brown. Move your baking rack to the middle of the oven. Also, use a light-colored baking sheet. Dark sheets get too hot too fast. Which of these problems have you run into before?
Fixing these issues builds your confidence. You learn your kitchen and your oven. That is how you become a better cook. And better biscuits mean happier family dinners.
Your Biscuit Questions, Answered
Q: Can I make these gluten-free? A: Yes. Use a one-to-one gluten-free flour blend. Add one teaspoon of xanthan gum if your blend does not have it.
Q: Can I make the dough ahead? A: Yes. Mix the dry and wet parts separately. Combine them just before baking. You can also shape the biscuits and freeze them raw. Bake from frozen, adding five minutes to the time.
Q: What if I do not have bread flour? A: Use all-purpose flour instead. The biscuits will be a little less chewy, but still good. Fun fact: Bread flour has more protein, which gives biscuits a taller rise.
Q: Can I double the recipe? A: Yes. Just use two bowls or one big bowl. The bake time stays the same. Space the biscuits two inches apart so they do not stick together.
Q: Any optional add-ins? A: Yes. Add one cup of shredded cheddar cheese. Or mix in two tablespoons of chopped fresh herbs like chives or rosemary. Which tip will you try first?
A Warm Goodbye from My Kitchen to Yours
Thank you for spending time with me today. I hope these biscuits bring you comfort. They remind me of Sunday mornings at my great-grandma’s table. We always ate them with honey and laughter.
Now it’s your turn to make memories. Pull out your mixing bowl. Preheat that oven. And do not worry if your first batch is not perfect. Every cook starts somewhere. Have you tried this recipe? Tag us on Pinterest!
Happy cooking!
—Chloe Hartwell.

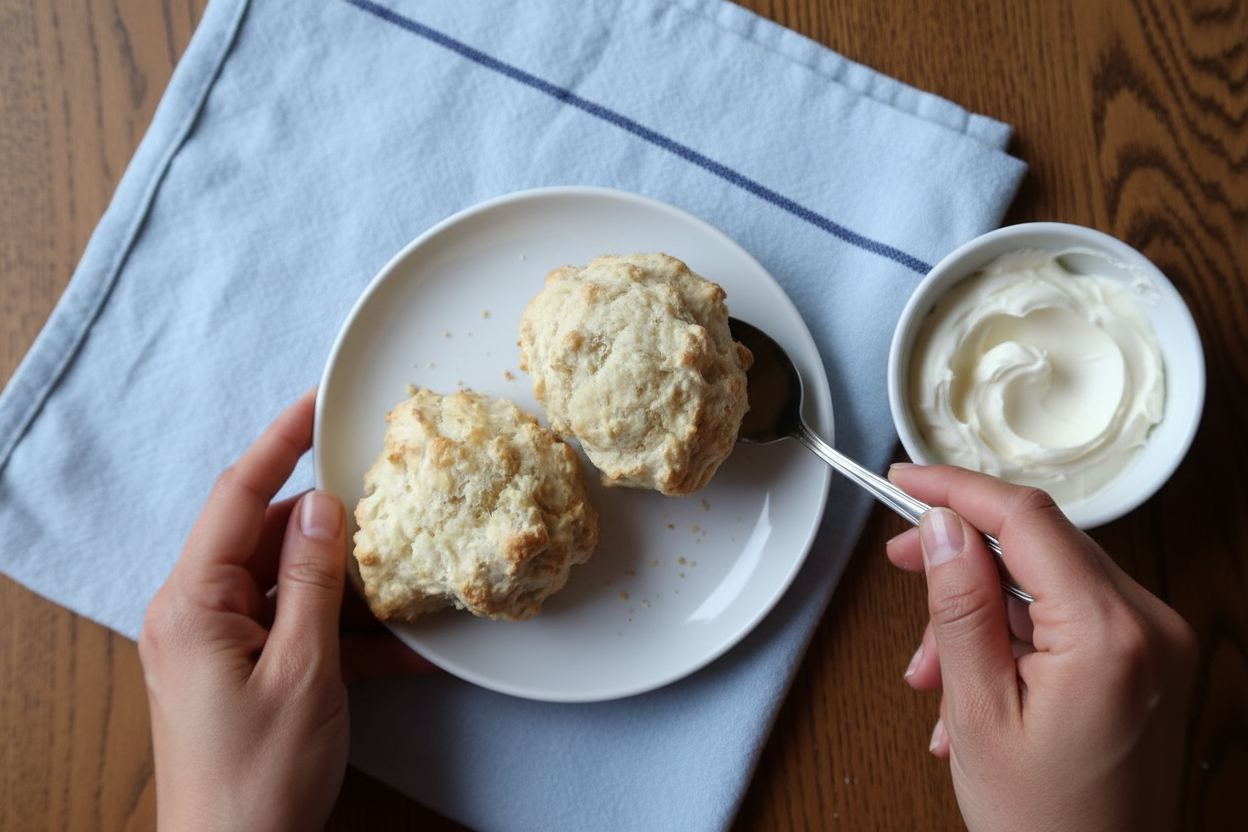
Great-Grandmas Quick Emergency Biscuit Dough
Description
Discover Great-Grandma’s quick emergency biscuit dough recipe—ready in minutes with pantry staples. Perfect for last-minute baking.
Ingredients
Instructions
- In a large bowl, whisk together the flour, baking powder and salt.
- Use a knife or pastry blender to cut the cold butter cubes into the flour mixture until it resembles large pebbles.
- Pour in the milk. Use a fork to mix together until a shaggy dough forms. Add additional milk (in small amounts) if the dough is too dry.
- To prepare a baking sheet, butter the sheet or line with parchment paper or a silicone baking mat. Use a quarter-cup measuring cup to scoop six rounded mounds of dough onto the prepped baking sheet. Brush each biscuit with milk.
- In her recipe, Fannie Farmer says to “bake in hot oven eight minutes.” We preheated the oven to 400° F and baked the biscuits for 20 minutes. Keep an eye on them and pull ’em out when golden brown. Serve warm with butter and honey.
Notes
- Nutrition information is not provided in the text.




Leave a Reply