
Why I Almost Didn’t Try This
I have a funny secret. For the longest time, I thought making cheese at home was for experts only. I imagined pots boiling over, messy curds, and a big headache. Then my friend Linda called me up last Tuesday. She said, “Chloe, I just made cheese with yogurt and a napkin.” I laughed so hard I almost dropped the phone. Doesn’t that sound a little bit like magic? She told me she used plain yogurt, a strainer, and a clean cloth. No boiling. No special gadgets. Just time and patience. I still laugh at that phone call. It made me feel silly for being scared. Have you ever put off a recipe because you thought it was too hard?What Is Labneh, Anyway?
This recipe makes something called labneh. It is a soft, spreadable cheese from the Middle East. Think of it like a mix between cream cheese and thick, tangy yogurt. You eat it on bread, with veggies, or just by the spoonful. The best part? *Fun fact: Labneh has been made for over 2,000 years. People kept it cool in caves before we had refrigerators.* That blows my mind. This simple cheese connects us to families from long ago. Why this matters: Making food like this helps us slow down and feel part of something bigger. We are not just eating. We are sharing an old tradition.Your Fridge Does Most of the Work
Here is the part that surprised me. You do not stand over the stove. You do not stir. You just mix salt into your yogurt, spoon it into a cloth, and put it in the fridge. Then you walk away and let it sit for a day or two. That is it. The yogurt drains its watery liquid, called whey, into the bowl below. The yogurt left in the cloth gets thicker and thicker. It turns into cheese while you sleep, work, or play. I checked on mine after 24 hours and squealed with joy. It was so firm and creamy. Does your fridge have room for a little bowl and a strainer right now?A Little Story About My First Taste
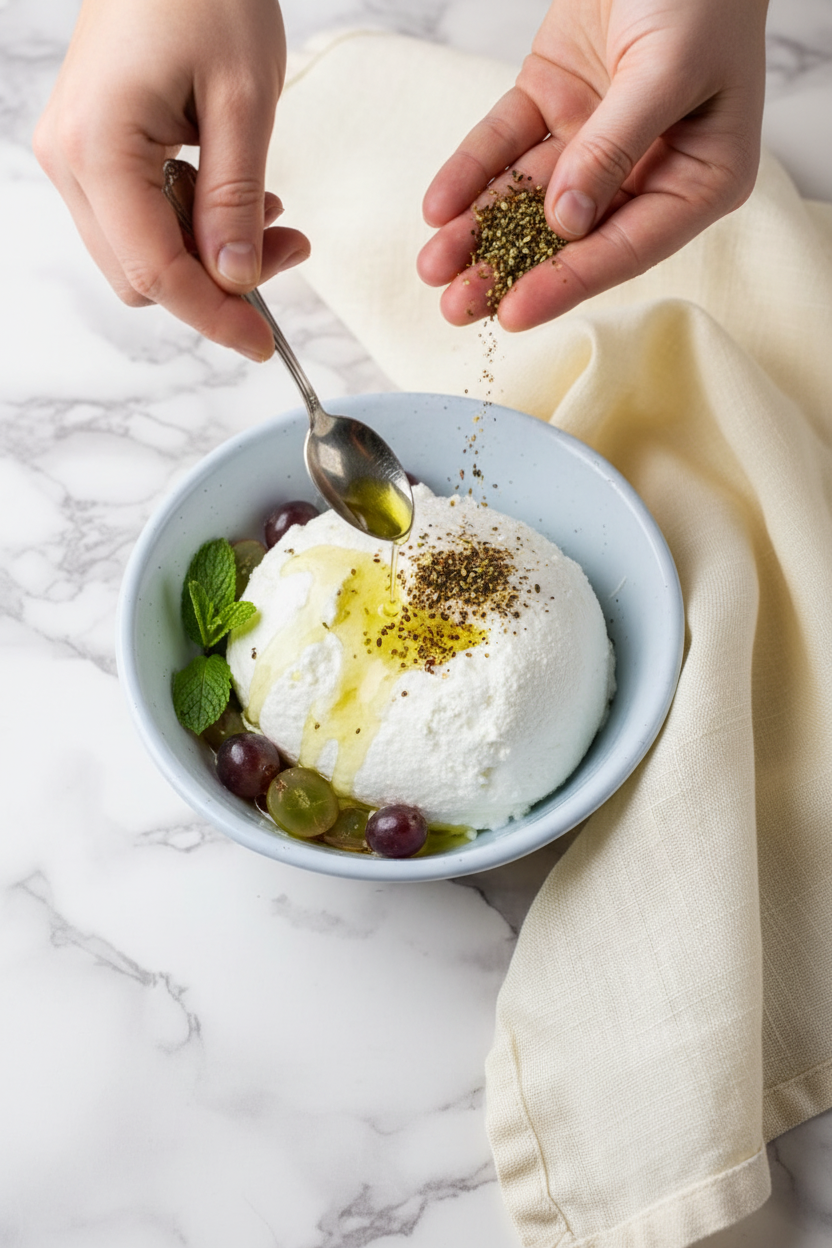
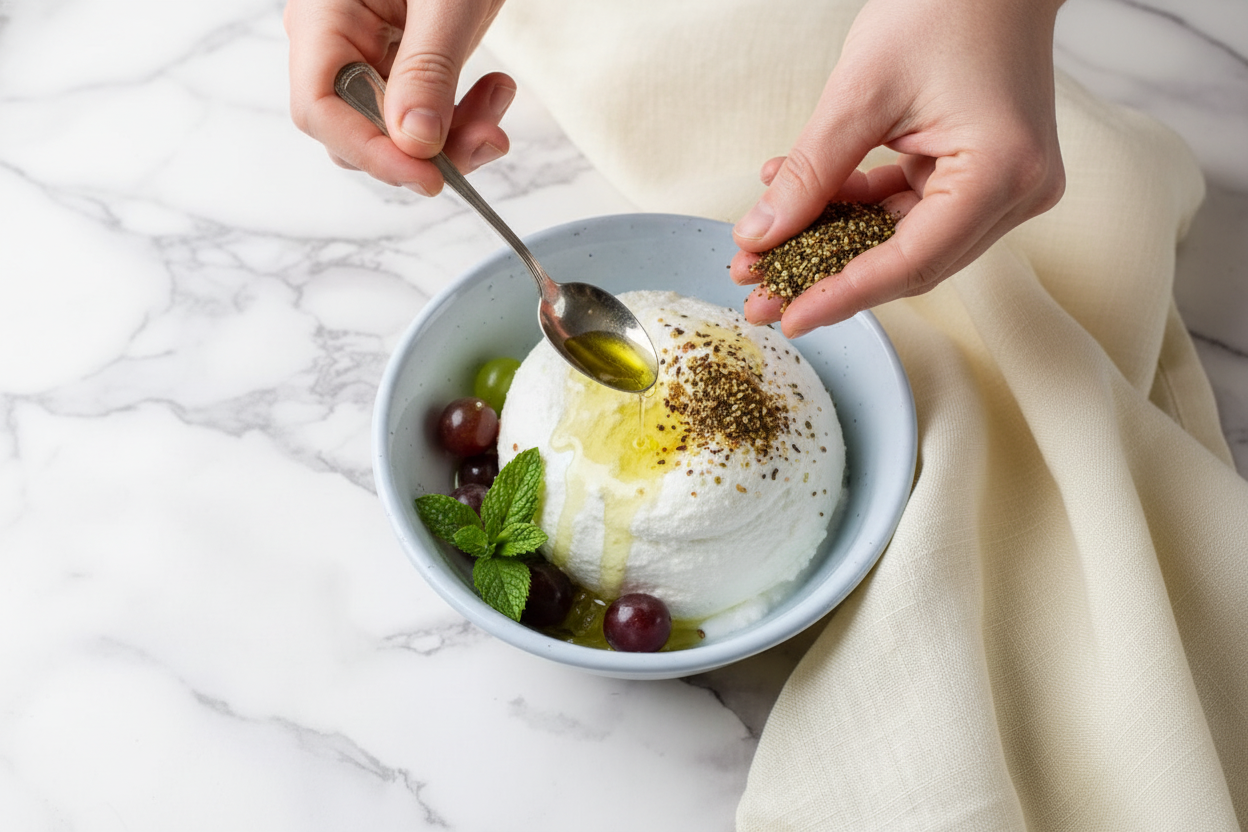
When the 24 hours were over, I unwrapped the cloth like a birthday present. The labneh looked like a pale, round cloud. I put it in a bowl and made a tiny well in the center with my thumb. I drizzled a little olive oil in that dent and sprinkled the za’atar on top. Za’atar is a spice mix with sesame seeds and herbs, and it smells like toasty earth. I dipped a piece of warm pita bread into it. The first bite made me close my eyes. It was creamy, salty, bright, and herby all at once. I sat down and ate three more pieces of bread before I stopped. My husband came home and ate the rest. We did not even have dinner that night. Have you ever had a snack that stole the whole meal?Why This Matters for Your Kitchen
Making your own cheese feels like a small superpower. You control the salt. You pick the toppings. And you know exactly what is inside: just yogurt and salt. No weird fillers or preservatives. Why this matters: When you cook from scratch, even a little bit, you save money and feel proud. A big tub of yogurt costs a few dollars and becomes a whole batch of fancy cheese. It also makes your kitchen smell like nothing at all, which is nice. No stinky cheese smells here. Would you try this for a party or just for a quiet afternoon snack?Two Simple Twists You Can Try
You can keep this cheese plain and eat it with crackers. That is delicious. But I have two easy ideas if you want to be fancy. After you take the labneh out of the cloth, roll it into small balls. Put them in a jar and cover them with olive oil. They will last for weeks and taste like little clouds of joy. My other trick is to mix in chopped fresh herbs before you strain it. Dill, mint, or chives all work great. The flavor spreads through the whole cheese. It makes a sandwich taste like a restaurant meal. What flavor sounds good to you right now?This Cheese Wants to Be Shared
The hardest part of this recipe is waiting 24 hours. I know that sounds long. But the first time you pull that cloth open, you will see it is worth it. The cheese is so soft and pretty, like something from a little shop. I keep a jar of this labneh in my fridge all the time now. It helps me turn a boring lunch into something special. I spread it on toast with jam. I dip carrots into it. I even put a spoonful on top of soup. I would love to hear how you eat yours. Drop me a note or tell a friend about this trick. Sometimes the simplest things make the biggest difference.Ingredients:
| Ingredient | Amount | Notes |
|---|---|---|
| Whole cow’s milk yogurt or Greek yogurt | 1 (32-ounce) container | |
| Salt | 1/2 teaspoon | |
| Olive oil | 1 tablespoon | optional |
| Za’atar seasoning | 1 – 2 teaspoons | optional |
Making Cheese in Your Own Kitchen
I remember the first time I tried making cheese at home. I was so nervous, I thought I’d mess it up. But this recipe? It’s almost magic. You only need one main ingredient from the store. Doesn’t that sound easy?
Let me tell you a secret my own grandma taught me. She said the best cheese comes from patience and a little bit of love. We are going to turn plain yogurt into a creamy, dreamy cheese called labneh. It tastes just like the fancy kind from the store, but you made it yourself. I still feel proud every time I strain a new batch.
Here is everything you need. Grab a 32-ounce container of whole milk yogurt or Greek yogurt. You also need half a teaspoon of salt. If you want to get fancy later, have some olive oil and za’atar seasoning ready. That’s it!
Now, let’s get cooking with our hands. Follow these three simple steps.
Let’s Make Labneh Together
Step 1: Get out a big bowl and dump in your yogurt. Sprinkle the half teaspoon of salt right on top. Stir it all together until the salt disappears. I like to count to twenty while I stir. It makes sure the salt is mixed in evenly. (Hard-learned tip: Do not skip the salt. It helps pull the whey out and keeps the cheese from tasting flat.)
Step 2: Now the fun part. Place a fine-mesh strainer over another bowl. Line it with cheesecloth or a clean linen kitchen towel. Let a few inches of cloth hang over the side. Spoon your salted yogurt into the center. Fold the cloth over the top to protect it. Put it in the fridge for 24 to 48 hours. If the bowl gets too full of liquid, pour it out halfway through. The longer you wait, the thicker your cheese gets. What kind of snacks do you think you’ll dip in this? Share below!
Step 3: Your cheese is ready! Take it out of the cloth and put it in a sealed container. To serve it like a pro, scoop the labneh onto a plate. Press a little dent in the center with a spoon. Drizzle olive oil into that dent and sprinkle za’atar on top. It looks so pretty, and it tastes even better.
Cook Time: 0 minutes (just waiting in the fridge)
Total Time: 24 to 48 hours
Yield: About 1.5 to 2 cups of cheese
Category: Appetizer, Snack
Three Fun Ways to Change It Up
Want to make this cheese your own? Try one of these twists. They are simple and so good.
Spicy Kick: Before you strain the yogurt, stir in a pinch of red pepper flakes or a tiny dash of cayenne. It gives the cheese a warm, happy heat.
Herb Garden: Mix a tablespoon of chopped fresh dill or chives into the salted yogurt. The green flecks look wonderful. It tastes like spring in a bowl.
Sweet Honey: Skip the salt and olive oil. Strain the yogurt plain. Then drizzle honey and sprinkle crushed walnuts on top. It’s a dessert cheese that feels fancy. Which one would you try first? Comment below!
How to Serve and Sip Your Labneh
This cheese is a star all on its own. Spread it on warm pita bread or crunchy crackers. You can also serve it next to a bowl of olives and sliced cucumbers. For a pretty plate, sprinkle some extra za’atar or dried mint on top. It makes everyone say “wow.”
For drinks, keep things simple. If you want something grown-up, a glass of crisp white wine goes perfectly. It cuts through the creamy cheese. For a fun non-alcoholic choice, try sparkling water with a squeeze of lemon. It cleans your palate between bites. Which would you choose tonight?
Your Homemade Cheese Loves the Fridge
You can store your labneh in the fridge for up to two weeks. Just keep it in an airtight container. This cheese also freezes well for up to three months. Thaw it overnight in the fridge before serving.
I remember my first batch. I wrapped it too tight in plastic wrap. It got a little dry on the edges. Now I always drizzle a little olive oil on top before sealing the container. It keeps the cheese soft and creamy.
Batch cooking this cheese is a lifesaver. Make two batches at once. You will have cheese for dips all week. Why does this matter? It saves you time and money. You control exactly what goes in your food. Have you ever tried storing it this way? Share below!
Three Common Labneh Problems and Fixes
Problem one: your cheese is too runny. This means you did not strain it long enough. Let it sit in the fridge for a full 48 hours next time. The longer it strains, the thicker it gets.
Problem two: it tastes too sour. Your yogurt might have been old. Use fresh yogurt for the best flavor. I once used yogurt that was a week past its date. The labneh tasted sharp and not very nice. Lesson learned.
Problem three: it is too salty. You added too much salt at the start. Next time, start with half the salt. You can always add more later. Why does this matter? Fixing these problems helps you trust your cooking. You will feel proud when your cheese turns out perfect. Which of these problems have you run into before?
Your Labneh Questions Answered
Q: Is this recipe gluten-free?
A: Yes, labneh is naturally gluten-free. Just check your za’atar seasoning label.
Q: Can I make this ahead of time?
A: Yes, make it up to three days before you serve it. The flavor gets better.
Q: Can I swap the yogurt?
A: Yes, use plain Greek yogurt or even goat milk yogurt for a tangy twist.
Q: Can I double the recipe?
A: Yes, just use a larger strainer and bowl. The straining time stays the same.
Q: What if I do not have za’atar?
A: Use dried oregano, lemon zest, or fresh herbs instead. Which tip will you try first?
From My Kitchen to Yours
I hope you try this simple labneh at home. It truly feels like magic watching yogurt turn into cheese. Spread it on toast or serve it with crackers. Your family will think you bought it from a fancy store.
*Fun fact: Labneh is a staple in Middle Eastern breakfasts. People have made it this way for centuries.*
Share your labneh photos with us. Tag my blog’s Pinterest handle @ChloeHartwellKitchen. I love seeing your creations. Have you tried this recipe? Tag us on Pinterest!
Happy cooking!
—Chloe Hartwell.

Homemade Cheese Is Easier Than You Think
Description
Learn to make homemade cheese with this easy, foolproof recipe. Simple ingredients & steps for creamy, delicious results. DIY cheese, easy cheese recipe, homemade mozzarella, cheese making tips, beginner cheese
Ingredients
Instructions
- Season the yogurt with salt in a large bowl.
- Place a fine-mesh strainer on top of a medium-sized bowl. Line the strainer with the cheesecloth (or, a linen kitchen towel), letting a few inches hang over the side of the strainer. Spoon the seasoned yogurt into the cheesecloth and gently wrap the sides over the top of the yogurt, protecting it from being exposed to air in the refrigerator. Store it in the refrigerator for 24 to 48 hours, discarding the whey halfway through if your bowl becomes too full.
- Remove the labneh from the cheesecloth and store it in an airtight container. Serve it as a dip by pressing a dent in the center of the cheese, drizzling the olive oil into the center and sprinkling it with the za’atar seasoning.


Leave a Reply