

The Day I Fell in Love with Bread Bowls
I still laugh at the first time I made these. I was so nervous. My bread bowl caved in and soup went everywhere. My kitchen looked like a swamp. But you know what? We ate it with spoons right off the counter. That mess taught me something good. Bread bowls are forgiving. They don’t care if you are perfect. They just want to be filled with something warm and eaten with people you love. Doesn’t that smell amazing? Have you ever had a kitchen disaster that turned into a happy memory? I would love to hear your story. Share it with me sometime.Why This Bread is Special
This recipe uses warm water and yeast. Yeast is a tiny living thing. It eats the sugar and burps out bubbles. Those bubbles make the bread soft and puffy. It is like magic you can eat. The warm water helps the yeast wake up and get busy. That is why your kitchen smells like a bakery. You are making a little house for your soup and chili. A house made of bread. How fun is that? *Fun fact: The first bread bowls were probably made by accident in ancient Europe. A baker dropped his loaf into a stew pot. Nobody wanted to waste food. So they ate it anyway. And discovered it was delicious.* Why does this matter? Because food does not have to be fancy to be wonderful. Sometimes the best things come from mistakes. You can learn that in the kitchen. And take it with you everywhere else.Kneading Your Worries Away
Kneading is my favorite part. You push the dough with your palms. You fold it over. You push again. It feels like a warm, squishy pillow. You do that for six to eight minutes. That is about one song on the radio. The dough starts sticky and messy. But then it turns smooth and soft. That feeling tells you it is ready. I always say a little prayer when I knead. It helps me stop thinking about chores and bills. I just focus on the dough. Here is a question for you: What do you think about when you stir or knead? Do you daydream? Do you sing? I would love to know.The Little Details That Matter
See where it says to spray the loaves with water before baking? That step is small. But it changes everything. The water makes steam in the hot oven. Steam keeps the crust soft so the bread can rise big. Then it browns up golden and chewy. That is what gives you a crust you can sink your teeth into without cracking your teeth. And the “X” cut on top? That is not just for looks. It lets steam escape. Without that cut, your bread might split open in a funny place. Like a belly button on the side. I learned that the hard way. Why does this matter? Because small kindnesses matter in life too. A little spray of water. A tiny cut. These things make a big difference. Paying attention to small things is how you get good at anything. Baking. Friendship. Everything.Scooping Out the Middle
After your bread is baked and cool, you get to do the fun part. You cut a thin slice off the top. Then you hollow out the inside. Leave a thick wall, about half an inch. You do not want a hole. You want a bowl. The inside bread you pull out? Do not throw it away. Save it for croutons. You can also toast it with butter and garlic. That makes a great snack. I call it the baker’s treat. You earned it. Here is a mini poll for you: Which filling would you pick? Broccoli cheddar soup? Chili? Or maybe a creamy potato soup? I am a chili person myself. Tell me your choice.How to Share the Warmth
These bowls are perfect for a cold night. Put on a sweater. Light a candle. Fill your bread bowl with something hot and cheesy. Hand one to a friend. Watch them smile. That is the whole point. You are sharing warmth. You are sharing time. That is a gift that costs almost nothing but means everything. And remember: you can freeze these before you bake them. Just shape the balls, let them rise, then pop them in a freezer bag. When you want one, let it thaw and bake. Fresh bread bowls any night of the week. Do you have a special person you would share a bread bowl with? Maybe your grandma. Maybe your best friend. Think about that person. Then make them one. You will be glad you did.Ingredients:
| Ingredient | Amount | Notes |
|---|---|---|
| Active dry yeast | 2 tablespoons | |
| Warm water (110° to 115°) | 3 cups | |
| Sugar | 2 tablespoons | |
| Salt | 2 teaspoons | |
| Bread flour | 6-1/2 to 7-1/2 cups | |
| Cornmeal | Optional | For dusting |
| Sesame seeds | Optional | For topping |
When Bread Becomes a Bowl
I remember the first time I brought a bread bowl to a family dinner. My youngest nephew stared at it like it was magic. “You can eat the bowl?” he asked. I just laughed and nodded. Doesn’t that thought make you smile too?
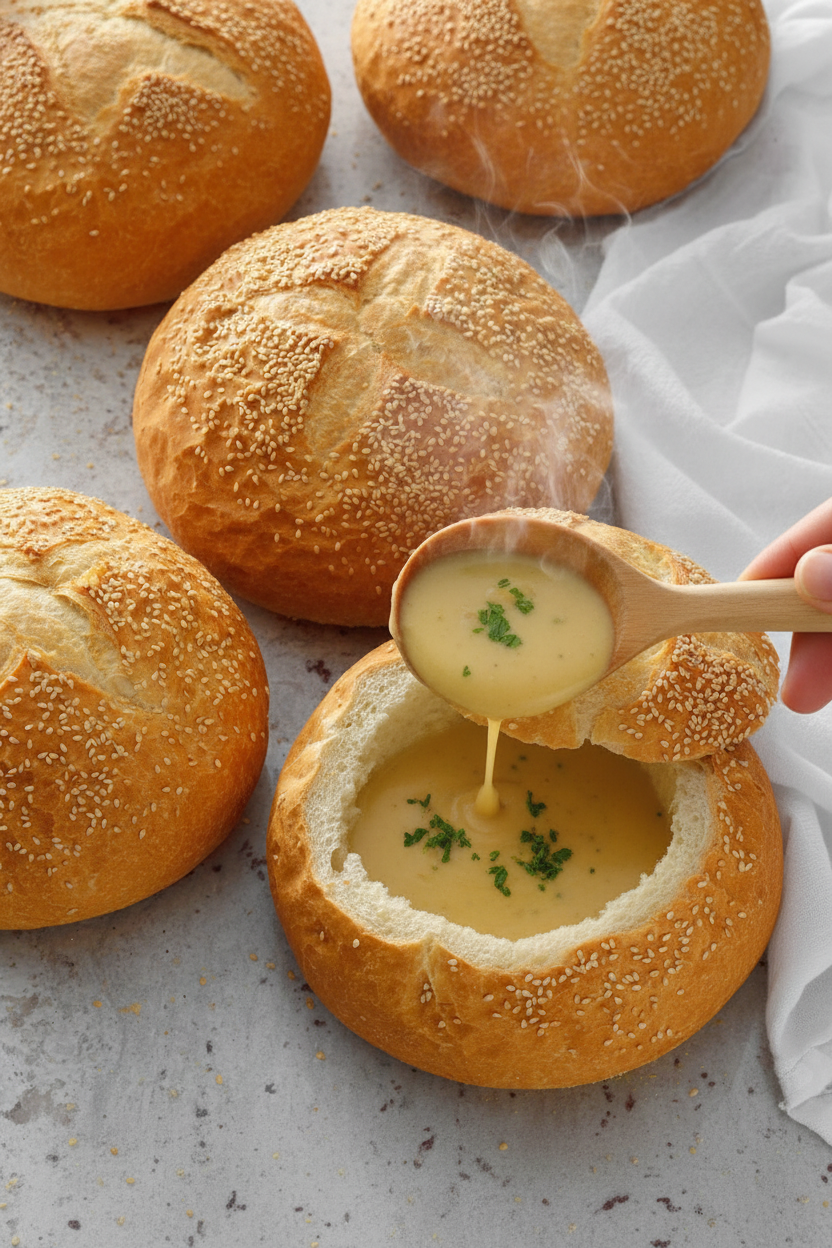
These bowls are perfect for thick soups, stews, or even a creamy dip. The dough is soft and chewy on the inside. The outside gets a golden, slightly crunchy crust. You can eat every last bite, spoon and all. I still laugh when I think of my brother trying to lick the inside clean.
Hard-learned tip: (Do not skip spraying the loaves with water before baking. That steam is what makes the crust so wonderfully crisp. I learned this the hard way when my first batch came out pale and sad.)
Now let me walk you through the process. It is simpler than you think. Just follow each step, and you will feel like a kitchen hero.
Step 1: In a small bowl, dissolve the yeast in warm water. The water should feel like a warm bath, not hot. In a large bowl, mix sugar, salt, and that yeasty water. Add 3 cups of bread flour and beat for 3 minutes. The dough will be sticky, and that is okay. My grandma always said, “Sticky dough means happy bread.”
Step 2: Stir in enough of the remaining flour to form a soft dough. Turn it out onto a floured counter. Knead it for 6 to 8 minutes until it feels smooth and bouncy, like a baby’s cheek. I like to pretend I am giving the dough a little massage. Place it in a greased bowl, turn it once to coat the top, and cover it with a towel. Let it rise in a warm spot until doubled, about 30 minutes.
Step 3: Preheat your oven to 500 degrees. Punch down the dough with your fist. (Go ahead, it is very satisfying.) Divide it into 6 equal balls. Place them 3 inches apart on greased baking sheets, or sheets sprinkled with cornmeal. Cover and let them rise again until doubled, about 15 minutes. Now, spray the loaves with water and sprinkle on sesame seeds if you like. Use a sharp knife to cut a shallow X on top of each one. This helps them open up like little flowers.
Step 4: Bake the loaves for 2 minutes at 500 degrees. Then, without opening the oven, reduce the heat to 425 degrees. Bake until they are golden brown and the inside reaches 190 to 200 degrees, about 16 to 18 minutes. Let them cool completely on a wire rack. Do you know why the X on top is important? What do you think it helps the bread do? Share below!
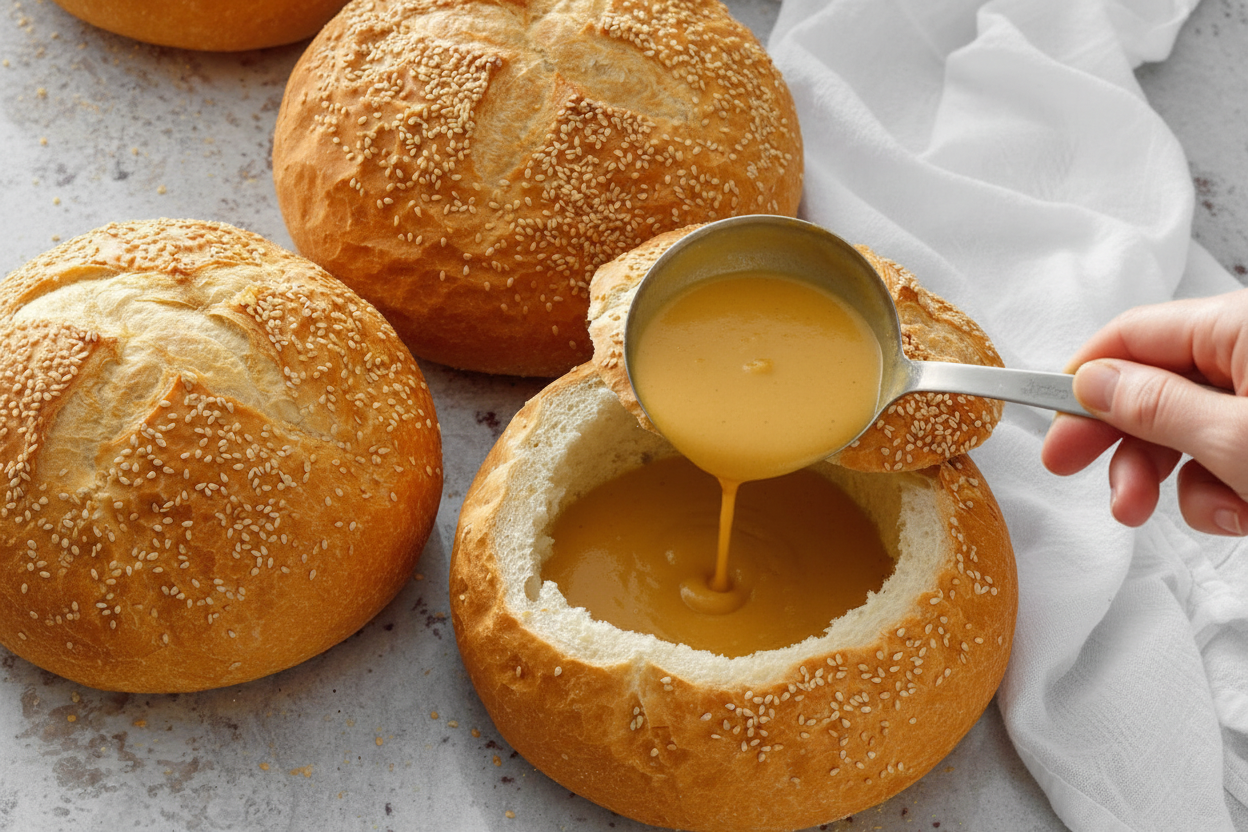
Step 5: Once the loaves are cool, cut a thin slice off the top of each one. Gently scoop out the soft inside bread, leaving a 1/2-inch shell. You can save the scooped-out bread for croutons or breadcrumbs. Now you have a perfect, edible bowl. Fill it with your favorite stew, soup, or even chili. It feels like a hug in a bowl.
Cook Time: 20 minutes
Total Time: 1 hour 15 minutes
Yield: 6 bread bowls
Category: Bread, Main Dish
Three Fun Twists on Your Bread Bowl
Sometimes I like to change things up a little. These three twists are my favorites. They are easy and make the bowl feel brand new. Which one would you try first? Comment below!
Cheesy Herb Bowl: Before the second rise, knead in 1 cup of shredded cheddar and a handful of chopped chives. The melted cheese makes the bowl taste like garlic bread.
Spicy Southwestern Bowl: Add 1 teaspoon of chili powder and a handful of corn kernels to the dough. The little flecks of red and yellow look so pretty, and it tastes great with black bean soup.
Sweet Cinnamon Breakfast Bowl: Swap the salt for an extra tablespoon of sugar, and add 1 teaspoon of cinnamon. Fill it with warm apple compote or yogurt and berries. My niece calls this one “dessert for breakfast.”
What to Serve With Your Bread Bowl
A bread bowl is a meal all by itself. But a little extra never hurts. I love serving it with a simple side salad of crunchy romaine and a light lemon dressing. Or try a few pickle spears for a tangy crunch. You can also sprinkle fresh parsley or a pinch of paprika on top of the soup for color. It looks fancy, but it takes two seconds.
For drinks, a warm mug of spiced apple cider is perfect on a cold day. If you are having a grown-up dinner, a light, crisp white wine like Sauvignon Blanc pairs beautifully with the bread. For the kids at the table, a glass of cold milk or fizzy sparkling water with a slice of lemon is always a hit. Which would you choose tonight?
Storing and Reheating Your Bread Bowls
Fresh bread bowls are a treasure. But you can make them ahead of time. Just cool them completely first. Then wrap each one tightly in plastic wrap. Slide them into a freezer bag. They will keep for up to three months.
To reheat, take a bowl out of the freezer. Let it sit on the counter for 20 minutes. Then pop it in a 350° oven for 10 minutes. It will get crusty again. I once forgot a bowl in the freezer for two months. It still tasted wonderful! Has that ever happened to you?
Batch cooking matters because it saves time on busy days. You can have soup-ready bowls anytime. This is why I always double the dough. Have you ever tried storing it this way? Share below!
Three Common Problems (and Easy Fixes)
First, your bread bowl might turn out too dense. This happens when the dough didn’t rise enough. Make sure your warm water is not too hot. It should feel like a warm bath. I remember the first time I killed my yeast with boiling water. I learned that lesson hard!
Second, the bowl might collapse when you hollow it out. Your bread was probably underbaked. Check the inside temperature with a thermometer. It needs to reach 190° to 200°. This matters because a sturdy bowl holds all that soup.
Third, the top might burn before the inside is done. The fix is simple: lower your oven heat after the first two minutes. That quick blast at 500° gives color. Then baking at 425° cooks the center. Which of these problems have you run into before?
Your Top 5 Questions Answered
Q: Can I make these gluten-free? A: Yes, use a 1-to-1 gluten-free flour blend. The dough will be stickier, so add a little more flour.
Q: Can I make the dough the night before? A: Yes. After kneading, cover the bowl and put it in the fridge overnight. Shape and bake the next day.
Q: What if I don’t have bread flour? A: All-purpose flour works, but the bowls will be a little softer. That is fine for most soups.
Q: Can I make smaller bowls? A: Yes. Divide the dough into 8 balls instead of 6. Bake for a few minutes less.
Q: What can I do with the scooped-out bread? A: Tear it into pieces. Toast them with oil and salt for homemade croutons. Which tip will you try first?
A Final Word from Chloe
I hope you love making these bread bowls. They taste like a hug in a bowl. Remember: the holes from scooping are just pockets for more soup broth. *Fun fact: Bread bowls were first popular at fairs in the Pacific Northwest.*
Your family will think you worked all day. Only you will know how easy it really is. Have you tried this recipe? Tag us on Pinterest! I love seeing your photos. Happy cooking!
—Chloe Hartwell.
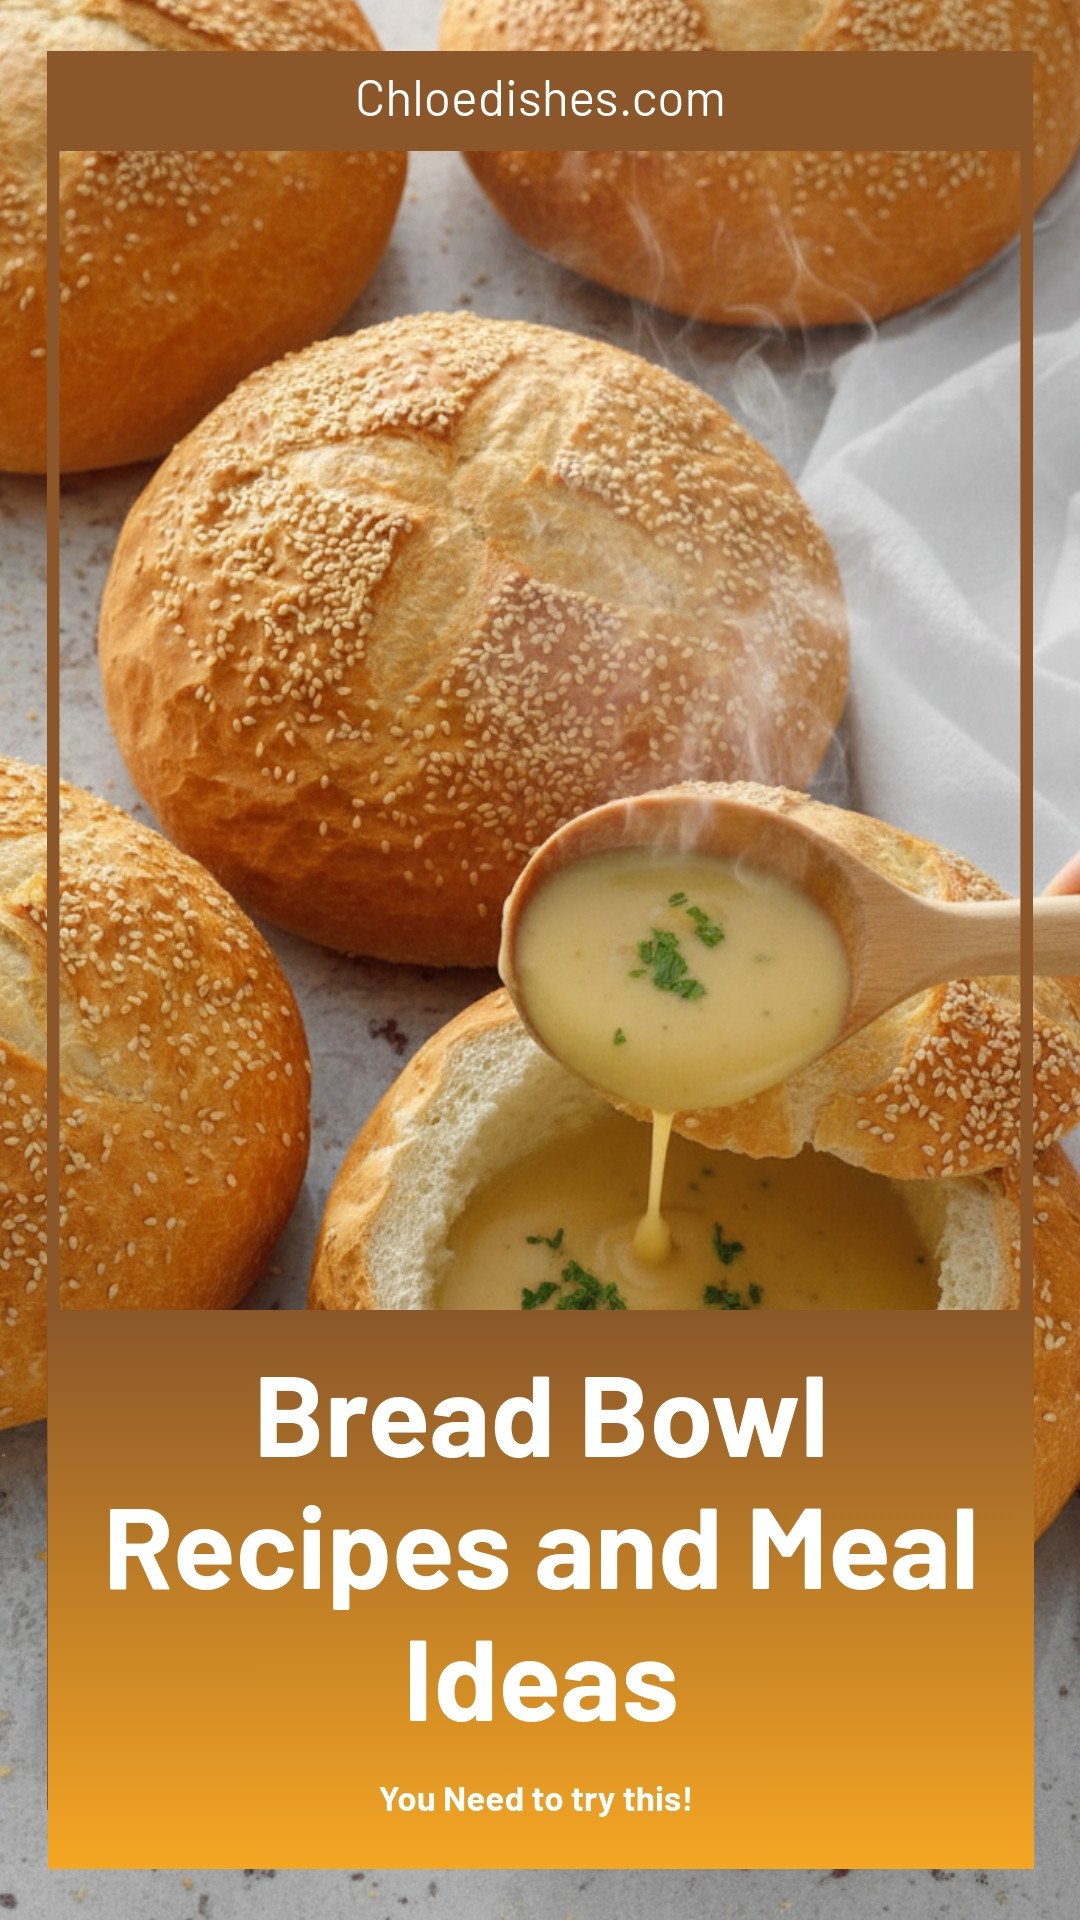
Bread Bowl Recipes and Meal Ideas
Description
Discover delicious bread bowl recipes and easy meal ideas perfect for soups, dips, and hearty dinners. Cozy, edible bowls everyone loves.
Ingredients
Instructions
- In a small bowl, dissolve yeast in warm water. In a large bowl, combine sugar, salt, yeast mixture and 3 cups flour; beat on medium speed 3 minutes. Stir in enough remaining flour to form a soft dough (dough will be sticky).
- Turn onto a floured surface; knead until smooth and elastic, 6-8 minutes. Place in a greased bowl, turning once to grease the top. Cover with a kitchen towel and let rise in a warm place until doubled, about 30 minutes.
- Preheat oven to 500°. Punch down dough. Divide and shape into 6 balls. Place 3 in. apart on 2 baking sheets that have been greased, or, if desired, generously sprinkled with cornmeal. Cover with a kitchen towel; let rise in a warm place until doubled, about 15 minutes. Spray loaves with water; if desired, generously sprinkle with sesame seeds. Using a sharp knife, score tops with shallow cuts in an ‘X’ pattern. Bake 2 minutes. Reduce oven setting to 425°. Bake until golden brown and internal temperature reaches 190°-200°, about 16-18 minutes. Remove from pans to wire racks to cool completely.
- Cut a thin slice off the top of each loaf. Hollow out bottom portion of each loaf, leaving a 1/2-in. shell. Discard removed bread or save for another use, such as croutons.
Notes
- Nutrition Facts (per 1 bread bowl): Calories: 283, Fat: 1g (0g saturated fat), Cholesterol: 0mg, Sodium: 396mg, Carbohydrate: 57g (2g sugars, 2g fiber), Protein: 10g


Leave a Reply