
Nana’s First Lemon Bar Surprise
The first time I made lemon bars, I was helping my own grandma in her tiny kitchen. She had flour on her nose and a laugh that shook the windows. I must have been about your age, maybe twelve. We used regular wheat flour back then, but she always said, “Good food is good food, no matter what it’s made of.” I still smile thinking about her sticky fingers and the sweet, sour smell that filled the whole house. Doesn’t that smell amazing? Now I make these same bars for my friend Sarah, who can’t eat gluten. She says they taste like sunshine. I want you to know that you can make something special for anyone, even if they have to eat differently. That’s a gift you can give with your own two hands. Have you ever baked something special for someone you love?The Crust That Never Fails
We start with the shortbread crust. You melt a stick of butter—or use the dairy-free kind if you need to. Then you mix in sugar, vanilla, and a pinch of salt. Add the gluten-free flour and stir until it looks like thick, sandy dough. Press it firmly into your pan. This part is fun because you use your fingers. Make it even, about as thick as two pennies stacked together. Bake it for twenty minutes until the edges turn a tiny bit golden. While it bakes, the kitchen smells like a cozy hug. Here’s a little secret: the crust is the anchor of the whole bar. If you press it too thin, the filling will leak. If you press it even, the bar holds together like a little treasure box. That’s why this matters: a good base makes everything better, in baking and in life. Do you like pressing dough with your hands or using a spoon?Whisking the Sunshine
Now for the lemon filling. Crack six eggs into a big bowl. Whisk them gently until they look like yellow ribbons. Then pour in the sugar and whisk again. Add the lemon juice—about four lemons’ worth. Squeeze them over a strainer so no seeds sneak in. Then add a little vanilla and a half cup of gluten-free flour. Whisk until it’s smooth as pudding. When you pour this over the warm crust, it feels like you’re pouring bright yellow paint onto a canvas. I always stop and look at it for a second. The way the lemon swirls and settles is very peaceful. *Fun fact: Lemon juice was once used to clean copper pots. But I think it’s much better in a dessert, don’t you?*The Magic of Waiting
Slide the pan into the oven and bake for twenty-six minutes. The center should be set, not wiggly like jelly. If it jiggles a little in the very middle, that’s okay. It will keep cooking as it cools. I learned this the hard way when I pulled mine out too soon once. They turned into lemon soup! I still laugh at that. My husband called them “lemon pudding bars” and ate them with a spoon anyway. Let them cool on the counter for one full hour. Then cover them and put them in the fridge for two more hours. This is the hardest part. Why this matters: patience lets the flavors dance together. The crust gets firm, and the lemon gets creamy. You’re not just making a snack. You’re making a little piece of happiness that took time to grow.Dust and Cut
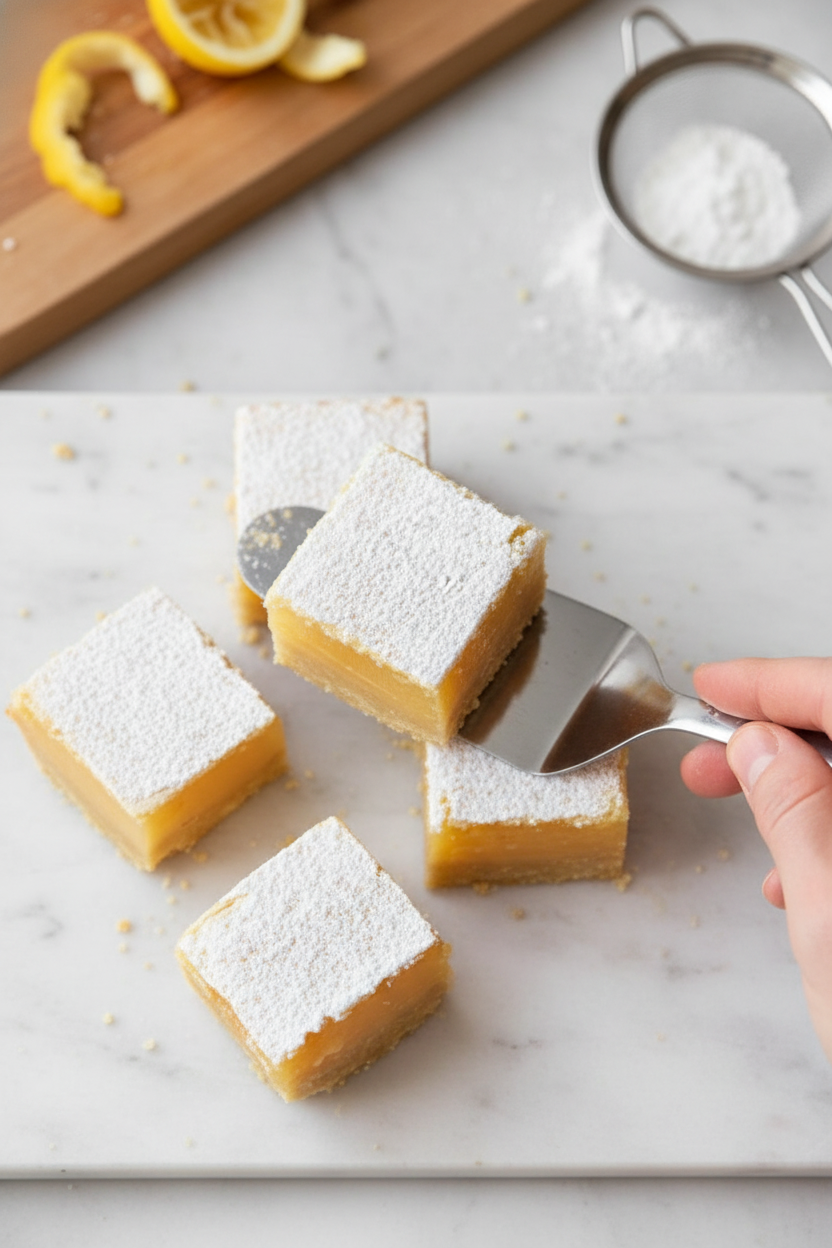
Once the bars are cold and firm, lift them out of the pan using the parchment paper edges. Set them on a cutting board. Take a small strainer and shake powdered sugar over the top like soft snow. Then cut them into squares. Wet your knife between cuts for clean edges. I like to cut them into sixteen small squares, but you can make them bigger if you’re extra hungry. These bars taste best when they’re cold from the fridge. The sweet crust and the tangy lemon are a perfect pair. I always save one for breakfast the next day. Shh, don’t tell anyone. What’s your favorite part of a lemon bar—the crust, the filling, or the sugary top? Tell me in your head or write it down.Sharing the Sweet
These lemon bars are for everyone. Your friend who can’t eat wheat. Your neighbor who loves sour things. Your little brother who just wants dessert. When you share food that fits someone’s needs, you tell them, “I see you. I care about you.” That’s a powerful thing. My friend Sarah cried the first time I made these for her. She said she hadn’t had a lemon bar in seven years. You can keep leftovers in the fridge for up to five days. If they last that long, you have more willpower than me. Now here’s one last question for you: If you could bake these for one person, who would it be? Maybe yourself, and that’s just fine too. You deserve sunshine on a plate.Ingredients:
| Ingredient | Amount | Notes |
|---|---|---|
| Unsalted butter (dairy-free use Smart Balance Butter) | 1 cup | Melted |
| Granulated sugar | 1/2 cup | |
| Pure vanilla extract | 1 teaspoon | |
| Salt | 1/2 teaspoon | |
| Gluten-free all-purpose flour with xanthan gum (Pillsbury recommended) | 2 cups | Not all gluten-free flours are equal; results may vary |
| Large eggs | 6 | |
| Granulated sugar | 2 cups | |
| Lemon juice (about 4 lemons) | 1 cup | |
| Pure vanilla extract | 1/2 teaspoon | |
| Gluten-free all-purpose flour with xanthan gum (Pillsbury recommended) | 1/2 cup | |
| Powdered sugar | For dusting |
Why I Love These Lemon Bars (And You Will Too)
I remember the first time I made lemon bars for my grandkids. The kitchen smelled like sunshine and sugar. Doesn’t that smell amazing?
These bars are special because they are gluten-free. No one will even know! My friend Sarah thought I bought them from a fancy bakery.
The crust is buttery and thick. The filling is tangy and sweet. It is a perfect little bite of happy.
I always make them for spring picnics or summer parties. They disappear faster than cookies. I still laugh at how fast that happens.
Now, let me walk you through it. Grab your mixing bowls and a lemon. We are going to have so much fun.
Let’s Make The Lemon Bars!
Step 1: Preheat your oven to 325°F (163°C). Grab a 9×13 glass baking pan. Line it with parchment paper, letting the paper hang over the sides. This makes lifting the bars out super easy later. I learned this trick after a sticky mess!
Step 2: In a big bowl, mix the melted butter, 1/2 cup sugar, 1 teaspoon vanilla, and 1/2 teaspoon salt. Stir in the 2 cups of gluten-free flour. (Hard-learned tip: Use a brand like Pillsbury that has xanthan gum. Other flours can make the crust crumbly.)
Step 3: Press the thick dough evenly into the pan. Make it about 1/2-inch thick. Bake for 20-22 minutes, until the edges are just barely brown. The smell will make your mouth water. My grandson always sniffs the air and comes running.
Step 4: While the crust cools a little, make the filling. Whisk 6 eggs in a large bowl. Add 2 cups sugar and whisk well. Then stir in 1 cup of lemon juice (about 4 lemons) and 1/2 teaspoon vanilla.
Step 5: Whisk 1/2 cup gluten-free flour into the lemon mixture. Make sure there are no lumps. Pour this beautiful yellow filling over the warm crust. Bake for 26 minutes, until the center is set and doesn’t jiggle. What is your favorite summer dessert to bake? Share below!
Step 6: Let the bars cool completely on the counter for 1 hour. Then cover them with plastic wrap and pop them in the fridge for 2 hours. They are best when cold, so be patient!
Step 7: Lift the bars out using the parchment paper. Dust the top with powdered sugar. Cut into squares with a clean knife. Wipe the knife between cuts for smooth edges. Store leftovers in the refrigerator.
Cook Time: 48 minutes
Total Time: 3 hours 48 minutes (includes chilling)
Yield: 24 bars
Category: Dessert, Bars
Three Fun Twists To Try
Lavender Lemon Bars: Add one teaspoon of dried culinary lavender to the sugar before mixing. It gives a pretty floral taste that feels fancy.
Coconut-Lemon Bars: Stir 1/2 cup of shredded unsweetened coconut into the crust dough. It adds a chewy, tropical surprise with every bite.
Berry Lemon Bars: Drop a few fresh blueberries or raspberries into the filling before baking. They burst into little jewels of sweetness. Which one would you try first? Comment below!
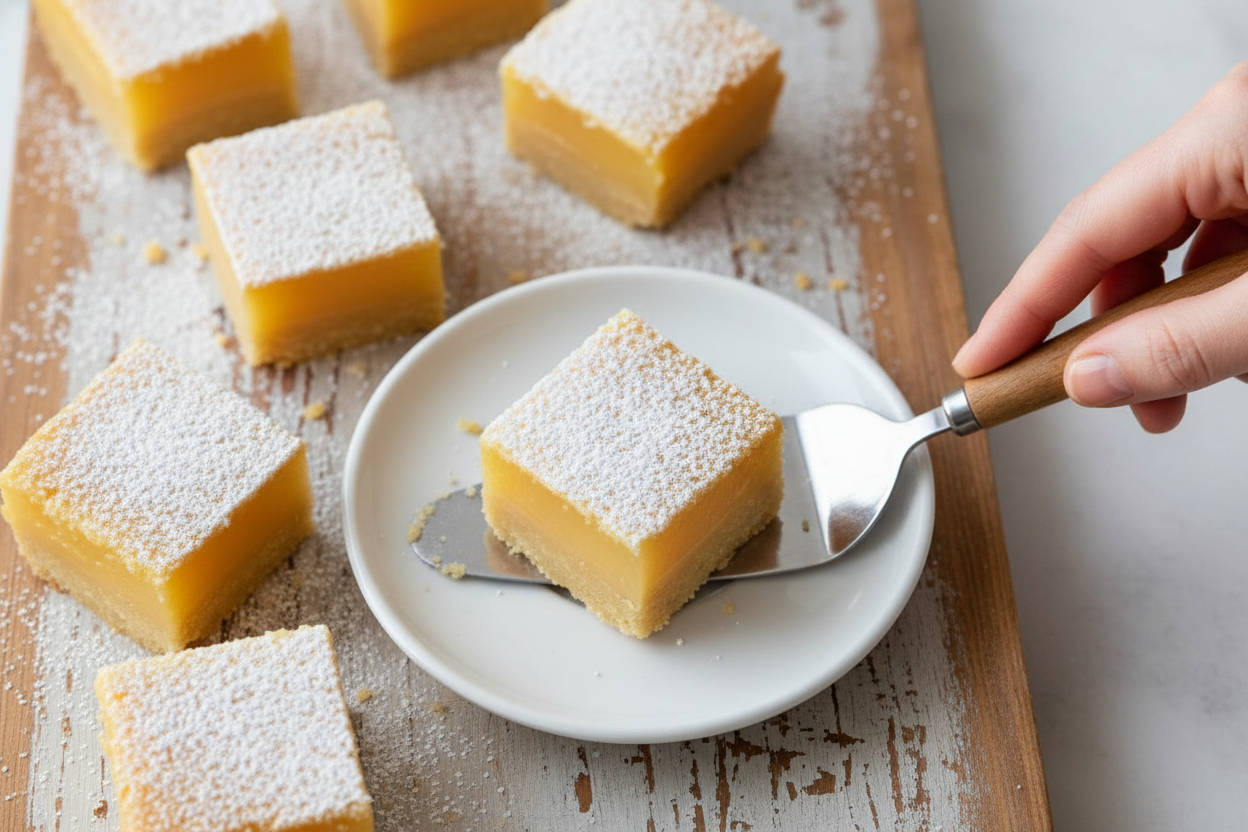
How To Serve Them Up
Serve these lemon bars cold, straight from the fridge. I like to place them on a pretty white plate with fresh mint leaves on the side. A tiny bowl of extra powdered sugar for dipping is also fun.
For a drink, try iced tea with a lemon slice. It keeps the whole lemon theme going. For the adults, a cold glass of Limoncello is a perfect match. It tastes like a lemon party in your mouth. Which would you choose tonight?
How to Store and Reheat Lemon Bars
These lemon bars taste best cold from the fridge. I learned that the hard way. Once, I left them on the counter overnight, and they got too soft. Always keep them covered in the refrigerator. They stay fresh for up to five days.
For longer storage, pop them in the freezer. Wrap each square in plastic wrap, then put them in a freezer bag. They keep for three months. Thaw them in the fridge for a few hours before serving. I used to freeze a whole batch for summer picnics.
You do not need to reheat these bars. That is what makes them so handy. They are perfect to make ahead for a party. Just pull them out, dust with powdered sugar, and serve. Save yourself time and stress. Have you ever tried storing it this way? Share below!
Batch cooking matters because it frees up your day. You can bake once and eat for a week. It also saves money on ingredients. Why this matters: planning ahead keeps you from rushing and making mistakes. You will feel proud when guests ask for the recipe.
Three Common Problems and Easy Fixes
The first problem is a crust that crumbles too much. This happens if the dough is too dry. Next time, press it firmly into the pan. I remember my first batch falling apart like sand. Adding a teaspoon of water helped it stick.
The second issue is a filling that never sets. That means you did not bake it long enough. The center should just stop jiggling. I once pulled mine out early, and it was like lemon soup. Patience is key here. Why this matters: a firm filling gives you clean, beautiful squares every time.
The third problem is the bars sticking to the knife. Wipe your knife clean between each cut. This one tip changed everything for me. It makes the edges look neat and professional. Which of these problems have you run into before?
Fixing these issues builds your cooking confidence. You will learn to trust your eyes and hands. That is why this matters: you grow as a cook. Soon you will know exactly when the bars are done just by looking.
Five Quick Questions and Answers
Q: Can I use regular flour instead of gluten-free?
A: Yes, you can swap in equal amounts of regular all-purpose flour. The texture will be a little different, but still tasty.
Q: Can I make these a day ahead?
A: Yes, they taste even better the next day. Just keep them chilled in the fridge until serving.
Q: Can I swap lemon juice for lime juice?
A: Absolutely. Lime bars are just as bright and tangy. Use the same amount of juice from about six limes.
Q: How do I cut the recipe in half?
A: Use an 8×8 pan and halve every ingredient. Bake the crust for 18 minutes and the filling for 22 minutes.
Q: Can I skip the powdered sugar on top?
A: You can, but it adds a sweet finish. Try a light dusting of coconut flour instead for a different look. Which tip will you try first?
A Warm Goodbye from Chloe Hartwell
I hope these lemon bars bring sunshine to your kitchen. They are forgiving, simple, and so loved. Making them with your hands is a gift you give yourself. *Fun fact: lemon bars were first created in the 1960s in a small American bakery.*
Share a photo of your batch with me. I would love to see how they turned out. Tag my Pinterest handle @ChloeHartwellBakes. Have you tried this recipe? Tag us on Pinterest! Your success makes me smile. Happy cooking!
—Chloe Hartwell
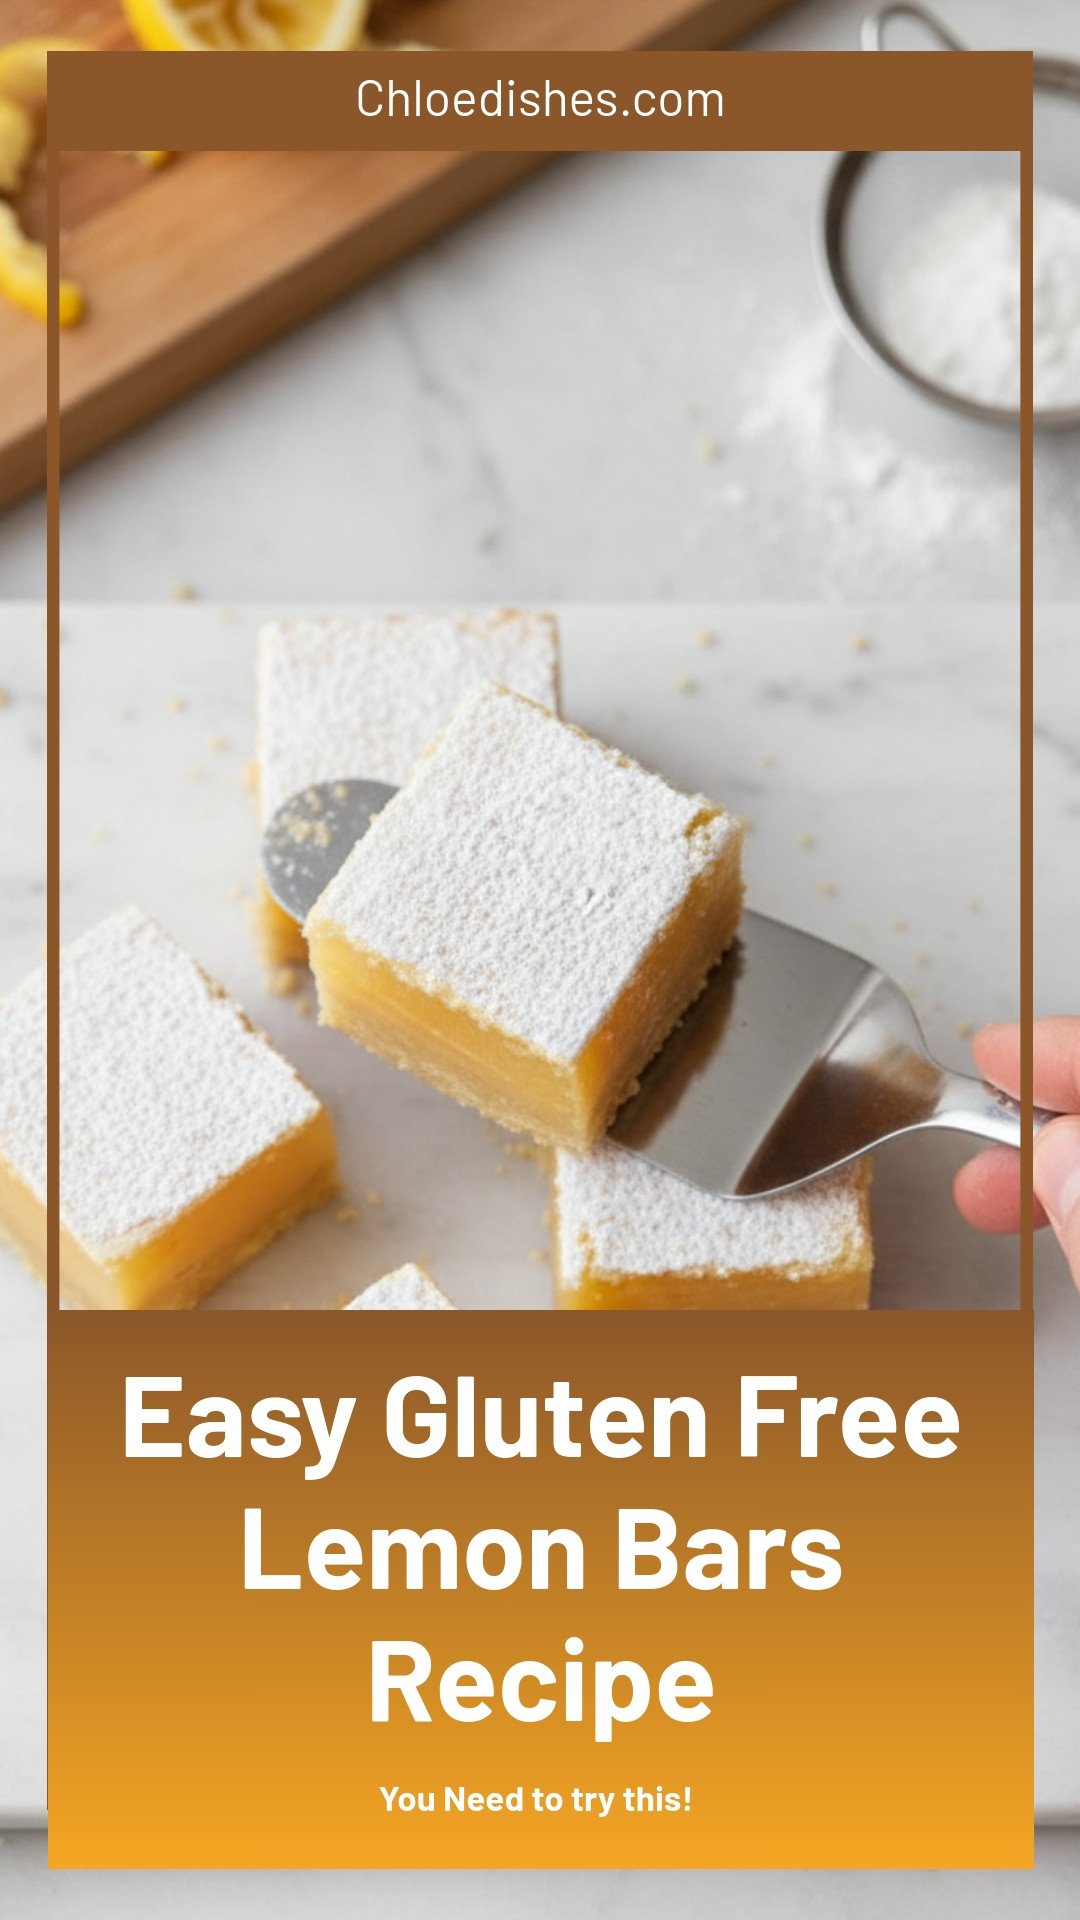
Easy Gluten Free Lemon Bars Recipe
Description
Easy Gluten Free Lemon Bars Recipe – tangy, sweet, and perfectly crisp. A simple dessert for any occasion. No gluten needed.
Ingredients
Instructions
- Preheat the oven to 325°F (163°C). Line the bottom and sides of a 9×13 glass baking pan with parchment paper. Make sure the parchment paper hangs over the side of the pan to help make lifting the bars out of the pan easier.
- In a large bowl mix the melted butter, sugar, pure vanilla extract, and salt. Add the gluten-free flour and stir to completely combine and the dough forms. The dough will be thick. Firmly press the dough into the lined pan evenly to about 1/2-inch thick, making sure the layer of crust is even. Bake for 20-22 minutes or until the edges are very lightly browned. Remove from the oven and set aside.
- In a large bowl whisk together the eggs. Add the sugar and whisk until combined. Add the lemon juice and pure vanilla extract and whisk until combined. Add the gluten-free flour and whisk until completely combined.
- Pour the lemon filling over the warm crust. Bake the bars for 26 minutes or until the center is just about set and no longer jiggles. Remove bars from the oven and cool completely at room temperature for 1 hour. Cover the bars with plastic wrap and place them into the refrigerator for 2 hours, until chilled.
- Once the bars are chilled, lift the parchment paper out of the pan using the overhang on the sides of the pan. Dust the top of the bars with powdered sugar and cut into squares before serving. For smoother squares, wipe the knife clean between each row that you cut. Cover and store the leftover lemon bars in the refrigerator. These lemon bars are the best when cold.


Leave a Reply