
The Day I Learned a Trick from a Baker Friend
I remember the first time I made these cookies. I was visiting a friend who owns a tiny bakery. She popped a hot cookie into my mouth. I closed my eyes and laughed. The chocolate was so rich and the coffee woke up my nose. It tasted like a hug.
She told me the secret: you must bake the dough right away. If you let it sit, the tops won’t get that pretty crackly look. I was shocked. I always chilled my dough before. Now I know better. Have you ever learned a cooking trick that changed everything for you?
Why Coffee and Chocolate Love Each Other
You might wonder why we put espresso in a chocolate cookie. The coffee does not make the cookie taste like your morning cup. It does something more magic. It makes the chocolate taste deeper and richer. Think of it like a best friend who makes you shine brighter.
This is why it matters: small additions can change a whole recipe. A pinch of salt does the same thing. It wakes up the sweetness. *Fun fact*: Coffee and chocolate come from the same family of plants. They are natural cousins. Doesn’t that smell amazing?
The Buttercream That Saved a Rainy Day
One rainy afternoon, I was feeling a little down. I decided to whip up this buttercream just for fun. As I mixed the butter and sugar, the room filled with a sweet, cozy smell. My granddaughter walked in and smiled. We sat and dipped apple slices into the frosting before the cookies were even baked.
That is the thing about cooking. It can turn a gray day into gold. This frosting is soft and creamy. It has a tiny kick from the espresso. It makes the sandwich cookies feel like a special treat. When was the last time you cooked just to feel better?
How to Make the Cookies Without a Mess
I know melting chocolate can feel scary. But it is easy. Just use a saucepan over low heat. Stir every thirty seconds. Do not walk away. I once burned chocolate while answering the phone. The whole kitchen smelled sad. Learn from my mistake.
Another tip: use a two-tablespoon cookie scoop. That way all the cookies are the same size. They bake evenly. Your sandwich cookies will look pretty and neat. This is why it matters: even baking means no burnt edges or gooey middles. Do you have a favorite kitchen tool you always use?
The Fun of Building Sandwich Cookies
This is my favorite part. You take half the cookies and flip them upside down. Then you pipe the buttercream on top like a little cloud. Finally, you press another cookie on top. It feels like building a tiny house. I still laugh at how much joy this simple step brings me.
You can make them for a party or just for yourself. They keep well in the fridge for a few days. But I bet they will not last that long. I want to know: would you share these with someone special, or hide them for yourself?
Ingredients:
| Ingredient | Amount | Notes |
|---|---|---|
| Butter | 1 stick (½ cup) | For cookies |
| Bob’s Red Mill 1:1 gluten free flour | ¾ cup + 1 tablespoon | For cookies |
| OliveNation 22/24 Dutched cocoa | ½ cup | For cookies |
| Barry Callebaut dark chocolate chunks | 7.5 oz | For cookies |
| Botticelli Espresso | ½ tablespoon | For cookies |
| Baking powder | 1 tsp | For cookies |
| Salt | ¼ teaspoon | For cookies |
| Brown sugar | ½ cup | For cookies |
| Sugar | ½ cup | For cookies |
| Large eggs | 2 | Room temperature, for cookies |
| Egg yolk | 1 | For cookies |
| Singing Dog vanilla | 1 ½ teaspoon | For cookies |
| Butter | 1 stick | Softened, for espresso buttercream |
| Powdered sugar | 3 cups | Sifted, for buttercream |
| Botticelli Espresso | 2 tablespoons | For buttercream |
| Heavy cream | 1 tablespoon | For buttercream |
| Salt | Pinch | For buttercream |
| Singing Dog vanilla | 1 teaspoon | For buttercream |
The Story Behind These Little Chocolate Clouds
I remember the first time I made these cookies. My kitchen smelled like a cozy coffee shop and a bakery had a baby. I still laugh at that memory because I spilled espresso powder everywhere. But you know what? That happy accident made the cookies taste even better. Doesn’t that smell amazing just thinking about it?
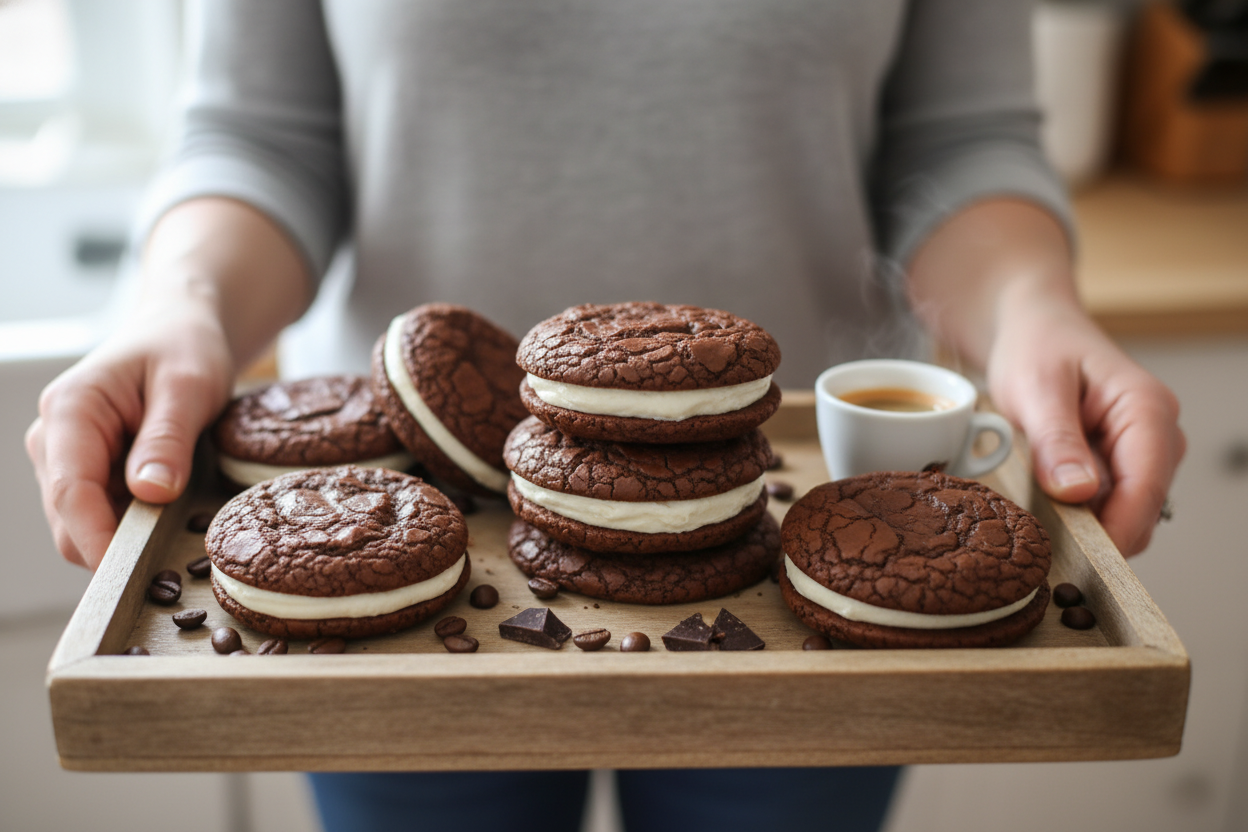
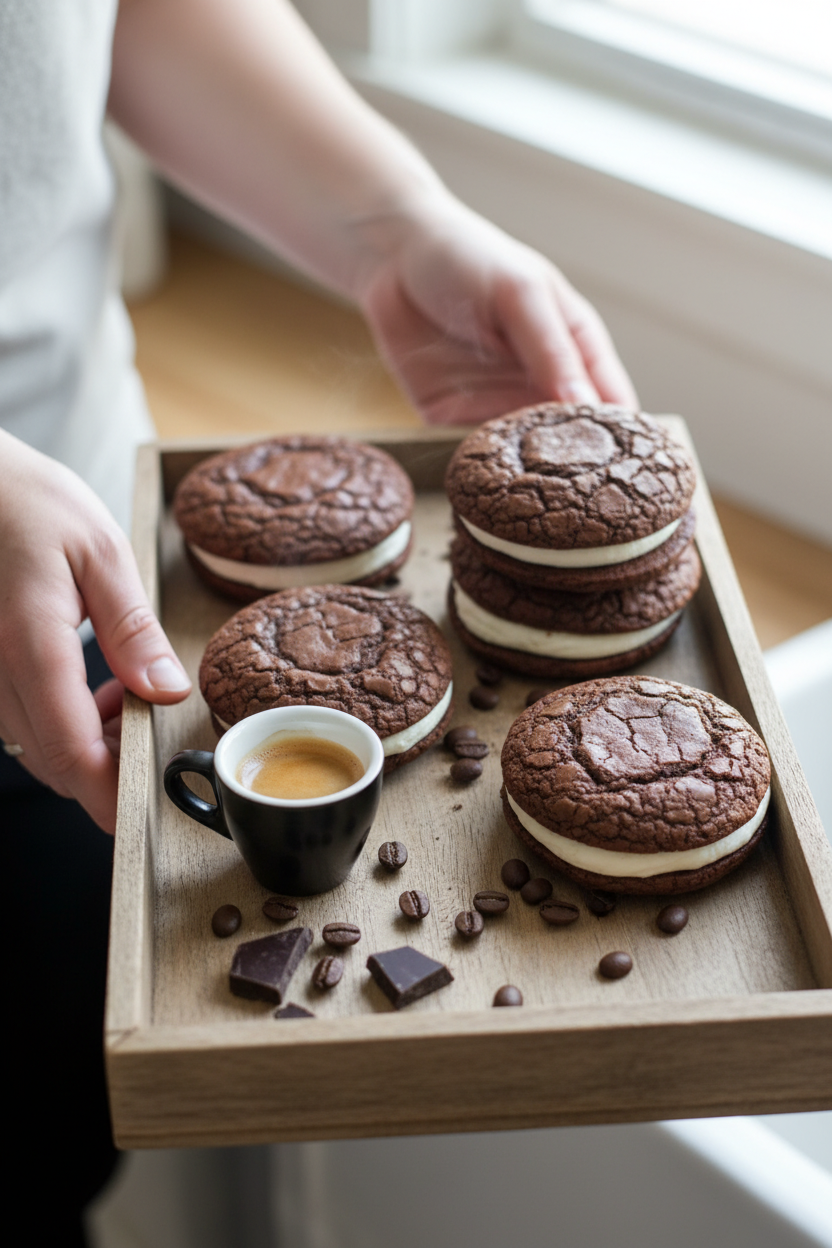
These are not ordinary cookies. They are little pillows of chocolate and coffee joy. The secret is melting the chocolate first and baking the dough right away. That gives them a crackly top that looks like a tiny frozen pond. My grandson once said they look like moons wearing little hats.
The buttercream is where the magic really happens. It is light, fluffy, and sings with espresso flavor. You will want to eat it with a spoon. I won’t tell anyone if you do.
Step 1: Preheat your oven to 350 degrees. Line two cookie sheets with parchment paper. This keeps cookies from sticking and makes cleanup a breeze. I learned this after scraping burnt cookies off a pan for twenty minutes. (Hard-learned tip: Parchment paper is your best friend. Never skip it.)
Step 2: Melt the dark chocolate chunks slowly. Use a saucepan over medium-low heat. Stir every 30 seconds until it is smooth and shiny. Be patient here. Burnt chocolate tastes sad and smoky. Nobody wants sad cookies.
Step 3: Whisk the gluten free flour, cocoa powder, baking powder, and salt in a large bowl. Set it aside for now. This is your dry team. They are waiting patiently for their turn to join the party.
Step 4: Put the butter, brown sugar, and white sugar in a microwave-safe bowl. Heat it for 90 seconds until the butter is melted. Stir it well, then stir in the espresso powder. The kitchen will smell like heaven. Do you prefer your coffee strong or mild? Share below!
Step 5: Add the eggs, extra egg yolk, and vanilla to the butter mixture. Whisk until everything is combined and smooth. The extra yolk makes the cookies soft and chewy inside.
Step 6: Pour the melted chocolate into the wet mixture. Stir gently with a rubber spatula. Then add the dry ingredients and mix until just combined. Do not overmix or the cookies will be tough. Nobody likes a tough cookie.
Step 7: Use a 2-tablespoon cookie scoop to drop dough onto your prepared sheets. Place them about 2 inches apart. Bake them immediately for 9 to 12 minutes. The tops should look crackly and dry. This is the secret to that beautiful look.
Step 8: Remove the cookies from the oven. Let them rest on the sheet for 30 seconds. Then move them to a wire rack to cool completely. Do not rush this. Warm cookies will turn your buttercream into a puddle.
Step 9: Make the espresso buttercream. Whip the softened butter for 1 minute until fluffy. Add half the powdered sugar, salt, vanilla, and espresso. Mix for 45 seconds. Add the rest of the powdered sugar and heavy cream. Mix for 1 to 2 minutes until it is light and spreadable.
Step 10: Place half of the cooled cookies upside down on a plate. Pipe or spread frosting on each. Top with another cookie, right side up. Gently press them together. You now have a little sandwich of happiness.
Cook Time: 9–12 minutes
Total Time: 35–40 minutes
Yield: 12–14 sandwich cookies
Category: Dessert, Snack
Three Fun Ways to Switch It Up
Spicy Mocha Kick: Add a pinch of cayenne pepper to the cookie dough. The heat sneaks up on you like a little surprise. It is so good with the chocolate.
Mint Chocolate Dream: Swap the espresso in the buttercream for 1/2 teaspoon mint extract. It tastes like a fancy ice cream sandwich from a shop.
Peanut Butter Twist: Spread a thin layer of creamy peanut butter on the cookie before adding the buttercream. Salty and sweet is the best combination ever. Which one would you try first? Comment below!
How to Serve Your Little Sandwiches
These cookies are perfect on a pretty plate with a few fresh raspberries on the side. The tartness wakes up your taste buds between bites. You can also dust them lightly with powdered sugar for a fancy look. It makes them look like they are wearing snow.
For a drink, try a tall glass of cold milk. It cuts through the richness like a dream. Grown-ups might enjoy a small cup of warm bourbon-spiked coffee. The warmth makes the buttercream get a little soft and gooey. Which would you choose tonight?
Storing and Reheating Your Cookie Sandwiches
These cookie sandwiches taste best the day you make them. But you can store them too. Place them in an airtight container in the fridge for up to three days. The cold buttercream gets firm and fudge-like. That is a nice change from soft.
For the freezer, wrap each sandwich in plastic wrap. Then put them in a zip-top bag. They will keep for one month. I once froze a batch and forgot about them for two weeks. They were still wonderful. To reheat, just let them sit at room temperature for 15 minutes. The cookies soften again.
You can also bake the cookies ahead of time. Make the dough, scoop it, and freeze the raw balls on a sheet pan. Once frozen, pop them into a bag. Bake straight from the freezer. Add one extra minute to the bake time. This makes fresh cookies whenever you want. Have you ever tried storing it this way? Share below!
Why does this matter? Batch cooking saves time on busy days. You get warm cookies without the mess. It turns a weekend project into a quick treat. That is a gift to your future self.
Three Common Problems and Easy Fixes
The first problem is cookies that spread too thin. This happens if the dough is too warm. Chill the scooped dough for 15 minutes before baking. I remember doing this once and the cookies stayed nice and puffy. It made all the difference.
The second issue is dry cookies. That usually means you overbaked them. Every oven runs a little different. Start checking at nine minutes. The tops should look crackly but the edges should still be soft. Pull them out then. They keep baking on the hot pan for a bit.
The third problem is buttercream that is too runny. This happens if your butter was too soft. Next time, start with cool, not cold, butter. If it already happened, add a little more powdered sugar. A pinch fixes it every time. Which of these problems have you run into before?
Why does this matter? Fixing small mistakes builds your cooking confidence. You learn to trust your eyes and hands. Each batch gets better. That is how you become a great home baker.
Five Common Questions Answered
Q: Can I make these gluten-free?
A: Yes. The recipe already uses gluten-free flour. Bob’s Red Mill 1:1 works perfectly. Just measure carefully.
Q: Can I make the dough a day ahead?
A: Yes. Cover the dough and put it in the fridge. Let it sit out for 10 minutes before scooping.
Q: Can I swap the dark chocolate for milk chocolate?
A: Yes. Use the same amount. The cookies will be sweeter and less rich.
Q: How do I scale this recipe down?
A: Halve every ingredient. Bake the same number of cookies, just smaller. Use a one-tablespoon scoop.
Q: Can I skip the espresso?
A: Yes. Just leave it out. The cookies will taste like chocolate without the coffee kick. Which tip will you try first?
A Warm Goodbye from Chloe
I hope these little tips help you in your kitchen. Baking is about sharing good things with people you love. These cookie sandwiches are perfect for that. They feel fancy but are simple to make.
*Fun fact: Espresso does not make these cookies taste like coffee. It just makes the chocolate taste deeper.*
I would love to see your creations. Take a photo of your cookie sandwiches. Share them with friends. Have you tried this recipe? Tag us on Pinterest! My heart does a little flip every time I see your baking.
Happy cooking!
—Chloe Hartwell
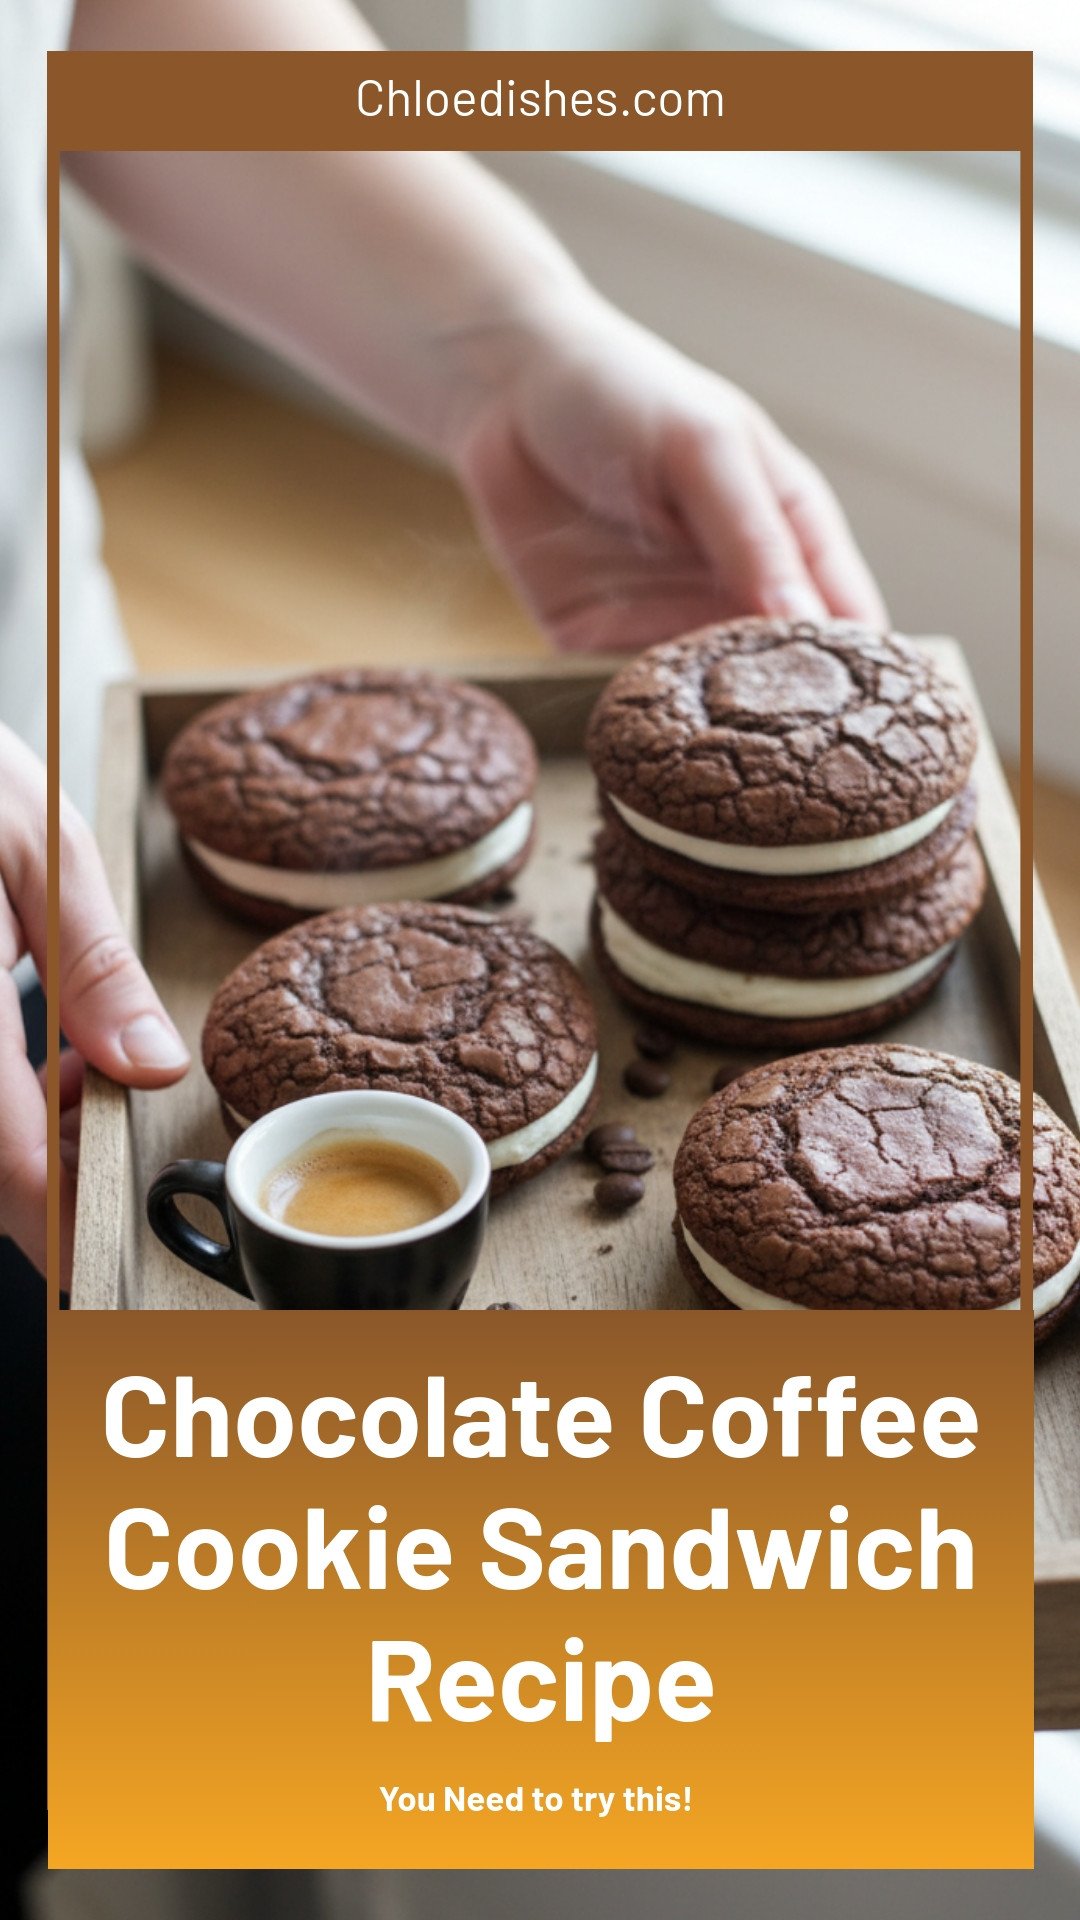

Chocolate Coffee Cookie Sandwich Recipe
Description
Indulge in rich chocolate coffee cookie sandwiches, an easy dessert recipe perfect for coffee lovers. A decadent treat for any occasion.
Ingredients
Espresso Buttercream
Instructions
- Preheat the oven to 350 degrees and line 2 cookie sheets with parchment paper.
- Slowly melt the chocolate over medium-low heat in a saucepan, stirring every 30 seconds until melted and set it aside.
- Whisk the flour, cocoa powder, baking powder, and salt in a large bowl.
- Combine the butter and both sugars in a medium, microwaveable bowl and heat it for 90 seconds or until the butter is melted.
- Stir the butter and sugar mixture well, and then stir in the espresso.
- Add the eggs, egg yolk, and vanilla to the butter mixture and whisk until combined.
- Pour the melted chocolate into the mixture and stir with a rubber spatula until well combined. Then, add the dry ingredients and mix again until just combined.
- Use a 2 tablespoon cookie scoop to place the cookie dough about 2 inches apart on the cookie sheets.
- Immediately bake the cookies for 9 to 12 minutes until the tops are crackly. You must bake them immediately to achieve this look.
- Remove the cookies from the oven and let them rest for 30 seconds on the cookie sheet. Then, transfer them to a wire rack to cool completely.
- Whip the butter in a stand mixer or hand mixer for 1 minute.
- Add half the powdered sugar, salt, vanilla, and espresso and mix on medium for about 45 seconds or until blended.
- Add the remaining powdered sugar and the heavy cream and mix on medium-high for 1 to 2 minutes until the frosting reaches your desired consistency.
- If the frosting is too thick, add a small amount of heavy cream and mix it again. If the frosting is too thin, add a small amount of powdered sugar and mix it again.
- Place half of the cookies top side down on a plate and pipe frosting on the top.
- Top each frosted cookie with another cookie right side up.


Leave a Reply