

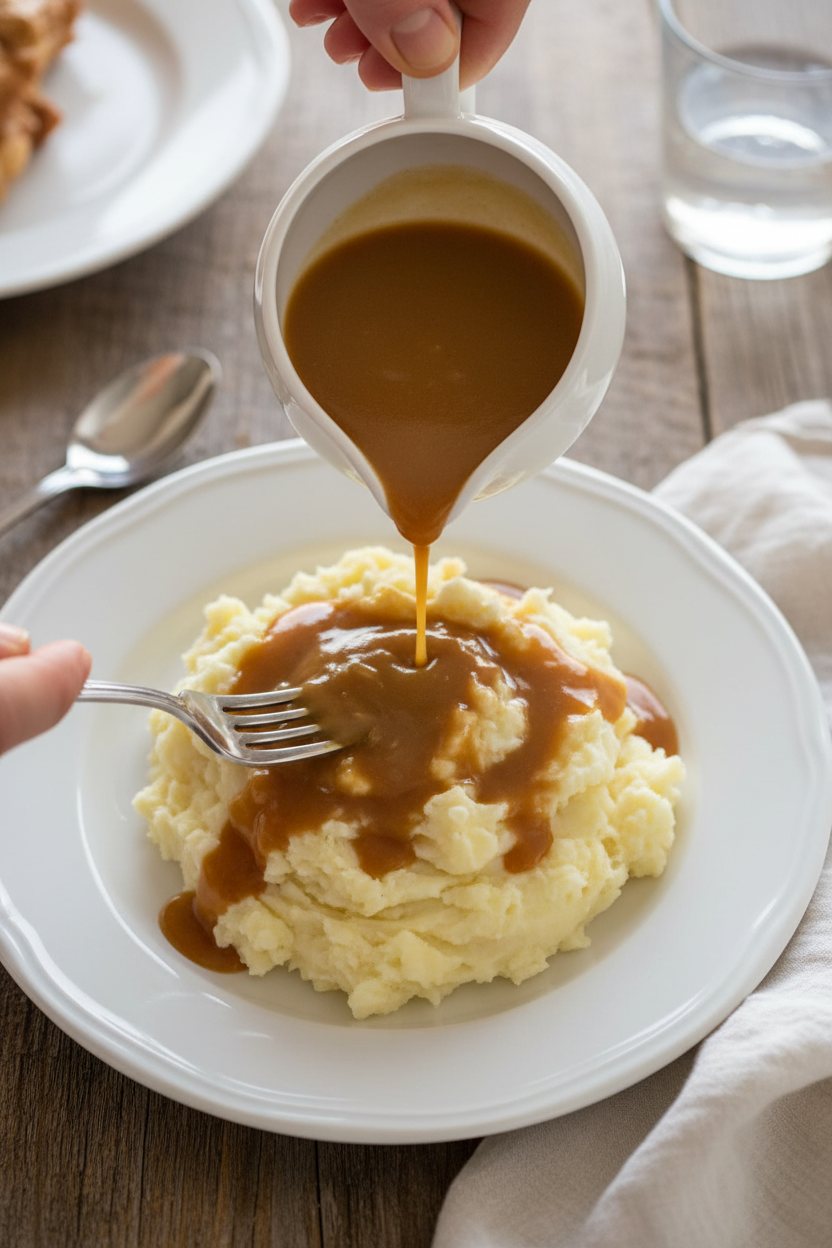
Why Gravy Makes the Whole Table Happy
Gravy is the real star of Thanksgiving. It ties everything together like a warm blanket. I still remember my first turkey. The bird looked perfect. But when I poured the gravy, the whole kitchen sighed with relief. That is the power of good gravy. I learned this recipe from my neighbor, Mrs. Gable. She had ten kids and never burned a thing. She told me, “Gravy is just love turned into a liquid.” I believe her. Pour it over mashed potatoes, stuffing, or even plain bread. It makes everything better. Have you ever had gravy that tasted like nothing? That is a sad table. A good gravy has flavor from the turkey bones. That is why we brown them first. It is a little extra work, but your taste buds will thank you.Step One: The Bones Tell the Story
First, we heat some oil in a big pot. Then we add the turkey parts. Not the whole bird—just the neck, wings, or back. Brown them on all sides. This takes about eight to ten minutes. The smell will be amazing. Doesn’t that smell amazing? Why does this matter? Browning the bones makes the gravy rich. It is like toasting bread before making a sandwich. Everything tastes deeper. You are building a flavor foundation. Without it, the gravy is flat and boring. *Fun fact:* That dark brown crust on the bones is called the Maillard reaction. It happens when protein meets heat. Chemistry never tasted so good.Step Two: Veggies Get a Turn
Now we empty the pot. Do not wash it! Leave all those tasty browned bits stuck to the bottom. Add carrots, celery, and onion. Cook them until they are soft and golden. This takes about six to eight minutes. Stir them around like you are mixing a secret potion. I once forgot the celery. The gravy was okay, but missing something. Those little veggies add sweetness and depth. They are not just fillers. They are helpers. Here is a question for you: Do you like your gravy chunky or smooth? My family fights over this every year. I like mine smooth as silk. My uncle wants mushrooms floating in it. I still laugh at that.Step Three: Simmering the Magic
Put the bones back in the pot. Add chicken broth, parsley, garlic, bay leaves, and peppercorns. Bring it to a boil. Then turn the heat down low. Let it bubble gently for thirty minutes. This is the part where you can sit and relax. Why does this matter? Simmering pulls all the flavor from the bones into the liquid. It is like steeping tea, but for dinner. The broth becomes gold. And gold makes great gravy. Have you ever made broth from scratch? If not, this is a good first try. It is easier than you think. And it makes your kitchen smell like a cozy cabin.Step Four: Strain and Add Drippings
Pour the broth through a strainer into a clean pot. Throw away the bones and veggies. They have given you all they have. Now look at that beautiful liquid. If you have pan drippings from your turkey, add them now. This is where the real flavor lives. One year, I forgot the drippings. The gravy was pale and sad. My kids asked, “Mom, is this water?” We all laughed, but I learned my lesson. Drippings are a gift from the turkey. Do not waste them. Tell me something: Do you save your drippings in a jar? Or pour them straight into the pot? I have a special glass cup just for drippings. It feels fancy for no reason.Step Five: Thicken It Up
If you are making gravy ahead, stop here. You can reheat it later. If you are ready now, mix cornstarch with cold water in a small bowl. Stir until it is smooth. No lumps allowed. Pour this into the boiling broth. Whisk like your life depends on it. The gravy will thicken in about one minute. It is almost magic. I love watching it change from thin to silky. This is the moment everyone gathers around the stove. They know dinner is coming soon. *Fun fact:* Cornstarch works better than flour for a clear, shiny gravy. Flour makes it cloudy. Cornstarch makes it look like jewelry.Step Six: Season with Love
Taste your gravy. Does it need salt? A little pepper? I add sage and thyme for that Thanksgiving feel. Then a squeeze of lemon juice. It sounds weird, but the acid wakes up the flavor. Taste again. Adjust until it makes you smile. I once added too much pepper. My grandpa coughed for ten minutes. We still laugh about that. Seasoning is personal. You are the boss of your gravy. Make it your own. Here is my last question for you: What is your favorite thing to pour gravy on? Mashed potatoes? Turkey? Biscuits? I love it on everything except cake. But my neighbor says she would try it. I am not that brave.Ingredients:
| Ingredient | Amount | Notes |
|---|---|---|
| Drippings from 1 roast turkey | As needed | Reserved from roasting pan |
| Turkey or chicken broth | 1/2 to 1 cup | Adjust for desired consistency |
| All-purpose flour | 1/4 cup plus 1 tablespoon | For thickening |
| Fat-free milk | 1/2 cup | Adds creaminess |
| Chicken bouillon granules | 1 teaspoon | Enhances flavor |
| Poultry seasoning | 1/4 teaspoon | Adds savory notes |
| White pepper | 1/8 teaspoon | For mild heat |
Let Me Tell You About My Gravy Disaster
I still laugh at the time I made gravy that looked like wet cement. My poor family were too kind to say anything. They just stirred it around their plates. Now I always say a little prayer before I start. Doesn’t that smell amazing when it all comes together?
Simple Steps for Silky Homemade Gravy
Step 1: Start by browning your turkey bones in a big pot with a little oil. Take your time here, about 8 to 10 minutes. This is where all the deep flavor hides. My grandma called this “making the bones sing.” Don’t rush it.
Step 2: Now toss in chopped carrots, celery, and onion into that same pot. Let them cook until they are soft and golden, about 6 to 8 minutes. Stir them now and then. The smell will make you hungry. (Hard-learned tip: Do not walk away here, or the veggies will burn and turn your gravy bitter!)
Step 3: Put the turkey bones back in the pot. Pour in chicken broth, some parsley, garlic, bay leaves, and peppercorns. Bring it all to a boil, then turn down the heat and let it simmer for 30 minutes. This is the part where you can sit and daydream. I wonder, what is your favorite Thanksgiving memory? Share below!
Step 4: Pour the whole pot through a strainer into another pot. Throw away the veggies and bones. Now pour this clear broth back into the pot and bring it to a boil. If you saved drippings from your turkey pan, add them here. This is liquid gold.
Step 5: If you want to take a break, stop right here. You can cover the broth and put it in the fridge for later. If you are ready to finish, grab a small bowl. Whisk together cornstarch and cold water until it is smooth like a milkshake. No lumps allowed.
Step 6: Stir that cornstarch mixture into your boiling broth. Whisk it constantly like you mean it. Let it come back to a simmer for just one minute. Watch it get thick and shiny right before your eyes. Magic.
Step 7: Now taste your gravy. Add a pinch of sage, a little thyme, some salt, pepper, and a splash of lemon juice. Taste again. Adjust until it makes you smile. That tiny bit of lemon is my secret trick to wake everything up.
Cook Time: 45 minutes
Total Time: 1 hour 15 minutes
Yield: About 2 cups
Category: Sauce, Thanksgiving
Three Fun Twists on Classic Gravy
Mushroom Herb Dream: Skip the turkey drippings and use vegetable broth instead. Sauté a cup of sliced mushrooms with the veggies. It tastes like a cozy forest in a bowl.
Spicy Kick Gravy: Add a pinch of cayenne pepper and a dash of smoked paprika. This one warms you up from the inside. My uncle begs for this every single year.
Apple Cider Surprise: Swap half the broth for unsweetened apple cider. Stir in a little fresh thyme. It is sweet and savory at the same time. Which one would you try first? Comment below!
How to Serve Your Perfect Gravy
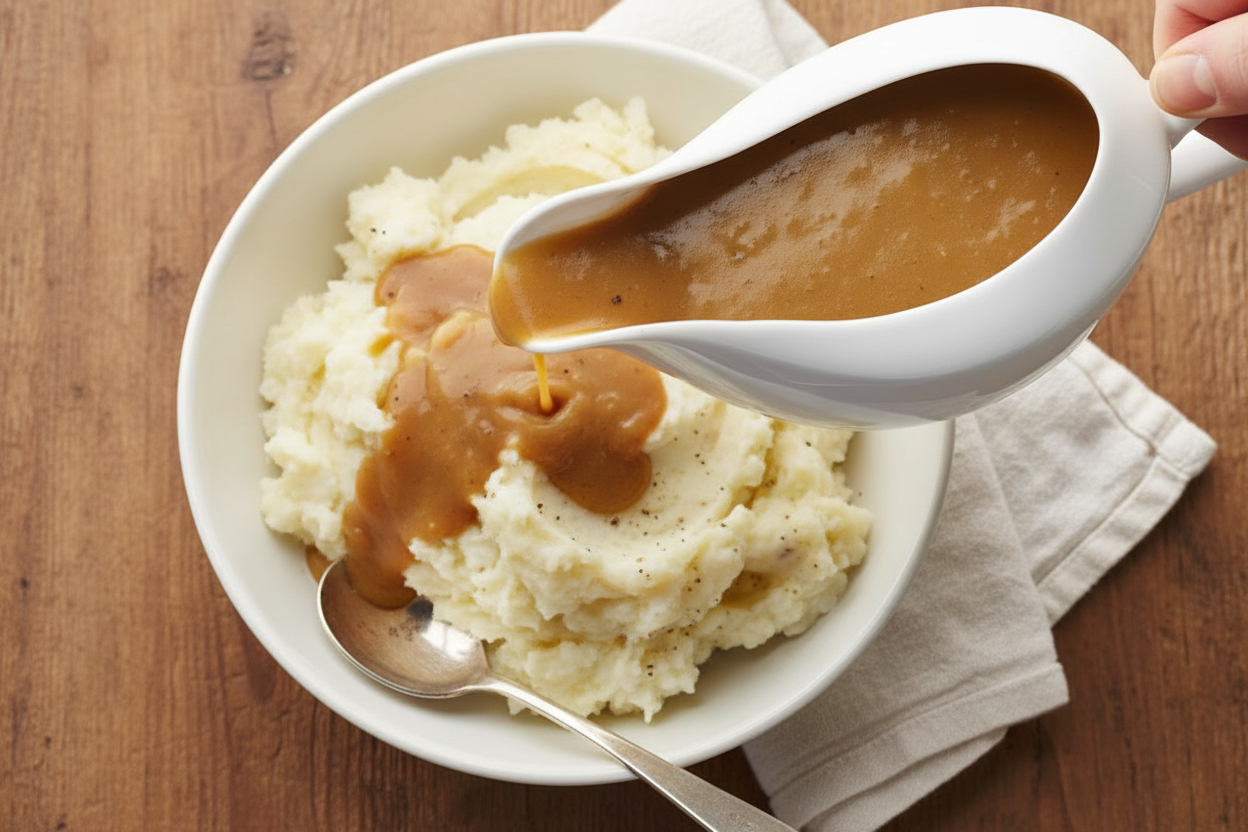
This gravy loves to sit on top of creamy mashed potatoes. It also makes plain roasted chicken taste like a holiday feast. Drizzle a little over buttery biscuits for a breakfast treat.
For a grown-up drink, try a glass of crisp dry cider. It cuts through the richness just right. For kids (or you on a school night), pour a tall glass of cold apple juice. Which would you choose tonight?
How to Store Your Gravy (and Make It Last)
Gravy is a little treasure. You want to save every drop. The best way is to let it cool first, then pour it into a tight jar. It will stay fresh in the fridge for up to four days. I once forgot a jar in the back of the fridge for a week. It was still good, but I learned my lesson. Always label it with the date.
You can also freeze gravy. Pour it into a freezer bag and lay it flat. It saves space and thaws quickly. Just pop the bag in a bowl of warm water when you need it. Batch cooking is a smart move. Make extra gravy on Sunday, and you have dinner ready on Tuesday. Why does this matter? Because a homemade meal on a busy night feels like a hug. Have you ever tried storing it this way? Share below!
Three Gravy Problems (and Easy Fixes)
The first problem is lumpy gravy. I remember the first time I made gravy. I stirred too fast and got a pot full of little balls. The fix is simple. Whisk the flour and milk together before adding them to the hot drippings. A smooth start means a smooth finish.
The second problem is gravy that is too thin. This happened to me last Thanksgiving. I panicked. Then I remembered my grandma’s trick. Mix one tablespoon of cornstarch with two tablespoons of cold water. Stir it in and watch it thicken. The third problem is bland flavor. Taste your gravy before you serve it. Add a pinch of salt or a dash of poultry seasoning. Why does this matter? Fixing these problems builds your confidence in the kitchen. You stop guessing and start cooking with joy. Which of these problems have you run into before?
Your Gravy Questions, Answered
Q: Can I make this gluten-free? A: Yes. Swap the all-purpose flour for a gluten-free flour blend or use cornstarch instead.
Q: Can I make it ahead of time? A: Absolutely. Follow the recipe through Step 4, then cool and store it. Finish the gravy when you are ready to serve.
Q: What if I don’t have turkey drippings? A: Use chicken broth and a little butter for richness. It works great for chicken or pork roasts.
Q: Can I double this recipe? A: Yes. Just use a larger pot and give the whisk a little extra work. The cooking time stays the same.
Q: Can I skip the white pepper? A: Sure. Use black pepper instead. It changes the taste a little, but it will still be delicious. Which tip will you try first?
*Fun fact: Gravy was first made in ancient Rome using meat juices and wine.*
A Warm Goodbye from Chloe
There is nothing like the smell of gravy bubbling on the stove. It fills a kitchen with love and promise. I hope this recipe brings your family to the table with happy hearts. Remember, the best gravy is the one you make with a smile. Have you tried this recipe? Tag us on Pinterest! Share your photos and let me know how it turned out. Until next time, keep stirring and tasting. Happy cooking! —Chloe Hartwell.

Gravy: Gravy Recipes Tips and Easy Homemade Ideas
Description
Discover easy homemade gravy recipes, tips, and ideas for perfect flavor every time. Elevate your meals with rich, savory sauces.
Ingredients
Instructions
- Brown the bones: Heat canola oil over medium-high heat in a Dutch oven. Once the oil is hot, add turkey parts and brown on all sides for 8 to 10 minutes. Remove from the pan and set aside.
- Brown the vegetables: In the same Dutch oven, add carrots, celery and onion. Cook until browned and softened, about 6 to 8 minutes, stirring occasionally.
- Simmer the bones, broth and seasoning: Add the turkey bones back into the pot along with the chicken broth, parsley, garlic, bay leaves and peppercorns. Bring to a boil, then reduce heat and simmer for 30 minutes.
- Strain the broth: Pour the broth through a strainer. Discard the solids. Pour the strained broth back into the Dutch oven and bring to a boil. Add any turkey pan drippings at this time, if using.
- Prep (or pause) for thickening the gravy: If making ahead, stop here. If proceeding, in a small bowl, whisk together cornstarch and cold water until smooth and lump-free.
- Thicken the gravy: Stir the cornstarch mixture into the boiling broth. Whisk constantly. Return to a simmer and cook for 1 minute to thicken.
- Season the gravy: Taste the gravy. Stir in sage, thyme, salt, pepper, and a tablespoon of lemon juice. Taste again and adjust seasoning if needed.
Notes
- Nutrition Facts (per 2 tablespoons): Calories: 165, Fat: 17g, Saturated Fat: 7g, Cholesterol: 17mg, Sodium: 103mg, Carbohydrate: 2g, Sugars: 0g, Fiber: 0g, Protein: 0g


Leave a Reply