
My First Loaf (And Why It Looked Like a Dinosaur)
The first time I baked whole wheat bread, I was only about your age. I was so proud of my little loaf. But it came out flat and lumpy, like a sleepy dinosaur. I still laugh at that memory. My grandma just smiled and said, “Taste is what matters, dear.” She was right. That lesson stuck with me. Bread baking is not about being perfect. It is about trying and sharing something warm with people you love. Have you ever made something that looked funny but tasted wonderful? I would love to hear your story.The Secret Life of Yeast (It’s Alive!)
Yeast is a tiny, sleepy creature. You wake it up with warm water, just like you wake me up with coffee in the morning. Water that is too hot will kill it. Water that is too cold will keep it sleeping. Think of it like Goldilocks — it has to be just right. When you see the yeast get bubbly and foamy, that is the yeast breathing. It is alive and hungry for sugar. Doesn’t that sound amazing? This is why we add a little sugar and molasses. *Fun fact: Yeast is a single-celled fungus, and it has been helping humans bake bread for over 5,000 years.*Why Whole Wheat Matters More Than You Think
Now, white bread is soft and fluffy, like a cloud. But whole wheat bread has more flavor and keeps your tummy full longer. It has fiber, which helps your body clean up after meals. I think of it as the sturdy friend who always shows up. Here is why this matters. When you eat whole wheat, you get more vitamins and energy from your food. It is like putting good fuel in a car. Would you rather have a car that drives for miles or one that stops every ten minutes? That is the difference whole wheat can make.Kneading Is Like Giving a Hug
Kneading dough is my favorite part. You push the dough away, fold it back, and turn it. It feels warm and soft against your hands. I pretend I am giving the bread a nice, long hug. This builds the gluten, which is like the glue that holds the bread together. This is the second reason why this matters. Kneading makes the bread chewy and strong, not crumbly. If you skip it, your bread might fall apart. Do you like to squish play-dough or clay with your hands? Then you will love kneading. It is like grown-up playtime!The Waiting Game (It’s Hard, I Know)
After you knead, you cover the dough and walk away. That is the hardest part. You have to let it rest and grow for about an hour. The dough gets bigger and bigger, like a sponge soaking up a spill. This is the yeast doing its happy dance. Then you punch it down. That part is very satisfying, I must admit. Then you wait another thirty minutes after shaping the loaves. I usually read a book or sweep the floor while I wait. What do you do when you have to wait for something yummy?The Hollow Sound of Success
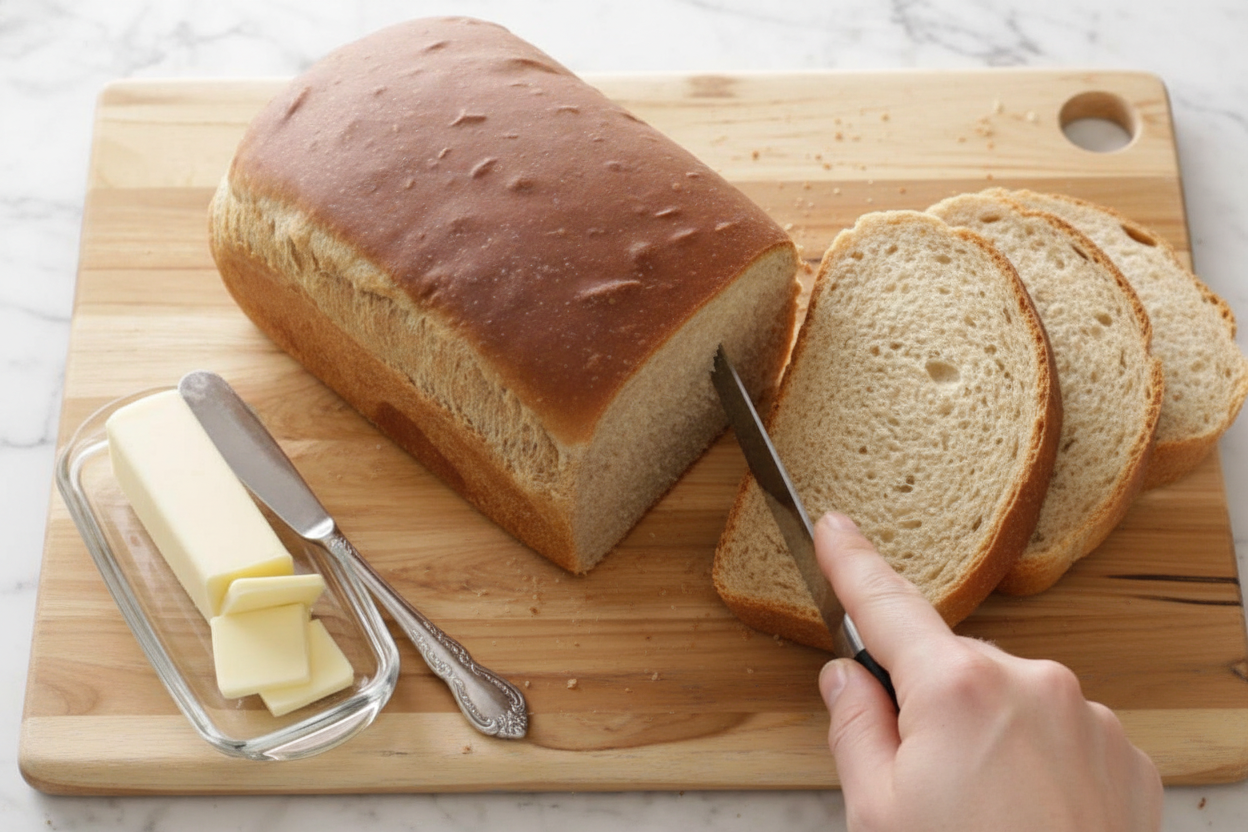
When the bread comes out of the oven, it should be golden brown. You can tap the bottom with your finger. If it sounds hollow, like a drum, you did it right. That hollow sound tells you the inside is fully cooked and fluffy. I always let the bread cool on a wire rack. This is important, even though you want to eat it right away. If you cut it too soon, it gets gummy. Waiting a few extra minutes gives you perfect, sliceable bread. Does your kitchen smell like a bakery right now? I bet it does!Butter and Jam and Memories
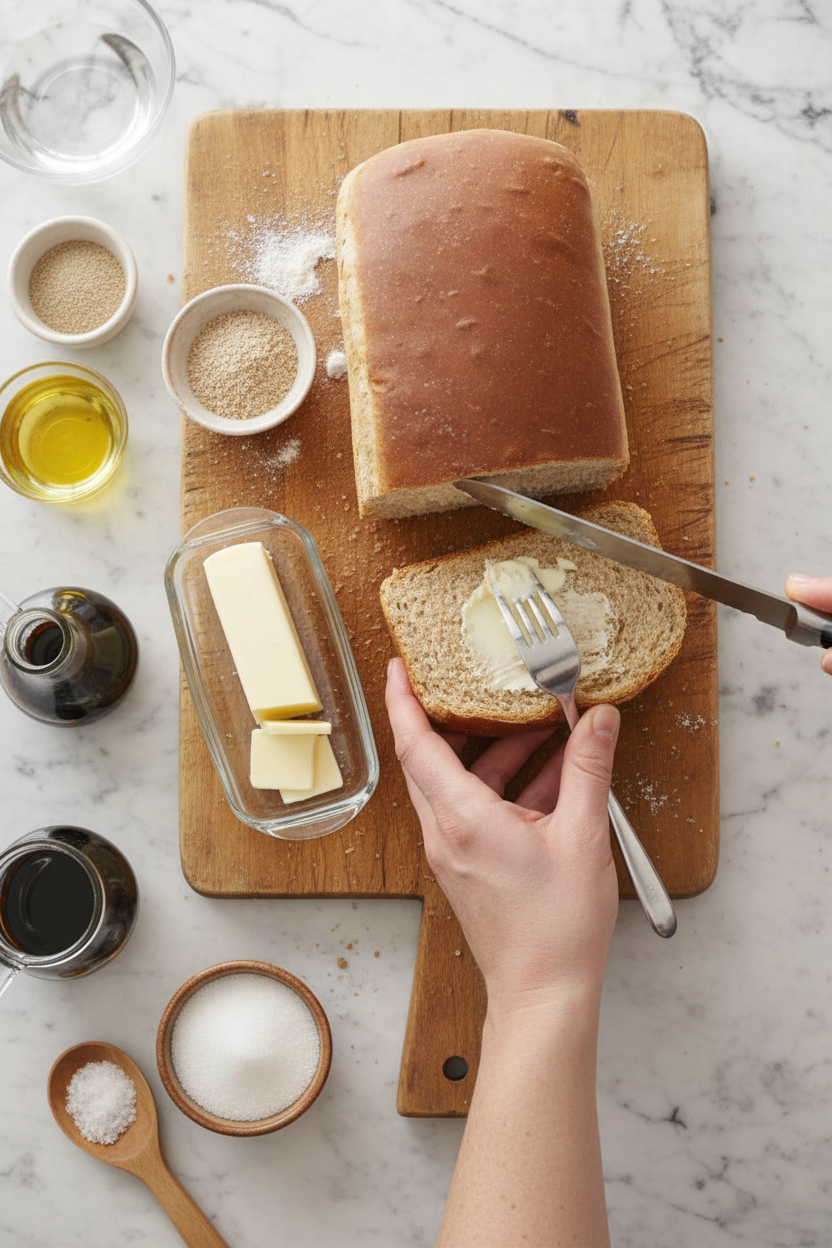
The best part of homemade bread is eating it warm with butter. The butter melts into little golden rivers. I like to add a big spoonful of strawberry jam on top. It reminds me of Sunday mornings at my grandma’s kitchen table. I hope you try making this bread. Even if it looks funny, it will taste like love. That is the best ingredient of all. I would love to see a picture of your loaf or hear what you put on top. And tell me: do you prefer crusty edges or the soft middle slice?Ingredients:
| Ingredient | Amount | Notes |
|---|---|---|
| Active dry yeast | 1 package (1/4 ounce) | |
| Warm water (100° to 110°) | 3 cups, divided | |
| Canola oil | 3/4 cup | |
| Sugar | 1/4 cup | |
| Molasses | 1/4 cup | |
| Salt | 1 tablespoon | |
| All-purpose flour | 5 to 5-1/2 cups | |
| Whole wheat flour | 3 cups |
The Day I Finally Got Bread to Rise
I still remember my first loaf of bread. It came out flat and hard as a rock. My grandma just laughed and said, “Honey, yeast needs a little love.” This whole wheat recipe is the one she finally taught me. It smells like home, doesn’t it?
Making bread is like making a new friend. You have to be patient and gentle. The dough will talk to you, telling you when it’s ready. Just listen. And don’t be shy about getting flour on your nose. I still laugh at that.
Step 1: Start by waking up the yeast. Put the warm water (not too hot!) and yeast in a big bowl. Let it sit for five minutes until it looks foamy. If it doesn’t foam, your yeast is asleep. Try again with fresh yeast.
Step 2: Now add the oil, sugar, molasses, salt, and the rest of the warm water. Stir it until it’s smooth. In another bowl, mix the white flour and whole wheat flour together. Then add three cups of that flour mix to the wet stuff. Keep adding flour until the dough starts to pull away from the bowl. (Hard-learned tip: If the dough feels like sticky bubblegum, add a little more flour, a spoonful at a time.)
Step 3: Time to get your hands dirty! Sprinkle flour on your counter and dump the dough out. Push it away from you with your palms, then fold it back. Turn it a little and do it again. Keep going until the dough feels soft and bouncy, like a pillow. My kids used to say it felt like squishing a cloud.
Step 4: Grease a clean bowl with a little oil. Put the dough ball in and turn it once so the top is shiny. Cover it with a damp towel and put it in a warm, quiet spot. Let it rest until it doubles in size, about one hour. It’s like giving the dough a cozy nap.
Step 5: Punch the dough down! Make a fist and push it right into the center. Then gather the edges and shape it back into a ball. This lets the air out and wakes the yeast up again. It’s very satisfying. What’s your favorite part of baking bread? Share below!
Step 6: Cut the dough in half. On a floured surface, gently roll each piece into an oval shape. Put each oval into a greased loaf pan. Cover again with the damp towel and let them rise until doubled, about 30 minutes. They will look puffy and proud.
Step 7: Heat your oven to 350°F. Bake the loaves for 40 to 45 minutes until they are golden brown. If the top gets too dark, cover it loosely with foil. The bread is done when you tap the bottom and it sounds hollow, like a drum. Take them out of the pans right away and cool on a rack.
Cook Time: 40–45 minutes
Total Time: About 2 hours 20 minutes
Yield: 2 loaves (16 slices each)
Category: Bread, Baking
Fun Twists for Your Loaf
Once you master the basic loaf, you can play around. Here are three fun ways to change it up. Each one adds a little surprise to your sandwich bread. Which one would you try first? Comment below!
Cinnamon Swirl: Before you shape the loaves, roll the dough flat. Sprinkle cinnamon and sugar on top, then roll it up like a log. Bake as usual for a sweet breakfast bread.
Seedy and Crunchy: Add a handful of sunflower seeds, flax seeds, and oats to the flour. Sprinkle more seeds on top before baking. It’s like a crunchy surprise in every bite.
Honey Herb: Swap the sugar for an extra tablespoon of honey. Add a teaspoon of dried rosemary and thyme to the flour. This loaf is amazing with butter and soup.
How to Serve and Sip Your Bread
This bread loves butter and jam. Toast a slice and smear it with strawberry jam for a simple treat. It also makes the best grilled cheese sandwiches you’ve ever had. For a fancier dinner, serve it with olive oil and balsamic vinegar for dipping.
For a drink, try a cold glass of milk. It’s classic and perfect with warm bread. Adults might like a simple red wine, like a Merlot, with a slice of the honey herb loaf. Which would you choose tonight?
Storing Your Homemade Bread
Fresh bread is a treasure. But you cannot eat two loaves right away. That is okay. You can store one loaf for later. Let the bread cool completely first. Wrap it tightly in plastic wrap. Then put it in a resealable bag. It will stay soft on the counter for two days. For longer storage, use the freezer.
I remember my first time freezing bread. I was nervous it would get dry. So I wrapped it in two layers of plastic. Then I put it in a foil bag. When I thawed it, it tasted just as good as fresh. Now I always make extra. This is why batch cooking matters. It saves you time and gives you bread all week. You can also slice the loaf before freezing. Then pull out one slice at a time for toast.
To reheat, warm the bread in a 350-degree oven for five minutes. Or pop a slice in the toaster. Have you ever tried storing it this way? Share below!
Common Baking Problems and Fixes
Sometimes bread does not turn out perfect. That is okay. Let us fix three common issues. First, if your dough is too sticky, add a little more flour. Just a tablespoon at a time. I once added too much water by accident. My dough was a sticky mess. I slowly sprinkled in flour until it felt right. Knead it well, and it will be fine.
Second, if your bread does not rise, check your yeast. The water must be warm, not hot. Too hot kills the yeast. Too cold stops it from waking up. This matters because good rise makes fluffy bread. You can test your yeast by letting it sit in warm water for five minutes. If it gets foamy, it is ready.
Third, if the top burns before the inside is done, use foil. Cover the loaf loosely with foil halfway through baking. This keeps the crust from getting too dark. Which of these problems have you run into before? Fixing them makes you a more confident baker.
Your Bread Questions Answered
Q: Can I make this bread gluten-free?
A: Yes, but use a gluten-free flour blend. The texture will be denser.
Q: Can I make the dough ahead of time?
A: Yes. After the first rise, punch it down. Cover it and put it in the fridge overnight.
Q: Can I swap molasses for honey?
A: Yes. Use the same amount of honey. The flavor will be milder.
Q: Can I make just one loaf?
A: Yes. Cut all ingredients in half. Bake one loaf.
Q: How do I make it softer?
A: Add two tablespoons of melted butter to the dough. It adds richness and softness.
Which tip will you try first? I hope you find one that helps you bake better bread.
A Warm Send-Off
I hope you try this whole wheat bread. It is simple and fills the house with a lovely smell. The best part is sharing it with people you love. I always think of my grandmother when I knead dough. She said bread is love made visible. I believe her.
*Fun fact: Whole wheat flour soaks up more moisture than white flour. That is why this recipe uses extra water.*
Have you tried this recipe? Tag us on Pinterest! I love seeing your beautiful loaves. Send your photos and stories my way. Happy cooking!
—Chloe Hartwell.
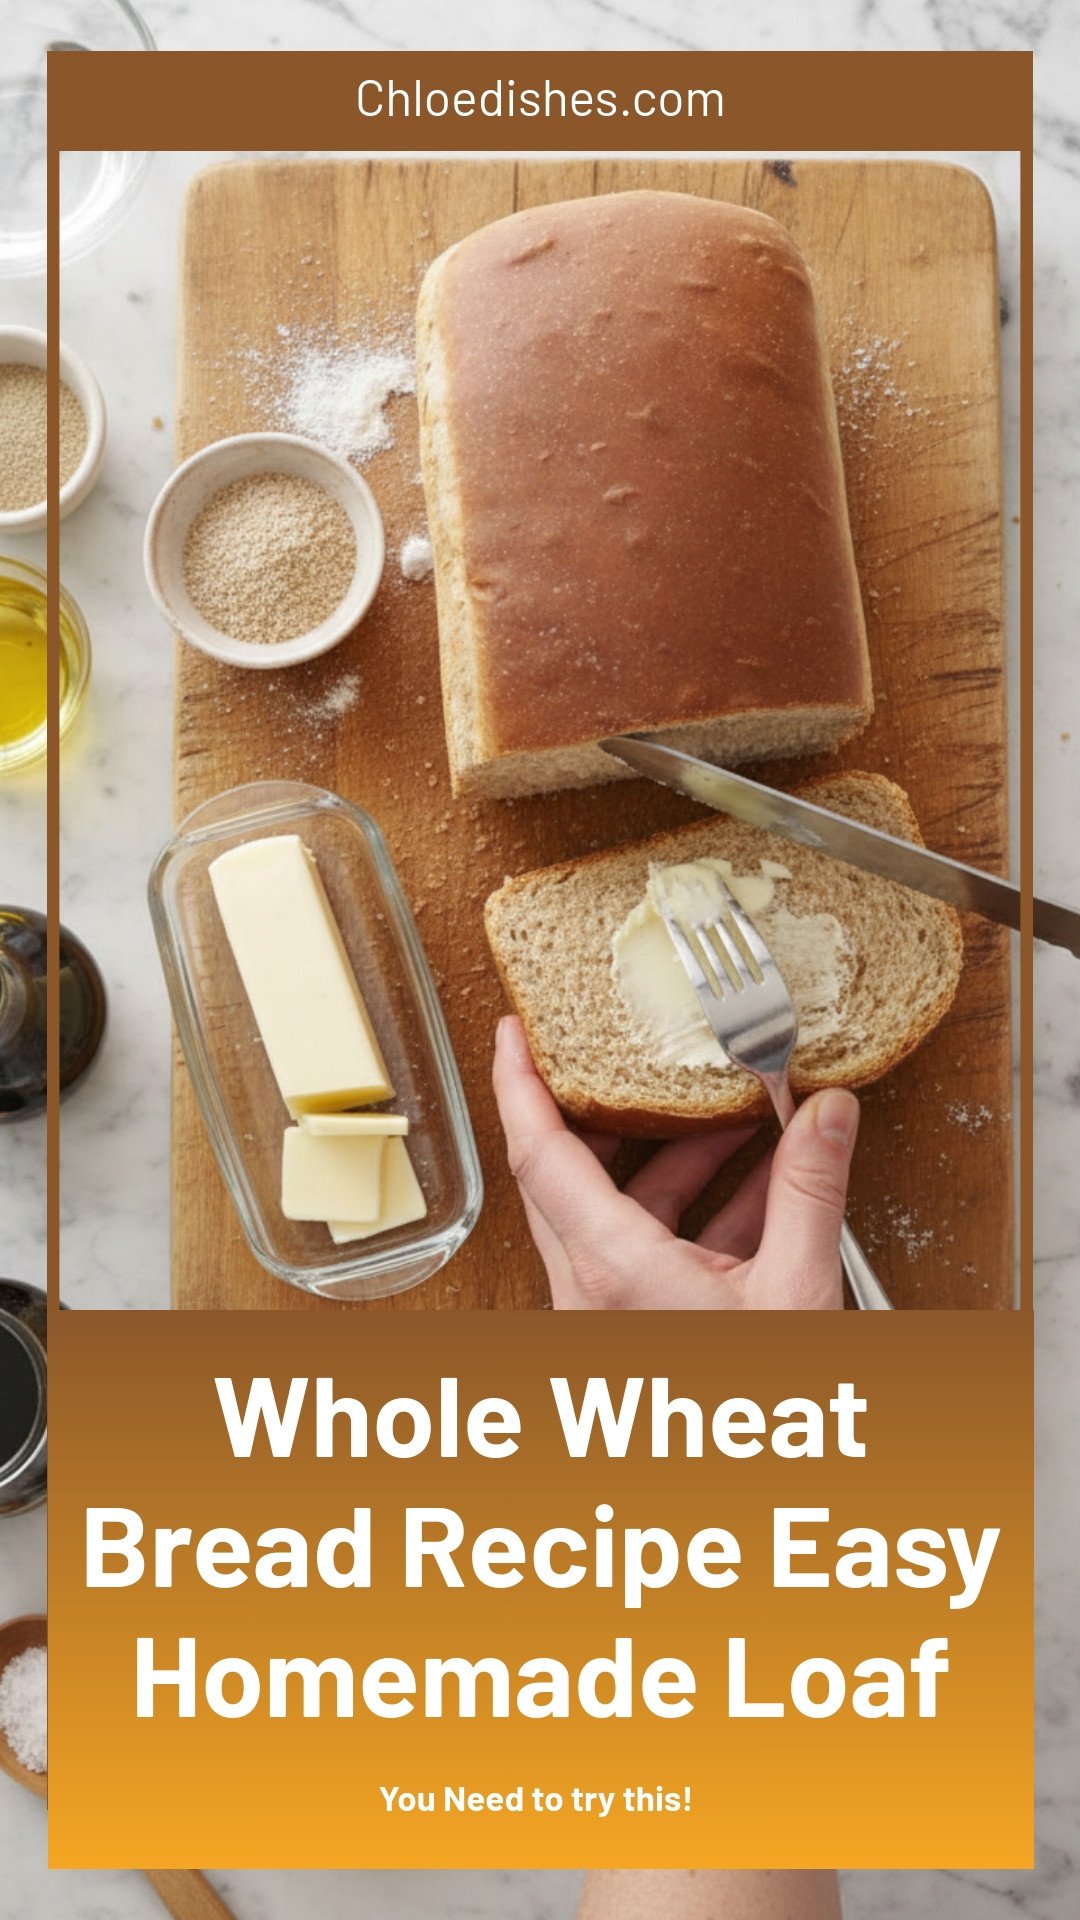
Whole Wheat Bread Recipe Easy Homemade Loaf
Description
Easy whole wheat bread recipe for a soft homemade loaf. Perfect for beginners! No-knead, healthy, delicious.
Ingredients
Instructions
- Prime the yeast by dissolving it in 3/4 cup warm water (100° to 110° F) in a large bowl.
- Add the oil, sugar, molasses, salt and remaining water to the yeast mixture. In a separate bowl, combine the flours. Add 3 cups of the flour mixture to the wet ingredients, mixing until smooth and well incorporated. Continue adding flour until the batter comes together to form a firm dough. You may not need all of the flour.
- Flour your work surface and turn out the dough. Shape into a ball. Fold the top of the dough toward you and, using your palms, push it away in a rolling motion. Turn the dough a quarter turn and repeat. Continue kneading until the dough feels smooth and elastic, sprinkling with flour as needed to prevent sticking.
- Place the dough in a greased bowl, turning once to grease the top. Cover with a damp towel and let rise in a warm place until doubled, about 1 hour.
- Punch the dough down by pushing a fist into the center. Gather the dough toward the center to shape it into a ball.
- Divide dough in half. On a lightly floured surface, gently roll each portion into an oval. Place each into a greased 9×5 inch loaf pan. Cover with a damp towel and let rise until doubled, about 30 minutes.
- Preheat oven to 350° F. Bake the bread for 40-45 minutes or until golden brown. If the top browns too quickly, cover loosely with foil. Bread is done when an internal thermometer reads 200° F or the bottom sounds hollow when tapped. Immediately remove from pans and cool on wire racks.
Notes
- Nutrition: Yield: 2 loaves (16 slices). Nutritional information per slice: Not provided.


Leave a Reply