

The Day My Hair Met a Banana
I remember the first time I mashed a banana for my hair. My friend Linda told me it would make my curls soft. I laughed. Banana in my hair? No way. But I tried it. I stood in my tiny kitchen, mashing that ripe banana with a fork. It smelled sweet, like a summer morning. I still laugh at how silly I felt. Then I rinsed it out, and my hair was so soft. I was hooked. Have you ever tried putting food on your hair?Why This Mask Works
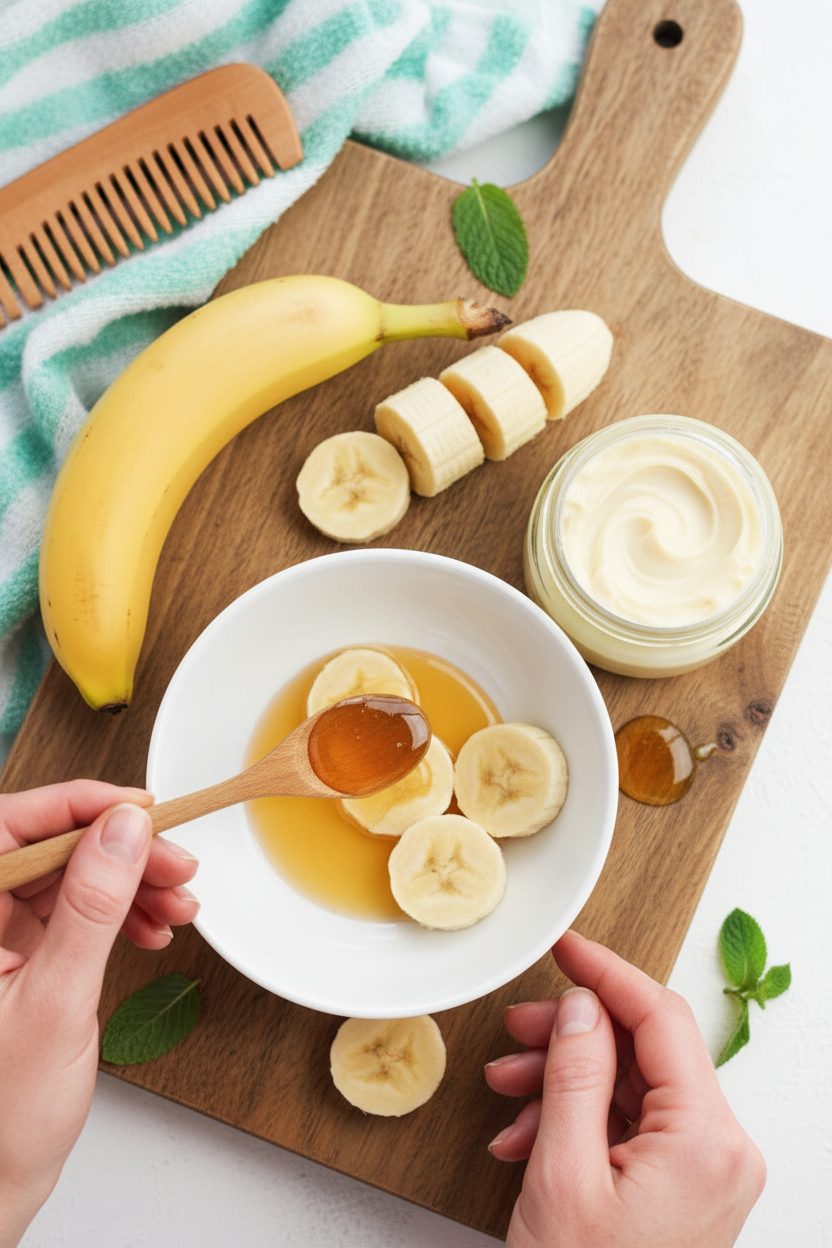
Bananas are full of good things for your hair. They have potassium, which makes strands stronger. Honey helps lock in moisture. *Fun fact: Bananas also have a natural oil that can help fight frizz.* This mask is simple. You don’t need fancy bottles. Just two things from your kitchen. Doesn’t that make you feel smart? It reminds me that taking care of yourself doesn’t have to be hard or expensive. That is why this matters: small, simple things can make a big difference.Step One: The Mash
Take one very ripe banana. The kind with brown spots. Put it in a bowl and mash it with a fork until it looks like baby food. Smooth and creamy. No lumps. Add half a tablespoon of honey. Mix it well. The honey will feel sticky and sweet. This is your magic paste. Take a deep breath. Smell that? It’s natural goodness. Do you remember the last time you smelled a fresh banana?A Little Lesson From My Kitchen
Before you put the mask on, wash your hair. Use a gentle shampoo. Then dry it a little with a towel. Don’t rub hard. Just pat it. I learned this trick the hard way. I once put the mask on soaking wet hair. It all slid off onto my shoulders. What a mess! Damp hair holds the mask better. It’s like the banana wants to hold on. This little step matters because it saves you from a drippy disaster. Do you have any funny kitchen mess stories?Step Two: Spread the Love
Part your hair into sections. I use my fingers or a wide comb. Then, use your hands to spread the mask from your roots all the way to the tips. Don’t be shy. Cover every strand. Pile your hair on top of your head. Put on a snug shower cap. Now you look a little goofy. That’s okay. I always laugh at myself in the mirror. Let the mask sit for 20 to 30 minutes. Go read a book or hum a tune. Your hair is getting a treat.Wash It Out and Feel the Soft
Rinse the mask out with lukewarm water. Not hot water. Hot water can make the banana sticky. I always sing a little song as the honey slides down the drain. You might need to shampoo again and condition. That is fine. When your hair is dry, touch it. It will feel softer and smoother. This is why this matters: you can make your own hair care with love. It is kinder to you and the earth. I bet your hair will feel as happy as mine did. Will you try this mask on a quiet afternoon?Ingredients:
| Ingredient | Amount | Notes |
|---|---|---|
| Ripe banana | 1 | Mash well to avoid lumps |
| Honey | 1/2 tablespoon | Adds moisture and shine |
My Grandma’s Secret for Shiny Hair (It’s a Banana!)
I remember my grandma mashing bananas in the kitchen, telling me it was for her “special hair soup.” I was maybe ten, and I giggled at the slimy mush. But her hair always looked so soft and shiny afterward. Doesn’t that sound nice? This mask is just like her old recipe, with just two simple things from your pantry.
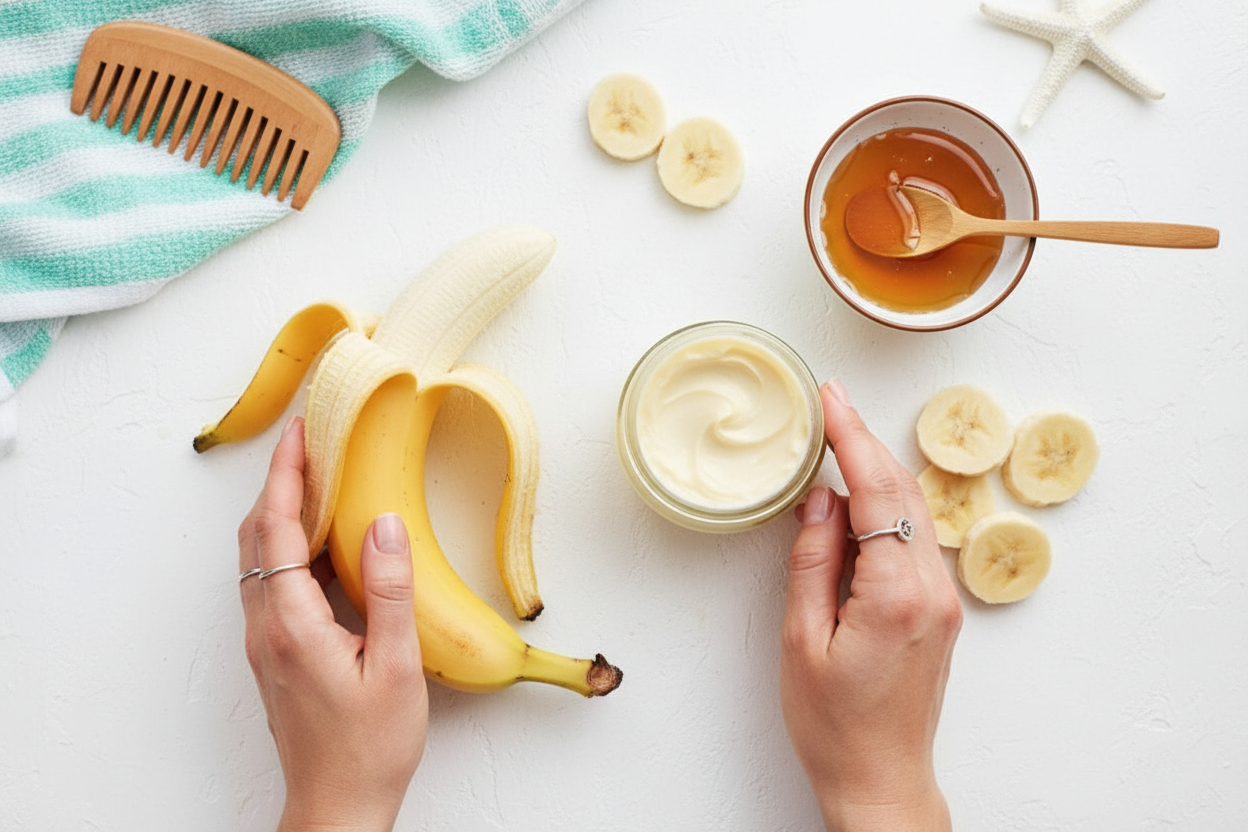
A ripe banana is packed with natural goodness for your locks. Honey is a gentle humectant, which is just a fancy word for something that locks in moisture. I still laugh at the time I tried this with a green banana—it was impossible to mash! So make sure yours is soft and spotty. Now, let’s get mixing.
Step 1: Mash the banana in a bowl until it turns into a soft, creamy paste. Add the honey, then mix well. (Hard-learned tip: Don’t use a blender if you can help it—it makes the mask too runny and drippy!) Smoosh it with a fork for the best texture.
Step 2: Shampoo your hair as normal with a non-sulfate shampoo and let it dry slightly. Your hair should be damp, not dripping wet. This helps the mask cling on better, like glue! I like to squeeze out the extra water with an old t-shirt.
Step 3: Part your hair into sections. Generously apply the banana and honey mask from the roots to the tips. Pile your hair on top of your head and cover it with a snug shower cap. Let the mask sit for 20 to 30 minutes. I sometimes sit in the sun with my cap on—it feels like a cozy spa day.
Step 4: Wash out the mask in your shower with lukewarm water. Re-shampoo and condition if necessary. Be patient here! Tiny banana bits can get stuck if you rush. I lost a few strands to a hasty rinse once, and it broke my heart. Take your time. What’s your favorite hair mask ingredient? Share below!
Cook Time: 20-30 minutes
Total Time: 35-40 minutes
Yield: 1 treatment
Category: Hair Care, DIY
Three Fun Twists to Try
Want to change things up? Here are three ways to make this mask your own. Each one adds a little extra boost for your hair.
For Extra Shine: Add a splash of coconut milk to the mash. It makes your hair smell like a tropical vacation and adds a lovely gloss.
For a Gentle Scent: Stir in a drop of vanilla extract. It hides the banana smell and makes your hair smell like cookies. I tried this for a school dance once—it was a hit!
For Dry Hair: Mix in half a tablespoon of plain yogurt. It adds creaminess and extra moisture for winter hair. Which one would you try first? Comment below!
How to Enjoy Your Hair Mask Morning
Turn your mask time into a little ritual. Wear your favorite cozy robe while the mask sits. Put on a soft podcast or some calm music. I love sipping a warm cup of chamomile tea during the wait. It makes the 20 minutes feel like a treat.
For a drink pairing, try a tall glass of iced green tea with mint. It’s refreshing and non-alcoholic. My neighbor Karen sips a glass of crisp white wine during her mask time—she says it feels fancy. Which would you choose tonight?
My First Time Making a Hair Mask
I remember the first time I tried a banana hair mask. I was a young girl, and my grandmother told me about it. I mashed the banana right on the kitchen counter. It was messy but so much fun. My hair felt soft and shiny for days after. That is why I love sharing this simple recipe with you. You only need two ingredients from your kitchen. No fancy products needed. Just a ripe banana and a little honey. *Fun fact: Bananas are full of potassium, which helps strengthen your hair.* This mask is a gentle way to treat your hair at home. Have you ever made a hair mask before? Tell me in the comments!
How to Store and Reheat Your Mask
This mask is best made fresh, but you can store leftovers. Put any extra mask in a small jar with a tight lid. Keep it in the fridge for up to two days only. Do not freeze it, because the banana will turn brown and watery. When you want to use it again, let it sit on the counter for ten minutes. Stir it well before applying. I once left a mask in the fridge for three days. It turned dark and smelled funny. I learned my lesson! Batch cooking this mask does not work well. Make just enough for one use. This matters because fresh ingredients give you the best results. Why does storing it matter? It saves you time and waste. Have you ever tried storing it this way? Share below!
Three Common Problems and Easy Fixes
Sometimes the mask is too runny. This happens if your banana is very ripe. Fix it by mashing in a little more banana until it thickens. I once used a mushy banana and it dripped down my neck. What a mess! Another problem is the mask not sticking to your hair. This means your hair is too wet. Let it dry a little more before applying. The third issue is tiny banana bits stuck in your hair. Mash the banana very well until it is smooth. A fork works great for this. Why does fixing these problems matter? It makes the mask easier to use and more effective. You will feel more confident trying it again. Which of these problems have you run into before?
Your Questions Answered
Q: Can I use this mask if my hair is gluten-free?
A: Yes, bananas and honey are naturally gluten-free. This mask is safe for you.
Q: Can I make this mask ahead of time?
A: It is best to make it fresh. You can store it in the fridge for one day.
Q: Can I swap the honey for something else?
A: Yes, you can use a little olive oil or coconut oil instead.
Q: How do I scale this recipe for longer hair?
A: Use two bananas and one tablespoon of honey. Double everything.
Q: Any tips for rinsing out the mask?
A: Rinse with lukewarm water. Use a wide-tooth comb to gently remove bits. Which tip will you try first?
A Warm Send-Off
Thank you for spending time in my kitchen today. I hope you try this banana hair mask and love it. Your hair deserves a little treat now and then. Take a picture of your soft, shiny hair and share it with me. Have you tried this recipe? Tag us on Pinterest! I love seeing your creations. Remember, cooking and self-care are simple joys. Keep trying new things and having fun. Happy cooking! —Chloe Hartwell.
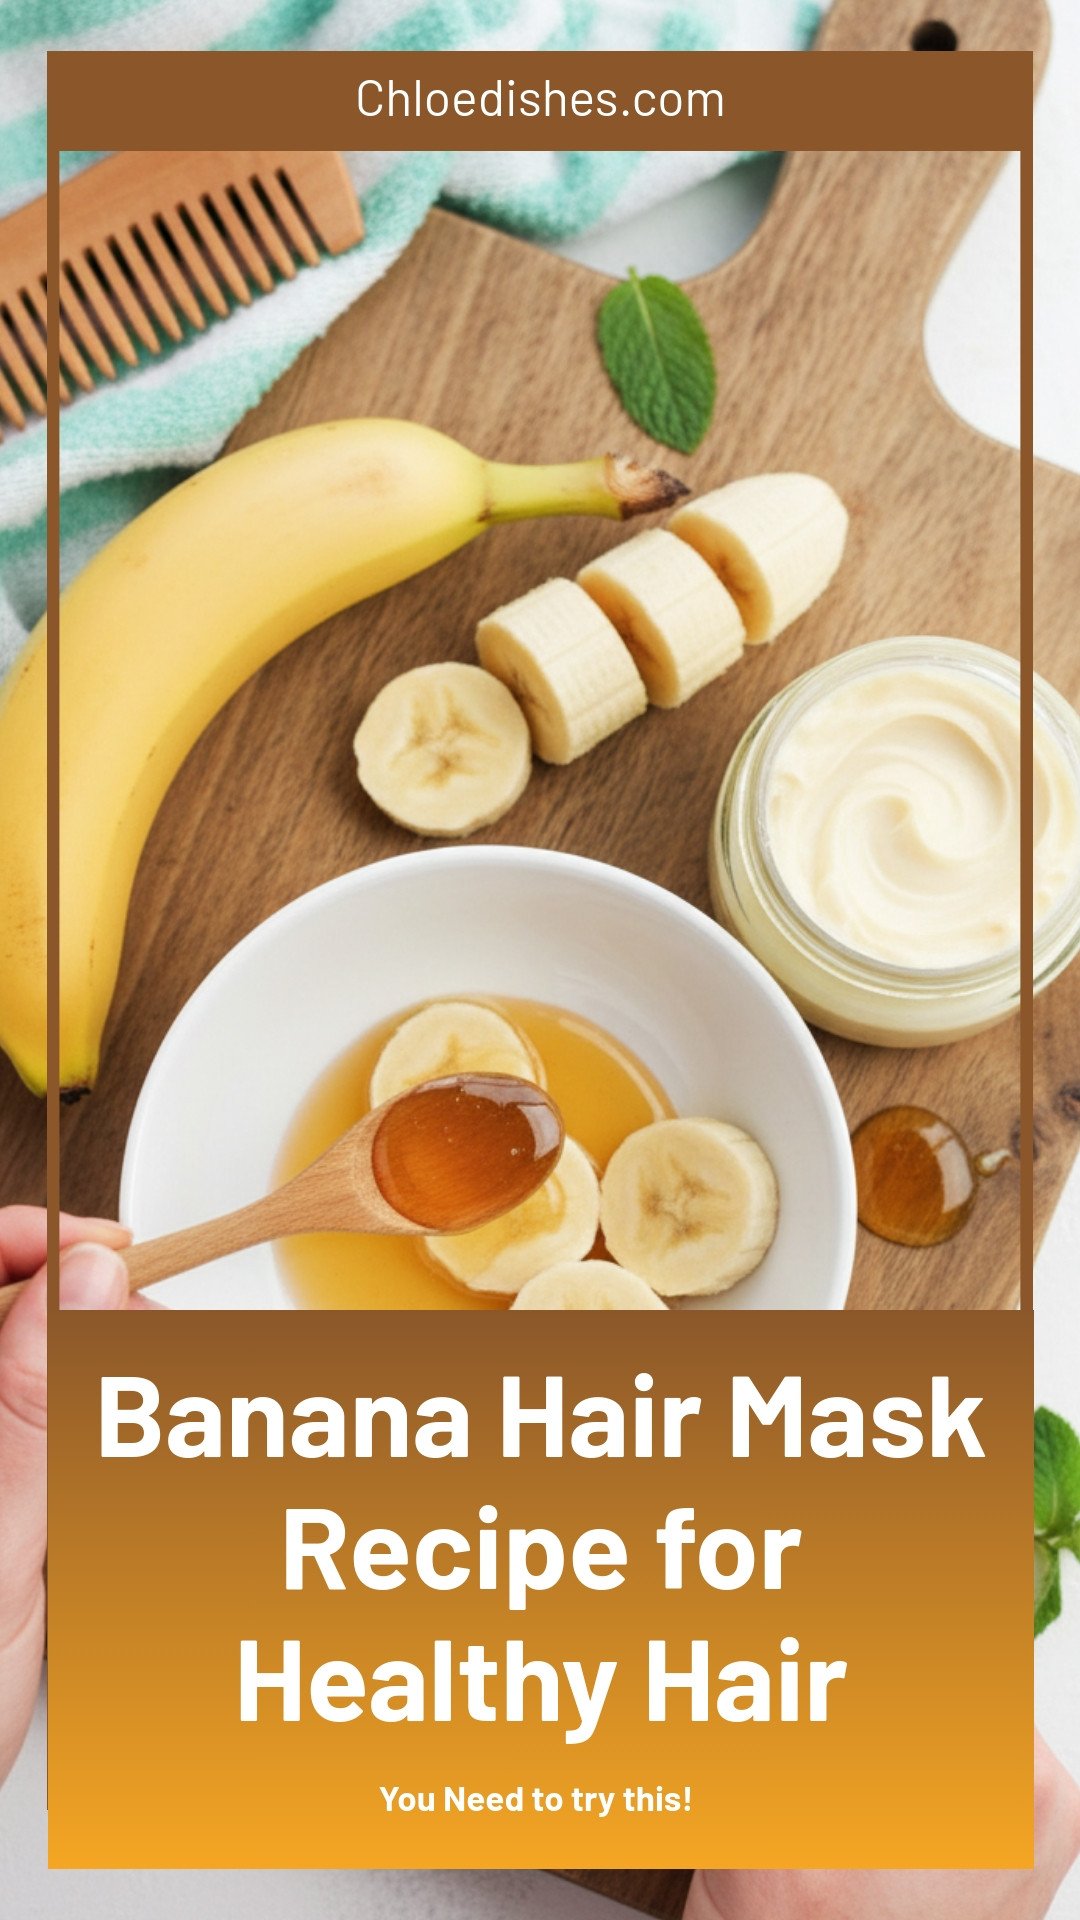
Banana Hair Mask Recipe for Healthy Hair
Description
Try this easy banana hair mask recipe for soft, shiny, and healthy hair. DIY deep conditioning treatment for growth and moisture.
Ingredients
Instructions
- Mash the banana in a bowl until it turns into a soft, creamy paste. Add the honey, then mix well.
- Shampoo your hair as normal with a non-sulfate shampoo and let it dry slightly.
- Part your hair into sections. Generously apply the banana and honey mask from the roots to the tips. Pile your hair on top of your head and cover it with a snug shower cap. Let the mask sit for 20 to 30 minutes.
- Wash out the mask in your shower with lukewarm water. Re-shampoo and condition if necessary.
Notes
- Nutrition information is not provided for this topical hair treatment.


Leave a Reply