
My First Sponge Candy Surprise
I made this candy for the first time as a young bride. I was so nervous. When I added the baking soda, it puffed up like magic! I jumped back and squealed. My husband thought the kitchen was on fire. I still laugh at that.
That puff is the whole point. The baking soda makes thousands of tiny bubbles. They give the candy its amazing sponge texture. This matters because it teaches you to trust the recipe. Even when things look wild in the pan.
The Simple Magic of Sugar & Heat
Let’s talk about that 300-degree step. It seems fussy, but it’s important. The sugar needs to get hard and glassy when it cools. That’s what holds all those wonderful air bubbles inside.
No thermometer? Use the ice water test. Drop a bit of syrup in cold water. If it turns brittle and snaps, it’s ready. *Fun fact: This is called the “hard crack” stage. It sounds tough, just like the candy gets!*
The Golden Rule: Hands Off!
This is the hardest part for eager cooks. Once you pour that foamy mixture into the pan, walk away. Do not spread it. Do not poke it. Do not even breathe on it too hard!
Why does this matter? Any disturbance will pop the bubbles. Your light, airy sponge will turn into a flat toffee. Patience makes perfect candy. Do you find it hard to wait for treats to be ready?
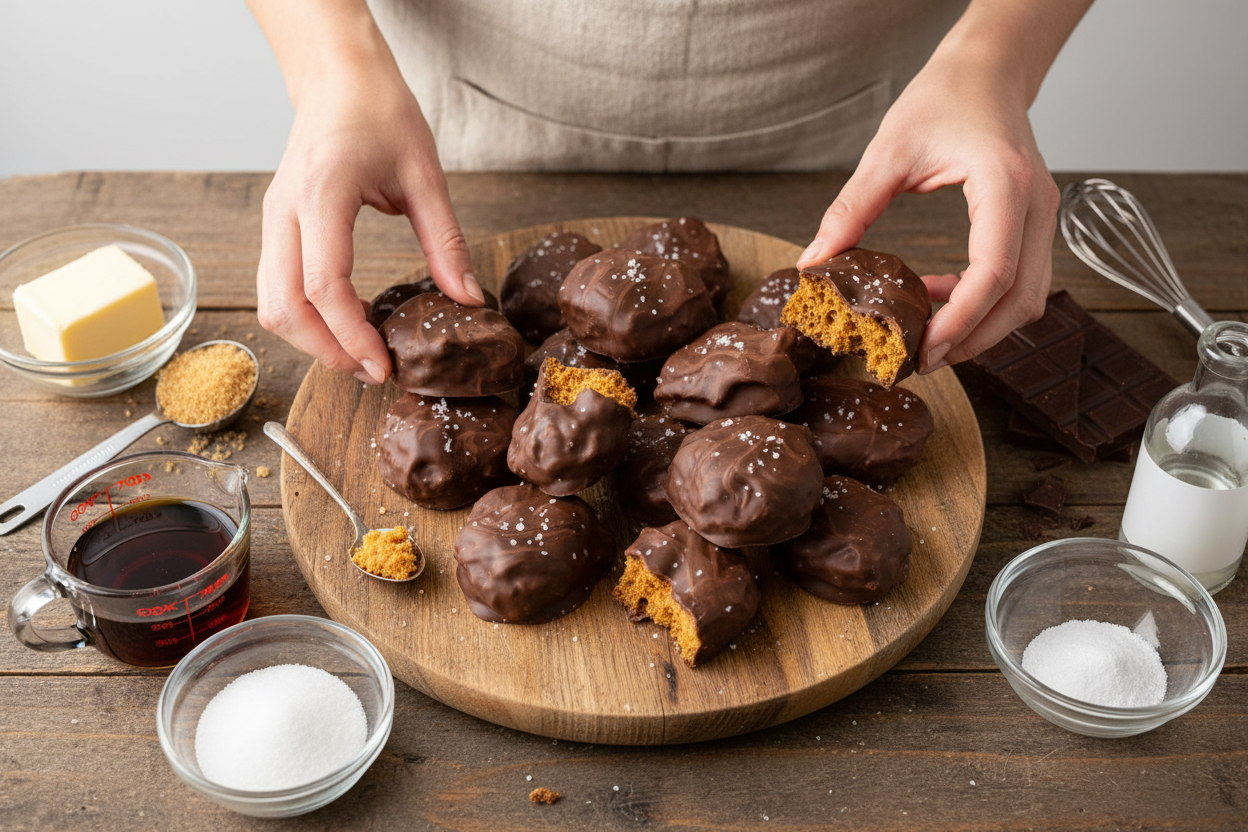
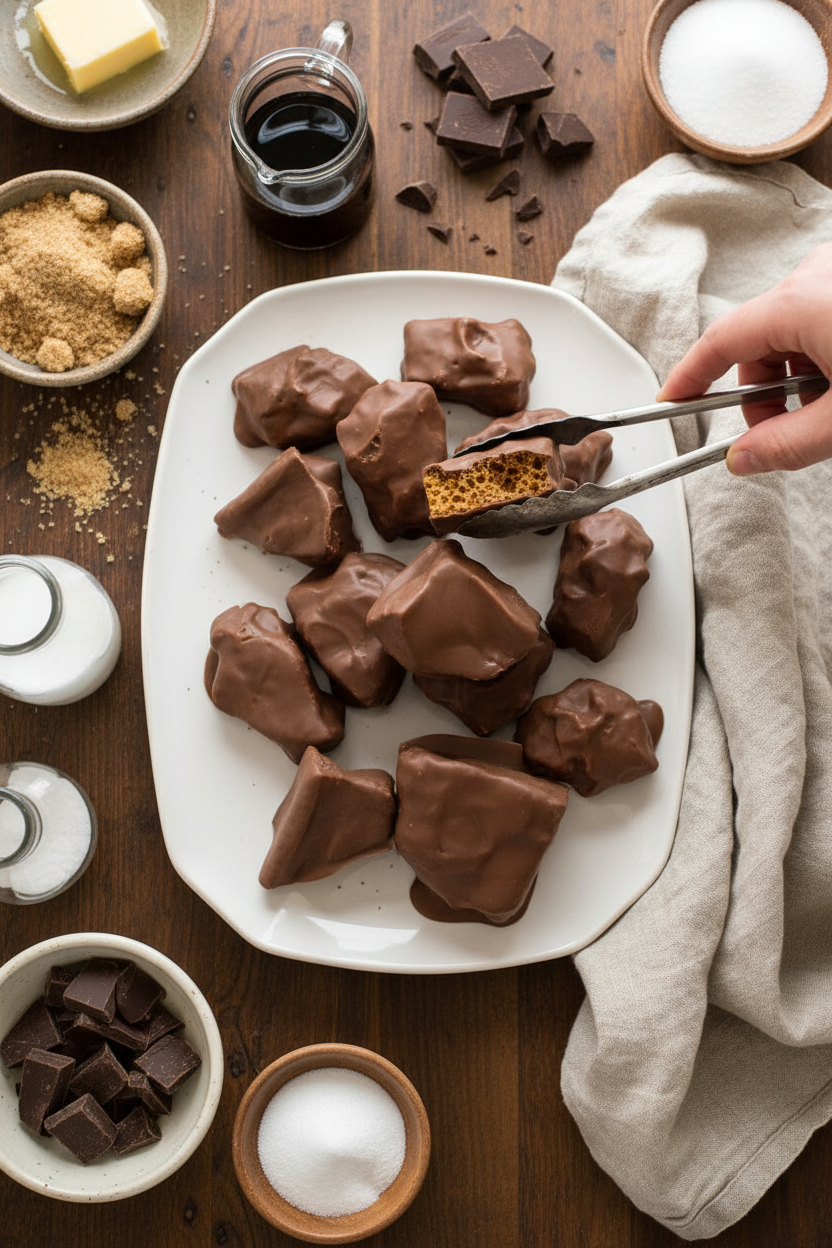
A Chocolate Hug
Breaking the cooled candy is so satisfying. It makes a wonderful *snap*. Then comes the best part. You get to give each piece a chocolate hug.
Melt your chocolate slowly. Dip each honey-colored shard. Let the extra drip off. Doesn’t that smell amazing? The dark chocolate balances the sweet, airy center perfectly. Do you prefer milk chocolate or dark chocolate for dipping?
Keeping the Crunch
Store your finished candy in a tight tin. Keep it in a cool, dry spot. Moisture is this candy’s only enemy. It will make the sponge soft and sad.
Making this is a lesson in science and love. You transform simple sugar into a crispy cloud. It’s a magical trick to share. What’s the oldest family recipe you love to make? I’d love to hear about it.

Ingredients:
| Ingredient | Amount | Notes |
|---|---|---|
| Butter | 1-3 teaspoons | For greasing the pan |
| Brown sugar (packed) | 1 cup | White granulated sugar can be used as an alternative |
| Dark corn syrup | 1 cup | |
| White vinegar | 1 tablespoon | |
| Baking soda | 1 tablespoon | |
| Milk or dark chocolate | For dipping | Amount unspecified in the recipe |
My Grandma’s Magical Sponge Candy
Hello, dear! Pull up a chair. Let’s make my grandma’s sponge candy. It’s like a sweet, crunchy cloud. I loved watching it puff up. It felt like kitchen magic. We’ll make some magic today.
Ingredients & Tools
- Brown sugar
- Corn syrup
- Vinegar
- Baking soda
- Butter (for greasing)
- Chocolate for dipping (optional)
- Heavy pot
- Candy thermometer
- 8×8 inch pan
- Foil
Instructions
Step 1: First, line your pan with foil. Grease it well with soft butter. This keeps the candy from sticking. Now, measure your baking soda. Have it ready in a little bowl. Being prepared is the secret. (My hard-learned tip: Grease that foil generously! A sticky sponge candy is a sad one.)
Step 2: Grab a big, heavy pot. Add brown sugar, corn syrup, and vinegar. Stir it over medium heat. Keep stirring until the sugar melts. It will start to bubble gently. Doesn’t that smell amazing? It reminds me of caramel.
Step 3: Stop stirring now. Let the syrup boil alone. Watch your candy thermometer until it says 300°F. This is the hard-crack stage. No thermometer? Test with ice water. If the syrup snaps, it’s ready! What stage makes candy snap: soft-ball or hard-crack? Share below!
Step 4: Take the pot off the heat. Quickly stir in the baking soda. The mixture will foam up like a volcano! Don’t be scared. I still laugh at that part. Stir it all through. Pour it into your pan right away.
Step 5: Here is the hardest part. Walk away. Do not touch the pan. Let the candy cool all by itself. Any poking will pop its lovely bubbles. Let it sit until it’s completely cool. Your patience will be rewarded.
Step 6: Lift the candy out using the foil. Peel the foil back gently. Now, break it into wild, beautiful pieces. Store them in a tight container. Keep moisture out. This keeps the candy wonderfully crisp.
Step 7: Finally, melt some chocolate. Dip each piece halfway. Let the chocolate set on wax paper. That creamy shell with the crunchy inside is heaven. My grandma always used dark chocolate. The memory is so sweet.
| Cook Time | 20 minutes |
| Total Time | 1 hour 30 minutes (includes cooling) |
| Yield | About 1 pound of candy |
| Category | Dessert, Candy |
Three Fun Twists to Try
This classic recipe loves a little change. Here are some playful ideas. They make the candy feel new again. Try one next time you feel adventurous.
- Sea Salt Sparkle: Sprinkle a little flaky sea salt on the wet chocolate. It makes the sweet taste even better.
- Peppermint Pop: Add a drop of peppermint extract to the melted chocolate. It’s so fresh and festive for the holidays.
- Nutty Crunch: Roll the chocolate-dipped ends in very finely chopped nuts. Pecans or almonds would be just lovely.
Which one would you try first? Comment below!
Serving Your Sweet Creation
This candy is perfect for sharing. Pile the pieces high on a pretty plate. I use my grandmother’s china plate. It makes a simple treat feel special. You could also crumble a piece over vanilla ice cream. Oh, that is a delicious treat.
For drinks, a glass of cold milk is the classic choice. It’s so comforting. For the grown-ups, a small glass of sherry or port wine pairs beautifully. The rich flavors dance together.
Which would you choose tonight?
Keeping Your Sponge Candy Perfect
Let’s talk about keeping your candy crunchy. Store it in an airtight container. A cookie tin or glass jar works great. Keep it in a cool, dry spot, not the fridge. Moisture is this candy’s enemy. It makes the lovely sponge go soft.
You can make the candy ahead of time. Just dip it in chocolate right before serving. I once stored a big batch for a week. It stayed perfectly crisp in my pantry. Batch cooking saves you time for parties.
Why does this matter? Good storage means no waste. You get to enjoy every sweet, crunchy piece. It makes your effort last. Have you ever tried storing it this way? Share below!
Sponge Candy Troubleshooting
First, the candy didn’t puff up. This often means the syrup wasn’t hot enough. Use that thermometer or the ice water test. Getting the temperature right creates all those wonderful bubbles.
Second, the candy collapsed or got chewy. You probably stirred it after pouring. I remember I once poked it while it cooled. You must let it sit completely undisturbed. This patience gives you that light, airy texture.
Third, it sticks to the foil. Just grease the foil more generously with butter. This simple step makes cleanup so easy. Getting these steps right builds your candy-making confidence. It also guarantees that perfect, melt-in-your-mouth crunch. Which of these problems have you run into before?
Your Sponge Candy Questions
Q: Is this gluten-free? A: Yes, the basic candy recipe is naturally gluten-free. Just check your chocolate labels.
Q: Can I make it ahead? A: Absolutely. Make the sponge pieces up to a week early. Dip them in chocolate the day you serve.
Q: What if I don’t have corn syrup? A: You can use golden syrup or honey. The color and taste will be a little different.
Q: Can I double the recipe? A: I don’t recommend it. It’s best to make separate batches. This ensures it cooks and puffs evenly.
Q: Any fun extras? A: Try a pinch of sea salt on the chocolate. *Fun fact: The baking soda reaction is what creates hundreds of tiny bubbles!* Which tip will you try first?
Share Your Sweet Success
I hope you have fun making this old-fashioned treat. It always reminds me of snowy afternoons with my grandkids. Hearing the candy crack into pieces is the best sound.
I would love to see your creations. Show me your beautiful, crunchy shards of sponge candy. Sharing recipes keeps the kitchen traditions alive. Have you tried this recipe? Tag us on Pinterest!
Happy cooking! —Chloe Hartwell.
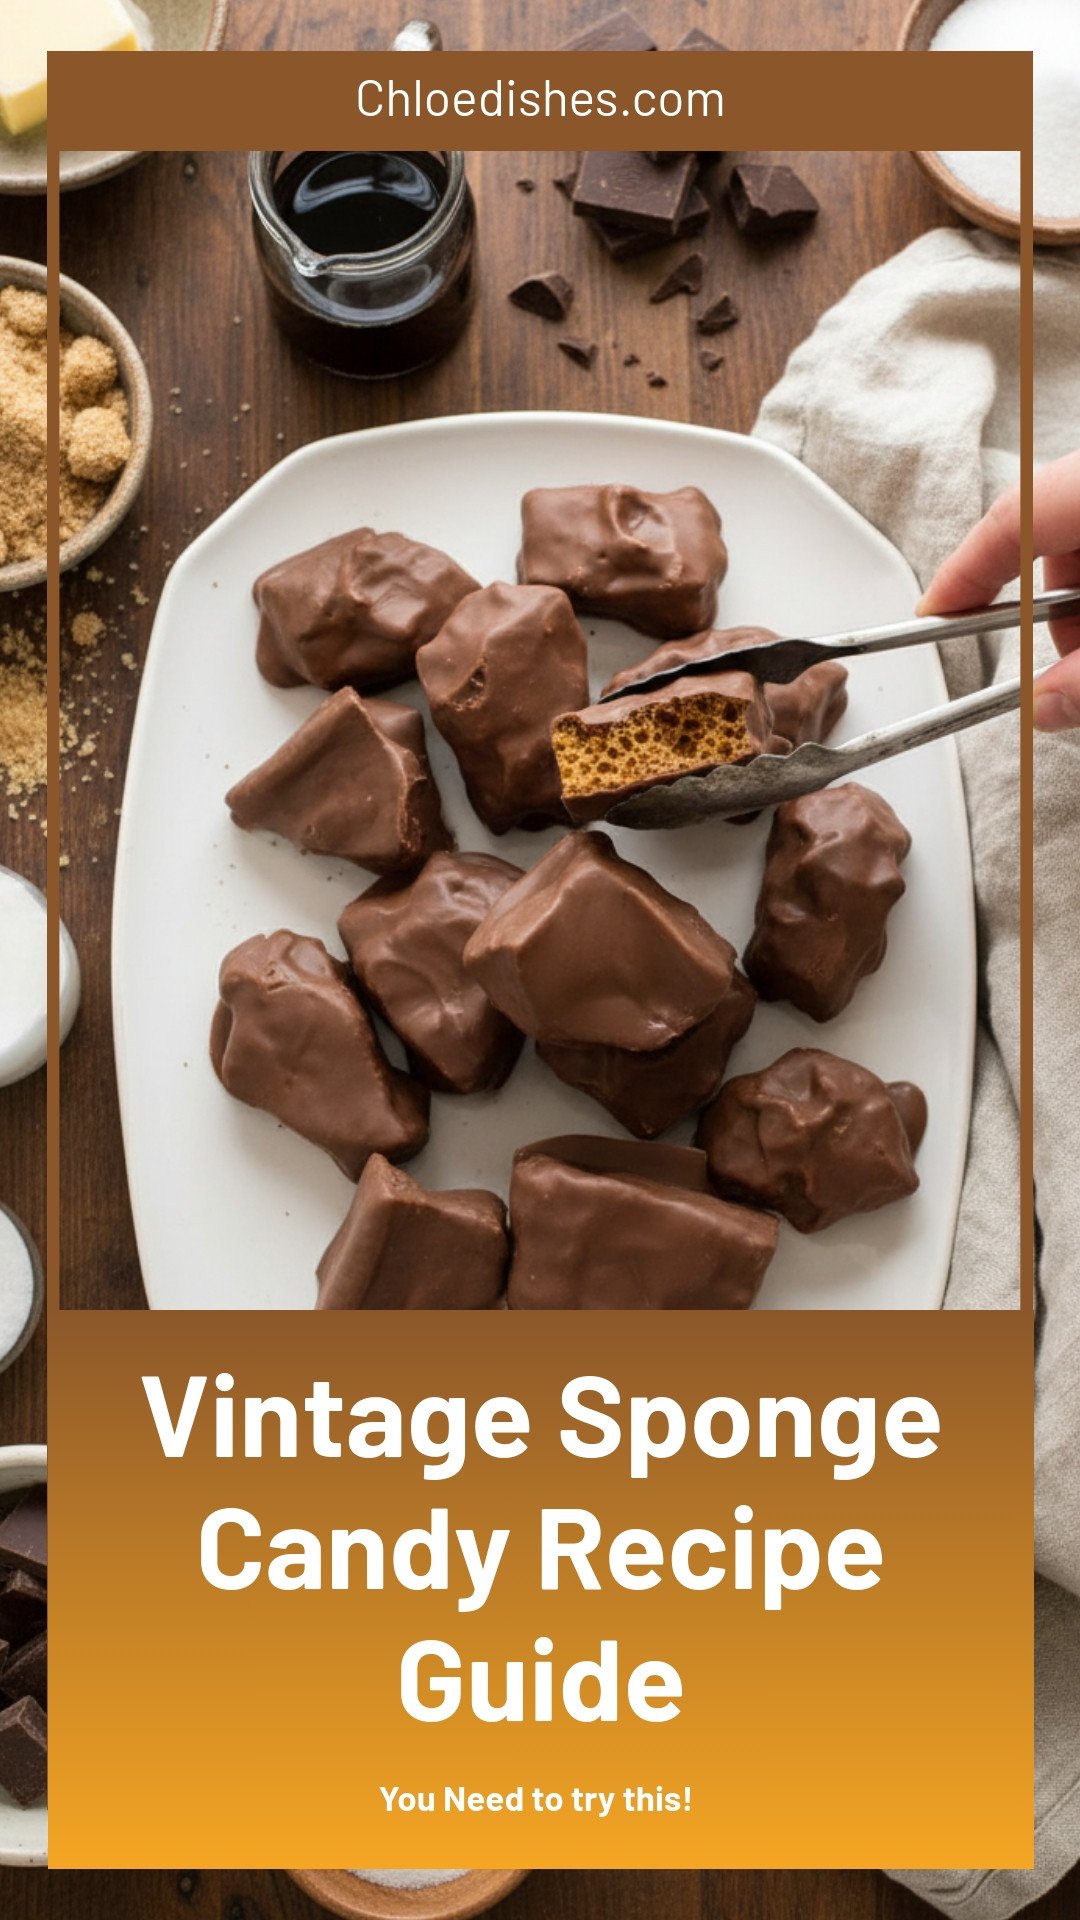
Vintage Sponge Candy Recipe Guide
Description
Discover the secret to perfect old-fashioned sponge candy! This easy recipe guide creates a light, crispy, honeycomb toffee treat at home.
Ingredients
Instructions
- Line a 13×9-in. baking pan with foil; generously grease the foil with butter and set the pan aside. Measure out your baking soda and have it ready to go.
- In a large heavy saucepan, combine the brown sugar, corn syrup and vinegar over medium heat, stirring constantly, until the sugar is dissolved and the mixture comes to a boil.
- Cook, without stirring, until a candy thermometer reads 300°F (hard-crack stage). If you don’t have a thermometer, test by dropping a tiny spoonful of syrup into ice water; if it snaps, it’s ready.
- Remove the pan from the heat and add the baking soda, stirring rapidly. The mixture will puff up—don’t be alarmed, and don’t stop stirring!
- Once combined, immediately pour into the prepared pan. Do not spread the candy (it won’t fill the pan) and do not scrape the saucepan. Let the candy cool, undisturbed. Any stirring, bumping, shaking or smoothing will pop the air bubbles.
- Once the candy is cool and set, use the foil to lift it out of the pan. Gently peel back the foil and break the candy into pieces. Store in an airtight container to prevent softening.
- Traditional sponge candy wouldn’t be sponge candy unless it’s dipped in creamy milk or dark chocolate.
Notes
- Nutrition information is not provided in the text.


Leave a Reply