
A Sweet Treat for Someone Special
Valentine’s Day is about sharing love. And what better way than with a homemade dessert? This one is rich, red, and creamy. It is a hug for your taste buds.
I first made this for my grandson years ago. His face lit up when he saw the red swirls. I still laugh at that. It is now our yearly tradition. Do you have a favorite food you make for someone you love?
Let’s Make the Red Velvet Heart
First, heat your oven to 350°F. Get your baking pan ready. I like to use a little spray so nothing sticks. This part is easy. You are just getting everything set.
Now, mix the cake mix, melted butter, oil, one egg, and that red food coloring. The batter will be very thick. Do not worry. That is how it should be. This thick batter makes a wonderful base for our treat.
The Magic of the Swirl
Save a small scoop of the red batter. Press the rest into your pan. Then, mix that saved batter with three tablespoons of water. This makes it thin and easy to swirl later. Setting this aside is a small step that matters a lot.
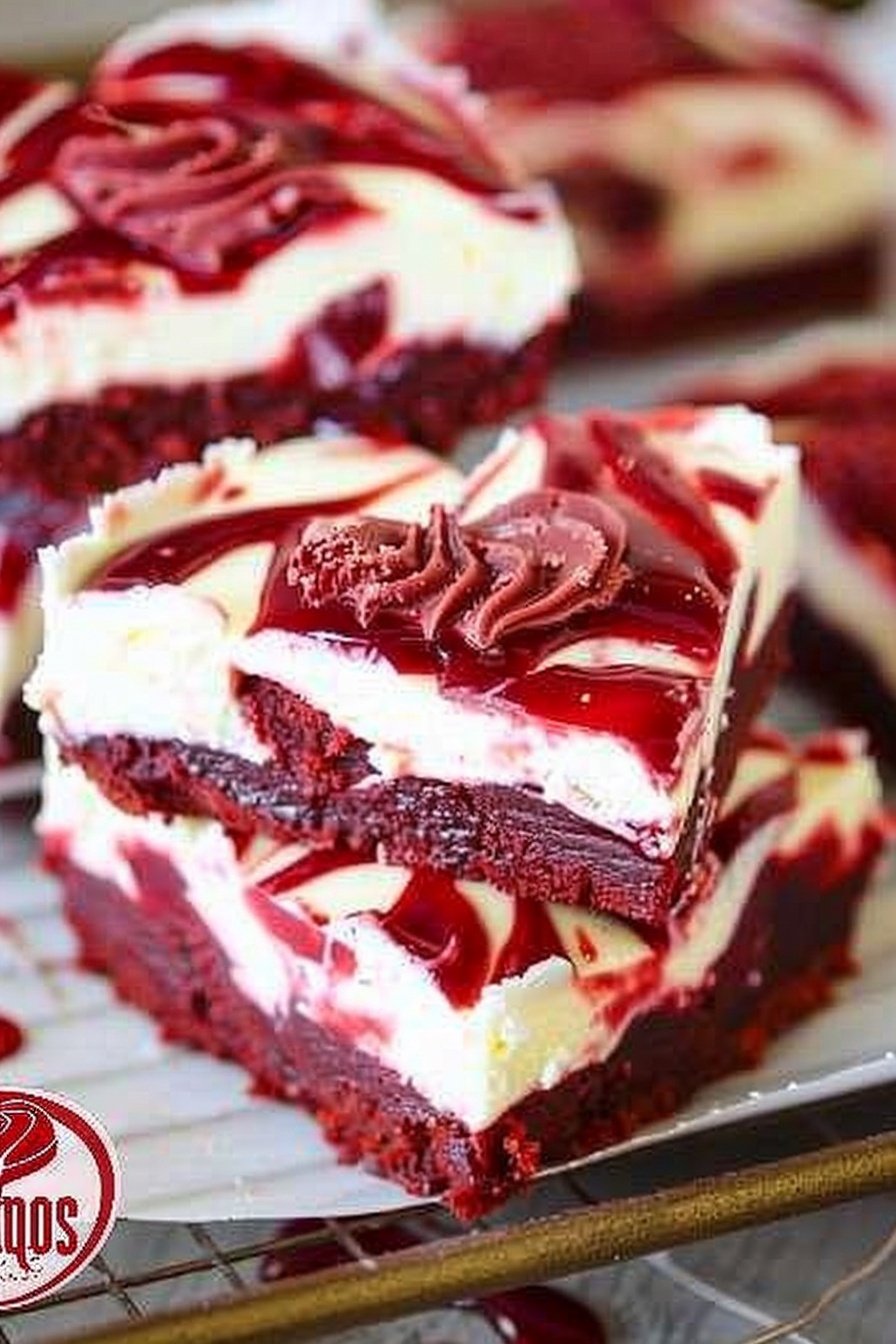
Now for the creamy topping. Beat the cream cheese, sugar, another egg, and vanilla together. Doesn’t that smell amazing? Pour this over the red base. Then, drop spoonfuls of your thinned red batter on top.
Take a butter knife. Gently swirl it through the cream and red batter. You are making beautiful patterns. This makes every piece unique. Which do you prefer, big swirls or little ones?
Why This Recipe Matters
This dessert is more than sugar and flour. It is about taking a little extra time. The swirl shows you care. It turns a simple brownie into something special for someone special.
Fun fact: The red velvet cake became a symbol of luxury during the Great Depression. That’s because the red color was so hard to get! I think that is pretty neat. It reminds us that special treats can lift our spirits.
Baking With Love
Pop the pan in the oven for about 25-30 minutes. The hardest part is waiting for it to cool. But you must let it cool completely. This helps you get those perfect, clean slices.
While it bakes, your whole house will smell wonderful. That smell is part of the gift. It builds excitement. It says something good is coming. What is your favorite smell from the kitchen?

Ingredients:
| Ingredient | Amount | Notes |
|---|---|---|
| Chocolate cake mix | 1 (15.25-ounce) box | For the brownies |
| Butter | 1/2 cup | |
| Vegetable oil | 3 tablespoons | |
| Egg | 1 | |
| Red food coloring | 2 tablespoons | |
| Cream cheese | 1 (8-ounce) package | For the topping, room temperature |
| Sugar | 1/3 cup | |
| Egg | 1 | |
| Vanilla extract | 1 teaspoon |
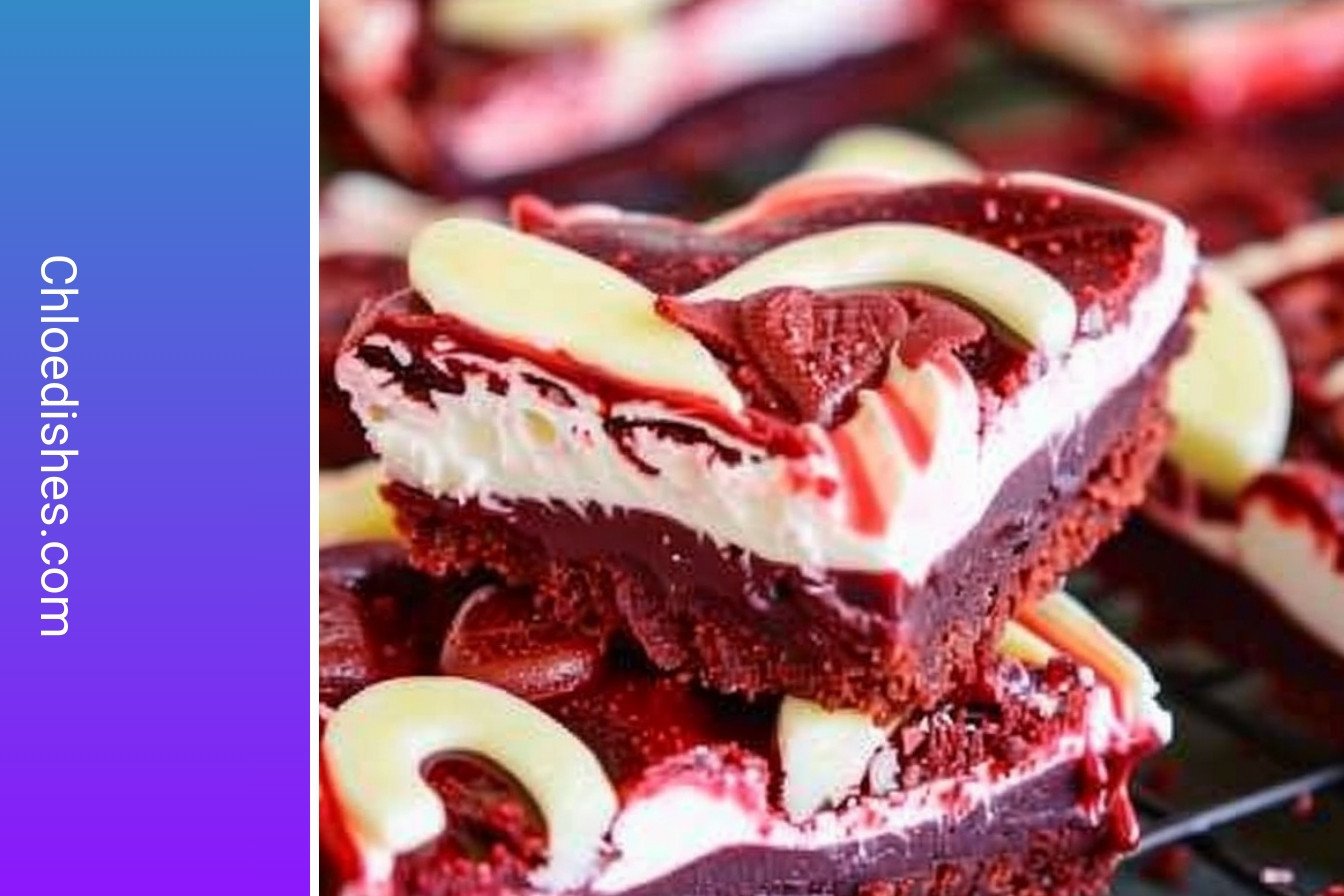
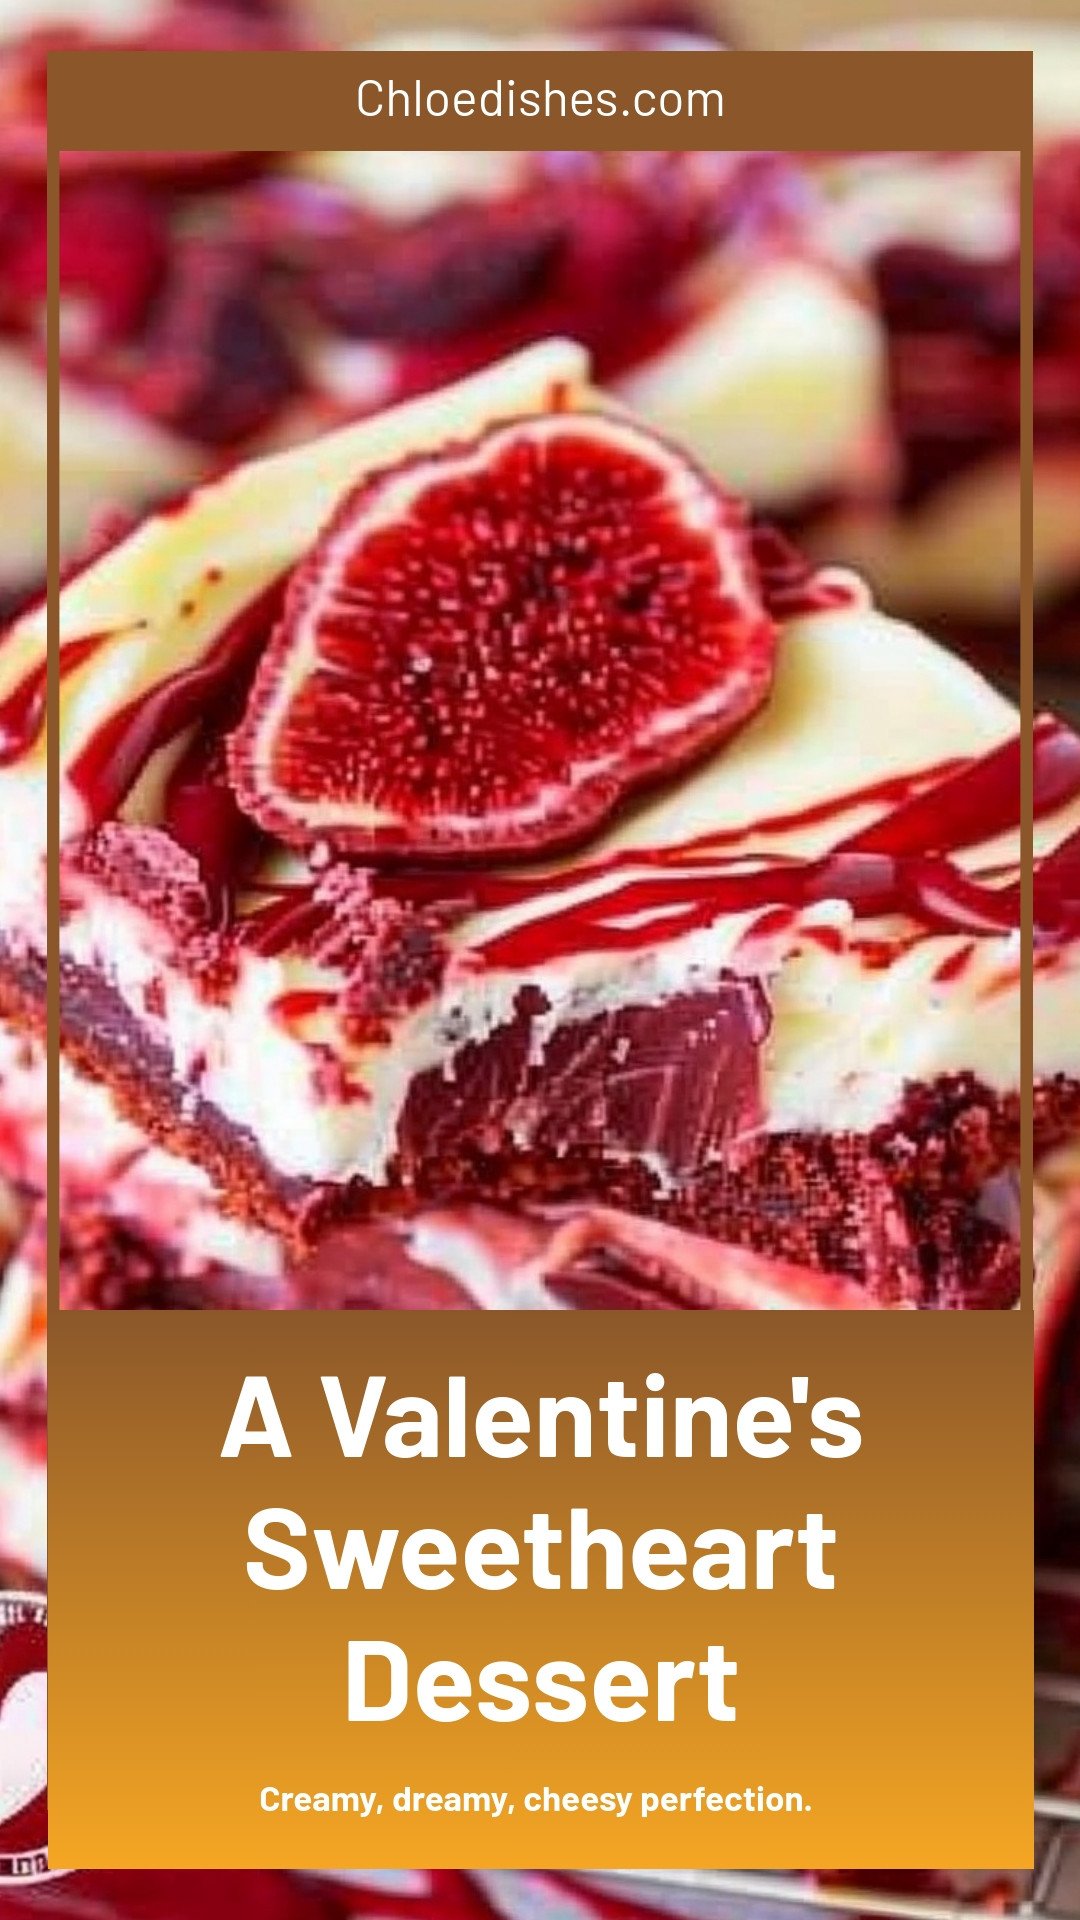
A Valentine’s Sweetheart Dessert
Oh, Valentine’s Day. It always makes me think of my grandson, Leo. He once gave me a card covered in glitter. I still find bits of it in my kitchen. But this dessert? It’s pure, glitter-free love. It’s creamy, dreamy, and wonderfully cheesy. Let’s make some sweet memories together.
Ingredients
- 1 box red velvet or chocolate cake mix
- 1/2 cup unsalted butter, melted
- 1/4 cup vegetable oil
- 2 large eggs, divided
- Red food coloring
- 1 (8 oz) package cream cheese, softened
- 1/2 cup granulated sugar
- 1 teaspoon vanilla extract
Instructions
Step 1: First, get your oven nice and warm. Set it to 350°F. Then, grab your 9×13-inch pan. Give it a good spray with non-stick spray. I like to line mine with parchment paper. It makes cleanup so much easier. (A hard-learned tip: Lining the pan means the treats pop right out!)
Step 2: Now, for the red velvet base. Mix the chocolate cake mix, melted butter, oil, and one egg. Add that bright red food coloring. Doesn’t that color just make you smile? The batter will be very thick. Press most of it into your pan. Save a little bit in a small bowl. Add three tablespoons of water to that saved batter and stir. This will be for our pretty swirls later.
Step 3: Time for the dreamy part! Beat the cream cheese, sugar, another egg, and vanilla together. Keep mixing until it’s smooth. I love how the vanilla smells. Pour this creamy goodness over your red batter. Spread it out gently. Now, take that thinned red batter. Drop little spoonfuls all over the top. Use a butter knife to swirl it all together. What’s your favorite thing to swirl? Share below!
Step 4: Carefully place your pan in the oven. Bake for about 25 to 30 minutes. The top should look set. The hardest part is waiting for it to cool. But you must let it cool completely. This makes for the cleanest slices. I know, the wait is tough!
Cook Time: 25–30 minutes
Total Time: 45 minutes
Yield: 12 servings
Category: Dessert
Three Sweet Twists to Try
This recipe is like a good friend. It’s wonderful as it is, but it also loves to play dress-up. Here are a few fun ways to change it. You can make it new every time.
Heart-Shaped Surprise: Bake the brownies as directed. Then, use a heart-shaped cookie cutter to stamp out pieces. So cute for a Valentine’s plate!
Chocolate Chip Cheesecake: Add a handful of mini chocolate chips to the cream cheese layer. It gives you a lovely little crunch in every bite.
Peppermint Kiss: Use a teaspoon of peppermint extract instead of vanilla. Top with crushed candy canes after baking. It’s so fresh and festive.
Which one would you try first? Comment below!
Serving Your Sweet Creation
Now, how to serve this beauty? A little extra love on the plate makes it special. I like to add a dusting of powdered sugar. It looks like a light snowfall. A dollop of whipped cream is never a bad idea. For a fancy touch, add a few fresh raspberries on the side. Their tartness is perfect with the sweet.
What to drink? A cold glass of milk is my go-to. It’s the classic partner for anything chocolate. For the grown-ups, a small glass of ruby port wine is lovely. It’s sweet and rich, just like our dessert. Which would you choose tonight?
Keeping Your Sweetheart Dessert Fresh
These sweetheart brownies stay lovely in the fridge. Just cover the pan tightly with foil. They will be good for up to four days. I like to cut them into hearts first. This makes a sweet, ready-to-eat treat.
You can also freeze them for a later surprise. Wrap each piece in plastic wrap. Then place them all in a freezer bag. They will keep for about two months. Thaw them on the counter when you are ready.
I once sent a whole pan to my grandson. He kept it in his freezer for weeks. He said it made a perfect midnight snack. Batch cooking like this saves you time. It also means you always have a little joy on hand. Have you ever tried storing it this way? Share below!
Easy Fixes for Common Baking Hiccups
Is your brownie batter too thick? Do not worry. This is completely normal for this recipe. Just use your hands to press it into the pan. I remember when I first made it. I thought I had done something wrong!
Is the cream cheese topping hard to mix? Make sure your cream cheese is soft. Leave it on the counter for an hour first. This makes it smooth and easy to blend. A smooth topping makes every bite creamy and delicious.
Are your swirls not showing up? Thin the reserved batter with water first. This lets you drizzle it easily. Then use a knife to gently swirl it in. Getting the swirls right makes the dessert look special. It shows you put your heart into it. Which of these problems have you run into before?
Your Quick Questions, Answered
Q: Can I make this gluten-free?
A: Yes! Just use a gluten-free chocolate cake mix. The rest of the steps are the same.
Q: Can I make it ahead of time?
A: Absolutely. Bake it a day before you need it. Store it covered in the refrigerator.
Q: What can I use instead of food coloring?
A: You can leave it out. The brownies will still taste wonderful. *Fun fact: Red velvet cake originally got its color from cocoa!*
Q: Can I make a smaller batch?
A: Sure. Just cut all the ingredients in half. Use an 8×8 inch pan to bake it.
Q: Any other tips?
A: Let the pan cool completely before you cut. This gives you the cleanest slices. Which tip will you try first?
Share Your Sweet Creations
I hope you love making this dessert. It is one of my favorite recipes to share. Food made with love is the best kind of gift.
I would be so happy to see your version. Did you make it for a friend? Or just for yourself? Have you tried this recipe? Tag us on Pinterest! Let’s fill the world with a little more sweetness.
Happy cooking!
—Chloe Hartwell.
A Valentine’s Sweetheart Dessert: Creamy, dreamy, cheesy perfection.
Description
Indulge in the ultimate Valentine’s dessert! This easy, romantic recipe is perfect for creating a sweet moment with your special someone.
Ingredients
=== For the brownies: ===
=== For the topping: ===
Instructions
- Preheat the oven to 350°F. Prepare a 9×13-inch baking pan with non-stick cooking spray or by lining it with parchment paper.
- In a medium bowl, combine the cake mix, melted butter, oil, egg, and food coloring. The batter with be very thick. Reserve about 1/3 cup of the brownie batter/dough and press the remaining batter into the bottom of the prepared pan. Add 3 tablespoons of water to the reserved batter to thin it; set it aside.
- To make the cheesecake topping, combine the cream cheese, sugar, egg, and vanilla using a hand mixer or in a stand mixer. Beat until well combined. Pour on top of the brownie batter and spread evenly. Drop the reserved, thinned, brownie batter over the cheesecake layer and swirl the two layers together using a butter knife.
- Bake for 25 to 30 minutes, or until the brownies are set. Cool completely before slicing.


Leave a Reply