

My First Yogurt Mistake
I tried making yogurt once without a thermometer. Big mistake. I just guessed the milk was cool enough. It wasn’t. The result was a sad, thin soup. I learned my lesson that day. Good yogurt needs a little patience and a good thermometer.
That’s why I love the Instant Pot. It takes the guesswork out. The “Yogurt” button does the hard part for you. You just have to help it cool down. It feels like magic every single time. Doesn’t that sound easier?
Why Bother Making Your Own?
Store-bought yogurt is fine. But homemade tastes different. It’s fresher and cleaner. You control what goes in. No extra sugar or strange ingredients. Just milk and a spoonful of your last batch.
This matters because food you make yourself is a gift. It’s a small act of care. For you, for your family. It connects you to what you eat. Plus, it saves money. A half-gallon of milk makes a lot of yogurt. Have you ever made a food from scratch before?
The Simple Steps to Magic
First, the pot scalds the milk. This changes the proteins. It helps your yogurt get thick later. Then you cool it to just warm. Think baby bottle warm. That’s the perfect home for your yogurt starter.
Whisk that starter in well. Then let the pot work. Set it for 8 to 12 hours. I like 10 hours for a nice, gentle tang. The longer it sits, the tangier it gets. What kind of yogurt do you like best, mild or tangy?
The Fun Part: Straining & Flavoring
For thick Greek yogurt, you strain it. You pour it into a lined sieve over a bowl. The liquid that drains out is called whey. Don’t throw it away. You can use it in smoothies or bread.
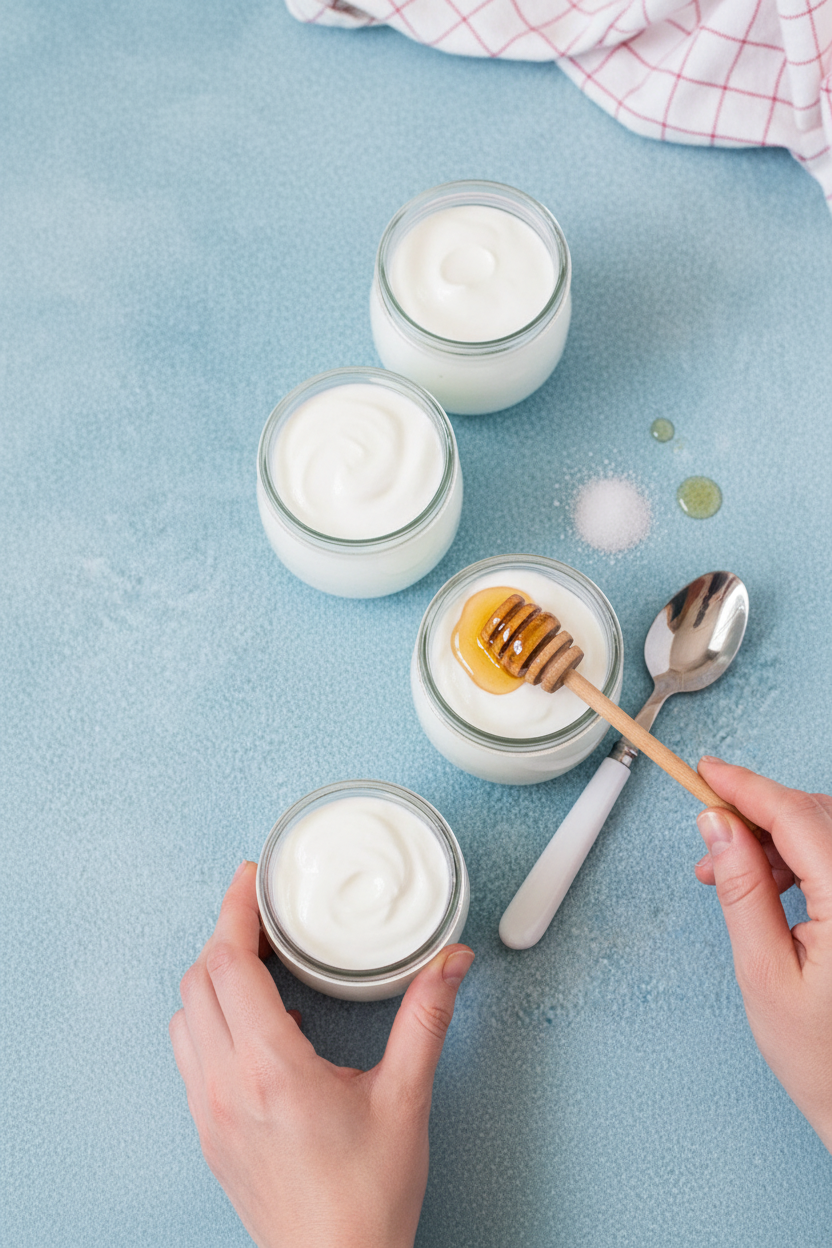
Fun fact: That whey is full of protein and good bacteria. Now for the flavor. Stir in a drizzle of local honey. Or a splash of vanilla. My grandkids love when I swirl in strawberry jam. This matters because you can make it just for you. What flavor would you try first?
Is It Really Worth It?
Yes, but maybe not every week. It’s a quiet project. I often start it after dinner. It’s ready by breakfast. The house feels cozy, knowing it’s working away.
It’s worth it for the pride. And the taste. A spoonful of your own creamy yogurt is special. You made that. From just milk and a little help from a friend. The friend is your last spoonful of yogurt. I still laugh at that. A food that makes more of itself. Isn’t that clever?
Ingredients:
| Ingredient | Amount | Notes |
|---|---|---|
| Milk | 8 cups | Ideally whole or 2% |
| Plain yogurt | 1-2 tablespoons | Preferably Greek, at room temperature |
| Sugar, honey, or other sweetener | To taste (optional) | |
| Vanilla | To taste (optional) |
My Magical Instant Pot Yogurt
Making yogurt feels like a little kitchen miracle. You start with plain milk. You end with creamy, tangy goodness. My grandkids always watched, wide-eyed. They called it my “secret potion.” I still laugh at that. The Instant Pot just makes it easy. No fussing over a stove. Let me walk you through it.
Step 1: First, we scald the milk. Pour it right into the pot. Close the lid and seal the valve. Press the Yogurt button until it says “Boil.” The pot heats the milk perfectly. It turns off by itself. (My hard-learned tip: Use whole milk. It makes the yogurt extra rich and creamy.)
Step 2: Now, we must cool the milk. It needs to be just warm, not hot. I set the pot in a sink full of ice water. I whisk it gently for a few minutes. Doesn’t that smell amazing? It feels like a science project. Check with a thermometer until it reads 110°F.
Step 3: This is the magic part! Scoop some plain yogurt into a bowl. Whisk in a cup of the warm milk. Then stir it all back into the pot. This is your “starter.” It’s like planting a tiny seed. What’s your favorite yogurt flavor to buy? Share below!
Step 4: Put the pot back in the cooker. Close the lid and press Yogurt again. Now, you wait. Eight hours for mild yogurt. Twelve for super tangy. I usually set it before bed. Waking up to fresh yogurt is a lovely feeling. The house smells faintly sweet.
Step 5: For thick, Greek-style yogurt, strain it. Line a strainer with a clean cloth. Pour the yogurt in and let the whey drip out. I save the whey for baking bread. In a few hours, your yogurt will be wonderfully thick. So satisfying!
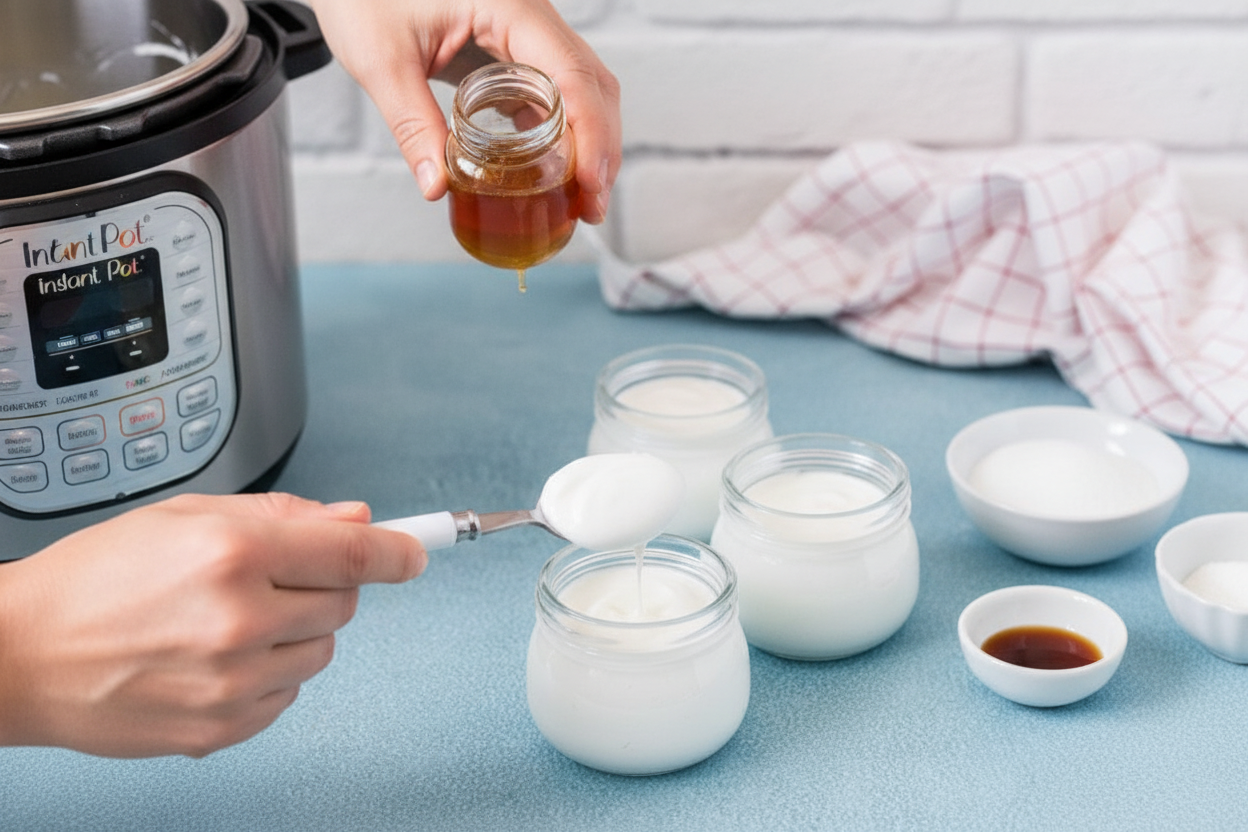
Step 6: Finally, make it your own. Stir in a spoonful of honey or a dash of vanilla. My grandson loves a swirl of strawberry jam. Taste it and smile. You made this!
Cook Time: 8-12 hours (mostly hands-off)
Total Time: 8 hours 15 minutes – 12 hours 15 minutes
Yield: About 7 cups
Category: Breakfast, Snacks
Three Tasty Twists
Plain yogurt is a perfect canvas. Here are some fun ways to dress it up. Try one of these ideas next time.
Lemon Berry Sunshine: Stir in lemon zest and local honey. Top with fresh blueberries.
Cozy Vanilla Spice: Add vanilla and a pinch of cinnamon. It tastes like a hug in a bowl.
Tropical Dream: Mix in crushed pineapple and shredded coconut. Close your eyes and imagine the beach.
Which one would you try first? Comment below!
Serving It Up Sweet
I love a big bowl for breakfast. But there are so many ways to enjoy it. Try it with granola and sliced peaches. Drizzle it over pancakes instead of syrup. Or use it to make a creamy salad dressing with herbs.
For a drink, I’d pair it with a glass of cold orange juice. That’s my morning favorite. In the evening, a cup of herbal tea goes nicely. Chamomile is so soothing. Which would you choose tonight?
Keeping Your Yogurt Happy
Your homemade yogurt needs a cold home. Pour it into clean jars and refrigerate. It will stay good for about two weeks. You can freeze it for a month, but it may get a little grainy.
Thaw it slowly in the fridge. Stir it well before you eat it. I once forgot a batch in the back of the fridge. It was still perfectly good two weeks later!
Making a big batch saves you time. You will have breakfast ready for days. This matters because a busy morning needs a simple, healthy start. Have you ever tried storing it this way? Share below!
Yogurt Troubles? Let’s Fix It
Is your yogurt too thin? Strain it longer next time. Four hours in the fridge makes it nice and thick. I remember when my first batch was like soup. Patience is the secret ingredient.
Did it not thicken at all? Your starter yogurt might have been weak. Always use a fresh, active plain yogurt. This matters because a good start means a great finish.
Does it taste too sour? Just ferment it for less time next batch. Eight hours is mild, twelve is tangy. Getting the taste you love builds cooking confidence. Which of these problems have you run into before?
Your Quick Yogurt Questions
Q: Is this gluten-free? A: Yes, it is naturally gluten-free.
Q: Can I make it ahead? A: Absolutely! It is a perfect make-ahead breakfast.
Q: Can I use almond milk? A: You need special cultures for non-dairy milk. Stick with cow’s milk for this recipe.
Q: Can I halve the recipe? A: Yes, just use half the milk and one tablespoon of starter.
Q: Any fun add-in ideas? A: Try a spoonful of jam or a dash of cinnamon. Fun fact: The whey you strain out is great for smoothies! Which tip will you try first?
From My Kitchen to Yours
I hope you love making yogurt as much as I do. It feels like a little kitchen miracle. Seeing milk turn into creamy yogurt never gets old.
I would love to see your creations. Share a picture of your yogurt parfait or your smiling face enjoying it. Have you tried this recipe? Tag us on Pinterest! Your stories make my day brighter.
Happy cooking!
—Chloe Hartwell.
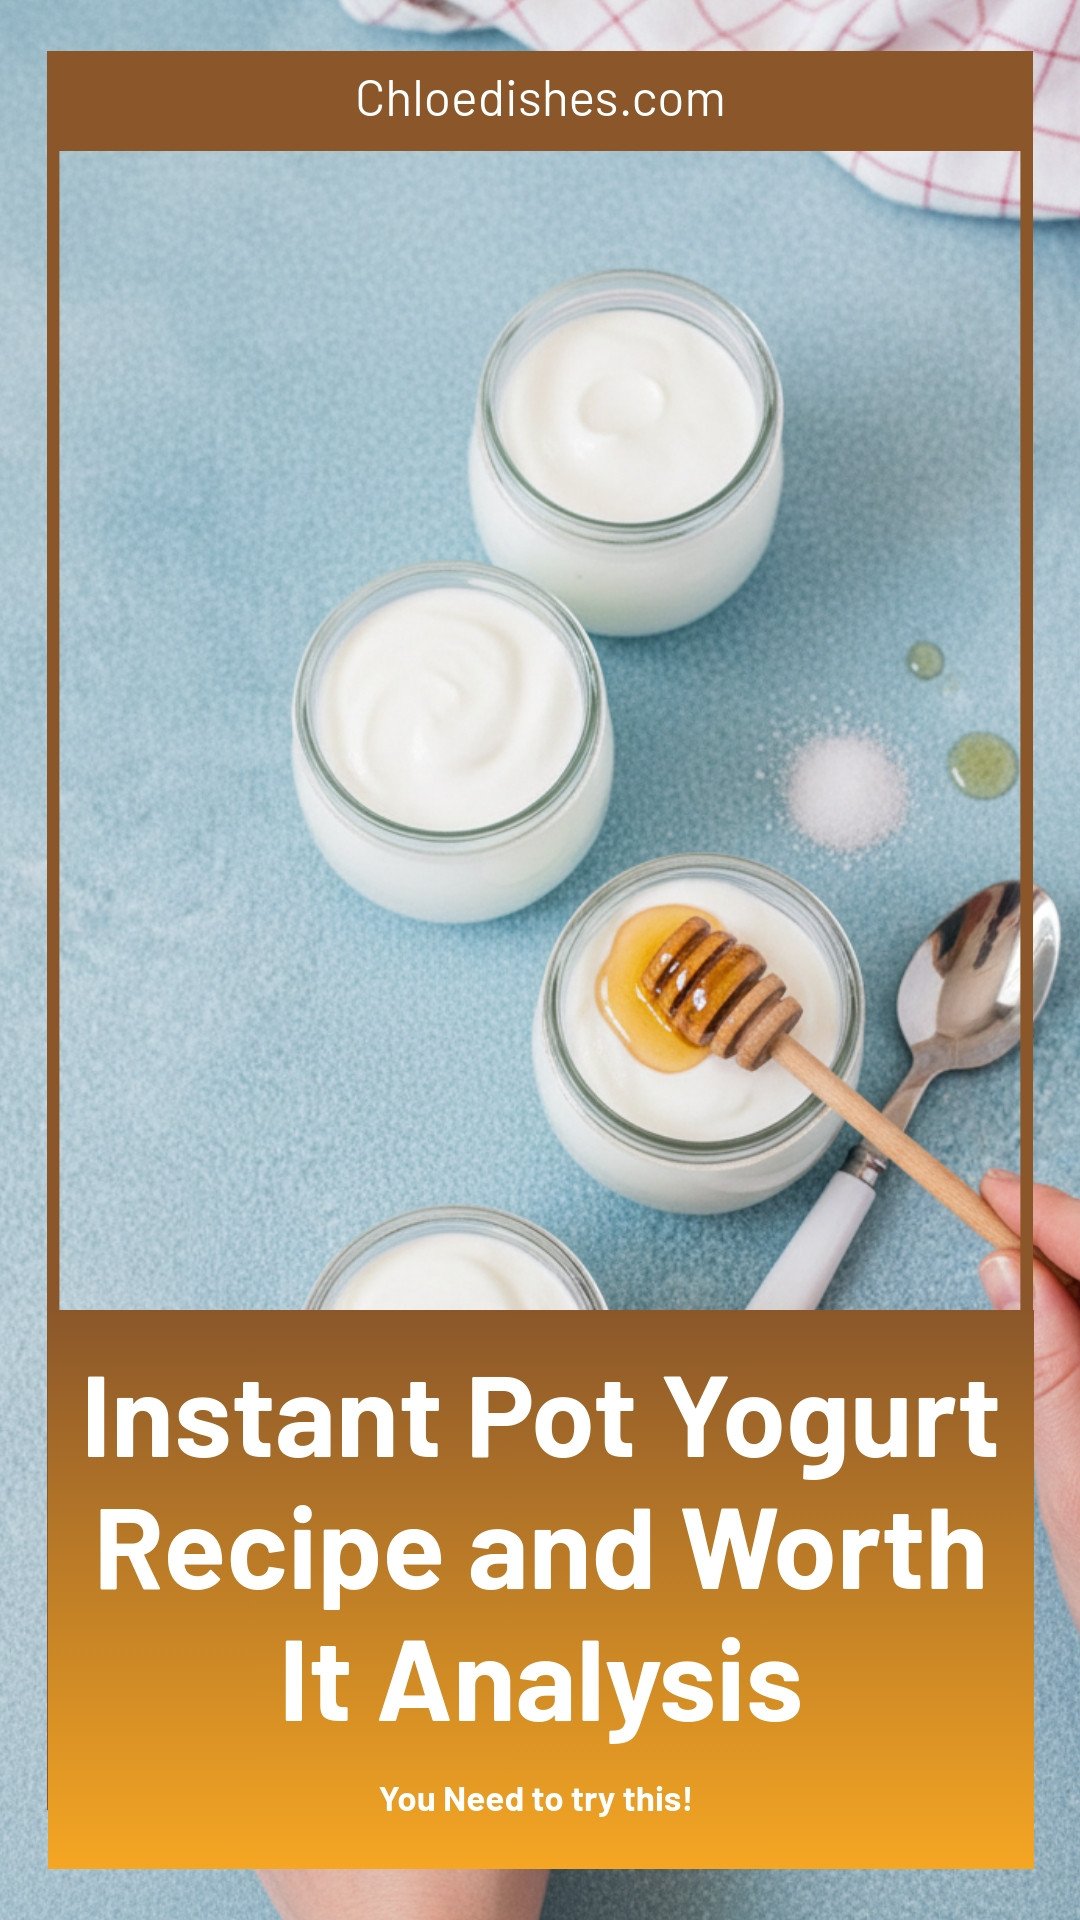
Instant Pot Yogurt Recipe and Worth It Analysis
Description
Make creamy homemade yogurt in your Instant Pot! See if this easy, healthy method is truly worth the effort.
Ingredients
Instructions
- Pour the milk into the Instant Pot, close and lock the lid and set the valve to Sealing. Select the Yogurt function and place on High/More. Though the display will read “boil,” this step only scalds the milk. It will take 25-30 minutes for a half-gallon, and 50 minutes for a gallon. The pot should turn off automatically at the end of the cycle. Open it and check the temperature. It should be 180º F.
- After heating the milk, you want to cool it off to 110º-115º F. You can just leave the bowl to cool at room temperature, which will take about an hour. Or, use an ice bath: Fill a bowl with ice water, nest the Instant Pot’s inner bowl inside and whisk the milk to cool it quickly. Take the temperature every few minutes. After about five minutes, the milk should be at 110º F. Be careful not to scrape the bottom of the pot while whisking. Remove the pot from the ice bath and wipe the outside dry.
- Place your already-made yogurt in a bowl and whisk in 1 cup of the milk. Then, stir this mixture into the milk pot, whisking thoroughly.
- Place the inner pot back into your Instant Pot, and close, lock and seal the lid. Select the Yogurt function. The standard run-time of 8 hours will make a thinner, milder yogurt; increase the time to 12 hours for a thicker, much tangier yogurt. When the cycle is complete the pot will turn off and show YOGT on the display.
- For a thinner, drink-able yogurt, skip to Step 6. For a thicker, spoon-able yogurt, proceed to the next step.
- Set a fine mesh sieve over a bowl, and line it with something tightly woven: a coffee filter or muslin cloth work best. Pour the yogurt into the strainer, and place the entire setup into the fridge. The longer you strain, the thicker the yogurt will be. In three or four hours, the yogurt remaining in the strainer will be quite thick, and the bowl will be full of whey.
- If you like, stir in honey, sugar, maple syrup or a dash of vanilla. Other extracts, like coffee or lemon, are delicious. You can even add a few spoonfuls of jam or fruit preserves.
- Pour the yogurt into containers, cover and refrigerate. The yogurt should keep in the fridge for up to two weeks. Remember to save a few spoonfuls for your next batch.
Notes
- Nutrition information is not provided in the text.


Leave a Reply