
My Garden’s Last Hurrah
Every September, my garden looks a little tired. The cucumbers get big and funny-shaped. The carrots seem shy. This relish is my way to celebrate them. It uses up every last bit.
It turns those end-of-season veggies into something bright and happy. I think that matters. It teaches us not to waste good food. It makes a simple hot dog feel like a party. What was the last thing you made from your garden or a farmer’s market haul?
The Salty Secret
The first step is to toss the veggies with salt. Then you wait three whole hours. This seems strange, I know. But it pulls the extra water right out.
You must squeeze them dry with your hands. I still laugh at that. It feels like you are giving the vegetables a big hug. This step matters because it keeps your relish crisp. No one wants a soggy relish! Fun fact: This salting method is called “brining.” It has been used for centuries to preserve food.
A Sweet and Tangy Bath
Now for the magic potion. You boil sugar and vinegar with seeds. The smell fills your whole kitchen. Doesn’t that smell amazing? The celery and mustard seeds pop and dance in the pot.
Then you add all those colorful, squeezed-dry vegetables. They simmer together for twenty minutes. The veggies soak up all that sweet and tangy flavor. It becomes something totally new. Do you prefer your relishes more sweet or more tangy?
Putting It By
“Putting food by” is what my grandma called canning. It means saving summer for a cold day. You ladle the hot relish into clean, hot jars. The most important part is the “fingertip tight” seal.
You screw the band on just until it resists. Do not force it! This lets air escape during processing. I learned this the hard way. My first batch didn’t seal right. We had to eat relish for a week!
A Jar of Sunshine
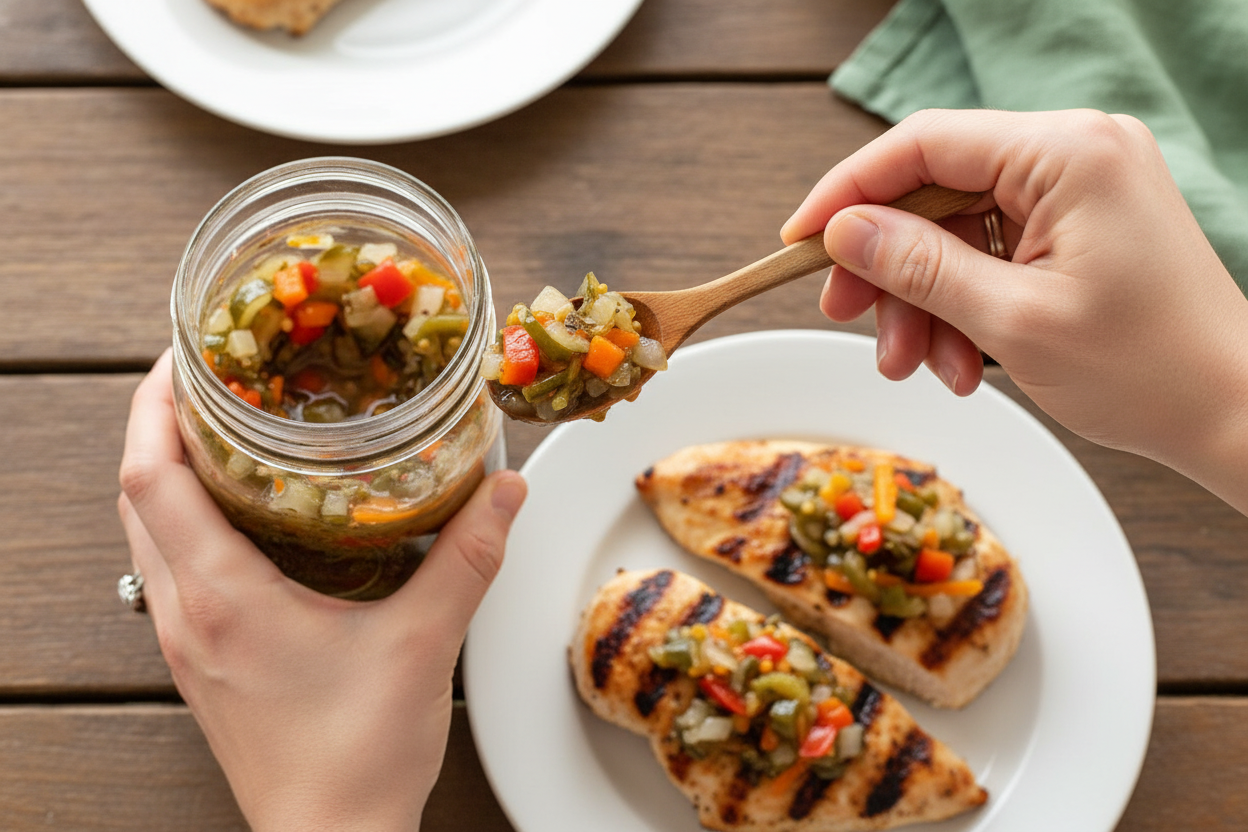
When you open a jar in January, it is like sunshine. The red peppers and carrots look so cheerful. It tastes like a warmer, kinder day. That matters more than you might think.
It connects you to the work of your own hands. It is a taste of your own care. I love it on a baked potato or a simple sandwich. What is your favorite way to enjoy a good relish? I am always looking for new ideas.
Ingredients:
| Ingredient | Amount | Notes |
|---|---|---|
| Cucumbers | 7 large | Shredded |
| Onions | 3 large | Finely chopped |
| Carrots | 3 cups | Shredded |
| Sweet red peppers | 2 medium | Finely chopped |
| Salt | 5 tablespoons | |
| Sugar | 5 cups | |
| White vinegar | 3 cups | |
| Celery seed | 1 tablespoon | |
| Mustard seed | 1 tablespoon |
My End-of-Summer Garden Relish
Every August, my garden gets a little wild. Cucumbers hide under leaves. I always grow too many. This relish is my favorite way to save that summer taste. It’s sweet, tangy, and crunchy all at once. We’ll put it on hot dogs all winter long. Doesn’t that smell amazing? Let’s make some together.
Step 1: First, we need to prepare our vegetables. Shred the cucumbers and carrots. Chop the onions and red peppers finely. Put them all in a big bowl. Toss everything with the salt. Now, we let it sit for three whole hours. This pulls out the extra water. (My hard-learned tip: set a timer! I once forgot and made soup).
Step 2: After three hours, drain the veggie mix. Use your hands to squeeze out more water. Blot them dry with paper towels. See how much smaller it looks? Now, get your big pot. Mix the sugar, vinegar, and seeds in it. Bring it to a gentle boil. It will smell very sharp, but that’s good!
Step 3: Let that syrup simmer for five minutes. Then, add all your squeezed-dry vegetables. Stir them in gently. Bring it back to a boil. Then, turn the heat down. Let it simmer for 20 minutes. The veggies will soften just a bit. The kitchen will smell like a pickle factory. I still laugh at that.
Step 4: Carefully ladle the hot relish into clean, hot jars. Leave a little space at the top. Wipe the rims clean with a damp cloth. This is very important for a good seal. Put the lids and bands on. Screw them on just until they resist. Don’t crank them super tight! Why do we wipe the jar rims? Share below!
Step 5: Place the jars in your canning pot. They must be covered by water. Bring the water to a full, rolling boil. Process the jars for 20 minutes. Then, turn off the heat. Let them sit for five minutes. Finally, lift them out and let them cool on the counter. You’ll hear lovely “pops” as they seal!
Cook Time: About 4 hours
Total Time: 4 hours 30 minutes
Yield: About 6 pint jars
Category: Canning, Condiment
Three Fun Twists to Try
This recipe is like a good friend. It’s happy to change its outfit. Here are three ways to play with it. My grandson loves the spicy version.
The Zesty Zip: Add two chopped jalapeños with the other veggies. It gives a nice little kick.
Apple Crunch: Swap one cucumber for two shredded, tart apples. It adds a fruity sweetness.
Dill Delight: Stir in a big handful of fresh, chopped dill at the very end. It tastes like a garden.
Which one would you try first? Comment below!
How to Serve Your Homemade Relish
This relish is not just for hot dogs. Though it’s wonderful on them. Try it on a grilled cheese sandwich. Or stir a spoonful into tuna salad. It wakes everything up. I even love it on a cracker with cream cheese. So simple, so good.
For drinks, I have two favorites. A cold, fizzy lemonade is perfect for kids. For a cozy grown-up night, a crisp lager beer pairs nicely. The tangy relish and cool drink are best friends. Which would you choose tonight?

Keeping Your Garden Relish Happy
This relish loves a cool, dark pantry shelf. Once sealed, it stays good for a year. You can also keep a jar in the fridge after opening.
I remember my first batch. I was so proud of those jars! Batch cooking saves so much time later. A big pot makes many meals easy.
Why does this matter? It turns a busy harvest into quiet winter joy. You can grab a jar anytime for hot dogs or potato salad. Have you ever tried storing it this way? Share below!
Fixes for Common Relish Hiccups
Is your relish too watery? You must squeeze the vegetables very dry. I once forgot this step. My relish was a bit soupy!
Does the vinegar smell too strong? Simmer the brine for five full minutes first. This mellows the sharp smell and taste. Why does this matter? It makes the flavor balanced and friendly.
Are your jars not sealing? Always wipe the jar rims clean. Check that your lids are new. A good seal keeps food safe. This builds your confidence for next time. Which of these problems have you run into before?
Your Relish Questions, Answered
Q: Is this relish gluten-free?
A: Yes, all the ingredients are naturally gluten-free.
Q: Can I make it ahead?
A: Absolutely! The canning process is for long-term storage.
Q: What if I don’t have celery seed?
A: A pinch of dried dill works nicely too.
Q: Can I halve the recipe?
A: You can, but use a smaller pot. It will cook faster.
Q: Any optional tips?
A: For a fun twist, add a pinch of red pepper flakes. Fun fact: This relish was my Grandpa Joe’s favorite burger topping. Which tip will you try first?
From My Kitchen to Yours
I hope you love this taste of the garden. It holds summer sunshine in every jar. Making it connects us to family and the earth.
I would love to see your creations. Your kitchen stories make my day. Have you tried this recipe? Tag us on Pinterest at @ChloesKitchen!
Happy cooking!
—Chloe Hartwell.


End of Garden Relish: End of Garden Relish Recipe Ideas
Description
Transform your garden’s final harvest into delicious homemade relishes! Simple recipes for canning, sweet & spicy flavors, and reducing food waste.
Ingredients
Instructions
- Toss first 5 ingredients; let stand 3 hours. Drain; squeeze and blot dry with paper towels.
- In a Dutch oven, mix sugar, vinegar, celery seed and mustard seed; bring to a boil. Reduce heat; simmer, uncovered, 5 minutes. Add vegetables; bring to a boil. Reduce heat; simmer, uncovered, 20 minutes.
- Ladle hot mixture into hot 1-pint jars, leaving 1/2-in. headspace. Remove air bubbles and adjust headspace, if necessary, by adding hot mixture. Wipe rims. Center lids on jars; screw on bands until fingertip tight.
- Place jars into canner with simmering water, ensuring that they are completely covered with water. Bring to a boil; process for 20 minutes. Remove jars and cool.
Notes
- Nutrition Facts (per 2 tablespoons): 8 calories, 0g fat (0g saturated fat), 0mg cholesterol, 7mg sodium, 2g carbohydrate (1g sugars, 0g fiber), 0g protein.


Leave a Reply