
My Berry Best Memory
I first made these squares for my grandson’s birthday. He wanted something fruity and sweet. The whole kitchen smelled like summer.
I still laugh at that. He had purple lips for the rest of the day. It is a happy memory for me. Food can tie us to good times.
Let’s Make the Crust
First, mix your sugar and flour in a big bowl. Then add the cold, cubed butter. Use a fork to mix it all together.
You will get a crumbly, sandy mixture. This is perfect. Press most of it into your pan to make the bottom crust. Save some for later!
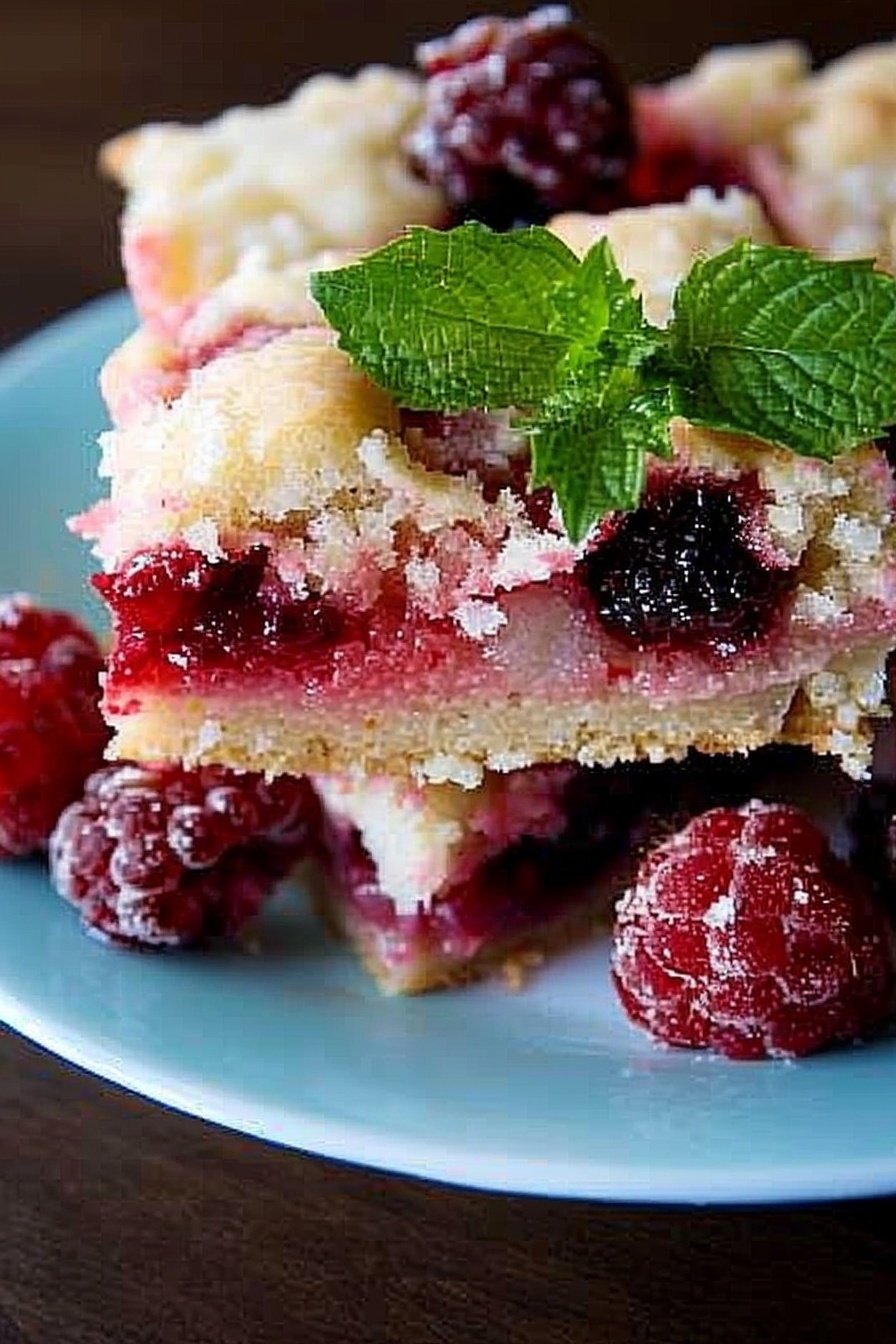
The Sweet Raspberry Heart
Now for the fun part. Whisk the eggs, sugar, and soft cream cheese. A few little cream cheese lumps are just fine. They melt away.
Then gently fold in your raspberries. Doesn’t that pink color look pretty? This creamy filling is the heart of the dessert. It matters because it makes every bite soft and sweet.
Putting It All Together
Pour the pink filling over your baked crust. Spread it to the edges. Now get that saved crumb mix from the fridge.
Crumble it over the top. This gives a nice, crunchy finish. *Fun fact*: The cold butter in the topping makes it extra flaky when it bakes.
A Little Patience Goes a Long Way
After baking, you must let it cool completely. I know, it is hard to wait. The smell is amazing.
But waiting helps it set. This way you get perfect little squares, not a messy crumble. This is a good lesson for cooking and for life.
Your Turn in the Kitchen
What is your favorite summer berry? I love raspberries, but blueberries work too. Let me know which one you would use.
Do you have a food that reminds you of a happy day? I would love to hear your story. Sharing recipes is like sharing little pieces of joy.
Will you be making these for a special someone? Tell me who you would share them with. I bet it will make their day brighter.
Ingredients:
| Ingredient | Amount | Notes |
|---|---|---|
| All purpose flour | 3 cups | For crust and topping |
| Sugar | 1½ cups | For crust and topping |
| Unsalted butter | 1½ cups | Chilled and cubed, for crust and topping |
| Eggs | 4 large | For raspberry filling |
| Sugar | 2½ cups | For raspberry filling |
| Cream cheese | 8 oz | Softened, for raspberry filling |
| All purpose flour | ¾ cup | For raspberry filling |
| Milk | ½ cup | For raspberry filling |
| Fresh raspberries | 3 cups | For raspberry filling |
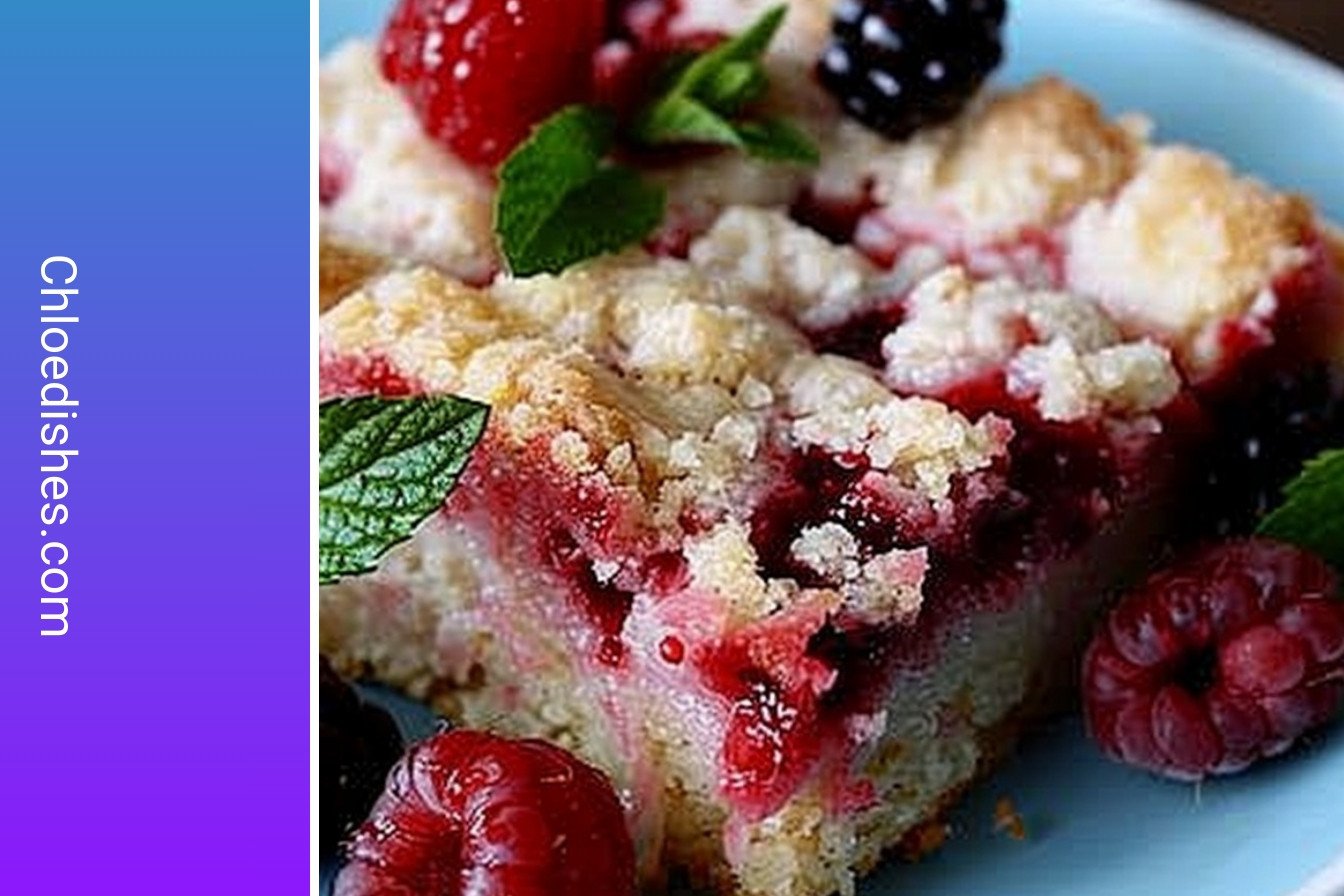
Summer Berry Squares: A Taste of Sunshine
Oh, these berry squares just taste like summer. They remind me of my grandma’s kitchen. She always had a tin of these on the counter.
Making them is a simple joy. You create a sweet, buttery crust. Then you mix up a creamy, fruity filling. The smell that fills your kitchen is pure happiness.
Ingredients
- 1 ½ cups all-purpose flour
- ½ cup granulated sugar
- ¾ cup cold butter, cubed
- 2 large eggs
- 1 cup granulated sugar
- 8 oz cream cheese, softened
- 2 cups fresh raspberries
Instructions
Step 1: First, get your oven ready at 350° F. Grease your baking dish well with butter. I still use my old glass one for this. It makes the crust so golden.
Step 2: Now, let’s make the crust. Mix the sugar and flour in a big bowl. Then, cut in the cold butter with a fork. You want it to look like little pebbles. (A hard-learned tip: Keep that butter cold! It makes the crust extra flaky.)
Step 3: Press most of the mixture into your dish. Save about a cup and a half for later. Bake this crust until it’s a light gold color. Let it cool a bit on the stove.
Step 4: Time for the pretty pink filling! Whisk the eggs, sugar, and cream cheese together. A few little cream cheese lumps are just fine, dear. Gently stir in your fresh raspberries. Doesn’t that pink color look lovely?
Step 5: Pour the filling over your warm crust. Crumble the rest of your mixture on top. Bake it until the middle doesn’t wiggle. This is the hardest part, but you must let it cool completely before you cut it.
What’s your favorite summer berry? Share below!
Cook Time: 1 hour 10 minutes
Total Time: 1 hour 30 minutes (plus cooling)
Yield: 12 squares
Category: Dessert, Snack
Three Fun Twists on Our Berry Squares
This recipe is like a good friend. It’s happy to change things up. Here are some fun ways to make it your own.
Mixed Berry Bonanza: Use any berries you have! Blueberries and chopped strawberries work wonderfully. It becomes a rainbow in a pan.
Lemon Zest Zing: Add the zest of one lemon to the filling. It gives a little sunny sparkle. I still laugh at how my grandson puckers up.
Almond Crunch: Stir half a cup of sliced almonds into the topping. It adds a nice, toasty crunch. So good with a cup of tea.
Which one would you try first? Comment below!
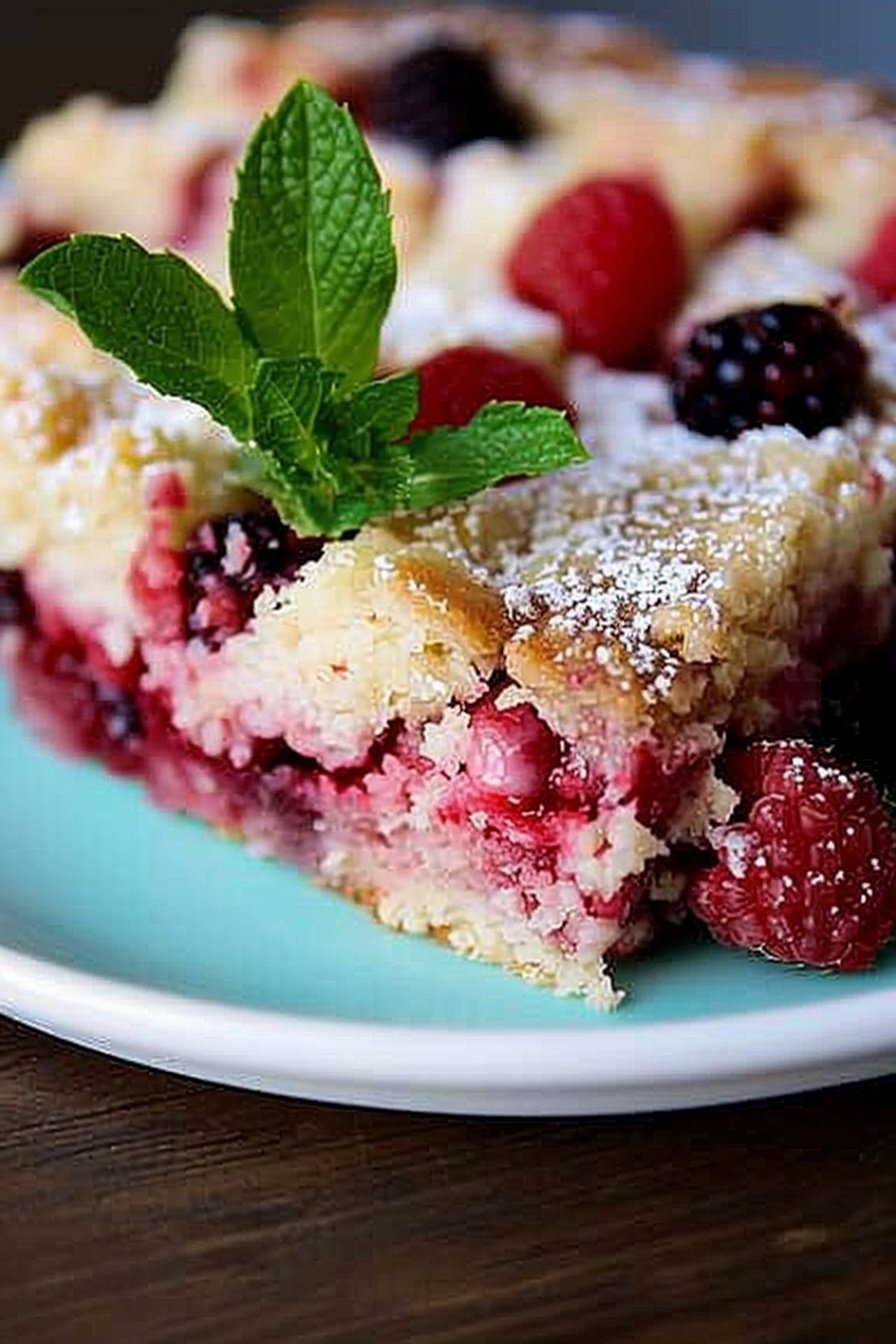
Serving Your Sweet Masterpiece
Now, how to enjoy your creation? A simple square is perfect on its own. But you can make it extra special, too.
I love it slightly warm with a scoop of vanilla ice cream. The cold and warm together is magic. A little dusting of powdered sugar looks so pretty. For a fancy touch, add a sprig of fresh mint.
What to drink? A glass of cold milk is my go-to. For the grown-ups, a sweet Moscato wine pairs beautifully. It tastes like a celebration.
Which would you choose tonight?
Keeping Your Berry Squares Perfect
These berry squares are best the day you make them. But they keep well in the fridge for three days. Just cover the pan tightly with plastic wrap.
You can also freeze them for a sweet treat later. Cut the cooled squares first. Then wrap each one in plastic and place them in a freezer bag.
I once sent a whole frozen batch to my grandson at college. He said it made his whole dorm happy. Batch cooking like this saves time and spreads joy.
This matters because a little planning means you always have a homemade snack. It is a small act of kindness for your future self. Have you ever tried storing it this way? Share below!
Simple Fixes for Common Berry Square Troubles
Is your crust too crumbly? Your butter might have been too warm. Always use chilled butter for a perfect, crispy base.
I remember when my filling was too runny. I did not let it cool completely before cutting. Patience gives you neat, beautiful squares.
Are the berries all sinking to the bottom? Toss them in a little flour first. This little trick helps them stay put in the creamy filling.
Getting it right builds your confidence in the kitchen. A perfect texture makes the flavor even more delightful. Which of these problems have you run into before?
Your Berry Square Questions, Answered
Q: Can I make this gluten-free? A: Yes! Use your favorite gluten-free flour blend. It works just as well.
Q: Can I make it ahead? A: Absolutely. Bake it a day before you need it. The flavors settle and get even better.
Q: What if I don’t have raspberries? A: You can use blackberries or blueberries. Frozen berries work, too. No need to thaw them.
Q: Can I make a smaller batch? A: Sure. Just cut the recipe in half. Use an 8×8 inch pan instead.
Q: Any optional tips? A: A little lemon zest in the filling is lovely. It adds a bright, sunny flavor. Which tip will you try first?
Share Your Kitchen Creations
I hope you love making these Summer Berry Squares. They always remind me of sunny afternoons and happy kitchens.
I would be so thrilled to see your results. Your photos inspire me and other readers. Have you tried this recipe? Tag us on Pinterest!
*Fun fact: The first time I made these, I used a mix of berries from my garden.* Thank you for baking with me today.
Happy cooking! —Chloe Hartwell.
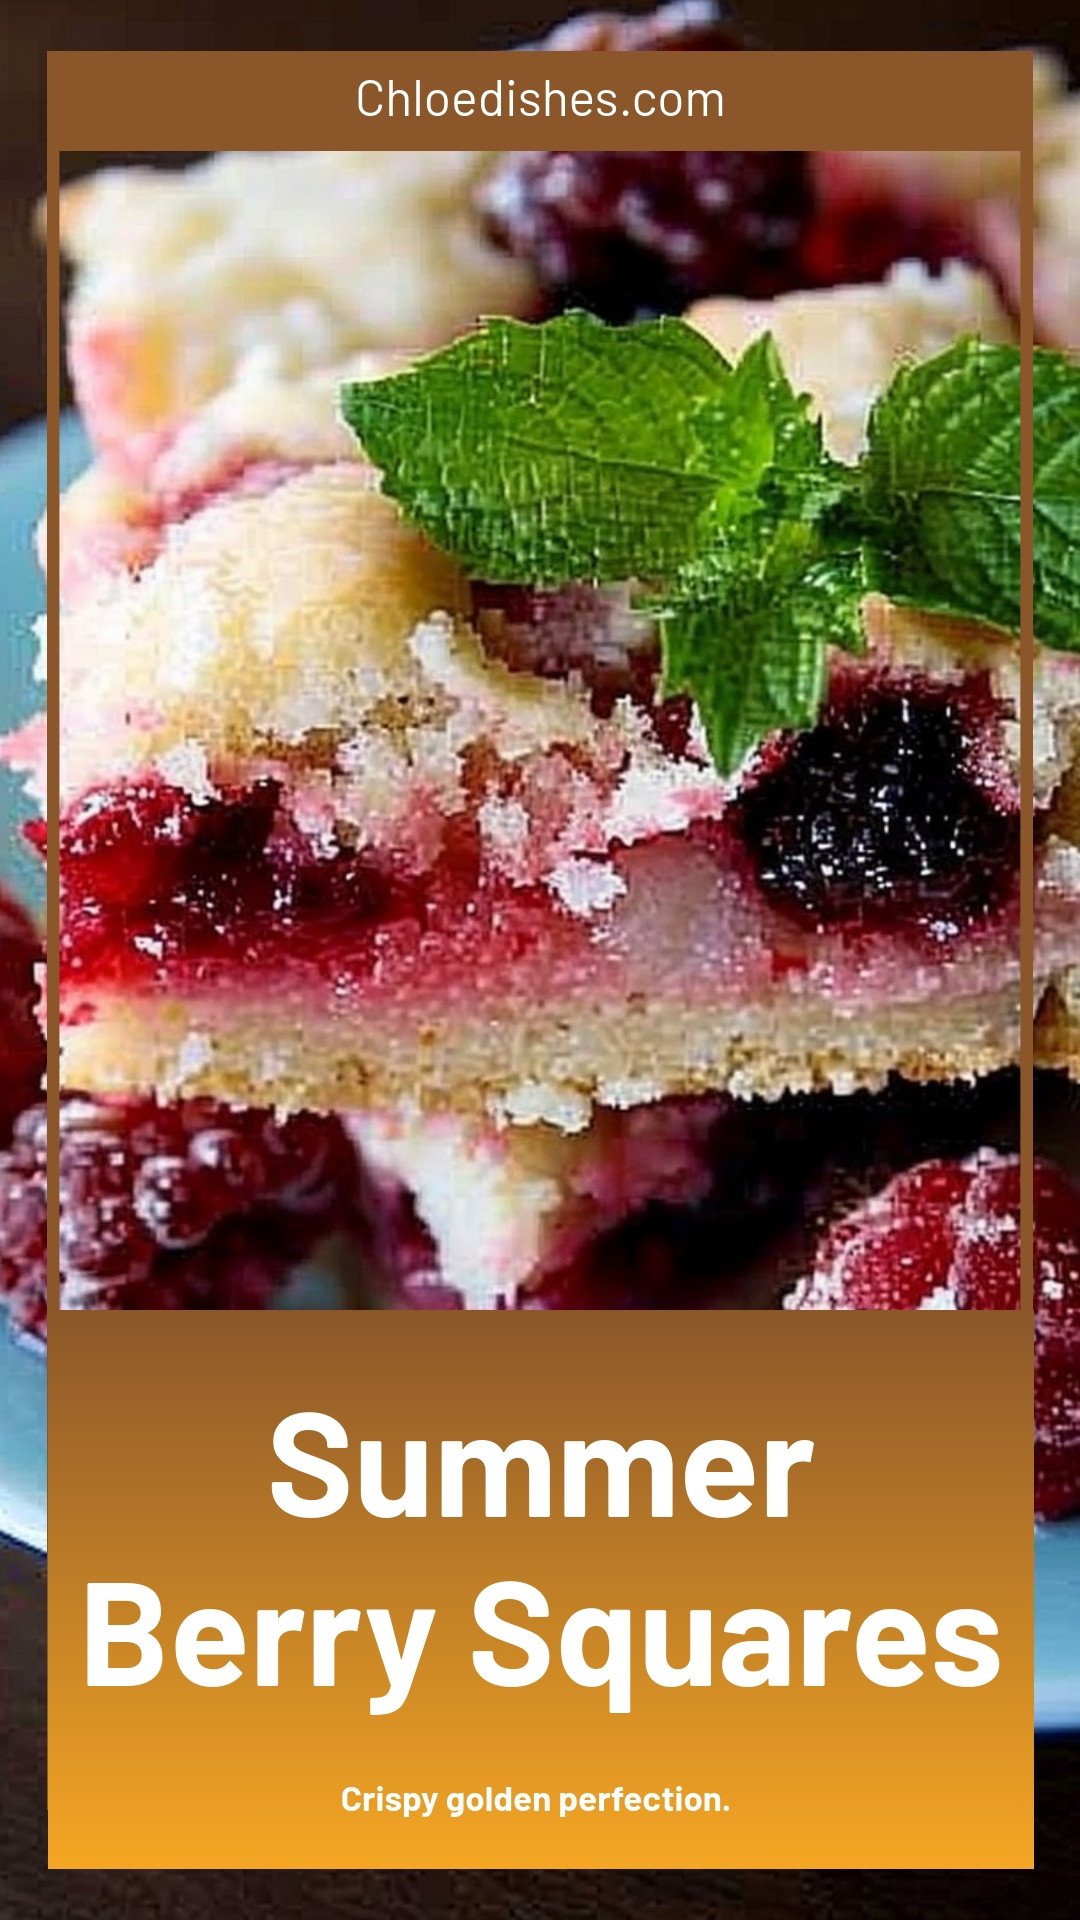
Summer Berry Squares: Crispy golden perfection.
Description
Easy no-bake Summer Berry Squares! A layered dessert with a crunchy crust, creamy filling, and fresh berry topping. Perfect for a refreshing summer treat.
Ingredients
=== Crust and Topping ===
=== Raspberry Filling ===
Instructions
- Preheat the oven to 350° F. and butter a 9X13-inch baking dish. Set aside.
- In a large bowl, combine the sugar and flour for the crust and topping mixture. Add the butter and cut in using a fork or pastry cutter until combined. This step can also be done in a food processor.
- Measure out 1½ cups of the crust and topping mixture and place in the refrigerator for the topping. Press the remainder of the crust and topping mixture into the bottom of the buttered baking dish and press with fingers to form a crust. Bake the crust for 20 to 25 minutes or until golden brown. Remove from the oven a low to cool for 10 to 15 minutes while you prepare the filling.
- In another large bowl, whisk the eggs, sugar, cream cheese, flour, and milk until combined well. Clumps of cream cheese may remain. Gently fold in raspberries. Pour mixture over prepared crust and spread to cover.
- Remove the remaining crust and topping mixture from the refrigerator and crumble over top of raspberry filling. Return to 350° F oven to bake for 45 to 55 minutes or until the edges are golden brown and middle is set. Allow to cool completely before slicing.
Notes
- Allow to cool completely before slicing for clean cuts.


Leave a Reply