

The Coffee Can Secret
Let me tell you about the summer my freezer broke. We craved ice cream. I remembered my grandpa’s old trick. He used two coffee cans to make it.
You just need a big can and a small one. It’s messy, silly fun. It reminds me that the best treats often come from simple things. What’s your favorite memory of making a fun dessert?
Making Your Sweet Base
First, we make the ice cream base. Mix the cream, sugar, vanilla, and a tiny salt pinch. Stir it until the sugar disappears. Doesn’t that smell amazing?
This is your blank canvas. Want strawberry? Mash a few in. Love chocolate chips? Toss them in! This matters because you control what goes in. No mystery ingredients here.
The Roll-Around Fun
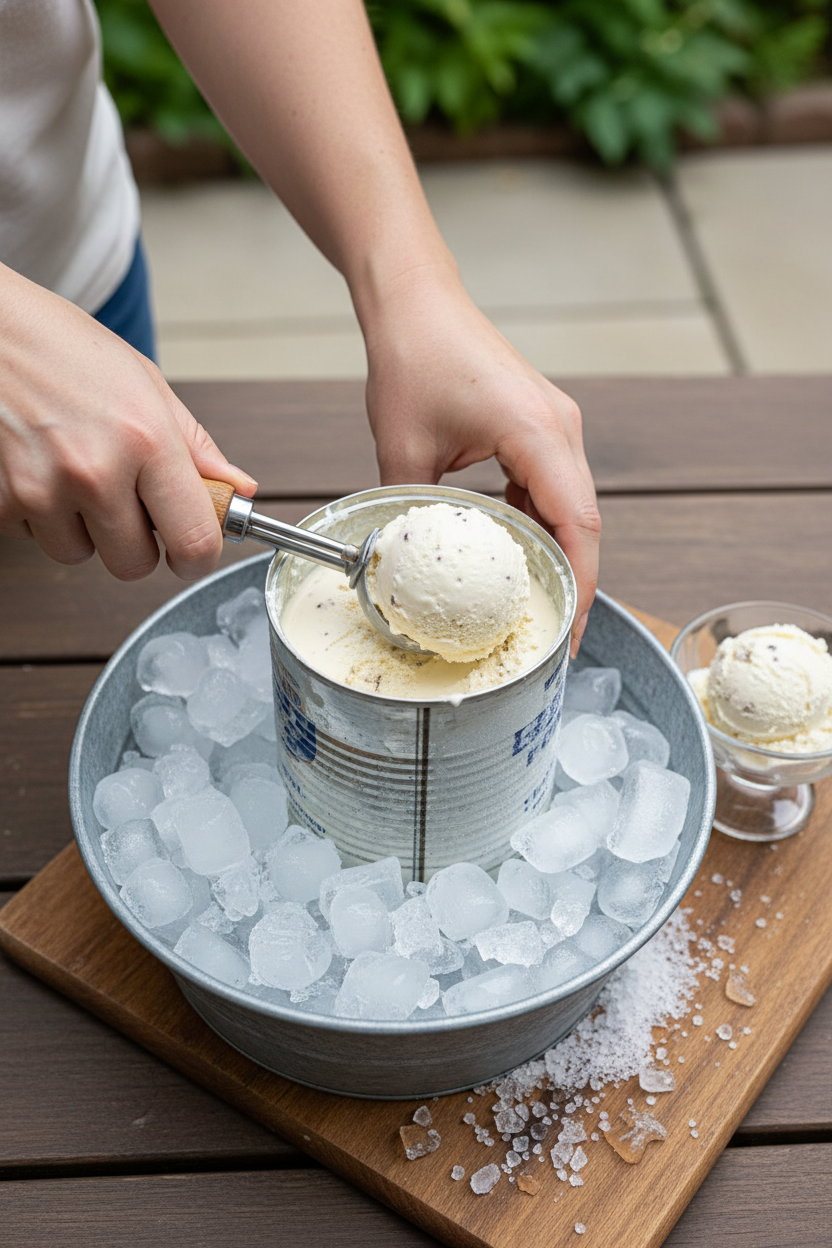
Now, pour your mix into the small can. Tape that lid on tight! Trust me. Then pack the big can with ice and rock salt. Fun fact: The salt makes the ice colder than your freezer!
Time to roll. My kids helped for four minutes. Then they left. I rolled that can for half an hour. I still laugh at that. My arms were tired, but my heart was happy. Have you ever started a kitchen project that was harder than you thought?
A Little Help From the Freezer
After all that rolling, we peeked. We had a slushy, creamy treat at the edges. We tasted it right away. It was good, but soft.
So we let the freezer finish the job. Dinner gave it time to firm up. This matters. Sometimes, a little patience (and a cold freezer) is the secret ingredient. Would you taste it right away or wait for it to get firm?
Why We Still Do It
You could just buy ice cream. But making it together is magic. You share the work and the wait. The laughter is part of the recipe.
That broken freezer gave us a perfect day. We got sticky and silly. We made a memory. And the ice cream tasted like victory. What’s a fun, old-fashioned way you like to cook?
Ingredients:
| Ingredient | Amount | Notes |
|---|---|---|
| Heavy whipping cream | 2 cups | |
| Sugar | 1/2 cup | |
| Vanilla | 1 teaspoon | |
| Salt | Pinch | |
| Rock salt or ice cream salt | As needed | For the outer can |
| Ice cubes | As needed | For the outer can |
Homemade Ice Cream: A Rolling Good Time
Hello, my dears! It’s Chloe. Let’s make some memories today. We’re making ice cream the old-fashioned way. You’ll need two clean, empty coffee cans. One big, one small. This is a project for a sunny afternoon. It’s messy, silly, and so rewarding.
I learned this from my own grandma. My brother and I would roll the can down the hill. We thought we were so clever. The recipe is wonderfully simple. It starts with pure, sweet cream. Doesn’t that sound lovely?
Step 1: Wash those cans very well. Coffee scent in vanilla ice cream is not a treat. I still laugh at that mistake. Rinse the small one until it smells like nothing. A hard-learned tip: use baking soda for scrubbing.
Step 2: Mix your ice cream base. Combine cream, sugar, vanilla, and a tiny salt pinch. Whisk it until the sugar disappears. This is your blank canvas. Want strawberry or chocolate chip? Stir it in now. What’s your dream mix-in? Share below!
Step 3: Pour your base into the small can. Now, secure that lid. I always use duct tape here. The plastic lid alone will pop right off. Trust me on this one. A little tape saves a big, creamy mess.
Step 4: Nestle the small can inside the big one. Fill the gap with ice cubes. Then sprinkle on the rock salt. More layers of ice and salt go on top. Seal the big can with more tape. Your ice cream maker is ready!
Step 5: Time to roll! Sit on the floor or grass. Roll the can back and forth. Sing a song while you do it. It takes longer than you think. My kids lasted four minutes. I rolled for thirty. The freezer will finish the job beautifully.
Cook Time: 30 minutes rolling, plus 4 hours freezing
Total Time: 4 hours 30 minutes
Yield: 4 servings
Category: Dessert, Fun Project
Three Twists on a Classic
This vanilla base is just the beginning. You can make it your own. Here are three of my favorite spins. They each feel like a new dessert.
Berry Swirl: Fold in mashed raspberries right before rolling. They make pretty pink ribbons.
Cookie Dough Dream: Add tiny bits of chocolate chip cookie dough. My grandkids love this one.
Honey & Lavender: Use honey instead of sugar. Add a pinch of dried lavender. It tastes like a summer garden.
Which one would you try first? Comment below!
Serving Your Sweet Creation
Now for the best part: eating! Scoop your ice cream into a waffle cone. Crumble a sugar cookie on top for crunch. Or pour warm chocolate sauce over it. Doesn’t that smell amazing?
For drinks, I have two ideas. A cold glass of milk is always perfect. For the grown-ups, a little shot of coffee liqueur pairs nicely. It reminds us of the coffee cans we used!
Which would you choose tonight?
Storing Your Homemade Treat
Let’s talk about storing your ice cream. You will want to eat it right away, but you can save some for later. Scoop any leftover ice cream into a container and press plastic wrap right on the surface. This stops ice crystals from forming.
Then put the lid on tight and pop it in the freezer. I once used a bowl with a loose lid and my ice cream tasted like freezer air. It was not good! Batch cooking—just making a double recipe—is perfect for a summer party.
Why does this matter? Good storage saves your hard work and keeps your dessert tasting creamy and fresh. Have you ever tried storing it this way? Share below!
Common Ice Cream Can Troubles
First, the lid might leak. Duct tape is your best friend here. I remember when my grandson taped it three times—it was a sticky mess, but it held.
Second, the mixture won’t freeze. You need enough rock salt with your ice. The salt makes the ice colder, so if it’s not freezing, add more salt.
Third, everyone gets bored rolling. This is very normal. Take turns or set a timer for five minutes. Why does fixing this matter? It builds your cooking confidence. You learn that small fixes make big differences, and the flavor is worth the little extra effort. Which of these problems have you run into before?
Your Quick Questions, Answered
Q: Is this gluten-free?
A: Yes, the basic recipe is naturally gluten-free. Just check your add-ins.
Q: Can I make it ahead?
A: Absolutely. Make the base a day early and keep it chilled in the fridge.
Q: What can I swap for heavy cream?
A: For a lighter version, try full-fat coconut milk. It will still be creamy.
Q: Can I double the recipe?
A: Do not overfill the small can. Use two sets of cans instead.
Q: Any fun optional tip?
A: Try adding crushed cookies before freezing. *Fun fact: The rolling action is called “agitation.” It helps make it smooth!* Which tip will you try first?
From My Kitchen to Yours
I hope you have fun with this recipe. The best part is making it with people you love. The rolling and laughing is the real secret ingredient.
I would love to see your creations. Share a picture of your coffee can adventure. Have you tried this recipe? Tag us on Pinterest! You can find me at @ChloesKitchen. Thank you for cooking with me today.
Happy cooking!
—Chloe Hartwell.
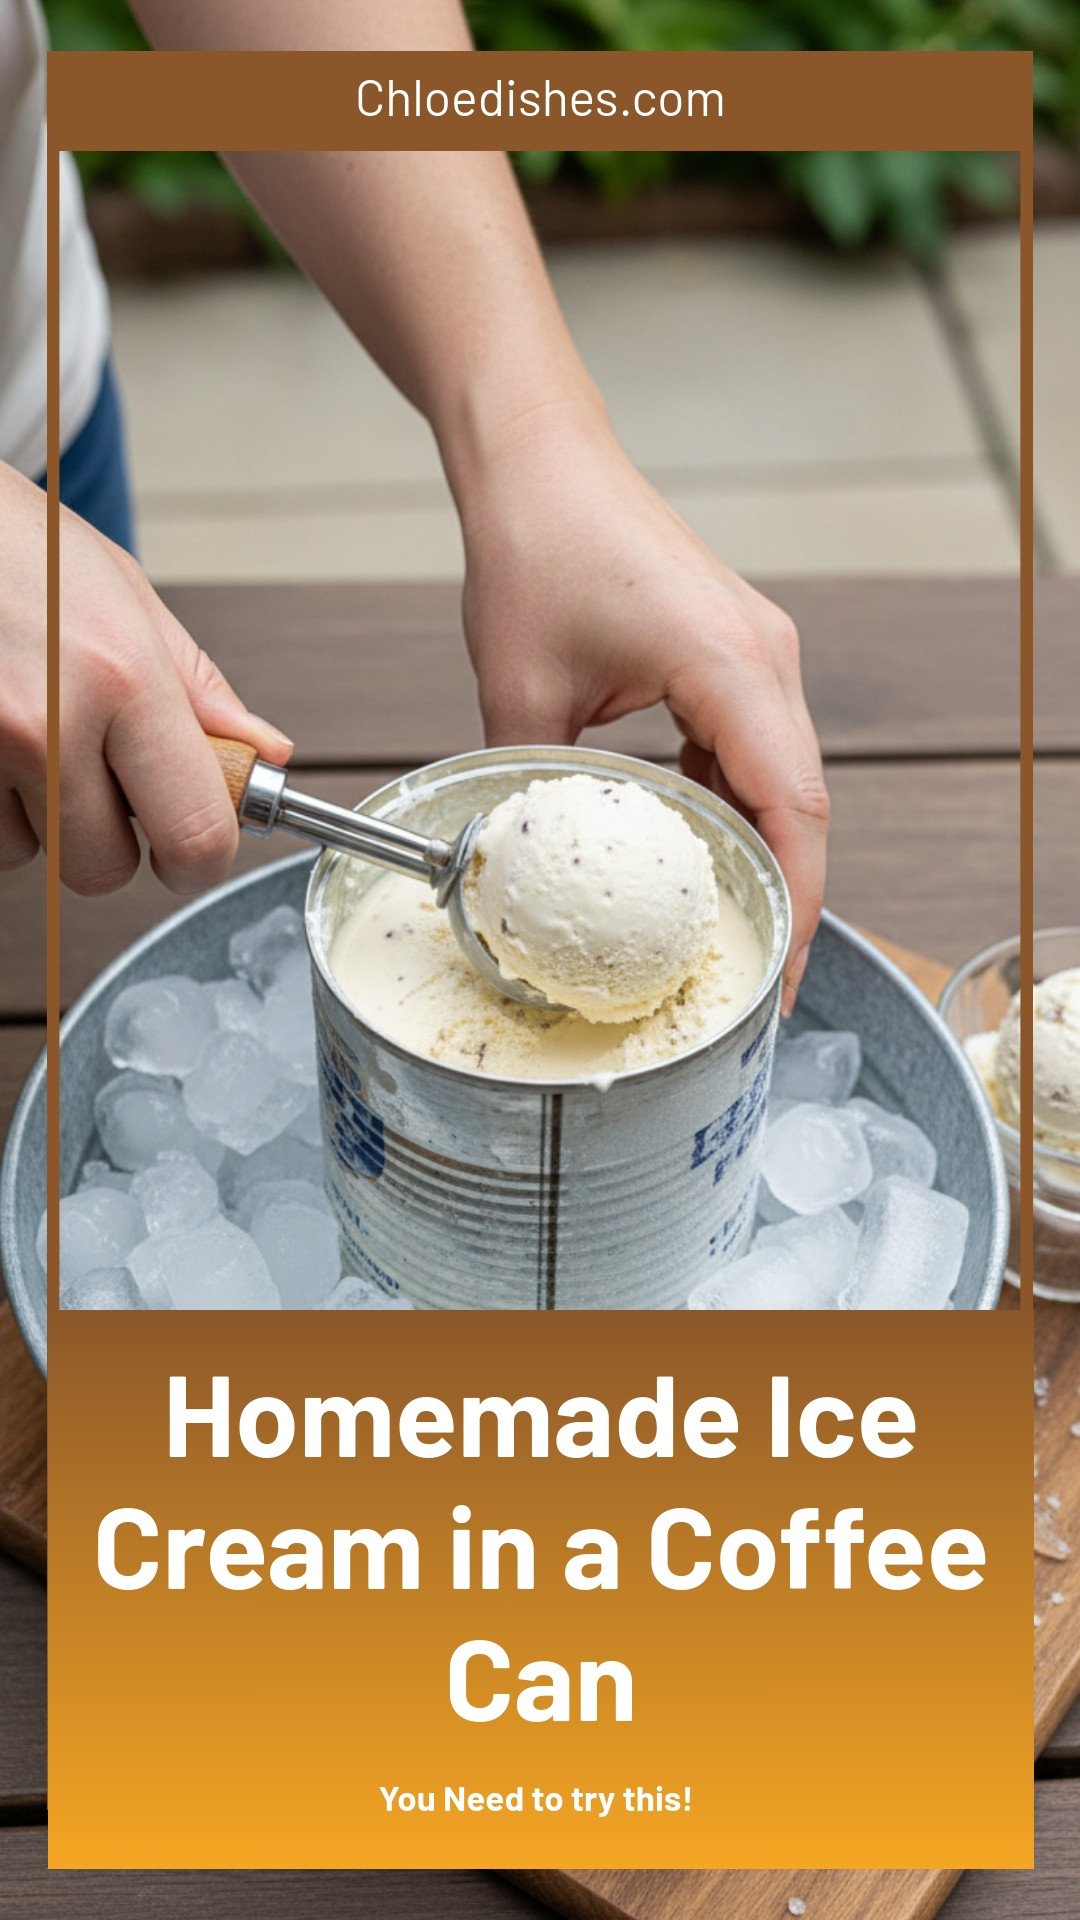

Homemade Ice Cream in a Coffee Can
Description
Make creamy homemade ice cream using a coffee can! A fun, no-machine method perfect for family fun and summer treats.
Ingredients
Instructions
- Rinse the coffee cans. Empty the coffee cans and wash the small one thoroughly to remove any coffee scent.
- Make the ice cream base. In a bowl, combine the heavy whipping cream, sugar, vanilla, and a pinch of salt. For flavored ice cream, add pureed fruit, extracts, or mix-ins.
- Pour into the coffee can. Pour the mixture into the small coffee can. Secure the lid tightly with duct tape.
- Add rock salt and ice. Place the small can inside the large coffee can. Surround it with layers of ice and rock salt. Duct tape the lid on the large can as well.
- Roll the coffee can. Roll the can back and forth on the ground for about 30 minutes, adding more ice and salt if needed. After rolling, the mixture will be soft-set around the edges.
- Freeze to finish. For best results, place the small can in the freezer for at least 1 hour to firm up completely before serving.
Notes
- The freezer does a great job of finishing the ice cream if you or the kids get tired of rolling. Feel free to experiment with different flavorings!


Leave a Reply