

The Idea That Started It All
My grandson came home hungry last week. He wanted fried chicken. His sister wanted pot pie. I looked at the slider buns on my counter. A little idea popped into my head. Why not put one inside the other? I still laugh at that.
So we tried it. We rolled, stuffed, and fried. The smell was incredible. It filled the whole kitchen with warmth. The result was pure magic. Crispy outside, creamy inside. This matters because cooking should be fun. It is okay to play with your food.
Making the Heart of the Pocket
Let’s make the pot pie filling first. It is the cozy heart of this recipe. Melt your butter with the oil. Cook the onion until it’s soft and golden. Doesn’t that smell amazing? Then add the garlic. It makes everything better.
Here is a key step. Cook the flour with the butter and spices. This makes a roux. It thickens the milk into a lovely sauce. *Fun fact: This simple roux is the secret to so many creamy soups and gravies.* Stir in your chicken and frozen veggies last. Let it cool completely. A cold filling is much easier to handle.
The Joy of Assembly
Now for the fun part. Take your slider buns. Roll them flat with a pin. Be gentle, like you are patting a puppy. Place a spoon of cold filling in the center. Add a pinch of cheese for a happy, melty surprise.
Brush the edges with egg wash. This is your edible glue. Press another bun half on top. Seal the edges tight with your fingers. I like to pretend I am closing a treasure chest. What is your favorite filling to put in a sandwich? I would love to know.
The Crispy, Golden Coat
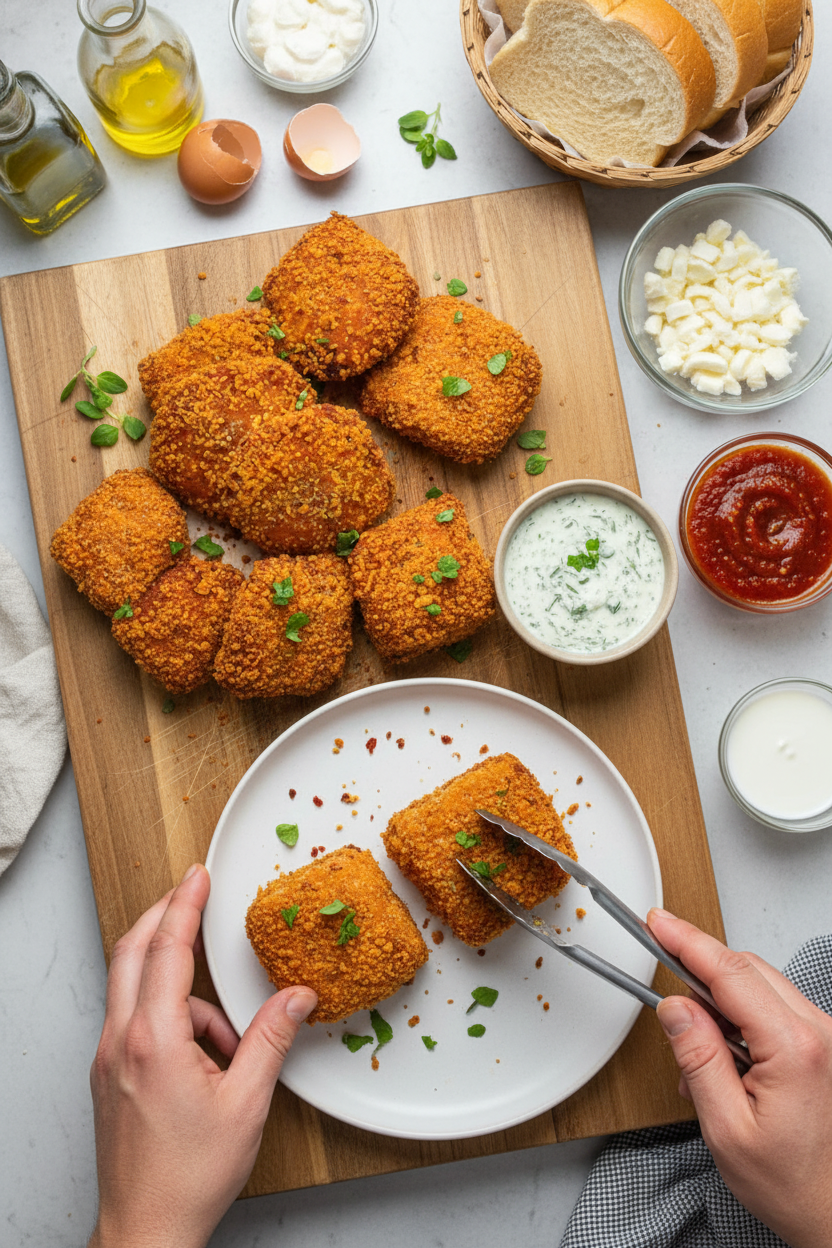
Before frying, we give our pockets a coat. Dip them in egg wash. Then press them into the seasoned panko crumbs. Use one hand for wet, one for dry. This keeps your fingers from getting too messy.
Freeze the pockets for ten minutes first. This matters. It helps the coating stick perfectly. It gives you a crispier finish. Have you ever tried panko bread crumbs? They are lighter and crunchier than regular ones.
Frying Up Memories
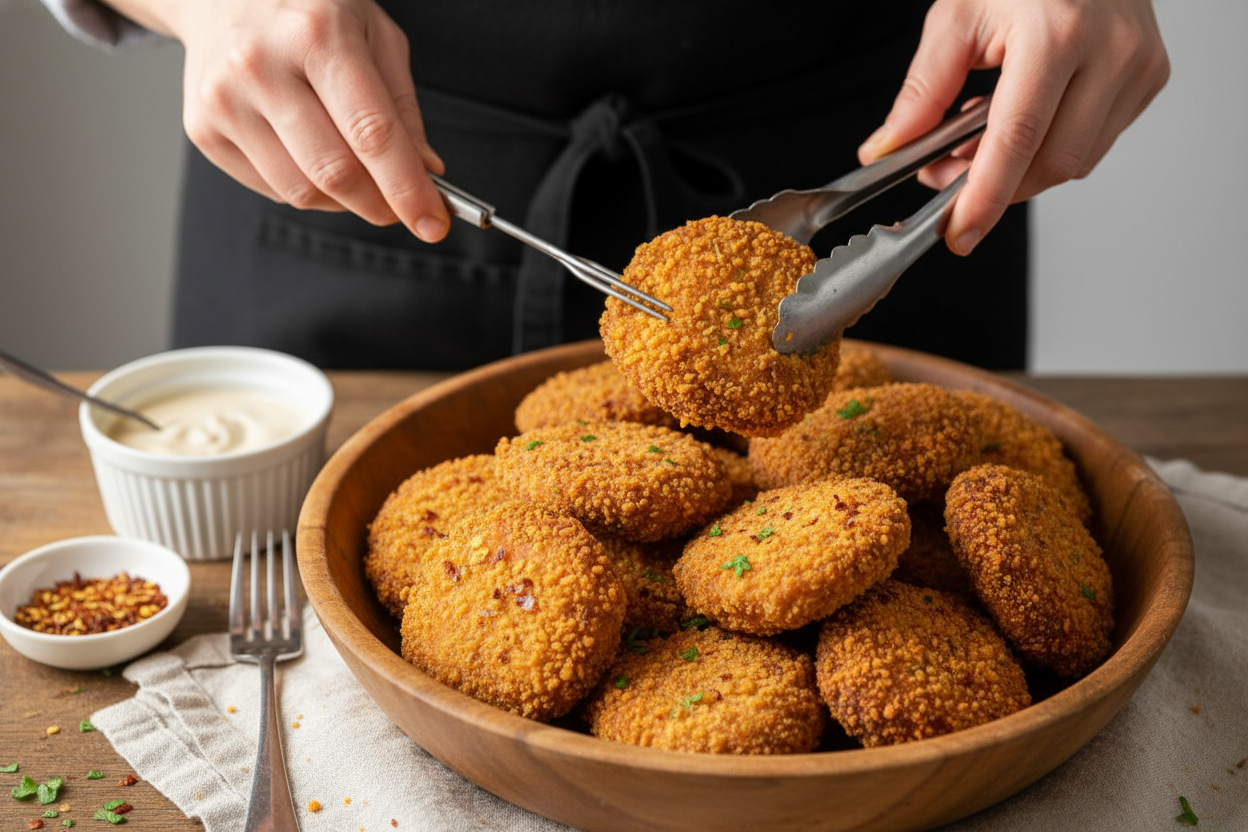
Heat your oil in a deep pan. You want it nice and hot. Carefully add a few pockets. Do not crowd them. They need room to swim. Fry until they are a beautiful golden brown.
That sizzle is the sound of happiness. Let them drain on a rack. The first bite is always the best. The crunch gives way to creamy, savory filling. It is pure comfort. What food sound makes you the happiest? For me, it is that sizzle.
Why We Cook Like This
This recipe is more than food. It is a lesson in making do. It uses simple things you might already have. Leftover chicken, frozen veggies, soft buns. It turns them into something special.
That is the real magic of cooking. It is not about fancy tools. It is about heart and a little creativity. Sharing these pockets with my grandkids was the best part. Would you make these for a weekend lunch or a fun dinner? Tell me your plan.
Ingredients:
| Ingredient | Amount | Notes |
|---|---|---|
| olive oil | 1 tbsp | For filling |
| butter | 2 tbsp | For filling |
| yellow onion, finely chopped | ¼ onion | For filling |
| minced garlic | 1 tablespoon | For filling |
| chicken stock cube (e.g., Knorr) | 1 cube | For filling, optional |
| all purpose flour | 2 tbsp | For filling |
| salt, pepper, chilli flakes, oregano | ½ tsp each | For filling, adjust to taste |
| whole milk | 1 cup (240g) | For filling |
| boiled, shredded chicken | 1 cup (125g) | For filling |
| chopped frozen veggies (e.g., corn, carrots, peas) | ¾ cup | For filling |
| large eggs | 2 | For egg wash |
| milk | 2 tbsp | For egg wash |
| panko bread crumbs | ¾ cup | For coating |
| all purpose flour | 3 tbsp | For coating |
| salt | ¼ tsp | For coating |
| pepper | ¼ tsp | For coating |
| chili flakes | ½ tsp | For coating |
| Hawaiian Sweet Slider Buns or sliced bread | 2 packs (18 buns) | For assembly |
| shredded mozzarella cheese | ½ to 1 cup | For assembly |
| Vegetable, canola or avocado oil | As needed | For frying |
My Cozy Fried Chicken Pot Pie Pockets
Hello, my dear! Come sit. Let’s make something fun today. I’m thinking of my grandson’s last sleepover. He loves these bread pockets. They are like little hugs from the kitchen. We take the cozy taste of chicken pot pie. Then we make it handheld and crispy. Doesn’t that sound wonderful?
It’s a simple recipe, I promise. We just make a creamy filling, tuck it into soft bread, and give it a crispy coat. The smell of them frying is pure happiness. I still laugh at how fast they disappear from the plate. Are you ready? Let’s begin.
Step 1:
First, we make the heart of it all. Warm some oil and butter in your pan. Cook the chopped onion until it’s soft and sweet. Then add the garlic and that stock cube. Your kitchen will smell amazing already. (A hard-learned tip: let that onion get golden. It builds such a nice flavor base.)
Step 2:
Now, turn the heat down low. Sprinkle in your flour and all those good seasonings. Stir it for a minute or two. It might look a little pasty, and that’s just fine. This is what thickens our filling later. No one likes a runny pocket!
Step 3:
Time for the milk. Pour it in and whisk gently. Keep stirring on low heat. Watch a smooth, thick white sauce appear. It’s like magic! Turn off the heat and stir in your chicken and frozen veggies. Let this cool completely. I pop mine in the fridge.
Step 4:
While it chills, let’s get our stations ready. Whisk eggs and milk in one bowl. Mix panko, flour, and spices on a plate. Now, take your slider buns. Gently roll each half flat. Don’t press too hard, just enough to make a little circle. What’s your favorite cozy meal to make for friends? Share below!
Step 5:
The fun part! Spoon some cool filling onto a bun half. Add a pinch of cheese. Brush the edges with egg wash. Top with its other half and pinch the edges tight. Really seal them well. I make a little crimp with my fingers. Freeze all the pockets for just 10 minutes. This keeps them from falling apart.
Step 6:
Coat them well. Use one hand for the egg wash and the other for the crumbs. This keeps your fingers from getting too clumpy. Press the coating on so it sticks. Heat your oil until it shimmers. Fry a few at a time until they’re golden and glorious. Let them drain on a rack. Then serve them warm. Pure joy!
Cook Time: 20 minutes
Total Time: 1 hour
Yield: 9 bread pockets
Category: Lunch, Snack
Three Tasty Twists to Try
Once you master the basic recipe, you can play! Here are some of my favorite twists. They keep things exciting.
- The Thanksgiving Twist: Use leftover turkey and add a spoonful of mashed potatoes inside.
- The Veggie Delight: Skip the chicken. Use sautéed mushrooms and a bit of creamy soup for filling.
- The Spicy Kick: Add diced jalapeños to the filling and use pepper jack cheese instead of mozzarella.
Which one would you try first? Comment below!
Serving Your Masterpieces
These pockets are a meal by themselves. But I love to add a little something extra. A small bowl of tomato soup for dipping is perfect. A simple green salad with a tangy dressing works wonders too. For drinks, a cold glass of apple cider is lovely. For the grown-ups, a pale ale pairs nicely with the crispy crust.
Which would you choose tonight? The cozy soup or the fresh salad? I think I’d go for the soup. It reminds me of autumn afternoons. Now, go on and enjoy your cooking. I can’t wait to hear how yours turn out.
Keeping Your Pockets Perfect for Later
Let’s talk about saving some for later. You can keep these fried pockets in the fridge for three days. Just warm them in the oven to stay crispy. For longer storage, freeze them before frying.
Lay the coated, uncooked pockets on a tray. Freeze them solid, then pop into a bag. I once froze a whole batch for my grandson’s visit. He loved having a hot snack ready in minutes.
Batch cooking like this saves busy days. It means a homemade meal is always close by. Have you ever tried storing it this way? Share below!
Fixing Common Little Kitchen Hiccups
Sometimes the filling tries to escape while frying. The fix is simple. Make sure your filling is completely cold before using. A warm filling makes the bread soggy and hard to seal.
If your coating isn’t sticking, check your egg wash. Whisk it very well until it’s smooth. I remember when my egg wash was too thick. The crumbs just slid right off!
Is your oil getting too dark too fast? Your heat might be too high. Aim for a steady medium heat. This gives the pocket time to heat through. Getting this right builds your cooking confidence. It also makes sure every bite is golden and delicious. Which of these problems have you run into before?
Your Questions, My Answers
Q: Can I make this gluten-free?
A: Yes! Use gluten-free bread, flour, and breadcrumbs. The method stays the same.
Q: How far ahead can I make them?
A: You can assemble pockets a day ahead. Keep them covered in the fridge until ready to coat and fry.
Q: What veggie swaps work?
A: Use any small frozen veggies you like. Green beans or diced peppers are lovely. Fun fact: using frozen veggies means you don’t have to chop them!
Q: Can I double the recipe?
A: Absolutely. Just use a bigger pot for the filling. It’s perfect for feeding a crowd.
Q: Is the chicken stock cube needed?
A: It’s optional but adds a cozy, savory flavor. You can skip it if you prefer. Which tip will you try first?
From My Kitchen to Yours
I hope you love making these cozy pockets. They always make my kitchen smell like home. I would love to see your creations.
Share a picture of your golden-brown pockets with me. It makes my day to see your family enjoying them. Have you tried this recipe? Tag us on Pinterest!
Thank you for cooking with me today. Happy cooking! —Chloe Hartwell.
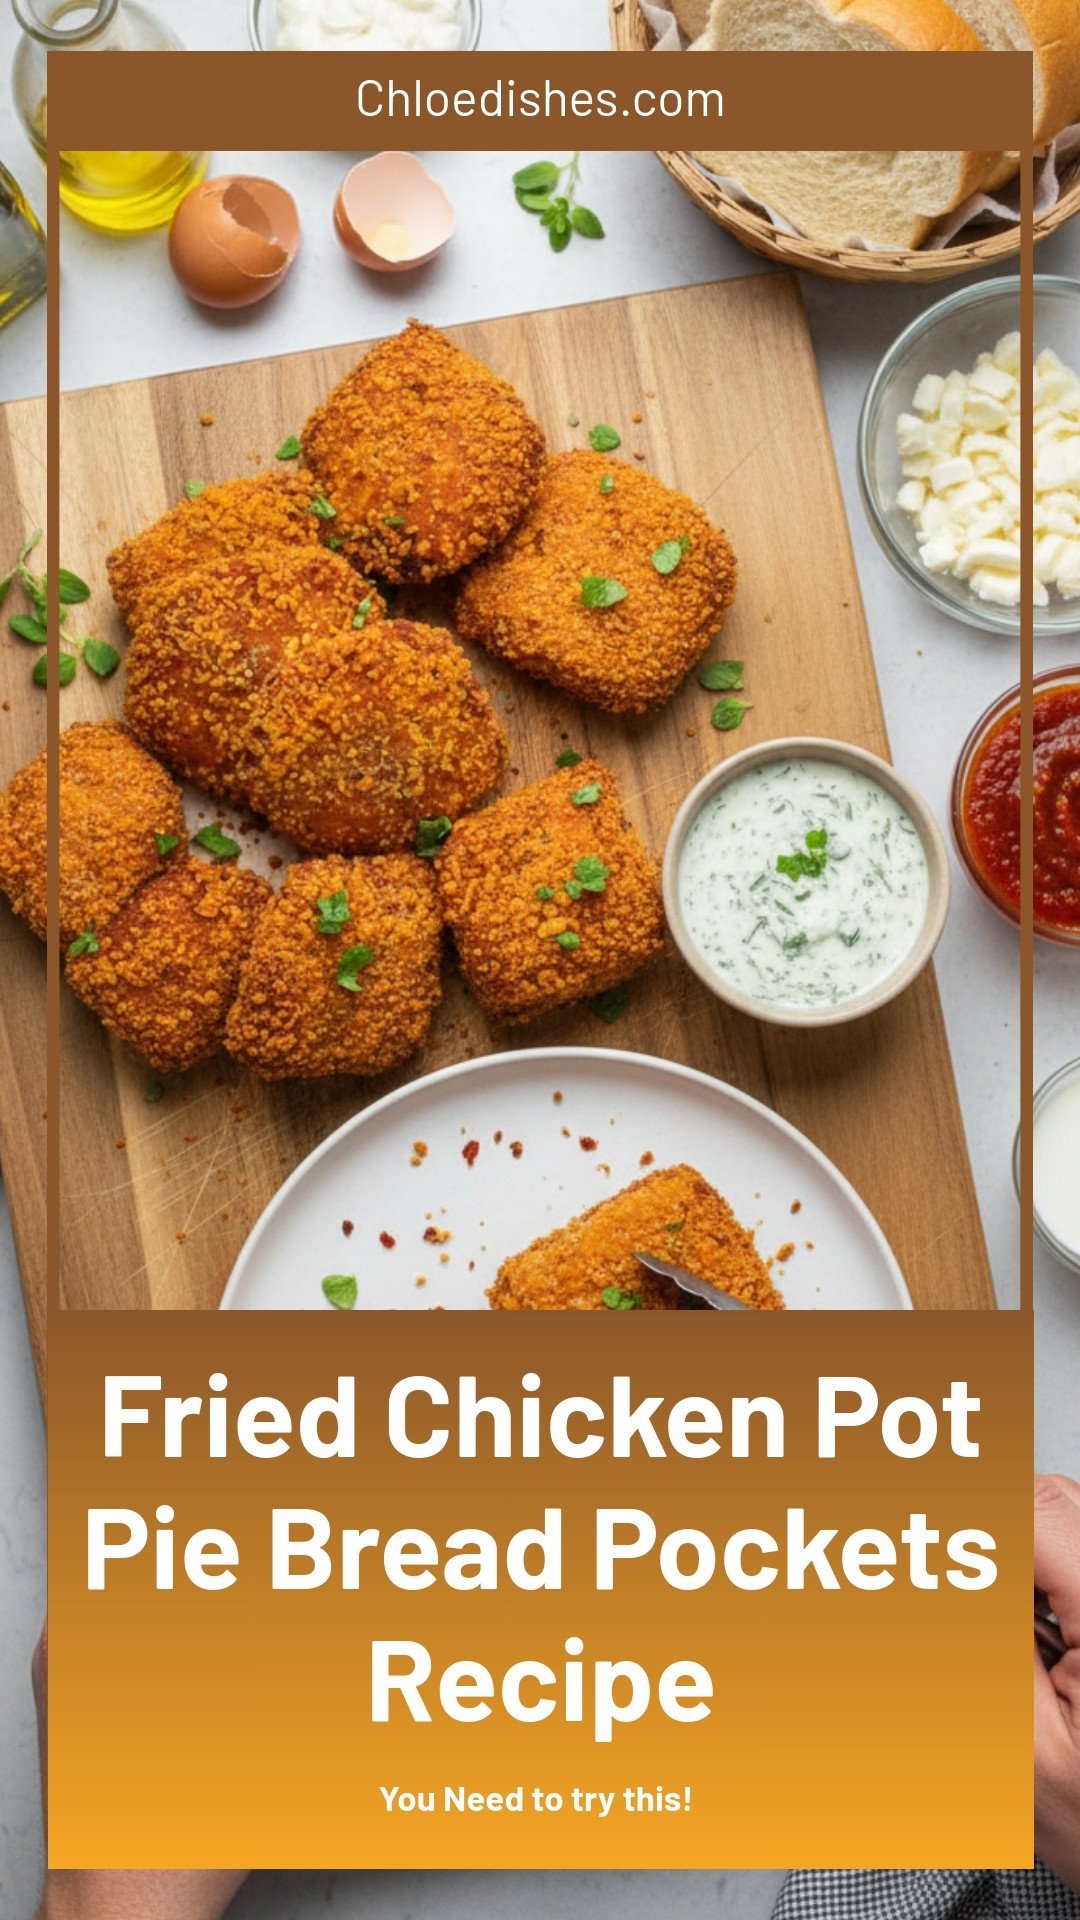
Fried Chicken Pot Pie Bread Pockets
Description
Crispy fried pockets filled with creamy chicken pot pie. The ultimate savory hand-held comfort food. Easy recipe with step-by-step photos!
Ingredients
Chicken Pot Pie Filling:
Egg Wash:
Coating:
Assembly:
Instructions
- Chicken Pot Pie Filling: Heat oil and butter over medium heat in a saucepan. Add the onion and cook for a few minutes until it becomes golden in color.
- Add the minced garlic and chicken stock cube, and cook and stir for 1 minute until fragrant.
- Turn the heat to low. Add the seasonings and flour and stir for 1 to 2 minutes. It is ok if the mixture looks dark in color as long as it’s not burnt!
- Add the milk and whisk it in gently. Continue to cook on low heat until a thick white sauce forms. Taste and adjust seasoning as needed.
- Turn off the heat and mix in the shredded chicken and veggies. Stir to combine. Let the filling cool down completely (I recommend refrigerating for 15 minutes).
- Egg Wash: Whisk the eggs and milk in a large bowl until the eggs are thoroughly broken down.
- Coating: Mix together the ingredients in a deep plate / large bowl.
- Assembly: Separate the slider buns into their 2 halves (but keep them next to each other as they will be joined together to make the pockets). Use a rolling pin to flatten each bun half into a flat circle (don’t use so much force as to break them, though).
- Take one half of a slider bun and place it cut (white) side facing up. Place a spoonful of the chilled filling in the center in a little mound, and press in a small amount of shredded cheese. Use a pastry brush to brush the edges of the bun with egg wash.
- Then take the other half of the slider bun and place it on top, cut side down. The 2 cut sides should be facing inwards towards each other. Use your fingers to seal the edges of the 2 halves together tightly. You can lift and rotate the pocket in your hand as you do this to make it easier.
- Repeat until all sliders have been turned into pockets. Freeze for 10 minutes to make them easier to work with.
- Once chilled, it is time to coat. Use one hand to dip a pocket in the egg wash, getting it covered on both sides. Lift and let any excess egg wash drip off. Then place in the bowl with the coating, and use the other hand to thoroughly coat on both sides, pressing the coating in. Lift and shake off any excess coating, and place on a wire rack. Repeat with all bread pockets.
- Heat 1-2″ of oil in a large frying pan / wok until it reaches 350F. Carefully fry ~4 bread pockets at a time, for 1-2 minutes per side until they look golden brown and crispy. Lift with a spider, letting any excess oil drain.
- Serve the bread pockets fresh. Enjoy!
Notes
- *You can use rotisserie chicken or leftover cooked chicken. For the veggies, frozen mixed vegetables work perfectly. Ensure the filling is completely cooled before assembling to prevent soggy pockets.


Leave a Reply