
A Little Taste of Italy
Let me tell you about panna cotta. It means “cooked cream” in Italian. I first tried it on a trip many years ago. It was so smooth and wobbly. I fell in love right there.
I thought it would be hard to make. But it’s not. It’s just a few simple ingredients. You gently warm them together. The magic is in the gelatine. It makes the cream set into a soft, silky dream. What’s a dessert you tried on a trip that you’ll never forget?
The Secret to Silky Smooth
The most important step is patience. You must let the mixture cool in the fridge for one hour. Stir it a couple times. I know, waiting is hard. But this matters. It helps the vanilla seeds float evenly.
If you skip this, the seeds sink to the bottom. You get a plain top and a speckled bottom. We want every bite perfect. Fun fact: gelatine melts at a very low temperature. Your body heat is almost enough! So if it sets too soon, just warm it gently. You can always start again.
A Funny Little Shake
My favorite part is turning them out. You run a knife around the edge. Then you flip the mould onto a plate. Give it a confident little shake. You’ll hear a soft “plop.”
I still laugh at that sound. The first time I did it, I was so nervous. I closed my eyes. But it worked. A perfect, jiggly little cloud on the plate. Have you ever had a kitchen moment that made you laugh out loud?
Why Simple is Best
This recipe uses real vanilla bean paste. You see the tiny black seeds. Doesn’t that smell amazing? It fills your whole kitchen. Using good ingredients matters. You can taste the care.
Panna cotta is a blank canvas. You can serve it plain. It is so rich and creamy on its own. Or you can add a berry coulis. The tart raspberry cuts the sweet cream. It’s a perfect balance. Do you prefer desserts plain, or with a fruity sauce?
Make It Your Own
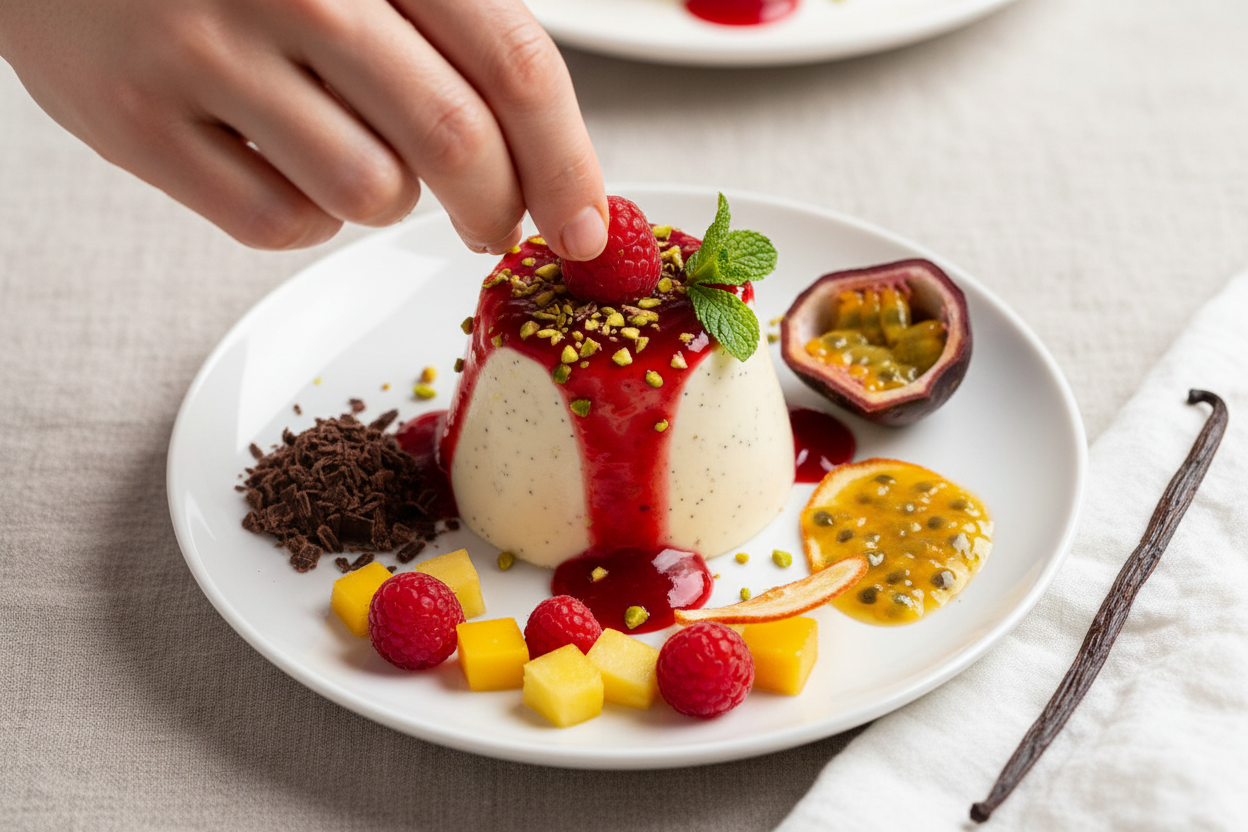
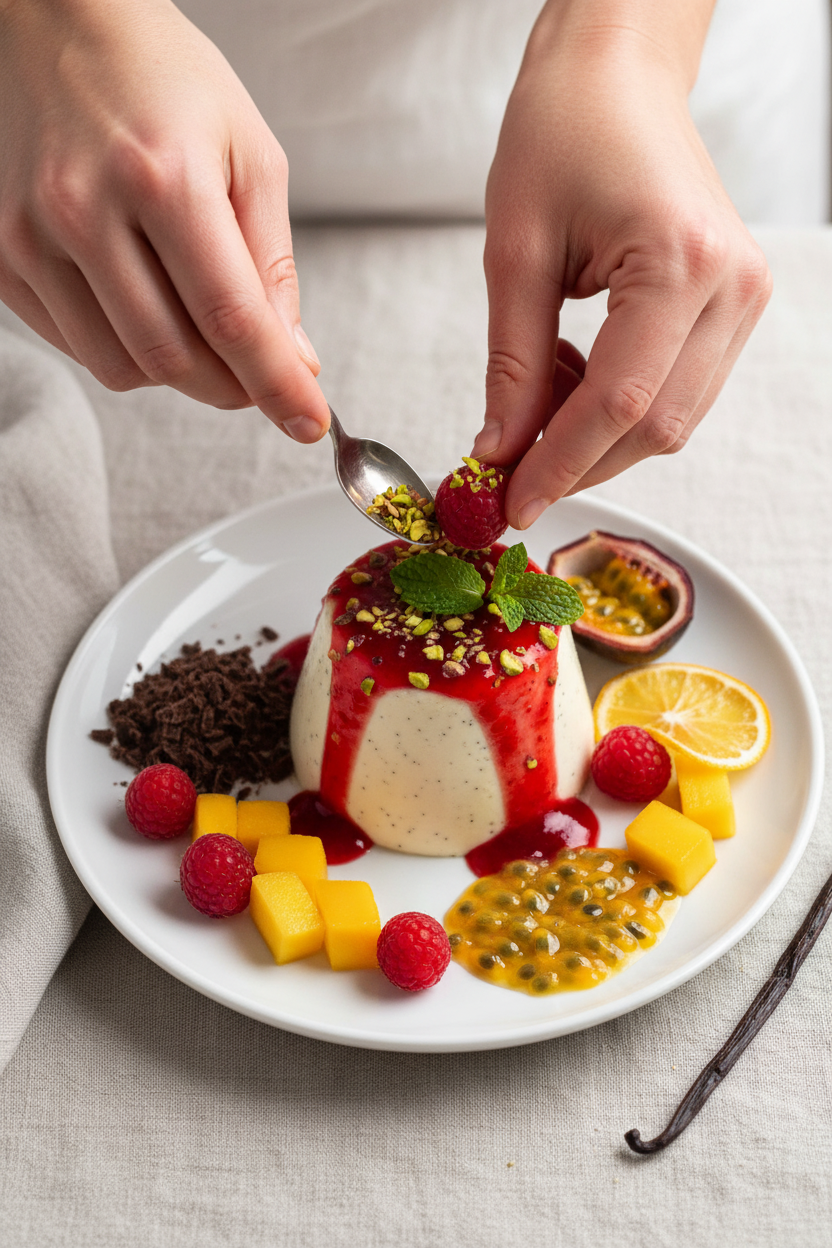
You can decorate it many ways. I love a bright raspberry coulis with pistachios. The green and red is so pretty. But you could use mango, or passionfruit, or chocolate shavings.
This is why cooking is special. You start with a simple recipe. Then you make it yours. That final touch matters. It turns food into a gift, for you or for others. So tell me, what topping would you choose for your panna cotta?
Ingredients:
| Ingredient | Amount | Notes |
|---|---|---|
| Gelatine powder, unflavoured | 2 1/2 tsp | Can reduce to 2 1/4 tsp if not un-moulding |
| Milk, full fat | 1/2 cup | For blooming gelatine |
| Milk, full fat | 1 cup | For Panna Cotta |
| Vanilla bean paste | 1 1/2 tsp | Substitute vanilla extract |
| Caster sugar (superfine sugar) | 1/4 cup | |
| Cooking / kosher salt | 1 pinch | |
| Heavy or thickened cream | 1 1/4 cups | Un-whipped |
| Oil spray, neutral flavour | As needed | For moulds (e.g., canola) |
| Raspberries, fresh or frozen | 250g / 8 oz | For optional coulis |
| White sugar | 3 tbsp | For optional coulis |
My Silky Panna Cotta Secret
Hello, my dear. Come sit. Let’s make something magical. Panna cotta means “cooked cream” in Italian. It feels like a fancy restaurant dessert. But it’s really just a few simple things. It’s like a creamy, silky cloud that jiggles. I first had it on a trip years ago. I still remember that first perfect spoonful. We can make that memory in your kitchen today.
You just need patience and a gentle touch. The magic is in the gelatine. It sets the cream so softly. Don’t worry, I’ll guide you through each step. My grandson calls it “vanilla happiness.” Doesn’t that sound amazing? Let’s begin.
- Step 1: First, we wake up the gelatine. Pour half a cup of milk into a small pot. Sprinkle the gelatine powder over the top. Whisk it in gently. Now, let it sit for five whole minutes. It will look a bit strange and lumpy. That’s perfect. It’s just getting ready for us.
- Step 2: Now, melt that gelatine. Put the pot on low heat. Warm it slowly while stirring. Keep going until the lumps vanish. It should look like smooth milk again. (My hard-learned tip: never let it boil! Just warm it.) Once it’s smooth, add the rest of the milk, sugar, vanilla, and a tiny pinch of salt.
- Step 3: Warm the new mixture just until the sugar melts. Then take it off the heat. Let it sit for ten minutes. This lets the vanilla flavor dance through the milk. I like to smell it now. Doesn’t that smell amazing? After ten minutes, stir in all the thick cream. Pour it all into a nice glass jug.
- Step 4: Here’s the secret step. Put the jug in the fridge for one hour. Stir it well after thirty minutes. Stir it again after forty-five minutes. This stops the vanilla seeds from sinking. It gives us a perfect, even set. Why do we let it cool first? Share below!
- Step 5: Lightly spray your little cups or moulds with oil. Wipe out any extra. Pour your slightly thickened cream into them. Now, the hardest part. Let them chill in the fridge for at least six hours. Overnight is even better. Dream of how good they will taste.
- Step 6: Time to serve! Run a small knife around the edge of each cup. Put a plate on top. Flip it over and give it a confident little shake. You’ll hear a soft “plop.” There’s your beautiful, wobbly creation. I still laugh at the happy plop sound.
Cook Time: 20 minutes
Total Time: 6 hours 20 minutes (plus chilling)
Yield: 6 servings
Category: Dessert
Three Fun Twists to Try
Once you master the classic, try a little twist. It’s like giving your panna cotta a new outfit. Here are my favorite ideas.
- Honey & Lemon: Use honey instead of sugar. Add a teaspoon of lemon zest. It tastes like a sunny morning.
- Coconut Dream: Use coconut milk instead of regular milk. It becomes a tropical vacation in a cup.
- Berry Swirl: Drop a spoonful of berry jam in the mould first. Then pour the cream on top. You get a sweet surprise at the bottom.
Which one would you try first? Comment below!
The Perfect Final Touch
This dessert is beautiful all on its own. But a little extra touch makes it special. A simple raspberry sauce is lovely. Just simmer berries with a bit of sugar. Mash them, then strain out the seeds. Let it cool and thicken. Drizzle it over your creamy panna cotta. A few fresh berries and a mint leaf look so pretty. You could also use chopped mango or a sprinkle of dark chocolate.
What to drink with it? For a fancy night, a little sweet dessert wine is nice. For every day, a glass of sparkling lemonade is perfect. The bubbles cut through the cream. Which would you choose tonight?
Keeping Your Panna Cotta Perfect
This dessert is a make-ahead dream. It needs at least six hours in the fridge to set. You can make it two days before your party. Just cover the moulds with plastic wrap.
Do not put panna cotta in the freezer. Freezing will ruin its silky texture. It makes the cream separate. You will get a grainy, icy treat instead.
You cannot reheat it either. The gelatine will melt. Your beautiful shape will become a sweet puddle. I learned this the hard way with my first batch! I was so disappointed.
Batch cooking is simple. Just double the recipe. Use more little moulds or one big dish. This is great for feeding a crowd without stress. Have you ever tried storing it this way? Share below!
Simple Fixes for Common Troubles
Is your panna cotta too firm or too wobbly? The gelatine amount is key. Too much makes it rubbery. Too little and it will not hold its shape.
Getting it out of the mould can be tricky. I remember when mine stuck once! Always use a light oil spray on the mould. Run a thin knife around the edge first.
Do you see little lumps in your mixture? You warmed the milk too fast. Gelatine does not like high heat. Gentle warmth is its friend. This matters for a perfectly smooth mouthfeel.
Fixing small issues builds your kitchen confidence. A smooth dessert also tastes much better. Which of these problems have you run into before?
Your Quick Panna Cotta Questions
Q: Is this recipe gluten-free? A: Yes, it is naturally gluten-free. Just check your labels to be sure.
Q: Can I make it ahead? A: Absolutely! Make it one or two days before serving. It saves time.
Q: What can I use instead of vanilla bean paste? A: Vanilla extract works just fine. Use the same amount.
Q: Can I make a bigger batch? A: You can double the recipe easily. Use more moulds.
Q: Is the raspberry coulis necessary? A: No, it is optional. Fresh berries are lovely on top too. *Fun fact: The word “coulis” just means a thin fruit sauce.* Which tip will you try first?
From My Kitchen to Yours
I hope you love making this creamy treat. It is elegant but so simple. Share it with someone you love.
I would be thrilled to see your creation. Show me your beautiful panna cotta plates. Have you tried this recipe? Tag us on Pinterest!
Thank you for cooking with me today. Remember, the best meals are made with a happy heart.
Happy cooking!
—Chloe Hartwell.
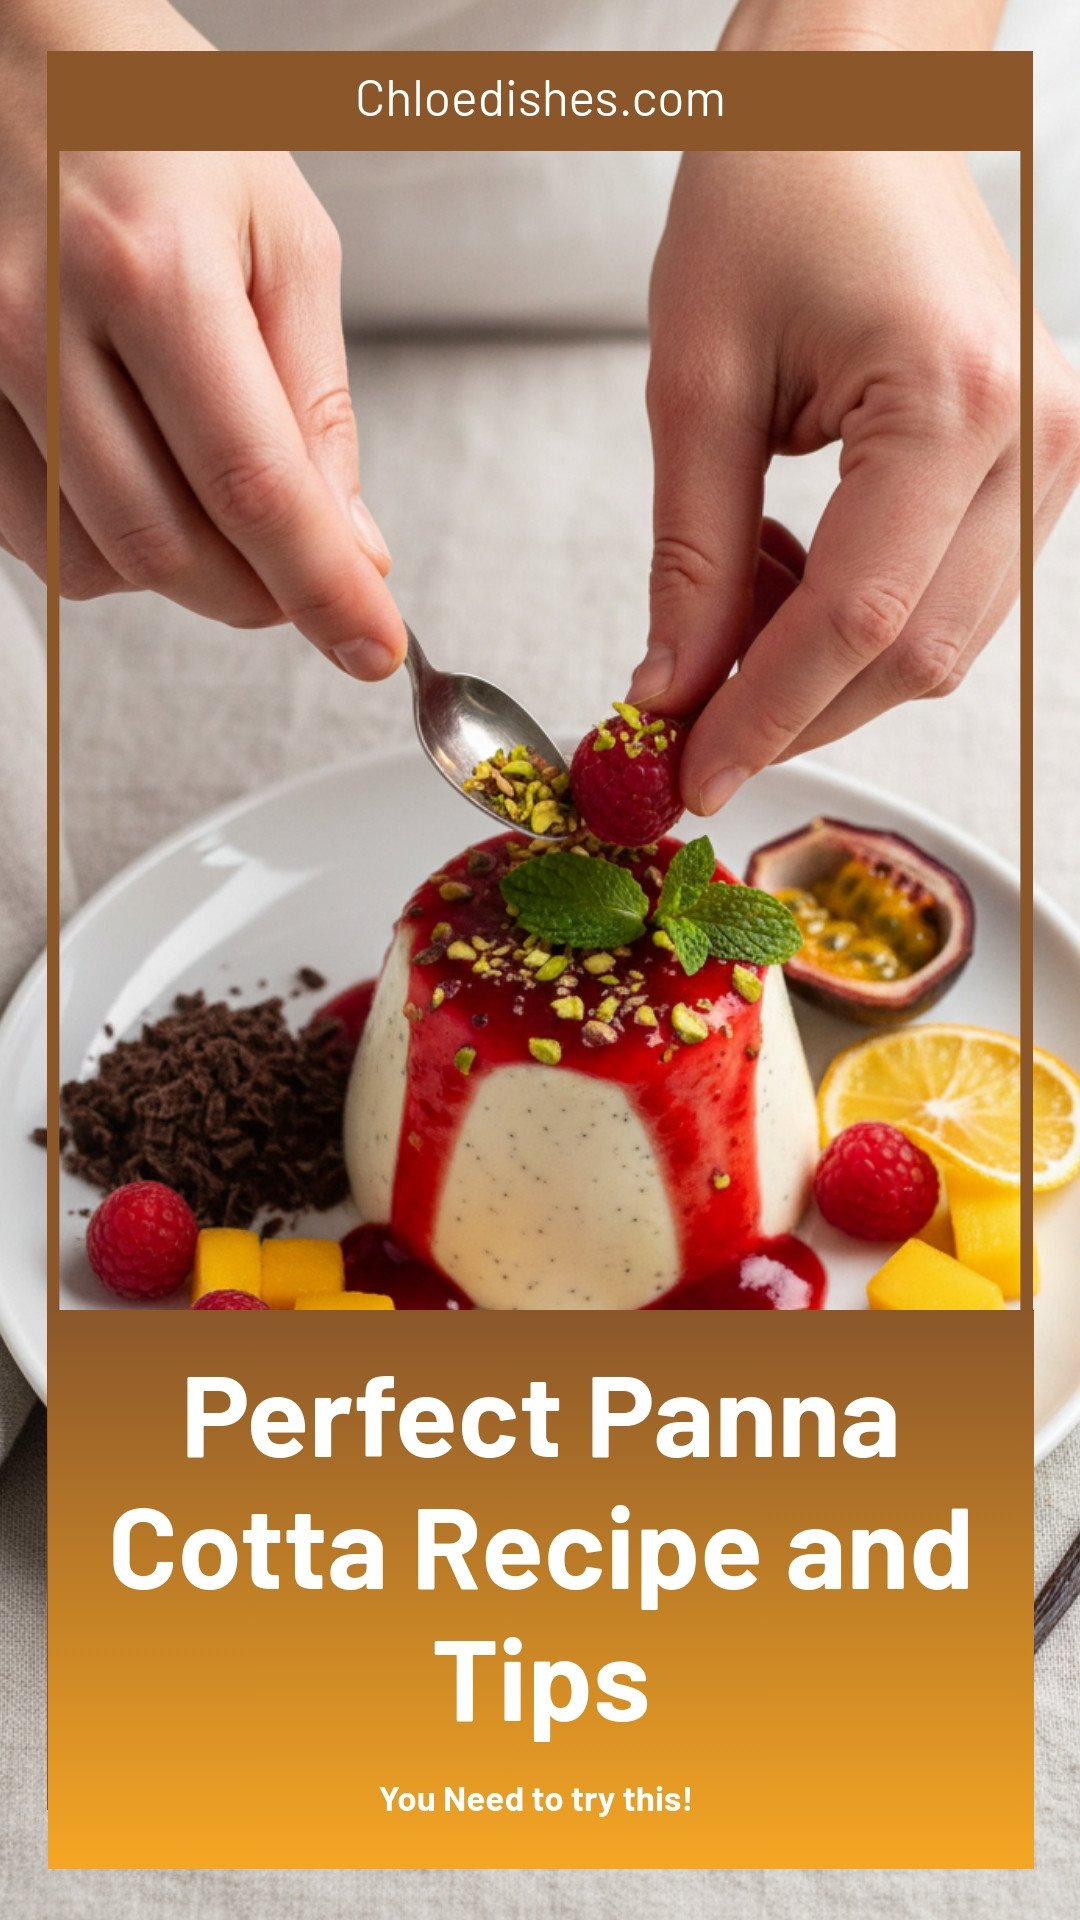

Perfect Panna Cotta
Description
Master the art of making silky, perfect panna cotta every time. Essential tips for a flawless, wobbly dessert that impresses.
Ingredients
Bloom gelatine:
Panna Cotta:
Raspberry coulis option (optional):
Instructions
- Bloom gelatine: Pour the 1/2 cup of milk in a small saucepan, sprinkle the gelatine across the surface then whisk in. Leave for 5 minutes – the gelatine will swell and look curdled.
- Melt: Gently warm the gelatine mixture on medium low heat and stir until it melts and looks like lump-free milk again. Don’t let it simmer.
- Vanilla infused: Add the milk, sugar, vanilla bean paste and pinch of salt. Heat just to let the milk warm and stir gently to dissolve the sugar. Don’t let the milk simmer or even get steamy or frothy, just gently warm. Once the sugar is dissolved, remove from the heat and leave for 10 minutes to let the vanilla flavour to infuse.
- Add cream: Stir in cream. Pour into a large jug or bowl, clear glass is best (so you can check for seed sinking later).
- Cool to thicken slightly: Refrigerate uncovered for 1 hour, stirring at the 30 minute and 45 minute mark, scraping along the sides (in case it starts to set).
- Check thickness: After 1 hour, the mixture should be a pouring cream consistency. Stir, leave for 15 seconds then check the underside to ensure the vanilla beans aren’t settling back on the base.
- Oil and fill moulds: Lightly oil spray 6 moulds (about 2/3 cup / 160ml each), then lightly wipe out excess. Divide mixture between moulds (if you spy lumps, strain).
- Chill: Refrigerate at least 6 hours, preferably overnight. (If not un-moulding, 4 hours is enough).
- Turning out panna cotta: Run the tip of a small knife around the edge of the surface. Invert mould onto a plate. Grip the plate and mould with both hands and give it an assertive shake to loosen the Panna Cotta (it might take a few goes).
- Raspberry coulis: Put ingredients in a small saucepan over medium heat. Once the raspberry juices start simmering, simmer for 5 minutes, mashing the raspberries as you go. Blitz with a stick blender, strain through a fine sieve to remove seeds. Cool completely before using, it thickens as it cools.
Notes
- For decoration: Pictured with raspberry coulis, chopped pistachios, mint, and raspberries. Other ideas include fresh berries, shaved chocolate, fruit compote, passionfruit pulp, citrus slices, or finely chopped mango or pineapple. If the panna cotta mixture sets too much in the fridge before pouring, gently re-melt it in the microwave or on the stove and start again.


Leave a Reply