

My First Blondie Mistake
I once tried to make blondies without peanut butter. It was a sad day. They tasted like sweet cardboard. I still laugh at that.
Peanut butter is the heart of this recipe. It holds everything together. It gives that rich, cozy flavor we all love. That’s why it matters. Good food should make you feel hugged from the inside.
Why This Recipe Works For Everyone
This recipe is a friend to all. Use regular butter and milk. Or use plant-based ones. It works the same. Everyone gets a treat.
I use a 1-to-1 gluten-free flour blend. It measures just like regular flour. No fancy tricks needed. *Fun fact: Blondies are called that because they are the “blonde” version of brownies!* What’s your favorite thing to bake for friends?
The Secret is in the Layers
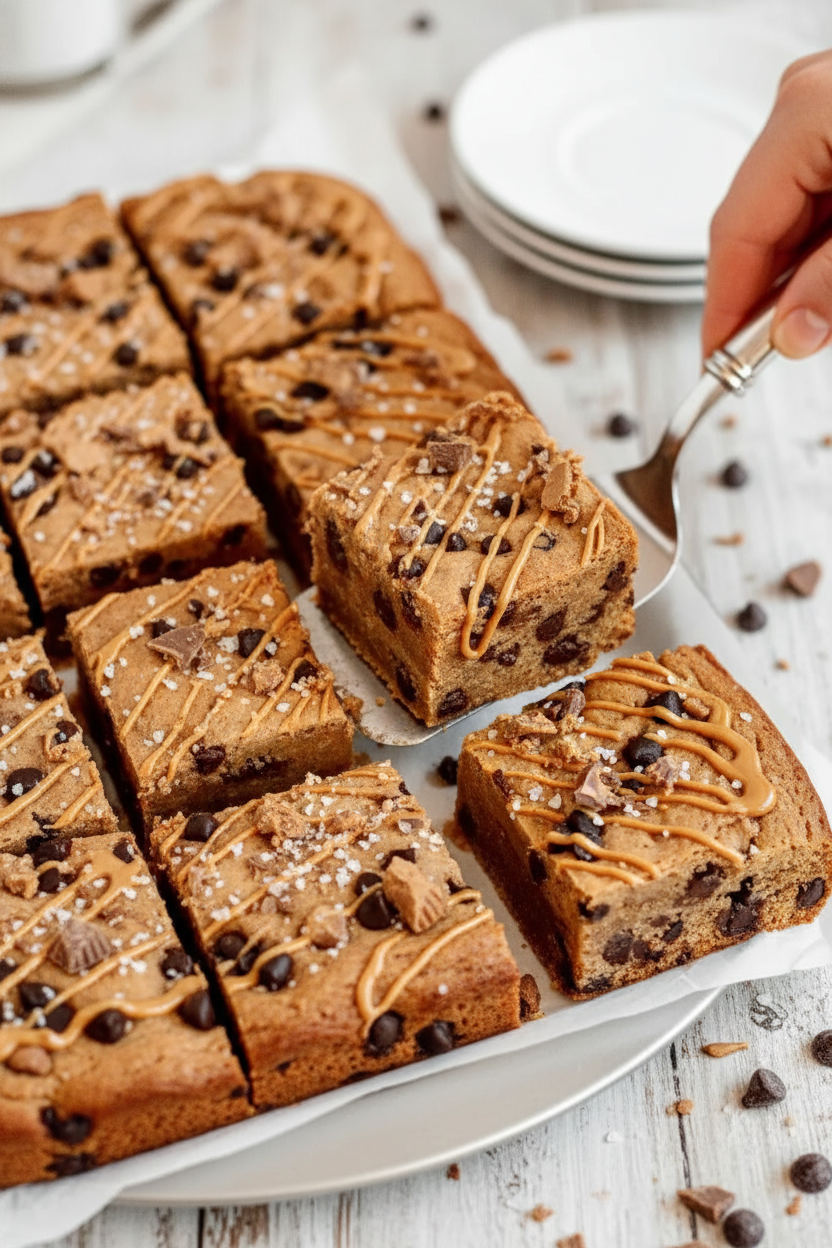
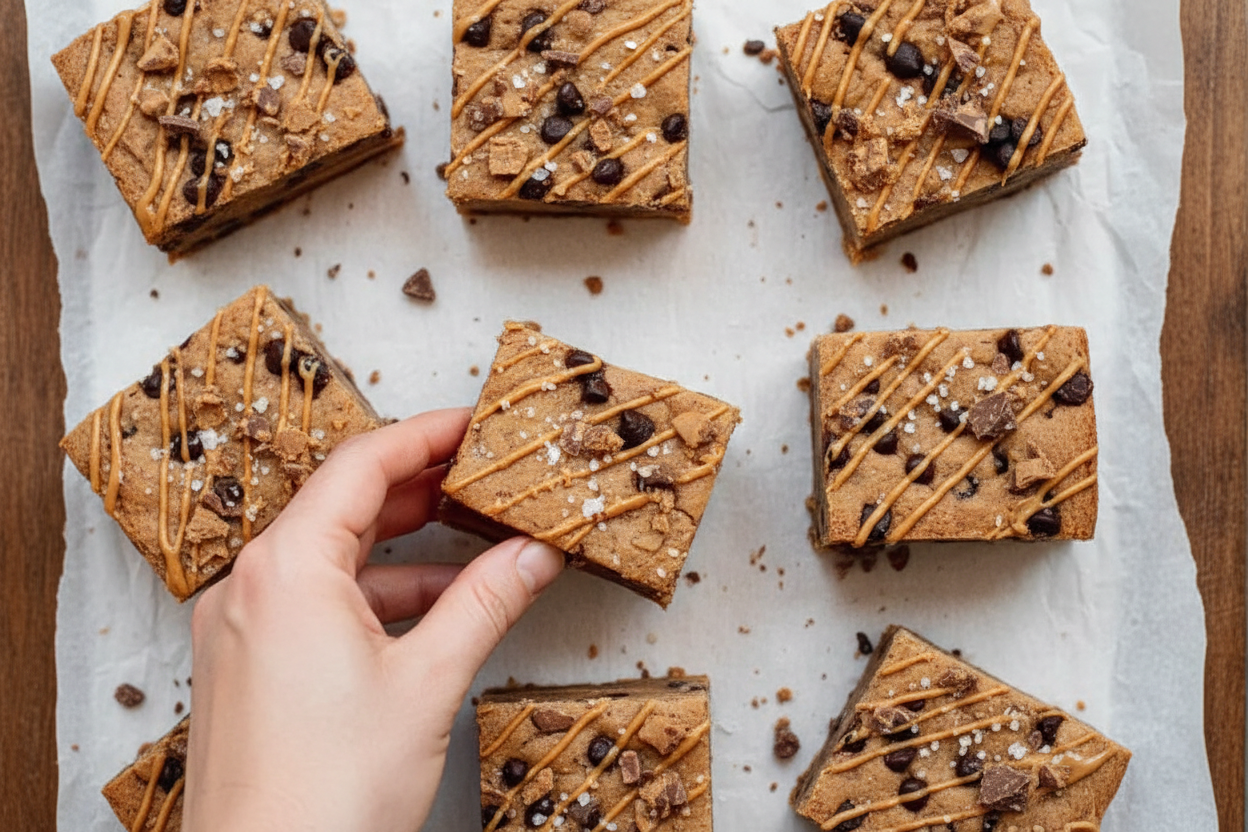
Do not just stir the peanut butter cups in. Layering is the magic. Press them into the middle of the dough. They become a gooey surprise.
When you take them from the oven, your kitchen will smell amazing. Let them cool. I know it’s hard to wait. But it makes them slice so neatly. Do you like your treats warm and gooey, or cool and firm?
A Little Story About Sharing
I brought these to my neighbor last fall. She was having a rough week. She said the blondie made her smile for the first time in days.
That stayed with me. A simple baked good can be a little kindness. That matters too. Food is love you can taste. Have you ever baked something to cheer someone up?
Tips from My Kitchen to Yours
Use room-temperature milk and butter. It helps the dough come together smoothly. No lumps! The sea salt is important. It makes the sweet flavors pop.
Do not over-bake them. Check at 25 minutes. A toothpick should have a few moist crumbs. They firm up as they cool. Drizzle with melted peanut butter on top. It looks pretty and tastes even better.
Ingredients:
| Ingredient | Amount | Notes |
|---|---|---|
| gluten-free flour 1:1 baking blend | 2 cups | |
| baking powder | 1 teaspoon | |
| baking soda | 1/4 teaspoon | |
| coarse sea salt | 1 1/2 teaspoons | |
| brown sugar | 1 cup (200g) | |
| granulated sugar | 1/4 cup (50g) | |
| smooth no-stir peanut butter | 1 cup (250g) | |
| butter, softened | 1/2 cup (113g) | *regular or plant-based |
| vanilla extract | 1 tablespoon (15ml) | |
| milk, room temperature | 1/3 cup (80ml) | *regular or plant-based |
| chocolate chips | 1 cup (168g) | *regular or plant-based |
| peanut butter cups | 9 | *regular or plant-based |
| melted peanut butter & chopped up peanut butter cups | optional | for decor |
My Gooey Peanut Butter Blossom Blondies
Hello, my dear! It’s Chloe. Pull up a stool. Let’s bake something special today. These blondies are my new favorite treat. They are soft, chewy, and full of happy surprises. I made them for my grandson last week. His smile was worth every stir. Doesn’t that smell amazing already? We can make them with regular or plant-based ingredients. Everyone gets a piece. Let’s begin.
Step 1: First, let’s get our pan ready. Turn your oven on to 350 degrees. Grab your 8×8 inch pan. Spray it lightly and line it with parchment paper. This little paper sling is a magic trick. It lets you lift the whole blondie out later. I still laugh at the time I forgot it. What a sticky mess that was!
Step 2: Now, the fun mixing part. In a big bowl, combine your peanut butter, both sugars, and softened butter. Pour in the milk and vanilla. Mix it until it’s smooth and dreamy. This is the heart of the flavor. (A hard-learned tip: make sure your butter is soft! Cold butter makes lumpy batter.)
Step 3: Time for the dry team. Measure your flour, baking powder, baking soda, and salt right into the bowl. Gently mix it all together. A soft dough will form. It’s okay if it’s a bit sticky. That means they’ll be nice and fudgy. What’s your favorite thing to bake? Share below!
Step 4: Here comes the chocolate. Fold in those chocolate chips gently. You want them spread throughout. Now, spread only half the dough into your pan. Press the peanut butter cups into this layer. It’s like hiding little treasures. Then, carefully spread the rest of the dough on top.
Step 5: Into the oven it goes! Bake for about 25 to 30 minutes. You’ll know it’s done when a toothpick poked in the center comes out clean. The waiting is the hardest part, I know. Let them cool for a good 20 minutes before you slice. Top with melted peanut butter and more candy pieces. Pure joy on a plate.
Cook Time: 30 minutes
Total Time: 50 minutes
Yield: 9 generous blondies
Category: Dessert, Snack
Three Tasty Twists to Try
Once you master the basic recipe, play around! Here are three fun ideas. They make the kitchen feel like a playground.
Cookie Dough Dream: Skip the baking. Eat the dough straight from the bowl with a spoon. Use a safe-to-eat flour blend.
Berry Burst: Fold in a handful of dried cranberries or cherries with the chocolate chips. A little tart with the sweet.
Salty Sweet Crunch: Sprinkle the top with a little extra sea salt before baking. Add some crushed pretzel pieces too.
Which one would you try first? Comment below!
Serving Them Up With Style
These blondies are wonderful all on their own. But sometimes, you want to make it an event. For a real treat, serve one warm with a scoop of vanilla ice cream. The melty peanut butter cup inside is magic. You could also pack them in a lunchbox with some fresh apple slices. A nice little balance.
For drinks, a cold glass of oat milk is my go-to. It’s so creamy. For the grown-ups, a cup of strong coffee or a sip of bourbon works beautifully. The nutty flavors just sing together. Which would you choose tonight?
Keeping Your Blondies Happy and Fresh
Let’s talk about storing these treats. They keep well at room temperature for five days. Just use an airtight container.
You can also freeze them for three months. Wrap each blondie tightly. This stops them from drying out.
I once forgot a whole batch in my freezer. Finding them weeks later was a sweet surprise. They tasted just-baked.
Batch cooking matters for busy days. A ready-made treat saves time and brings joy. It is a gift to your future self.
Have you ever tried storing it this way? Share below!
Simple Fixes for Common Blondie Troubles
Is your batter too thick? Add one more tablespoon of milk. This will make it easier to spread.
Do the edges get too dark? Try an oven thermometer. I remember when my old oven ran too hot. My cookies burned!
Are your blondies too crumbly? Let them cool completely first. Cutting them warm makes them fall apart.
Fixing small issues builds your cooking confidence. It also makes your food taste its very best. You learn by doing.
Which of these problems have you run into before?
Your Quick Blondie Questions, Answered
Q: Can I use regular flour?
A: Yes. Use the same amount of all-purpose flour instead.
Q: Can I make them ahead?
A: Absolutely. Bake them a day or two before you need them.
Q: What other nut butter works?
A: Almond or sunflower butter are great swaps. The flavor will change a little.
Q: Can I double the recipe?
A: Yes. Use a 9×13 inch pan. You may need a few more minutes to bake.
Q: Are the toppings needed?
A: No, but they are fun. The extra peanut butter drizzle makes them special.
*Fun fact: The first “blondie” recipe appeared in a cookbook in 1896!*
Which tip will you try first?
Bake, Share, and Enjoy
I hope you love baking these blondies. They are full of cozy, peanut buttery goodness. Sharing them makes them even sweeter.
I would love to see your creation. Please share a photo of your kitchen masterpiece. It makes my day to see them.
Have you tried this recipe? Tag us on Pinterest! You can find me at Chloe’s Cozy Kitchen. Thank you for baking with me today.
Happy cooking!
—Chloe Hartwell.
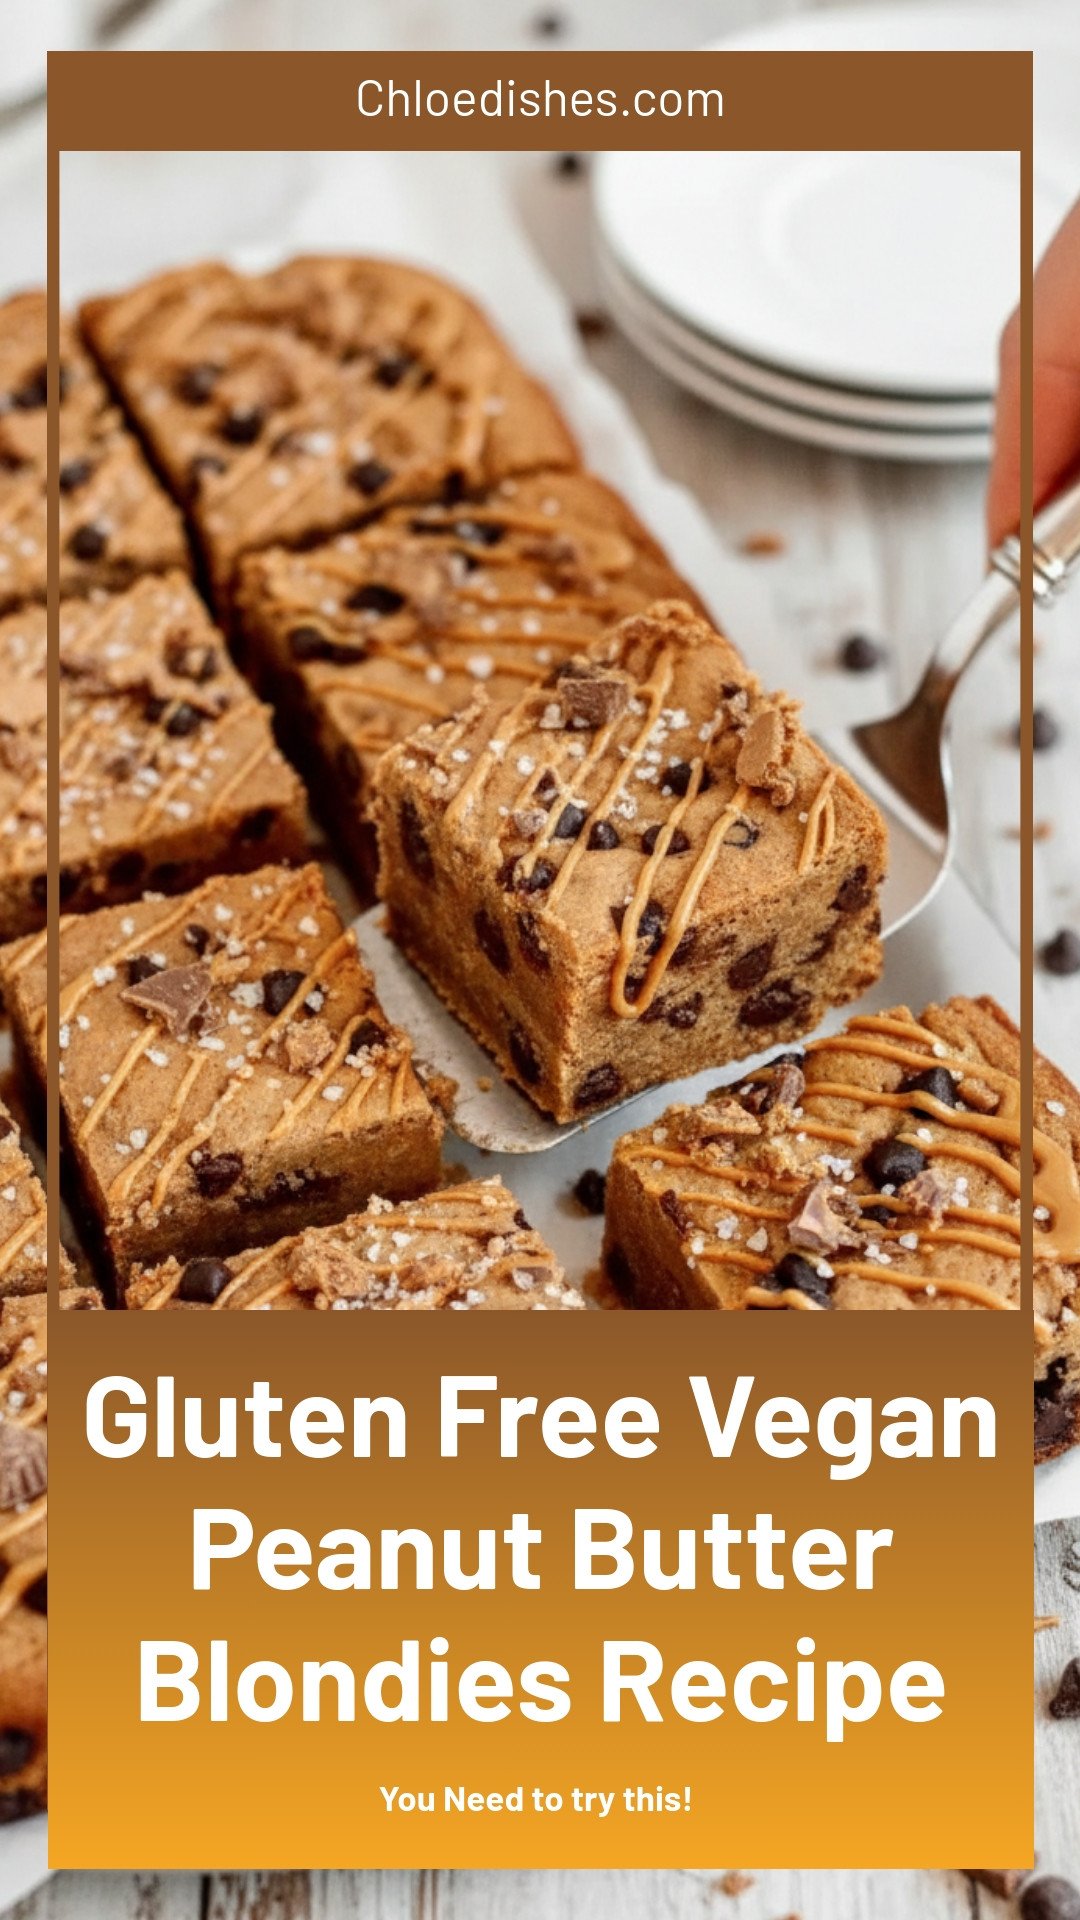
Gluten-Free Vegan Peanut Butter Blondies
Description
Indulge in these fudgy gluten-free vegan blondies! Easy one-bowl recipe with peanut butter. Perfect healthy dessert everyone loves.
Ingredients
Instructions
- Preheat the oven to 350ºF and prepare an 8×8-inch baking pan with non-stick baking spray and parchment paper. Set aside.
- In a mixing bowl, combine the peanut butter, brown sugar, granulated sugar, softened butter, milk, and vanilla extract and mix until smooth.
- Measure in the flour, baking powder, baking soda, and salt, and mix until a soft dough forms.
- Gently fold in the chocolate chips.
- Spread half of the batter into the prepared baking pan and gently press the peanut butter cups into the dough. Top with the remaining dough and spread evenly.
- Bake for approximately 25-30 minutes or until a toothpick comes out clean. Remove from the oven and allow to cool for at least 20 minutes before slicing and serving. Top with a drizzle of melted peanut butter and a sprinkling of chopped peanut butter cups. Enjoy!
Notes
- Store leftover blondies in an airtight container at room temperature for up to 5 days or frozen for up to 3 months.


Leave a Reply