
My First Maple Mess
I still laugh at that first pecan pie I made. I was about twelve. I used corn syrup from the cupboard. It was so sweet it made my teeth ache. The crust was soggy. What a mess.
That’s why I love these bars. They are simpler. The base is like a shortbread cookie. You just press it in the pan. No rolling pin needed. Doesn’t that sound easier? What was your first baking disaster? I bet it was funny too.
Why Real Maple Syrup Matters
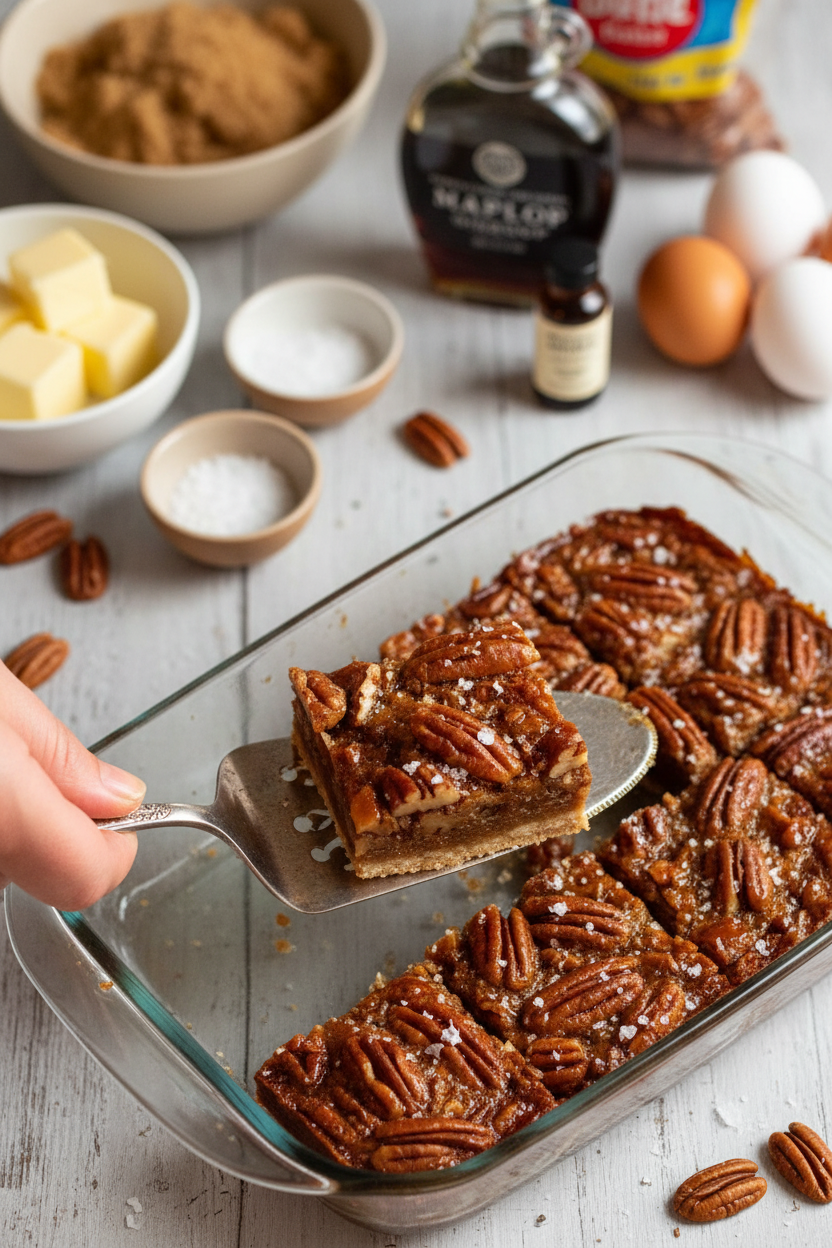
Please use the real maple syrup. The fake stuff is just sugar and flavor. Real syrup has a deep, woodsy taste. It tastes like autumn. It makes the filling rich but not too sweet.
This matters because good ingredients make good food. You can taste the care. *Fun fact: It takes about 40 gallons of tree sap to make just one gallon of maple syrup.* Now you know why the real stuff is special.
The Secret is in the Toasting
Do not skip toasting the pecans. I put them in the oven with the base. It saves time. The heat wakes up their oils. It makes them taste nutty and warm.
Your kitchen will smell amazing. That smell is part of the joy. It tells everyone something good is coming. This matters. Cooking is for all your senses, not just your tongue.
Patience is a Sweet Ingredient
The hardest part is waiting. You must let the bars cool completely. I know it’s tempting to cut them warm. But if you wait, the filling sets perfectly. It becomes firm and sliceable.
I put mine in the fridge to speed it up. Then, I cut them into squares. Do you prefer big squares or little bite-sized ones? I can never decide.
Make Them Your Own
These bars are for sharing. I take them to book club. My grandson eats them after school. They feel fancy but are easy. You did that.
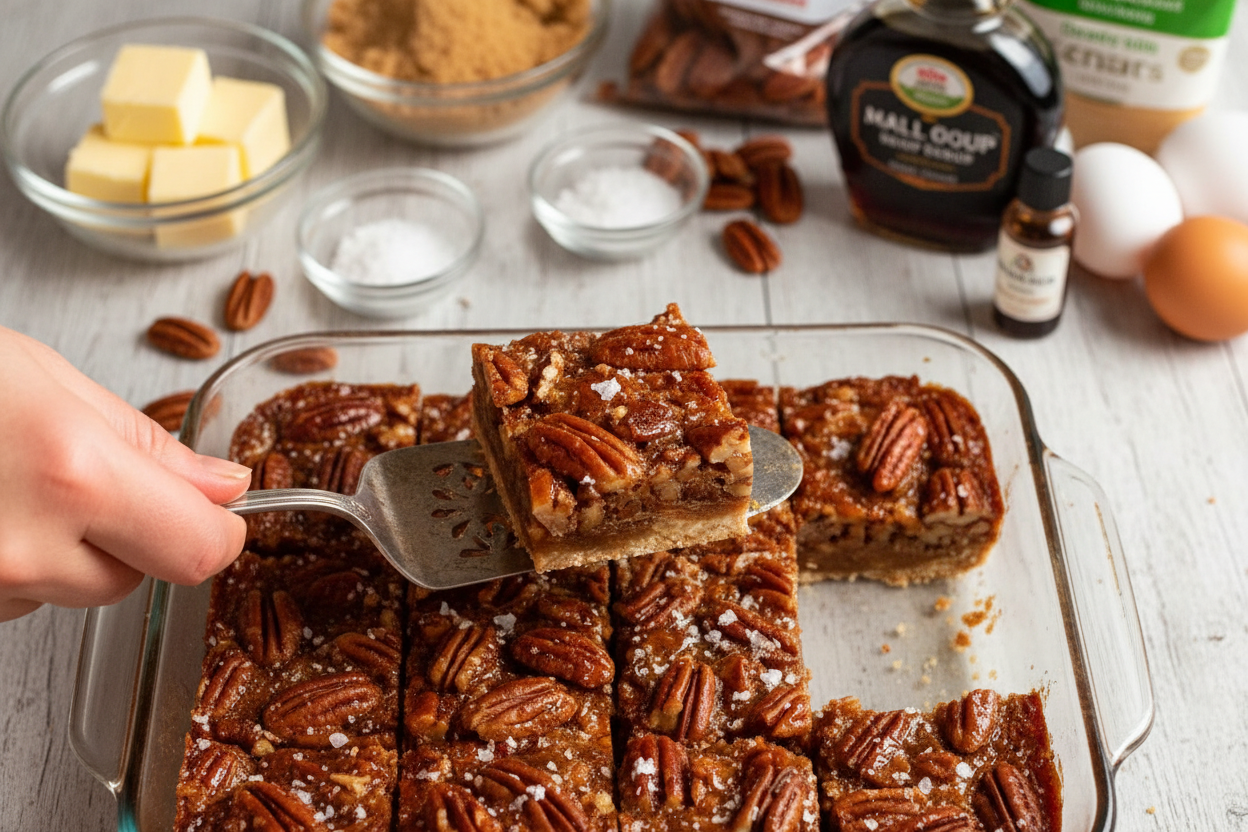
You can add a pinch of flaky salt on top. It makes the maple flavor pop. Try it. What is your favorite treat to bring to friends? Is it cookies, or maybe something else?
Ingredients:
| Ingredient | Amount | Notes |
|---|---|---|
| unsalted butter, melted | 75g (5 tbsp) | For the base |
| brown sugar | 1/3 cup (tightly packed) | For the base |
| cooking / kosher salt | 1/4 tsp | For the base |
| plain flour (all-purpose flour) | 1 cup | For the base |
| pecans | 1 1/2 cups | For the filling (Note 1) |
| unsalted butter | 75g (5 tbsp) | For the filling |
| brown sugar | 1/2 cup (tightly packed) | For the filling |
| cooking / kosher salt | 1/4 tsp | For the filling |
| maple syrup | 1/3 cup | For the filling, real not artificially flavoured |
| large eggs | 2 (~55g/2oz each) | For the filling |
| vanilla extract | 1 tsp | For the filling |
| pecans | 1/3 cup | For decorating |
| maple syrup | 2 tsp | For decorating |
| salt | 1 pinch | For decorating |
| salt flakes | 1/4 tsp | For decorating (optional but recommended) |
My Maple Pecan Pie Bars: A Sweet, Simple Hug
Hello, my dear. Come sit at the counter. I want to tell you about my maple pecan pie bars. They taste like a cozy autumn afternoon. I used to make a whole pie for my grandson, Sam. He always made a mess with the fork! So I made these bars instead. Now he can eat them with his hands. I still laugh at that. Let’s make them together. It’s easier than you think.
Step 1: First, we make the buttery base. Melt your butter in a bowl. Mix in the brown sugar and a pinch of salt. Doesn’t that smell amazing? Now, stir in the flour. It will look like wet sand. Press it firmly into your lined pan. I use my fingers, then a spoon to smooth it. Bake this for 20 minutes. It will smell like cookies. Let it cool a bit. (A hard-learned tip: Lining the pan with paper is a must. It lets you lift the whole batch out later!).
Step 2: While the base bakes, toast your pecans. Just spread them on a tray. I pop them right in the oven with the base. Ten minutes is perfect. They get warm and fragrant. Let them cool, then give them a rough chop. This is my favorite part. I always sneak one or two. Can you guess why toasting nuts makes them taste better? Share below!
Step 3: Now for the magic filling. Melt butter in a small pot. Add maple syrup, brown sugar, and salt. Let it bubble for just a minute. Then take it off the heat. Let it cool for five minutes. This is important so our eggs don’t scramble! Whisk in the eggs and vanilla. Stir in your chopped, toasted pecans. Pour this lovely mix over your warm base.
Step 4: For a pretty finish, toss a few whole pecans with a tiny bit of maple syrup. Scatter them on top. Bake everything for 25 minutes. The filling will be set and golden. The hardest part is waiting. Let them cool completely. I know, it’s tough! But it helps them set. Then, cut into squares. Enjoy the sweet, sticky goodness.
Cook Time: About 1 hour
Total Time: About 3 hours (with cooling)
Yield: 16 bars
Category: Dessert, Baking
Let’s Get Creative in the Kitchen!
Once you master the classic, try a twist! It’s fun to play with flavors. Here are three ideas I love.
Chocolate Drizzle: Melt dark chocolate and zig-zag it over the cooled bars. It’s so pretty.
Sea Salt Sparkle: Sprinkle a tiny bit of flaky sea salt on top right after baking. Sweet and salty is perfect.
Apple Pie Twist: Add a layer of very thin apple slices on the base before the filling. A delicious surprise.
Which one would you try first? Comment below!
The Perfect Little Plate
These bars are a treat all on their own. But I love making a plate special. For a fancy touch, add a dollop of whipped cream. A sprinkle of cinnamon on top is nice, too. They are perfect for a lunchbox or a picnic. Just wrap one up. For a drink, a cold glass of milk is the classic choice. It cuts the sweetness. For the grown-ups, a small glass of bourbon or a whiskey tastes wonderful with maple. Which would you choose tonight?
Keeping Your Maple Pecan Pie Bars Fresh
These bars keep well. Store them in a sealed container at room temperature. They stay good for three days. You can also freeze them for later. Just wrap each bar tightly in plastic wrap. Then place them all in a freezer bag. They will keep for two months. Thaw them on the counter for an hour.
I once sent a whole batch to my grandson. I froze them first for the trip. He said they tasted just-baked. Batch cooking like this saves time for busy weeks. It means you always have a sweet treat ready. Have you ever tried storing it this way? Share below!
Simple Fixes for Common Baking Hiccups
Sometimes the base feels too crumbly. Just press it into the pan firmly. Use a flat-bottomed cup to smooth it. I remember when my base stuck once. I learned to always line the pan with paper. This makes lifting out the bars so easy.
The filling might bubble up in the oven. That is perfectly normal. It will settle as it cools. Do not over-bake it. The center should still have a slight jiggle. Getting this right means a perfect, gooey texture. Which of these problems have you run into before?
Your pecans can burn if you forget them. Set a timer when toasting them. Burnt nuts taste bitter. Taking care here makes all the flavor shine. It builds your confidence in the kitchen. You learn to trust your senses.
Your Quick Questions, Answered
Q: Can I make these gluten-free? A: Yes! Use a gluten-free flour blend. The results are just as good.
Q: Can I make them ahead? A: Absolutely. Bake them a day before you need them. They taste even better.
Q: What if I don’t have maple syrup? A: Honey works wonderfully. The flavor will be different but still delicious.
Q: Can I double the recipe? A: You can. Use a 9×13 inch pan. Just bake it a few minutes longer.
Q: Is the flaky salt necessary? A: I highly recommend it. That little salty crunch is magic. *Fun fact: Salt makes sweet things taste even sweeter!* Which tip will you try first?
From My Kitchen to Yours
I hope you love making these bars. They are full of cozy, sweet flavor. Baking should be fun and simple. I would love to see your creations. Share a photo of your finished tray. Have you tried this recipe? Tag us on Pinterest!
Thank you for baking with me today. I am so glad you stopped by my kitchen. Happy cooking!
—Chloe Hartwell.
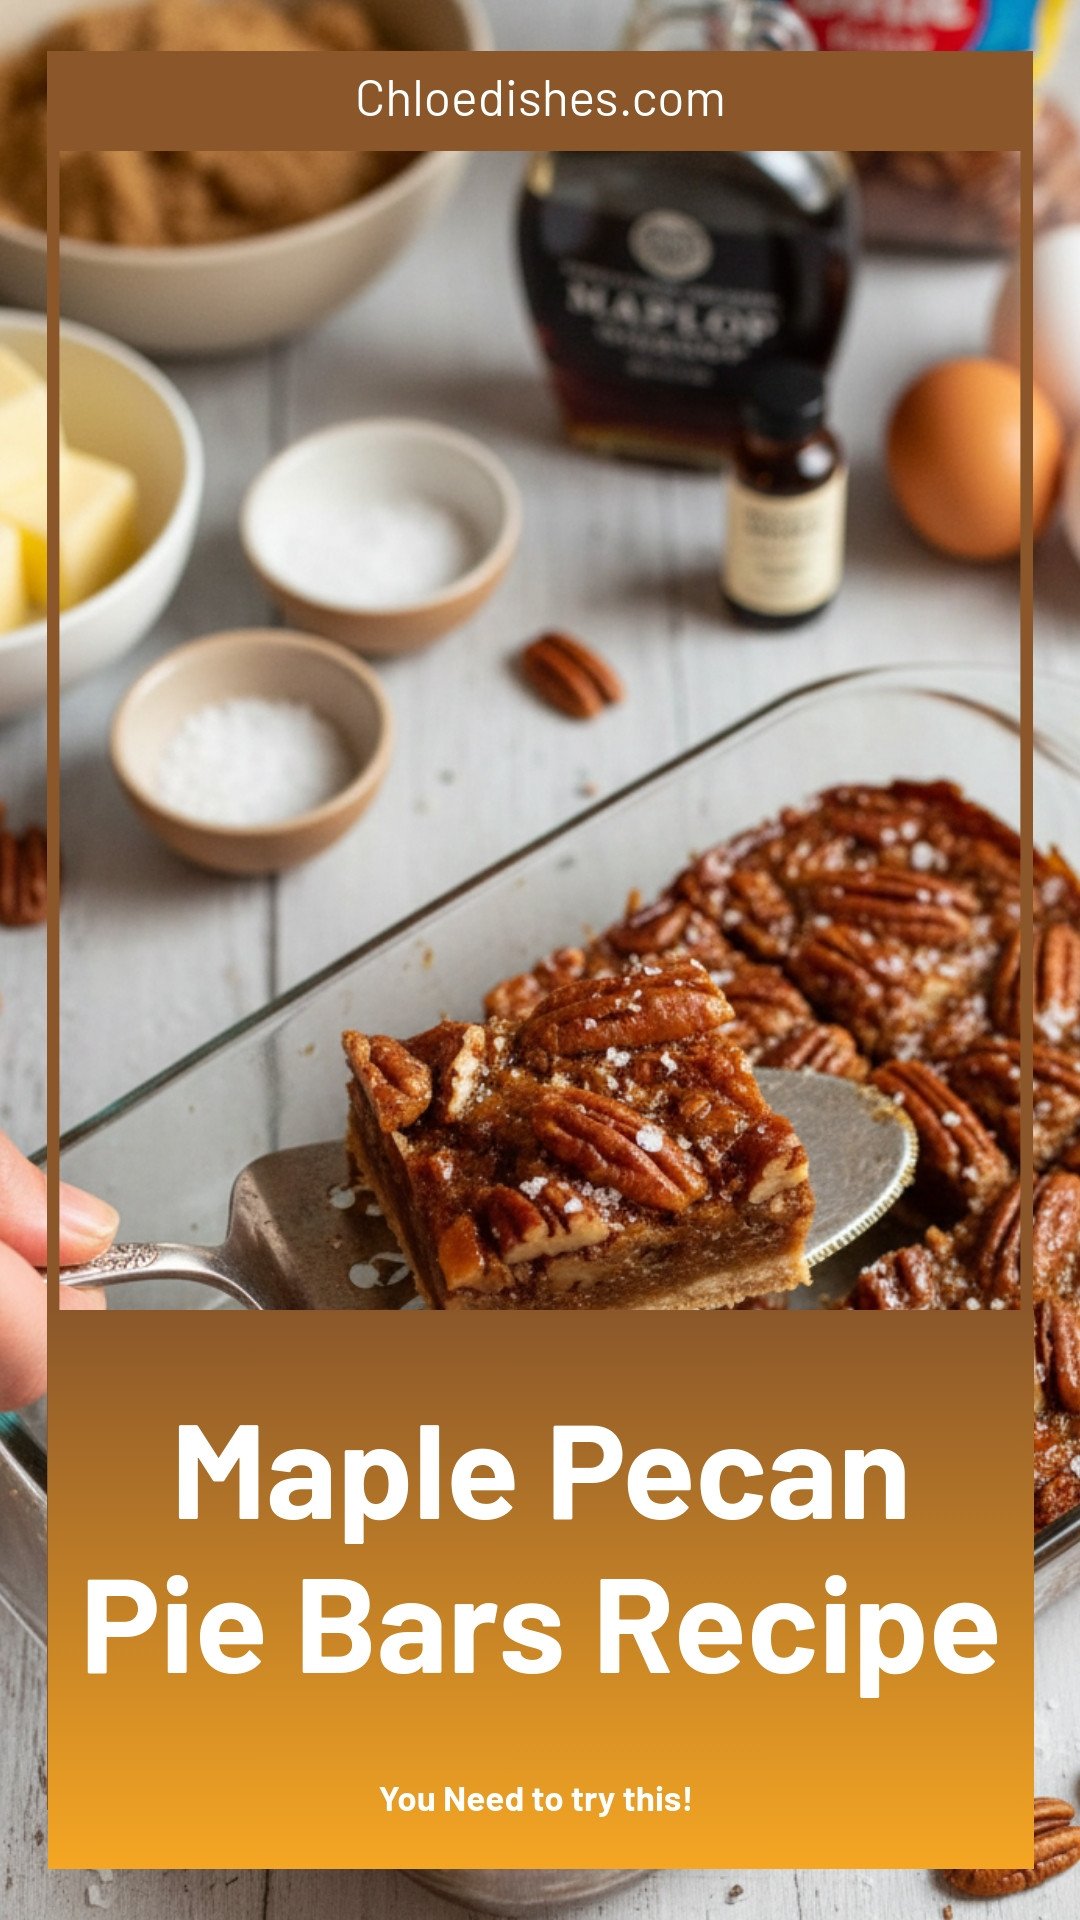

Maple Pecan Pie Bars
Description
Easy maple pecan pie bars! All the flavor of the classic pie in a simple, no-fuss bar cookie. Perfect for holiday baking and gifts.
Ingredients
Base:
Maple Pecan Pie Filling:
Decorating:
Instructions
- Preheat the oven to 180°C/350°F (160°C fan-forced). Grease a 20cm/8″ square pan lightly with butter then line with paper, with overhang to lift out later.
- Make base – Melt the butter in a microwave proof bowl. Mix in the sugar and salt, then the flour. Press evenly into the base of the pan.
- Bake and cool – Bake for 20 minutes, then cool for 15 minutes before filling (keeps the base crisper but you can skip this).
- Toast pecans – Spread the pecans for the filling on a tray and bake in the oven for 10 minutes (I put them in with the base). Remove, then when cool enough to handle, roughly chop.
- Maple filling – Melt the butter in a small saucepan over medium heat. Mix in the sugar, maple syrup and salt. Once it comes to a proper simmer, remove from the stove and cool for 5 minutes. Whisk the eggs and vanilla in, then stir the chopped pecans in.
- Decorating pecans – Toss the pecans with the maple syrup.
- Fill and bake – Pour the pecan filling onto the base and spread out evenly. Top with the Decorating Pecans. Bake 25 minutes.
- Cool – Remove and cool fully to room temperature to let it set (~ 2 hrs, fridge will expedite). Then cut into 16 squares (or 9…) and eat with your hands!
Notes
- ABBREVIATED RECIPE: Base – mix butter, sugar and salt, then flour. Press into 20cm/8″ lined pan, bake 15 min at 180C/350F (160C fan), cool 15 min. Oven toast pecans 10 min (put in with base), roughly chop. Filling – bring butter, maple, sugar and salt to simmer, cool 5 min, whisk in eggs and vanilla, then pecans. Pour on base, top with maple coated whole pecans, bake 25 min.


Leave a Reply