

A Cake That Knows How to Wait
This cake is a lesson in patience. It needs a long, cold sleep in the fridge. I learned this the hard way. Once, I tried to slice it after just two hours. It was a delicious, creamy puddle. I still laugh at that.
Letting it set overnight matters. It gives all the flavors time to get to know each other. They become best friends. The texture turns perfectly firm and silky. Good things come to those who wait. What’s the hardest recipe for you to wait for?
The Magic of the Crust
We start with cookies and butter. That’s it. You crush the cookies into fine crumbs. Then you stir in melted, golden butter. Doesn’t that smell amazing? Press it into your pan. This makes a foundation that is crunchy and rich.
This step matters because it gives you something to bite into. The soft filling needs a sturdy base. *Fun fact*: The first cheesecakes were made by ancient Greeks. They used crushed cheese and wheat. I think our chocolate cookie version is a big improvement.
The Heart of the Matter
Now for the creamy filling. You melt dark chocolate with warm cream. This makes a shiny ganache. Let it cool for a few minutes. Then you beat your cream cheese until it’s smooth. No lumps allowed.
Here is a little secret. That pinch of salt in the filling is important. It makes the chocolate taste even more chocolatey. It wakes up all the flavors. Do you prefer milk, dark, or semi-sweet chocolate in your desserts?
Folding in Clouds
The last step is my favorite. You whip cold cream into soft peaks. It becomes like a fluffy cloud. Then you gently fold it into the chocolate mixture. Be gentle, like you’re tucking in a baby.
This matters because it makes the cake light. It adds air and makes it mousse-like. Without this, the cake would be very dense. Folding keeps all that air inside. Then you spread it over your crust and walk away. The fridge does the rest.
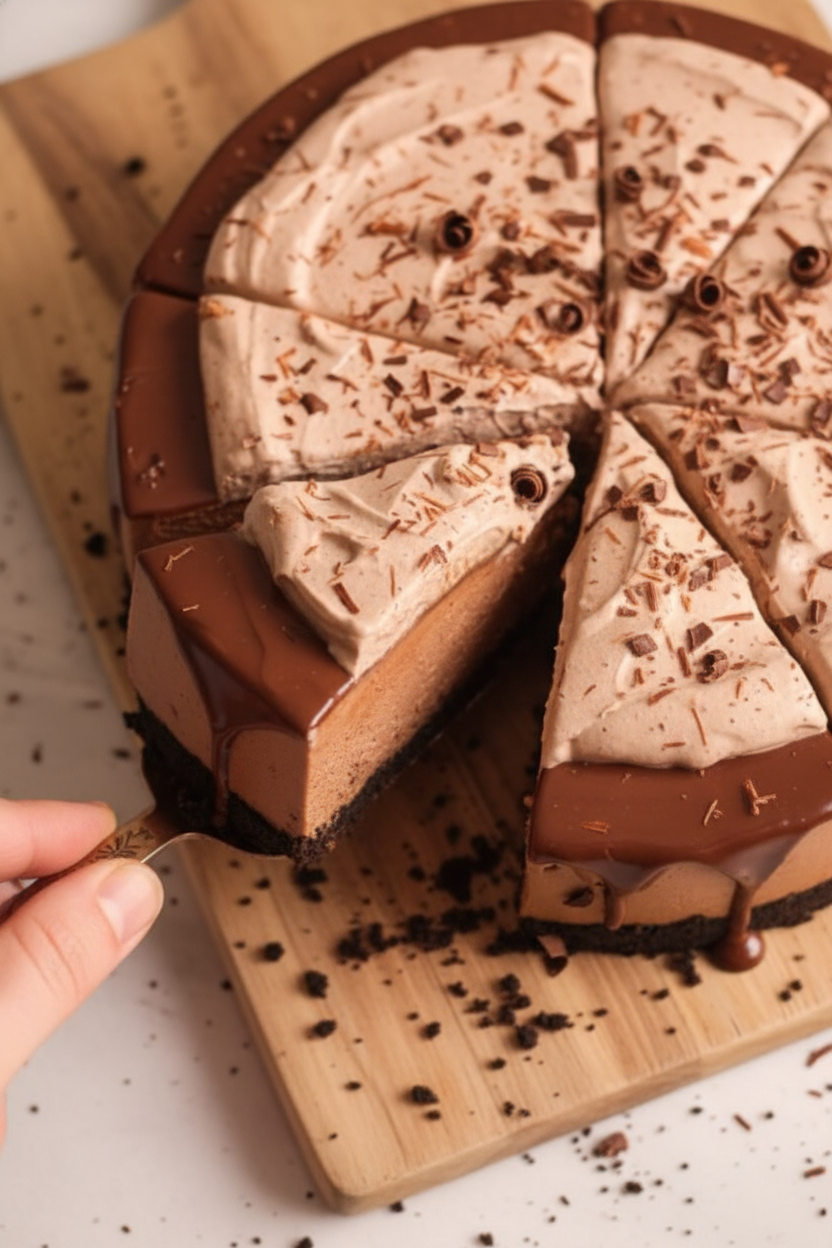
The Pretty Finishing Touches
After its long rest, the cake is ready to dress up. A simple chocolate ganache poured on top is beautiful. It makes a shiny, smooth coat. Let it set for just ten minutes more.
Then you can add chocolate whipped cream. Pipe little swirls on the edges. This makes it look like it came from a fancy bakery. But you made it yourself. What’s your favorite way to decorate a cake? With fruit, sprinkles, or just more chocolate?
Ingredients:
| Ingredient | Amount | Notes |
|---|---|---|
| Oreos or chocolate creme cookies | 25 cookies (~285g) | For the crust |
| Unsalted butter | 5 tbsp (~70g) | Melted, for the crust |
| Dark chocolate | 250g | For the filling |
| Heavy cream (chilled) | 1 ½ cups (360g) | Divided into ¾ cup portions for filling |
| Cream cheese | 24 oz (680g) | Room temperature, 3 standard packs |
| Granulated sugar | 1 cup (200g) | For the filling |
| Salt | ½ tsp | For the filling |
| Instant coffee (optional) | 1 tsp | For the filling |
| Heavy cream | ½ cup (120g) | For optional ganache |
| Chocolate | 100g | For optional ganache (dark, semi-sweet, or milk) |
| Heavy cream (chilled) | 1 cup (240g) | For optional chocolate whipped cream |
| Granulated sugar | ¼ cup (50g) | For optional chocolate whipped cream |
| Cocoa powder | 3 tbsp (25g) | Sifted, for optional chocolate whipped cream |
My No-Bake Chocolate Cheesecake Secret
Hello, my dear. Come sit at the table. Let me tell you about this cheesecake. It’s my grandson’s favorite. He calls it “midnight cake.” I still laugh at that. We made it one summer when the oven broke. It was a happy accident.
This recipe is pure magic. No oven needed. Just a bit of patience. It feels like stirring a chocolate cloud. Doesn’t that smell amazing? Let’s begin.
Step 1: First, let’s make the crust. Crush those chocolate cookies into fine crumbs. Mix them with melted butter. Press it into your pan very tightly. I use the bottom of a cup. (A hard-learned tip: Press it down hard! A loose crust will crumble later.)
Step 2: Now, the chocolate. Melt it gently with some cream. Use a bowl over a pot of steaming water. Stir until it’s shiny and smooth. Let it cool for five minutes. This step is like making a warm chocolate hug.
Step 3: Time for the cream cheese. Make sure it’s soft. Whip it with sugar and salt. Scrape the bowl to mix everything. It should look creamy and dreamy. What’s the secret to smooth cream cheese? Share below!
Step 4: Pour your cooled chocolate into the cream cheese. Mix it on a low speed. Just until it turns a beautiful brown. Don’t overdo it. We want to keep it light.
Step 5: Whip the other bowl of cold cream. Stop when it forms soft peaks. Then, fold it gently into the chocolate mix. Use a big spoon and a light hand. This gives our cake its fluffy lift.
Step 6: Pour this lovely filling onto your crust. Smooth the top. Now, the hardest part. You must wait. Let it sleep in the fridge overnight. It needs time to become perfect.
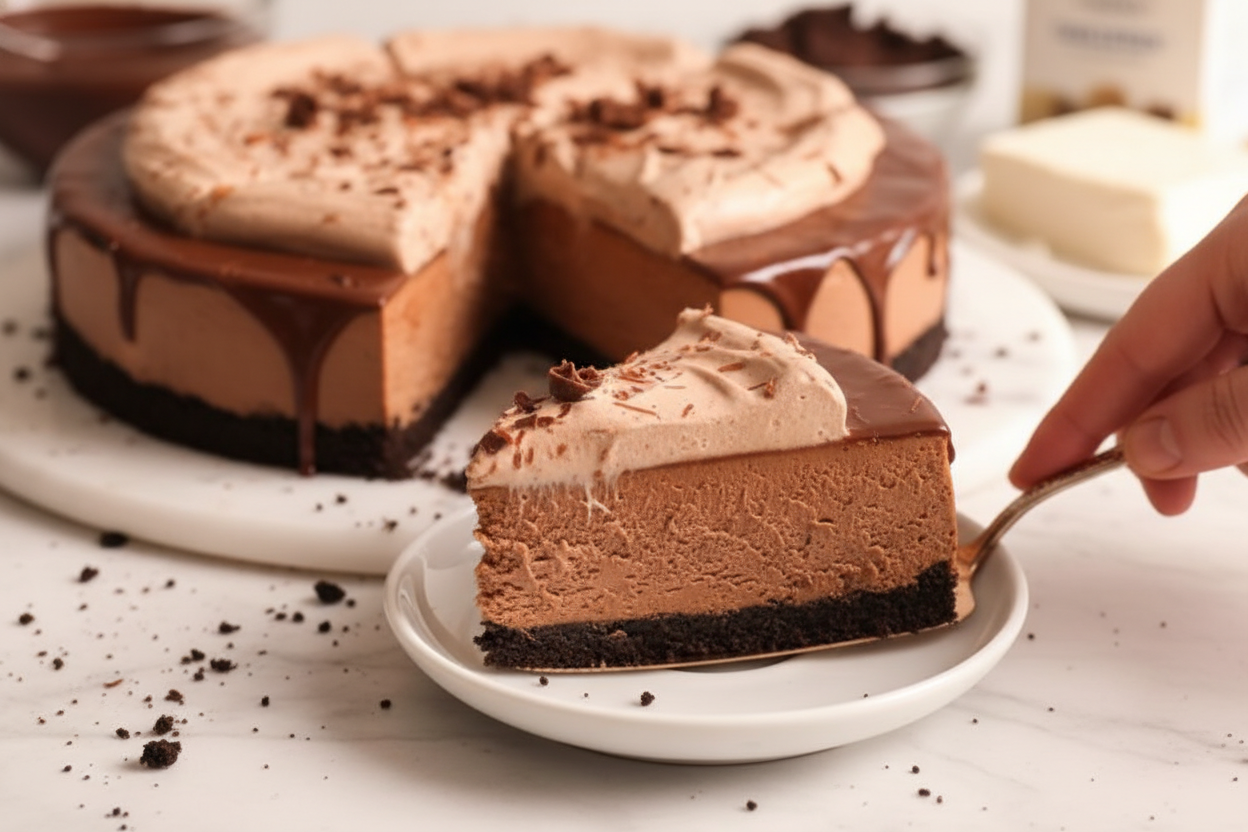
Step 7: The next day, add your toppings. A simple ganache drizzle is lovely. Chocolate whipped cream is even better. Then, slice and enjoy your masterpiece.
Cook Time: 6 hours (chilling)
Total Time: 6 hours 30 minutes
Yield: 10-12 servings
Category: Dessert, No-Bake
Three Fun Twists to Try
This recipe is like a blank canvas. You can paint it with so many flavors. Here are my favorite ideas. They make it feel new every time.
Cookie Swap: Use mint chocolate cookies for the crust. It tastes like a cool, chocolatey breeze.
Berry Swirl: Before chilling, swirl in some raspberry jam. You’ll get pretty pink ribbons in every slice.
Peanut Butter Pocket: Add spoonfuls of peanut butter to the filling. Just fold them in gently. It’s a sweet, salty surprise.
Which one would you try first? Comment below!
Serving It With Style
This cake is a star on its own. But a little extra love makes it special. Top a slice with fresh raspberries. A sprinkle of sea salt is wonderful too. For a party, add a dollop of plain whipped cream.
What to drink? A cold glass of milk is always right. For the grown-ups, a small glass of cherry port wine is nice. It sings with the dark chocolate. Which would you choose tonight?
Keeping Your Cheesecake Happy
This no-bake cheesecake loves the cold. It must set in the fridge overnight. After that, keep it covered in the fridge for up to five days.
You can also freeze slices for a sweet later. Wrap each piece tightly in plastic wrap. Then place them in a freezer bag for one month.
Thaw a slice in the fridge for a few hours. I once forgot a whole cheesecake in the freezer for weeks. It was a lovely surprise find on a busy day!
Storing food well means less waste. It also means a sweet treat is always ready for you. Have you ever tried storing it this way? Share below!
Easy Fixes for Common Hiccups
First, a soft crust happens if you don’t press it hard. Use a cup to press it down very firmly. A solid crust holds your creamy filling.
Second, a lumpy filling comes from cold cream cheese. Let it sit out until it’s soft. I remember when my niece used cold cheese. We had little lumps but it still tasted great!
Third, over-whipping the cream makes it grainy. Stop as soon as stiff peaks form. This matters for a smooth, dreamy texture.
Fixing small problems builds your kitchen confidence. It also makes your food taste just right. Which of these problems have you run into before?
Your Quick Questions, Answered
Q: Can I make this gluten-free?
A: Yes! Use your favorite gluten-free chocolate cookies for the crust.
Q: How far ahead can I make it?
A> You can make the whole cheesecake up to two days before serving.
Q: What if I don’t have dark chocolate?
A: Semi-sweet or milk chocolate works perfectly. The flavor will be a bit sweeter.
Q: Can I make a smaller one?
A: You can halve the recipe. Use a 6-inch pan for a cute mini cake.
Q: Are the toppings needed?
A: No, the cheesecake is wonderful plain. Toppings are just for extra fun. *Fun fact: The word “ganache” means a smooth mixture of chocolate and cream.* Which tip will you try first?
From My Kitchen to Yours
I hope this recipe brings you joy. It is perfect for celebrations or a quiet Tuesday. Cooking is about sharing love and making memories.
I would love to see your creation. Have you tried this recipe? Tag us on Pinterest! You can find me at @ChloesCozyKitchen.
Thank you for letting me share this with you. I am always here with more stories and simple recipes.
Happy cooking!
—Chloe Hartwell.
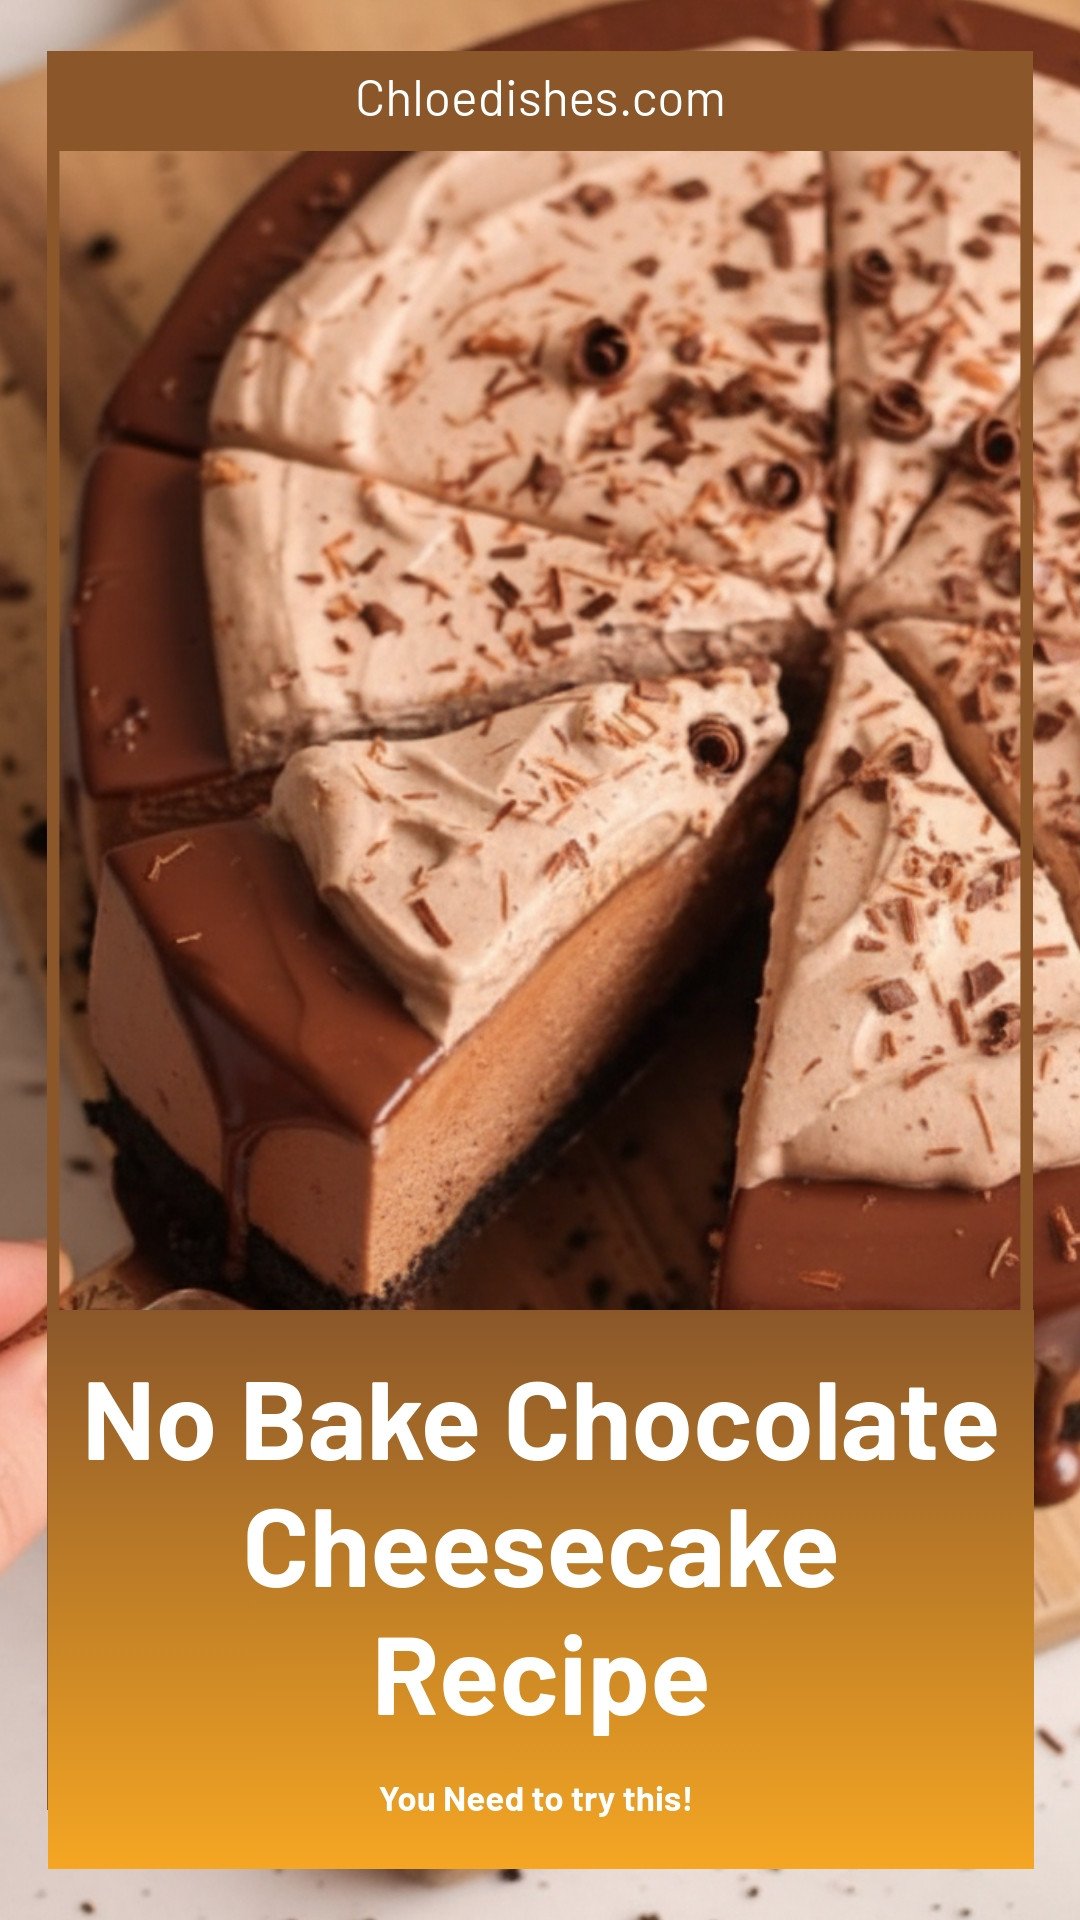
No Bake Chocolate Cheesecake
Description
Creamy, decadent no-bake chocolate cheesecake! Easy recipe with simple ingredients, perfect for any occasion. No oven needed, sets in the fridge.
Ingredients
Crust:
Cheesecake Filling:
Ganache for decoration (optional):
Chocolate whipped cream for decoration (optional):
Instructions
- Prepare a 9″ springform pan by lightly brushing butter on the bottom and edges. You can also place parchment paper on the bottom.
- Grind the chocolate cookies (oreos) with melted butter in a food processor until they form a fine crumb. Transfer to the pan and press down tightly using the back of a spoon or measuring cup to form the crust. Place in the fridge while you work on the cheesecake filling.
- For the cheesecake filling, add the 250g dark chocolate and ¾ cup heavy cream in a heat safe glass bowl. If using instant coffee, add that in too. Place a small saucepan with 1″ water on the stove over low heat and bring to a boil. Place the glass bowl on top of the saucepan (it should not touch the water) and stir for a few minutes until the chocolate has just melted. Remove from heat immediately and mix gently to form a shiny ganache. Set it aside to cool down for 5 minutes.
- In a separate bowl, whisk the room temperature cream cheese, sugar and salt for 2-3 minutes on medium speed until creamy. Scrape the bowl once in the middle to ensure everything is well combined.
- Pour the ganache into the cream cheese mixture and whisk again on medium low speed until just combined (~1 minute). Scrape the bowl again.
- In a separate bowl, whisk the remaining ¾ cup heavy cream (chilled) until it forms stiff peaks. Do not overmix.
- Add the whipped cream to the cheesecake filling and use a rubber spatula to gently fold it until combined. You should have a smooth and fluffy cheesecake filling.
- Transfer the filling to the springform pan on top of the crust and spread it out evenly.
- Refrigerate overnight or at least 6 hours to set.
- When the cheesecake is set, carefully remove it from the pan and transfer to your serving board.
- Prepare the optional toppings. Make the ganache by melting together the cream and chocolate over a double boiler. Make the chocolate whipped cream by whisking together the heavy cream, sugar and cocoa powder until stiff peaks form.
- Let the ganache cool down slightly (it should be warm and runny but not hot) and pour over the cold cheesecake, spreading it out gently. Refrigerate for 10 minutes and top off with the chocolate whipped cream.
- Serve & enjoy!
Notes
- *Use good quality dark chocolate (around 60-70% cocoa) for the best flavor. The cheesecake needs at least 6 hours to set properly, overnight is best.


Leave a Reply