
The Secret in the Pan
Let me tell you about brown butter. It sounds fancy. It is not. You just melt butter and watch it. You stir until it turns golden. It starts to smell like toasted nuts. Doesn’t that smell amazing?
That smell is flavor magic. It makes everything taste richer. I learned this from my friend Marie. She burned a batch once. I still laugh at that. Now we both know, just watch it close. This step matters because it adds a cozy, deep taste. It makes the cookie special.
Why So Red and Tangy?
Red velvet is more than just color. It is a feeling. The cocoa makes it soft. The vinegar makes it bright. They work together. It is like a little kitchen dance.
*Fun fact*: The vinegar reacts with the baking soda. It gives the cookie a tender lift. That is the old-fashioned way. This matters because texture is everything. A cookie should be soft inside. Do you prefer your cookies cakey or chewy?
The Chocolate Rainbow
Now, the chocolate. I use three kinds. Dark, milk, and white. I chop them into chunks. Every bite is a surprise. You get a different chocolate each time.
My grandson calls them treasure cookies. He hunts for the white chocolate pieces. You can use your favorite mix. What three chocolates would you choose? The variety matters. It makes the cookie fun and not too sweet.
The Long Wait
This is the hard part. You must wait. After you make the dough, it needs a nap. Put it in the cold for two hours. Overnight is even better. I know, waiting is tough.
But trust your grandma Chloe. This chill time lets the flavors get to know each other. The dough firms up. Then your cookies bake up thick and lovely. They will not spread too thin. Always bake one test cookie first. It tells you how the rest will be.
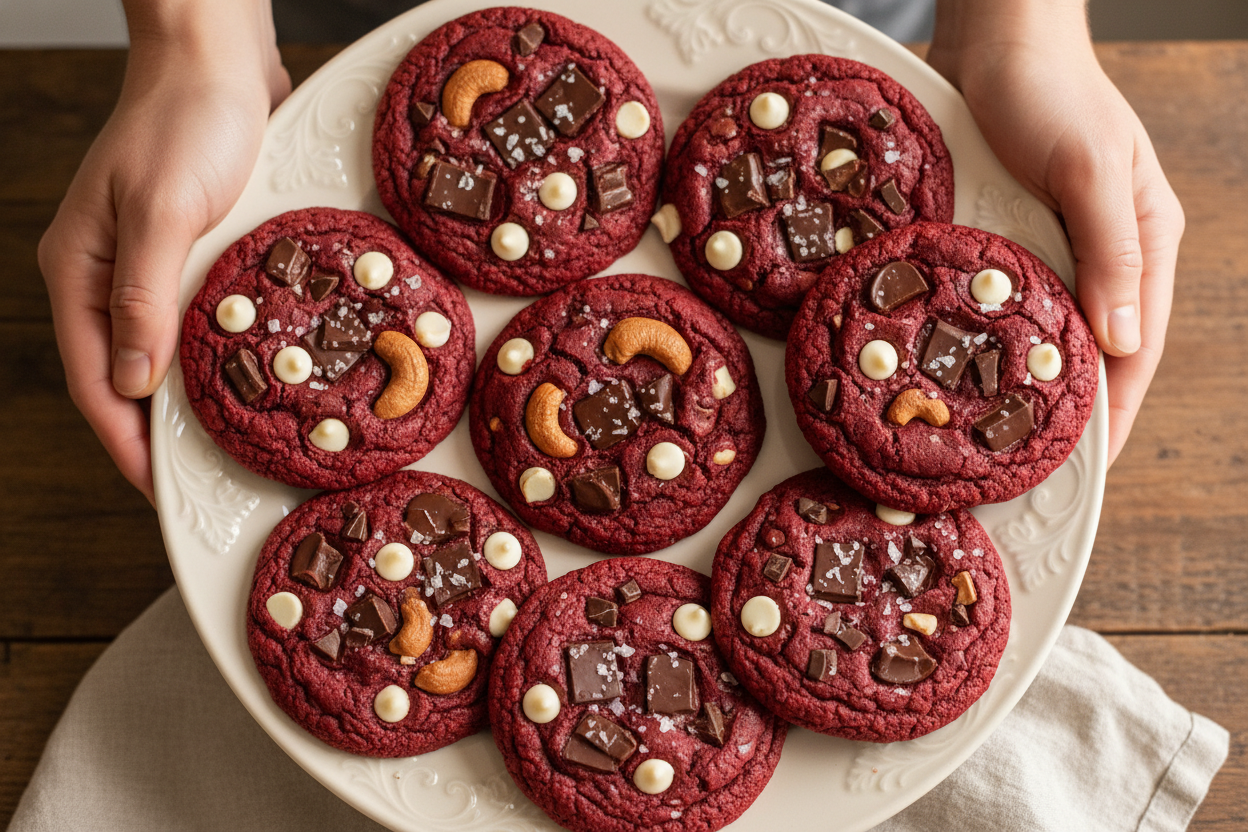
A Warm Hug on a Plate
When they come out of the oven, be patient again. Let them sit for ten minutes. They are still cooking inside. Then, dig in. The outside is crisp. The middle is like a red velvet hug.
That sprinkle of salt on top? It is the final touch. It makes the chocolate sing. Share them with someone you love. Tell me, who would you share your first batch with? Food tastes better when shared. That is a truth as old as my mixing bowl.
Ingredients:
| Ingredient | Amount | Notes |
|---|---|---|
| unsalted butter | 10 tbsp (140g) | |
| light or dark brown sugar | ½ cup (100g) | packed |
| white sugar | ⅓ cup (65g) | |
| large egg | 1 | |
| egg yolk | 1 | |
| vanilla bean paste | 1 tbsp | |
| vinegar | ½ tsp | |
| gel red food color | ½ tbsp | |
| all purpose flour | 1 ¼ cup (160g) | |
| Dutch processed cocoa powder | 2 tbsp (12g) | |
| salt | ¾ tsp | reduce to ½ tsp if less salty preferred |
| baking powder | ½ tsp | |
| baking soda | ¼ tsp | |
| chopped chocolate (mix of white, milk, dark) | 8 oz (225g) | e.g., 3 oz white, 2.5 oz dark, 2.5 oz milk |
| flakey sea salt | to sprinkle | optional |
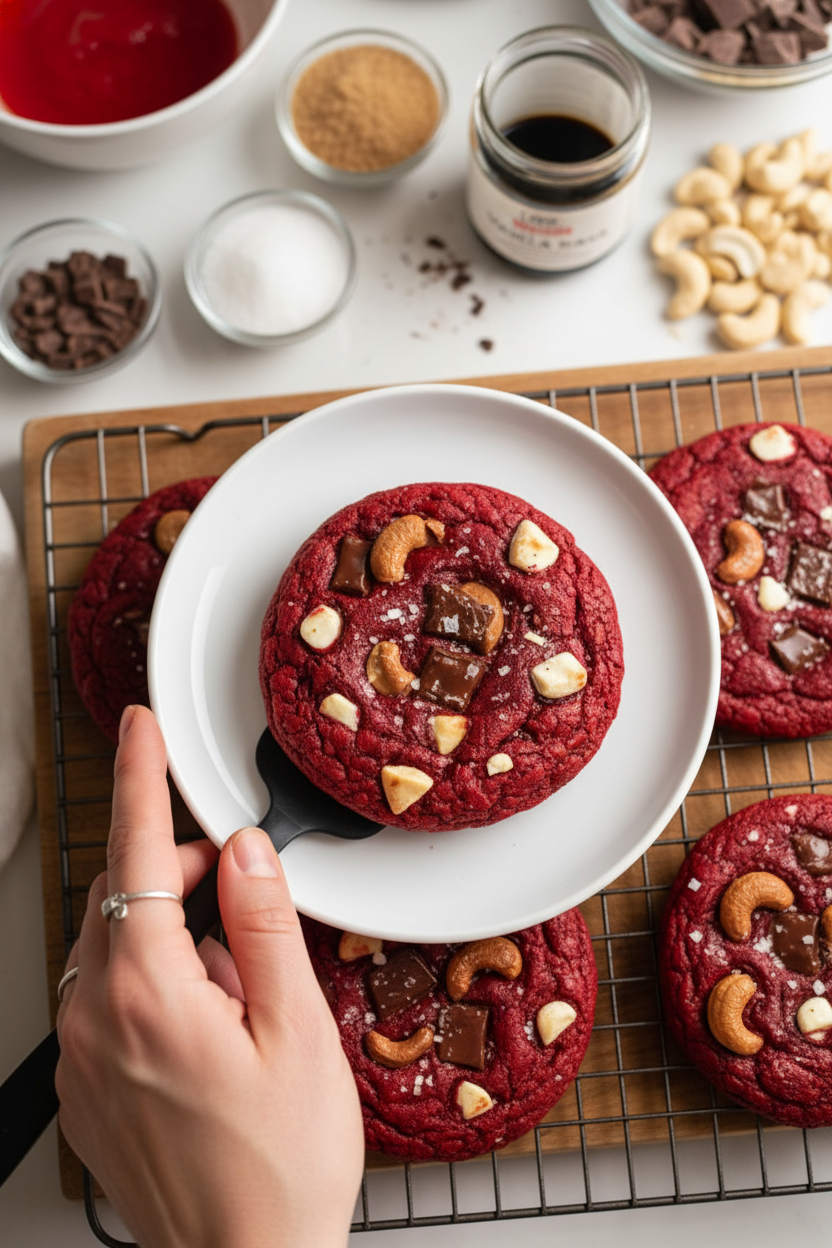
My Granddaughter’s Favorite Red Velvet Cookies
My granddaughter Lily calls these her “magic cookies.” She loves the deep red color. I love the rich, buttery smell that fills my kitchen. We make them together on rainy afternoons. It’s our special tradition.
The secret is browning the butter first. It gives a wonderful nutty taste. Don’t be scared! It’s easy. Just watch it carefully. Doesn’t that smell amazing? I still laugh at the first time I did it. I was so nervous!
Here is how we make our magic cookies. Follow these steps. You’ll have something wonderful to share.
Step 1: First, brown your butter. Put the butter in a pan on medium-low heat. Stir it for a few minutes. It will foam and then turn a golden brown. It will smell like toasted nuts. (Hard-learned tip: Use a light-colored pan so you can see the color change!) Step 2: Turn the heat to low. Add both sugars. Whisk for just one minute. Then take the pan off the heat. The sugar won’t be fully melted. That’s perfectly fine. Let it cool for five minutes. It should be warm, not hot. Step 3: Now, add the egg, extra yolk, vanilla, vinegar, and red food color. Whisk it all fast for two minutes. It will become smooth and creamy. That bright red color always makes me smile. What’s your favorite cookie color? Share below! Step 4: In a separate bowl, sift the flour and cocoa powder. Add the salt, baking powder, and soda. Mix them gently with a fork. This keeps our cookies light and tender. Step 5: Pour the dry mix into the red, wet mix. Fold gently with a spatula. Stop when you see no more dry flour. Then, fold in all your chopped chocolate. So many lovely chocolate chunks! Step 6: Scoop the dough into ten balls. Be gentle, don’t squeeze them. Place them on a plate. Press a few extra chocolate pieces on top. Then, the hardest part: refrigerate for two hours, or overnight. This makes them bake up perfectly. Step 7: Heat your oven to 375°F. Bake the cookies on parchment paper for 10-12 minutes. Let them cool for 10 minutes. Sprinkle with a tiny bit of sea salt if you like. Then, enjoy the warm, gooey magic.Cook Time: 12 minutes
Total Time: 2 hours 30 minutes (plus chilling)
Yield: 10 large cookies
Category: Dessert, Cookies
Let’s Get Creative with Your Batch!
Once you know the basic recipe, you can play! Here are three fun twists my family loves. They are simple changes with big flavor.
Birthday Cake Twist: Use only white chocolate chips. Add a handful of rainbow sprinkles to the dough. Minty Fresh Twist: Use dark chocolate chunks. Add 1/4 teaspoon of peppermint extract with the vanilla. Berry Surprise Twist: Fold in 1/3 cup of freeze-dried raspberries. They add a lovely little tang.Which one would you try first? Comment below!
The Perfect Way to Serve Them
These cookies are a treat all on their own. But I love making a moment special. For a real dessert, place a warm cookie in a bowl. Top it with a scoop of vanilla ice cream. The contrast is wonderful.
For a drink, a cold glass of milk is always right. My husband prefers his with a cup of black coffee. The coffee makes the chocolate taste even deeper.
Which would you choose tonight?
Keeping Your Cookies Cozy
These cookies keep well in a sealed container. They stay fresh for about four days. You can also freeze the dough balls for later.
Just scoop the dough onto a tray and freeze it solid. Then pop the frozen balls into a bag. Bake them straight from the freezer, adding a minute or two. I once forgot a batch in my freezer for a month. They baked up perfectly for a surprise guest!
To reheat a cookie, just warm it in the microwave for ten seconds. It brings back that just-baked magic. Batch cooking means you always have a sweet treat ready.
This matters because life gets busy. Having cookie dough ready is a little gift to your future self. Have you ever tried storing it this way? Share below!
Cookie Troubles? Easy Fixes!
First, if your cookies spread too much, your dough was likely too warm. Chilling the dough is the most important step. It helps the cookies keep their lovely shape.
Second, if they taste bland, check your salt. I remember when I first reduced the salt. The flavor fell flat! Salt makes the chocolate and sugar taste brighter.
Third, if they are cakey, you might have over-mixed the flour. Just fold until you see no more dry spots. This matters for a tender, not tough, cookie.
Getting these steps right builds your kitchen confidence. A good cookie is a simple joy. Which of these problems have you run into before?
Your Cookie Questions, Answered
Q: Can I make these gluten-free? A: Yes! Use a good 1-to-1 gluten-free flour blend. The results are wonderful.
Q: How far ahead can I make the dough? A: You can refrigerate it for two days. Or freeze it for up to three months.
Q: What if I don’t have vanilla bean paste? A: Use two teaspoons of regular vanilla extract. It will still be delicious.
Q: Can I double the recipe? A: Absolutely. Just mix in a bigger bowl. *Fun fact: Doubling a recipe is called “scaling.”*
Q: Is the sea salt on top needed? A: It’s optional but lovely. It gives a tiny crunch and flavor pop. Which tip will you try first?
From My Kitchen to Yours
I hope you love baking these vibrant cookies. They always make my kitchen feel festive. Share your baking adventures with me.
I would be so thrilled to see your creations. A photo of your cookie tray would make my day. Have you tried this recipe? Tag us on Pinterest!
Thank you for spending this time with me. Keep your apron handy and your heart light. Happy cooking!
—Chloe Hartwell.


Ultimate Red Velvet Chocolate Chip Cookies
Description
Indulge in the ultimate soft, chewy red velvet cookies, loaded with chocolate chips. A stunning and delicious treat perfect for any occasion.
Ingredients
Instructions
- Place the butter in a non-stick pan and melt it on medium-low heat. Keep stirring for a few minutes until the butter starts to look brown and develops a caramel-y nutty aroma.
- Turn the heat all the way to the lowest setting, and add the brown and white sugars. Whisk on the lowest flame for just 1 minute, then remove from the heat. The heat facilitates the dissolving of the sugars and starts breaking them down for a deeper flavor. You are not trying to caramelize or melt the sugars. The mixture may look somewhat grainy, don’t worry.
- Remove from heat and cool the mixture for 5 minutes. It should be warm, but not hot anymore.
- Add the egg, egg yolk, vanilla, vinegar and red food color. Quickly whisk for ~2 minutes until the mixture becomes very smooth and creamy.
- Sift the flour, cocoa powder, salt, baking powder and baking soda into a separate bowl and mix together.
- Make sure the wet ingredients aren’t hot (they shouldn’t be). Add the dry ingredients to the wet and fold gently with a rubber spatula until just combined. Do not overmix!
- Lastly, fold in the chopped chocolate until just combined.
- Use a 2 tablespoon cookie scoop to divide the dough into 10 balls (if the dough feels a bit too runny to scoop, refrigerate for 10 min first). Don’t apply pressure onto the balls, just gently pull them together.
- Place the cookie balls onto a plate or baking sheet, and add a few chocolate chunks on top (you can add more chocolate or reserve some of the chopped chocolate from earlier).
- Refrigerate for at least 2 hours, but ideally overnight for best results.
- Pre-heat oven to 375F (conventional / no fan) and prepare a large, light colored cookie sheet with parchment paper.
- Transfer the balls to the sheet, keeping at least 3″ between them.
- Bake for 10-12 minutes depending on how soft and gooey you want the cookies to be. I always recommend baking 1 test cookie first!
- Sprinkle the cookies with some flakey sea salt (optional) and let them cool down at room temperature for 10-15 minutes.
- Serve and enjoy while still warm!
Notes
- For best results, chill the dough overnight. This allows the flavors to develop and prevents the cookies from spreading too much.


Leave a Reply