
The Little Red Cake That Could
My grandson calls this my “fancy cake.” I just call it a dream. It is so soft and red and lovely. I first made it for my bridge club fifty years ago. They went wild for it. I still laugh at that.
Making it feels like a little kitchen magic. You mix simple things and get something grand. It reminds me that small efforts can bring big joy. That is a good lesson for life and for baking.
A Splash of Color and a Secret Ingredient
That bright red color makes everyone smile. But the real secret is the vinegar. I know, it sounds strange! It works with the baking soda to make the cake super fluffy.
Fun fact: Red velvet was originally just a reaction between cocoa and acid. That gave it a reddish tint. Today, we use food coloring for that brilliant red. Do you like your cakes to be colorful?
Listen to Your Cake
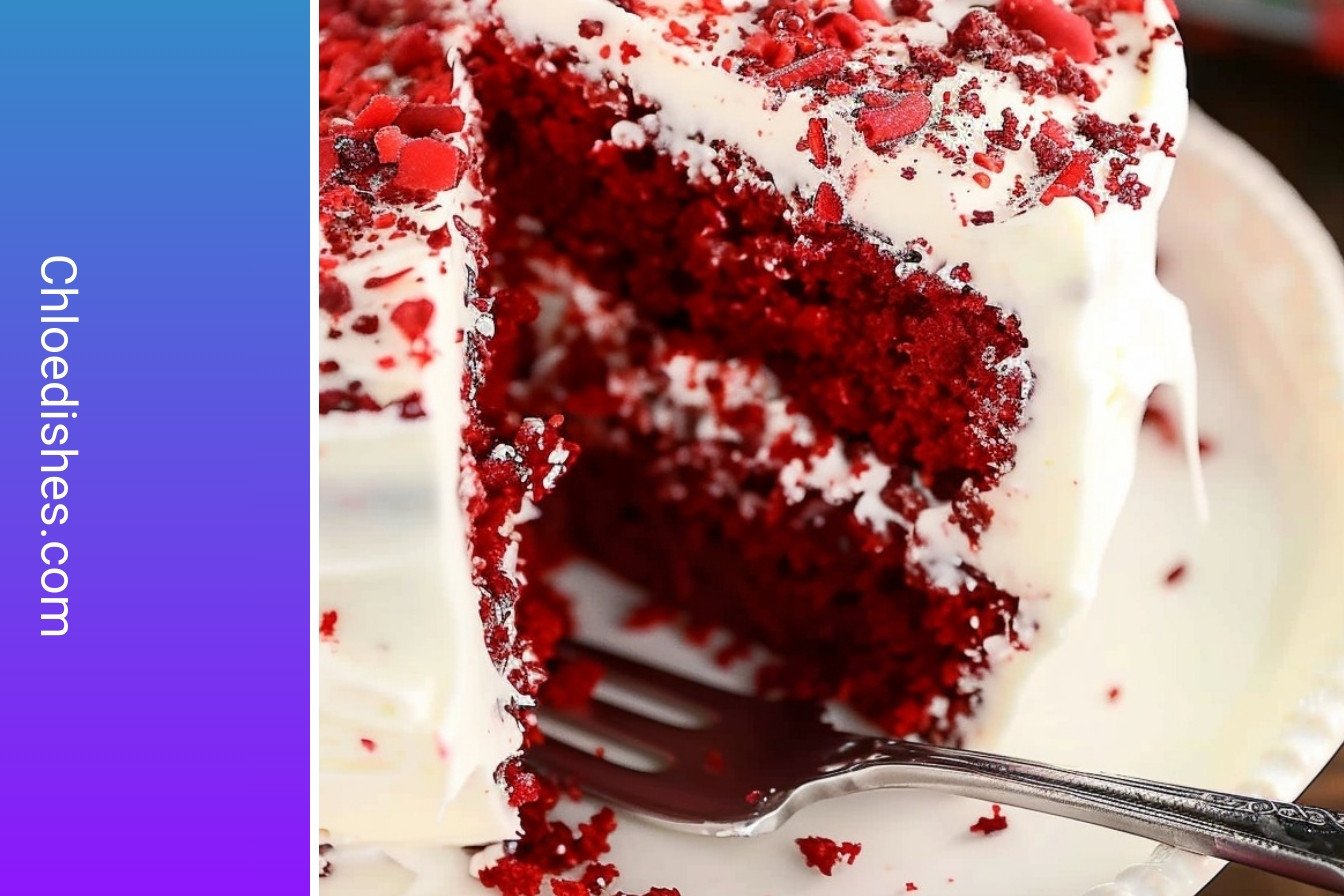
The most important step is waiting. You must let the cakes cool completely. I know it is hard to wait. But if you frost a warm cake, it will melt into a mess.
This teaches us patience. Good things take time. The wait makes that first bite even sweeter. What is the hardest part of baking for you? Is it the waiting?
The Frosting That Steals the Show
Oh, that cream cheese frosting! It is tangy and sweet. Toasting the pecans is my favorite part. Doesn’t that smell amazing? It makes your whole kitchen feel warm and cozy.
You can stir the nuts right into the frosting. Or you can press them onto the sides of the cake. It is your creation. How do you like your nuts? Mixed in or sprinkled on top?
Baking is About More Than Food
This cake is my go-to for birthdays and bad days. It tells people you care. Sharing food we make is a way of sharing love. That is why this recipe matters so much to me.
It is not just about following steps. It is about creating a happy memory. I hope this cake becomes a part of your story, too. Do you have a special cake that your family loves?

Ingredients:
| Ingredient | Amount | Notes |
|---|---|---|
| Cake flour | 2 1/2 cups | |
| Salt | 1/2 teaspoon | |
| Cocoa powder | 2 tablespoons | |
| Baking soda | 1 teaspoon | |
| Unsalted butter | 1/2 cup | melted |
| Eggs | 3 large | room temperature |
| Sugar | 1 1/2 cups | |
| Vegetable oil | 1/2 cup | |
| Vanilla extract | 2 teaspoons | |
| White vinegar | 1 tablespoon | |
| Buttermilk | 1 cup | |
| Red food coloring | 2 (1-ounce) bottles | |
| For the frosting: | ||
| Chopped toasted pecans | 1/2 cup | |
| Unsalted butter | 1/2 cup | room temperature |
| Cream cheese | 1 (8-ounce) package | room temperature |
| Vanilla extract | 2 teaspoons | |
| Powdered sugar | 4 cups | |
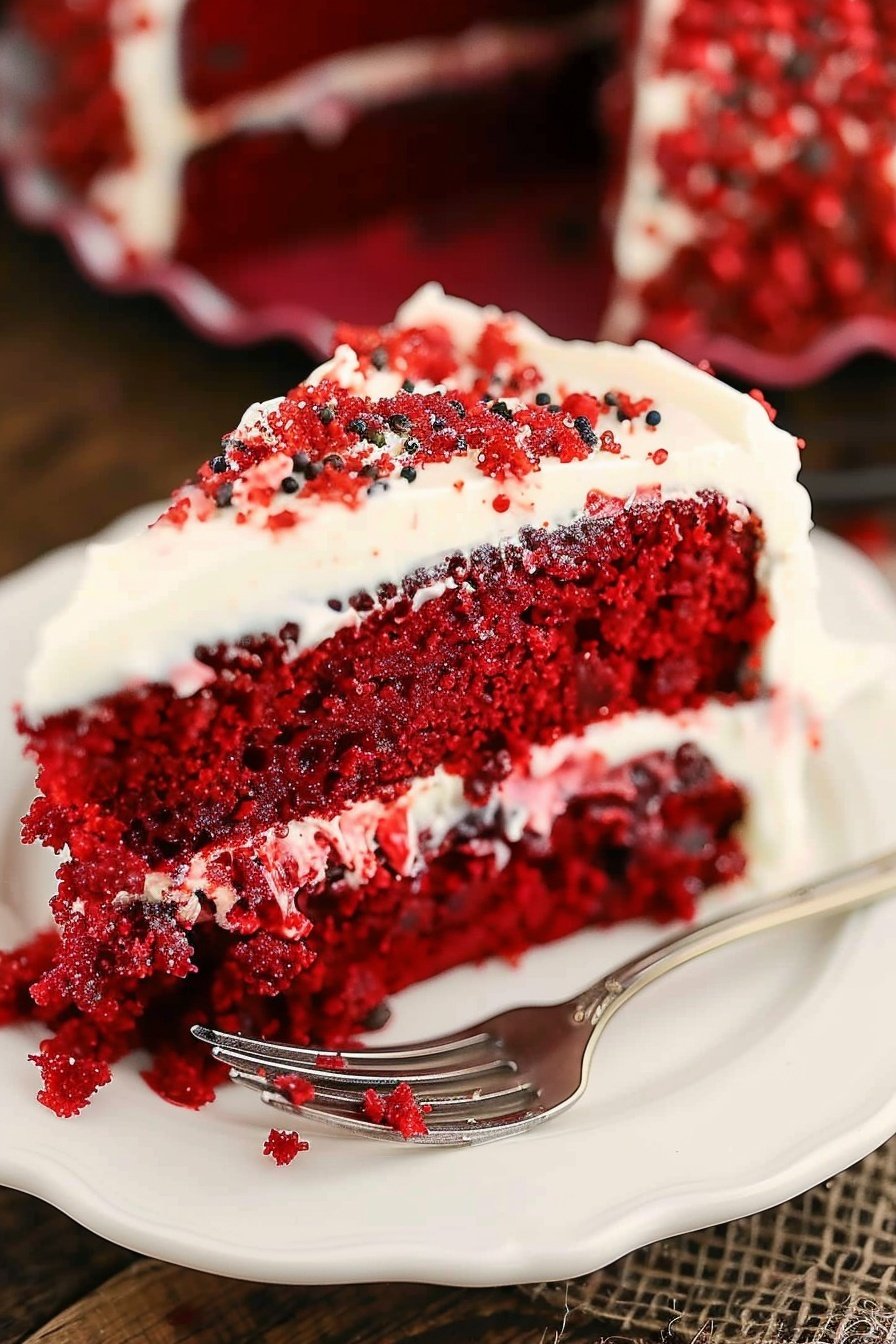
My Red Velvet Dream Cake
This cake reminds me of my wedding day. It was the cake my own grandma made for me. The color is so joyful and bright. It just makes you smile when you see it. Doesn’t that smell amazing? Let’s make some new memories together.
Ingredients
- Flour
- Salt
- Cocoa Powder
- Baking Soda
- Butter
- Sugar
- Eggs
- Oil
- Vanilla Extract
- Vinegar
- Buttermilk
- Red Food Coloring
- Cream Cheese
- Powdered Sugar
- Pecans
Instructions
Step 1: First, get your pans ready. Grease and flour two round cake pans. This stops the cake from sticking. I still laugh at that time I forgot this step. What a mess! In a big bowl, whisk your dry stuff together. That’s the flour, salt, cocoa, and baking soda.
Step 2: Now, let’s mix the wet ingredients. Cream the butter and sugar until it’s fluffy. Add the eggs one at a time. Mix in the oil, vanilla, and vinegar. (A hard-learned tip: room temperature eggs mix in much better. They won’t make your batter curdle!).
Step 3: Time to combine everything. Add the dry mix and the buttermilk a little at a time. Alternate between them. Finally, pour in that beautiful red food coloring. Mix it on low so you don’t get a red kitchen! What’s your favorite cake color? Share below!
Step 4: Divide the batter between your pans. Bake until a toothpick comes out clean. Let the cakes cool in the pans for a bit. Then, turn them out onto a rack. Be patient and let them cool completely. A warm cake will melt your frosting.
Step 5: For the frosting, toast those pecans first. It makes them taste so nutty and warm. Just watch them carefully in the oven. You just want them fragrant, not burnt. Let them cool completely while you make the frosting.
Step 6: Whip the butter and cream cheese together. It should be perfectly smooth. Gradually add the powdered sugar. Then mix in the vanilla. This frosting is so good, I could eat it with a spoon.
Step 7: Now for the fun part! You can stir the pecans right into the frosting. Or you can frost the cake first. Then sprinkle the nuts on top for a pretty look. However you do it, it will be delicious.
| Cook Time | 28–32 minutes |
| Total Time | About 1 hour 30 minutes |
| Yield | 10-12 slices |
| Category | Dessert, Cake |
Three Fun Twists on a Classic
I love this recipe just as it is. But sometimes, it’s fun to play with your food. Here are a few ideas to make it your own. They are all simple and delicious.
- Chocolate Chip Surprise: Fold a cup of mini chocolate chips into the batter. You get little melty pockets of chocolate in every bite.
- Coconut Cloud: Skip the pecans. Mix shredded coconut into the frosting instead. It tastes like a tropical dream.
- Orange Zest Zing: Add a tablespoon of orange zest to the cake batter. The orange and chocolate is a wonderful old-fashioned pair.
Which one would you try first? Comment below!
Serving Your Masterpiece
This cake is a star all on its own. But a little extra touch makes it special. For a pretty plate, add a few fresh raspberries on the side. Their tartness is lovely with the sweet cake. A dollop of whipped cream never hurts either.
What to drink with it? A cold glass of milk is my go-to. It’s the perfect partner. For a grown-up treat, a little glass of sweet sherry is nice. It sips like a warm hug. Which would you choose tonight?
Keeping Your Red Velvet Dream Dreamy
Let’s talk about keeping your cake fresh. First, cool it completely. A warm cake will sweat and get soggy.
Frost the cake and store it in a cake carrier. It will stay lovely on the counter for two days. For longer storage, you can freeze it.
I once wrapped a whole cake tightly in plastic wrap. It froze perfectly for a whole month. Thaw it overnight in the fridge.
This matters because a good cake is a treasure. Storing it right means no waste and happy surprises later. Have you ever tried storing it this way? Share below!
Red Velvet Rescue Tips
Is your cake dry? Do not overmix the batter. Stir just until the flour disappears. Overmixing makes cakes tough.
Is the color not bright enough? Use a good quality food coloring. The cheap ones can look dull. I remember my first cake looked pink, not red.
Is your frosting too runny? Your butter and cream cheese must be at room temperature. Cold ingredients will not whip up properly. This matters for a smooth, spreadable frosting.
Fixing small problems builds your cooking confidence. A perfect cake is a wonderful feeling. Which of these problems have you run into before?
Your Red Velvet Questions, Answered!
Q: Can I make this gluten-free? A: Yes! Use a gluten-free flour blend made for baking.
Q: Can I make it ahead? A: Absolutely. Bake the layers a day before. Frost it the next day.
Q: What if I don’t have buttermilk? A: Mix 1 cup milk with 1 tablespoon lemon juice. Let it sit for 5 minutes.
Q: Can I make a smaller cake? A: You can halve the recipe. Use two 6-inch cake pans.
Q: Are the pecans optional? A: Of course! The cake is delicious with or without them. Which tip will you try first?
A Sweet Send-Off
I hope you love baking this cake as much as I do. It is a special treat for any day.
*Fun fact: The vinegar in the recipe helps the red color pop and makes the cake tender.*
I would be so happy to see your creation. Sharing food is a way to share joy. Have you tried this recipe? Tag us on Pinterest!
Happy cooking! —Chloe Hartwell.
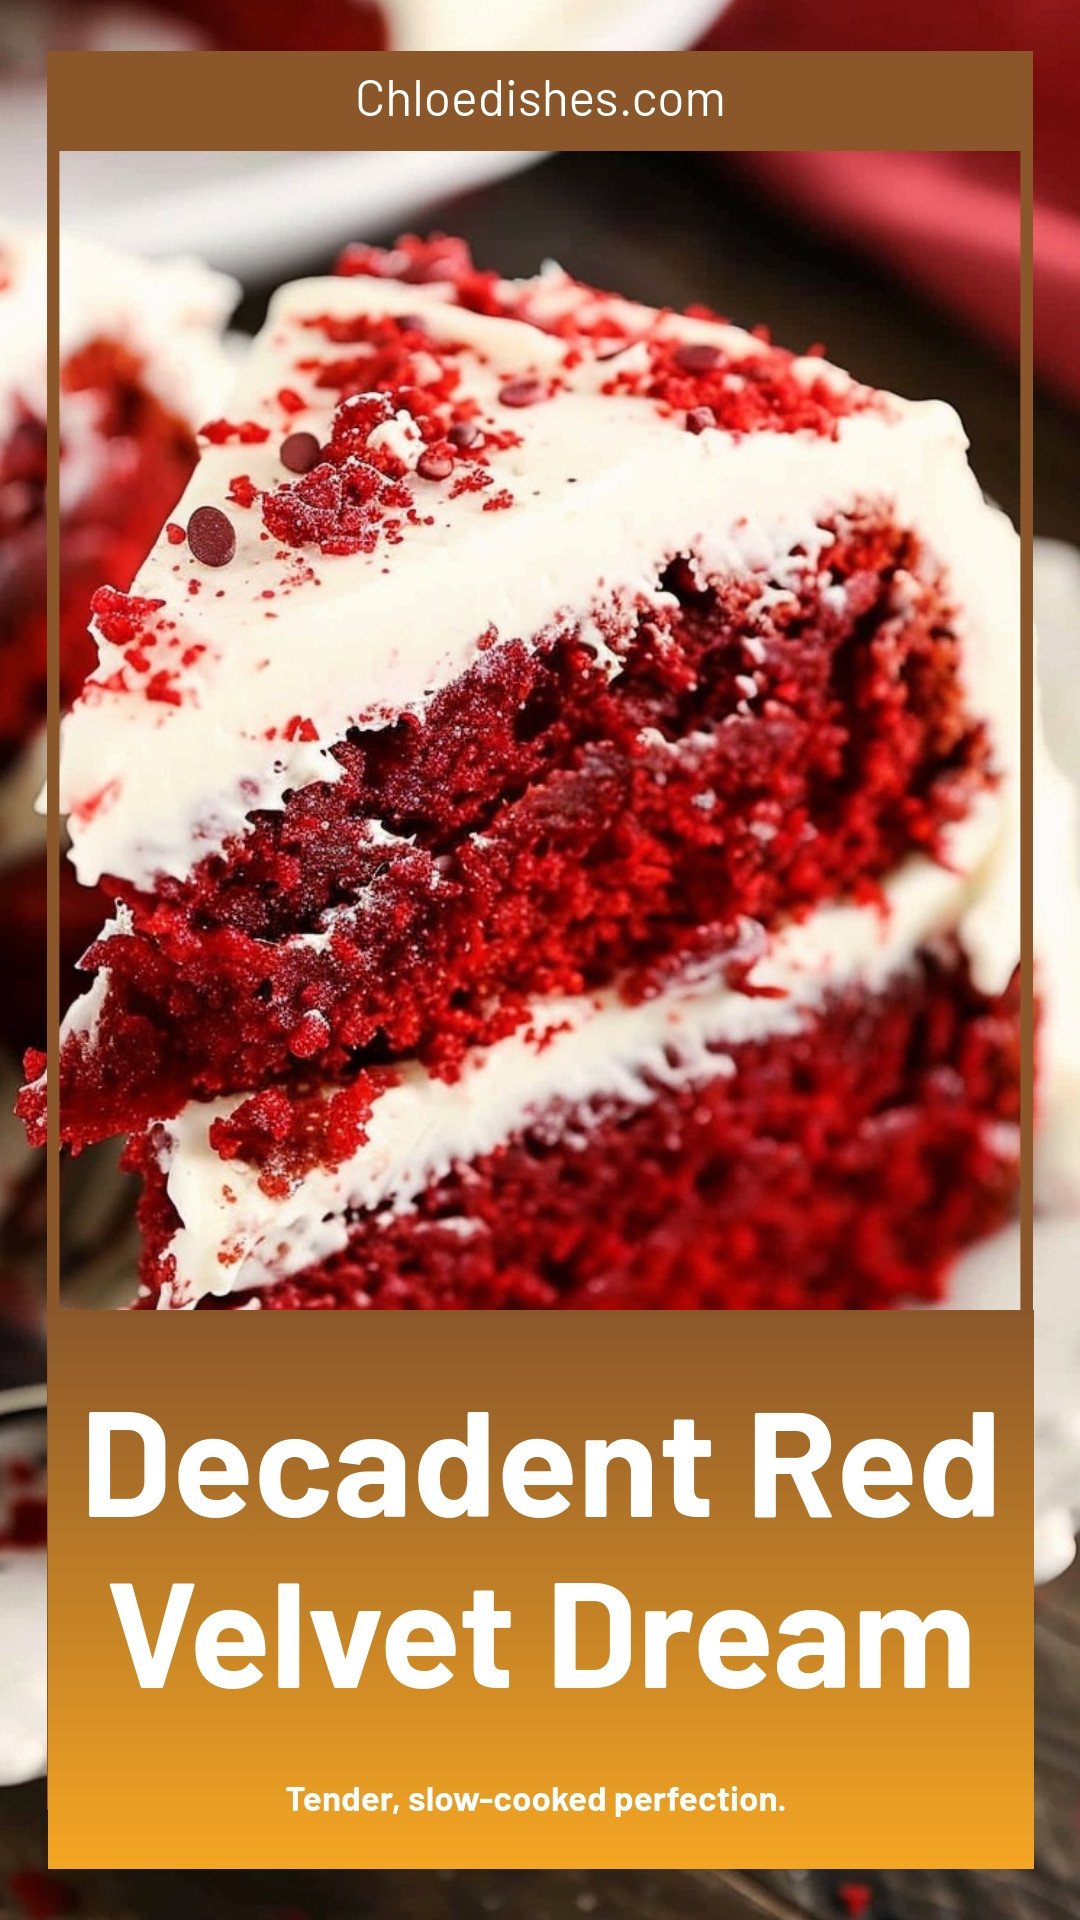
Decadent Red Velvet Dream: Tender, slow-cooked perfection.
Description
Indulge in the ultimate Red Velvet Dream dessert. This rich, creamy, and visually stunning cake recipe is pure baking magic for any celebration.
Ingredients
=== For the frosting: ===
Instructions
- Preheat the oven to 350°F and grease and flour 2 (8-inch) cake pans. In a large bowl, whisk together the cake flour, salt, cocoa powder, and baking soda. Set aside.
- Use a mixer to cream together the butter and sugar for about 2 minutes. Add the eggs, one at a time, mixing well after each addition. Add the oil, vanilla, and vinegar and mix well. Scrape down the sides of the bowl and mix again.
- Add the dry ingredients and buttermilk alternately, mixing well after each addition. Add the food coloring and mix on low until well combined.
- Divide the batter between the two pans and bake for 28 to 32 minutes or until the cakes are just starting to pull away from the sides of the pans and a toothpick inserted into the middle of each cake comes out clean. Allow the cakes to cool in the pans for 5 to 10 minutes, then invert them out of the pans and place them on cooling racks to cool completely.
- To make the frosting, start by heating the oven to 350°F. Spread the chopped pecans on a baking pan and toast for 5 to 10 minutes or just until fragrant. Cool completely.
- Use a mixer to whip the butter and cream cheese together until completely smooth. Gradually add the powdered sugar, mixing well after each addition. Add the vanilla and mix well.
- When ready to frost, you can mix the cooled pecans into the frosting before frosting the cake or frost the cake then use the pecans to sprinkle on the outside.
=== For the frosting: ===
Notes
- For the best results, ensure all ingredients are at room temperature before you begin.


Leave a Reply