

My First Muffin Mishap
I remember my first batch of muffins. They were tiny little rocks. I was so sad. I almost gave up baking right then.
But my own grandma just laughed. She said every baker has a flop story. That made me feel better. I learned to keep trying. What was your first kitchen flop? I’d love to hear about it.
Why We Let the Batter Rest
See that step where we cover the bowl? That’s not just waiting. It’s helping. The flour drinks up the wet stuff. This matters because it makes the muffins tender.
No one likes a dry muffin. Letting it rest fixes that. It’s a small step with a big payoff. Your patience will be rewarded with a perfect crumb.
The Secret to a Perfect Puff
We start the oven very hot. This gives the muffins a big, fast puff. Then we turn the heat down. This cooks the inside without burning.
*Fun fact*: That initial blast of heat makes the steam inside push up. It creates that lovely domed top we all love. Do you prefer a flat top or a big dome on your muffins?
Making It Work for Everyone
I have friends who can’t have dairy. Others avoid gluten. I want everyone at my table to feel included. That’s why this recipe has options.
Using a good 1:1 gluten-free flour blend is key. It just works. This matters because food is about sharing joy. No one should be left out of a chocolate chip muffin.
Your Turn in the Kitchen
Now, you make them. Fill your kitchen with that sweet smell. Doesn’t that smell amazing? I still smile every time I smell them baking.
Let the muffins cool a bit before you eat one. It’s hard, I know! But it makes the flavor better. What’s your favorite thing to add to a muffin batter? Chocolate chips are classic, but maybe you like berries?
Ingredients:
| Ingredient | Amount | Notes |
|---|---|---|
| salted butter, melted and cooled | 1/4 cup (57g) | *regular or plant-based |
| vegetable or canola oil | 1/4 cup (60ml) | |
| milk, room temperature | 1/2 cup (120ml) | *regular or plant-based |
| large eggs, room temperature | 2 | |
| vanilla extract | 1 tablespoon (15ml) | |
| gluten-free flour 1:1 baking blend | 1 3/4 cups (210g) | |
| granulated sugar | 1 cup (200g) | |
| baking powder | 2 teaspoons | |
| fine sea salt | 3/4 teaspoon | |
| baking soda | 1/2 teaspoon | |
| chocolate chips | 1 cup (168g) | *regular or plant-based |
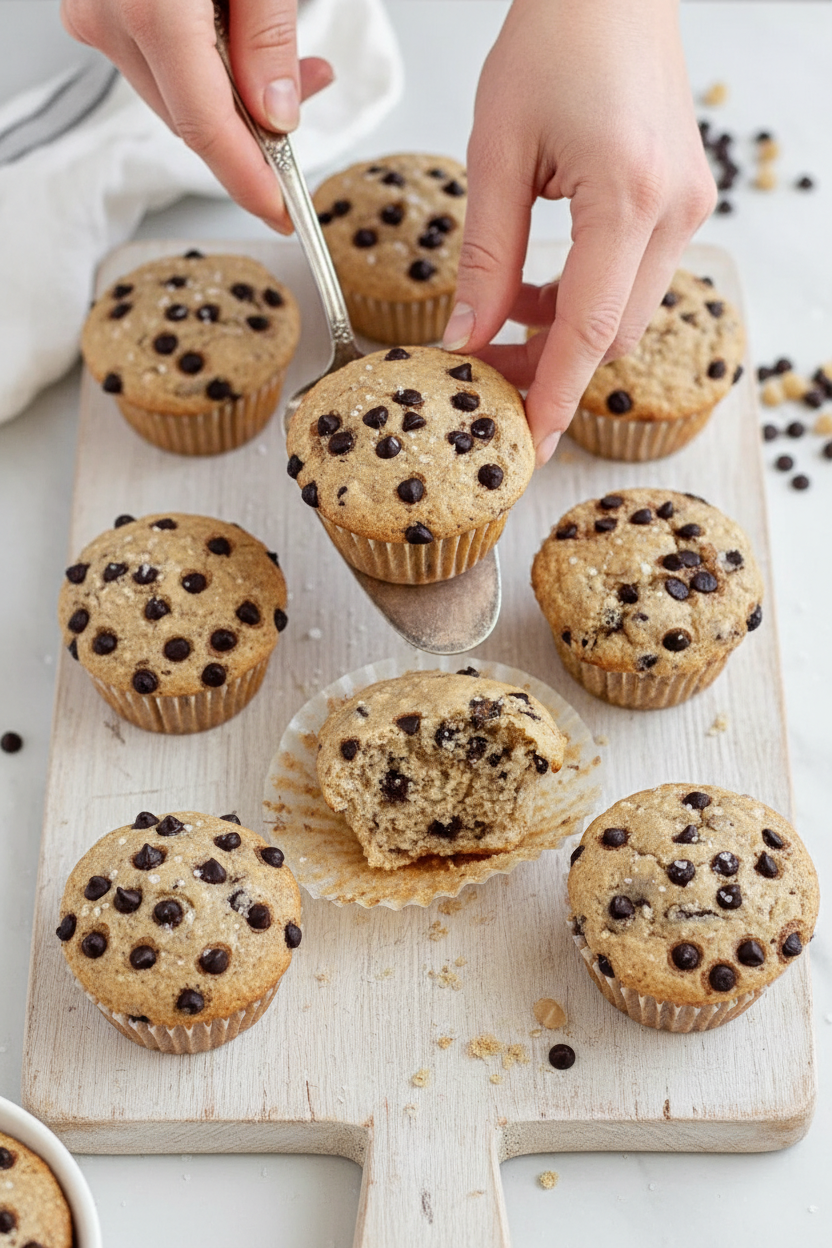
My Favorite Chocolate Chip Muffins (They’re for Everyone!)
Hello, my dear. Come sit at the counter. I want to tell you about these muffins. They are my new favorite thing to bake. You see, my grandson Leo can’t have regular flour or milk. I was so sad thinking he’d miss out. But then I found this recipe. We baked them together last Sunday. His smile was worth every experiment. Now, I make them for everyone. They are so fluffy and sweet. You would never guess they are special. Doesn’tt that smell amazing? Let me show you how we make them.
First, gather all your things. Having everything ready makes baking peaceful. Use any milk and butter you like. I use the plant-based ones for Leo. Room temperature eggs are important. They mix in so much better. (A hard-learned tip: if you forget, place cold eggs in a bowl of warm water for 5 minutes. They’ll be perfect!). Now, let’s begin.
Step 1: Warm your oven to 425ºF. Line your muffin pan with papers. Give them a little spray. This stops any sticking. I learned that the messy way once. My muffins looked like they were wearing little hats! Now we make the wet mix. Melt your butter and let it cool a bit. Put it in a big bowl with the oil, milk, eggs, and vanilla. Whisk it all until it’s friendly and smooth.
Step 2: In go the dry friends. Gently pour your flour, sugar, baking powder, salt, and baking soda on top. Use a big spoon to fold it together. Be gentle, like you’re tucking in a blanket. When it’s halfway mixed, add all those chocolate chips. I still laugh at that. Leo always sneaks a few chips for himself. Keep folding until you just can’t see dry flour anymore.
Step 3: Here’s the secret. Cover the bowl with a clean kitchen towel. Let the batter rest while the oven finishes heating. This helps the flour get happy. It makes the muffins nice and tall. Now, divide the batter into your twelve cups. I use an ice cream scoop. It’s so much less messy. What’s your favorite kitchen tool for baking? Share below!
Step 4: Bake for 5 minutes at the hot temperature. Then, without opening the door, turn the heat down to 350ºF. Bake for 7-10 more minutes. They are done when the tops are light gold. A toothpick should come out clean. Let them cool in the pan for 5 minutes. Then move them to a rack. Try to wait until they’re cool to eat one. I know, it’s the hardest part!
Cook Time: 12-15 minutes
Total Time: About 30 minutes
Yield: 12 muffins
Category: Baking, Snack
Three Fun Twists to Try
Once you master the basic recipe, you can play. It’s like being a kitchen artist. Here are three ideas my family loves. They make an old recipe feel brand new.
Berry Blast: Swap half the chocolate chips for fresh raspberries or blueberries. The berries get all jammy inside.
Sunshine Citrus: Add the zest of one orange or lemon to the wet mix. It smells like a sunny morning.
Peanut Butter Pocket: Drop a small spoonful of peanut butter into the center of each muffin cup before baking. A sweet, gooey surprise!
Which one would you try first? Comment below!
Serving Them Up With Style
These muffins are wonderful all on their own. But sometimes, you want to make a moment special. For a cozy breakfast, I split one warm and spread it with a little jam. A bowl of fresh berries on the side is perfect. For dessert, try warming a muffin and topping it with dairy-free ice cream. It’s pure happiness in a bowl.
What to drink? With breakfast, a cold glass of oat milk or almond milk is just right. In the evening, I love these with a cup of decaf coffee. My husband prefers a glass of red wine with his. He says the chocolate notes match beautifully. Which would you choose tonight?
Keeping Your Muffins Happy and Fresh
Let’s talk about keeping these muffins yummy. Store cooled muffins in a sealed container. They stay fresh on the counter for about five days. You can also freeze them for up to three months.
I wrap each one tightly in plastic wrap first. Then I pop them all in a freezer bag. This stops them from getting freezer burn. I learned this the hard way with my first batch.
They were a little icy when I tried one. Now I thaw them on the counter for an hour. Want a warm muffin? Heat it in the microwave for 15 seconds. It feels just-baked again.
Batch cooking saves so much time. You can double the recipe easily. Having treats ready matters on busy mornings. It makes a busy day feel a little sweeter. Have you ever tried storing it this way? Share below!
Simple Fixes for Common Muffin Troubles
Sometimes muffins don’t turn out perfect. That’s okay. Here are easy fixes. First, your muffins might be too dense. This often means you mixed the batter too much.
Just fold gently until the flour disappears. I once stirred for five minutes straight. My muffins were like little bricks. Gentle mixing matters for a light, tender crumb.
Second, the tops might not dome nicely. This usually needs very hot heat at the start. That’s why we bake at 425 degrees first. It gives them a great rise.
Third, the muffins might stick to the liners. Always spray your liners with a little oil. This simple step saves you from losing precious muffin tops. Which of these problems have you run into before?
Fixing small issues builds your cooking confidence. You learn what each step does. This knowledge helps every recipe taste better. That is a wonderful feeling.
Your Quick Muffin Questions, Answered
Q: Can I use a different gluten-free flour? A: Use a 1:1 baking blend for best results. Other flours can change the texture.
Q: Can I make the batter ahead? A: Yes! Let it rest in the fridge overnight. Just give it a gentle stir before baking.
Q: What can I use instead of chocolate chips? A: Try blueberries or chopped strawberries. Diced apples with cinnamon are lovely too.
Q: Can I make mini muffins? A: Absolutely. Bake them for less time, about 10-12 minutes total. Keep an eye on them.
Q: Any optional add-ins? A: A sprinkle of coarse sugar on top before baking is nice. It adds a sweet crunch. *Fun fact: Letting the batter rest helps the gluten-free flour absorb the liquid. This means a better texture!* Which tip will you try first?
Bake a Little Joy
I hope you love baking these muffins. Sharing them makes the kitchen feel warm. I still make them for my grandkids every visit.
Their smiles are my favorite part. I would love to see your baking creations. Please share your pictures with our community. Have you tried this recipe? Tag us on Pinterest!
Thank you for spending time in my kitchen today. Remember, the best recipes are made with a pinch of love.
Happy cooking! —Chloe Hartwell.
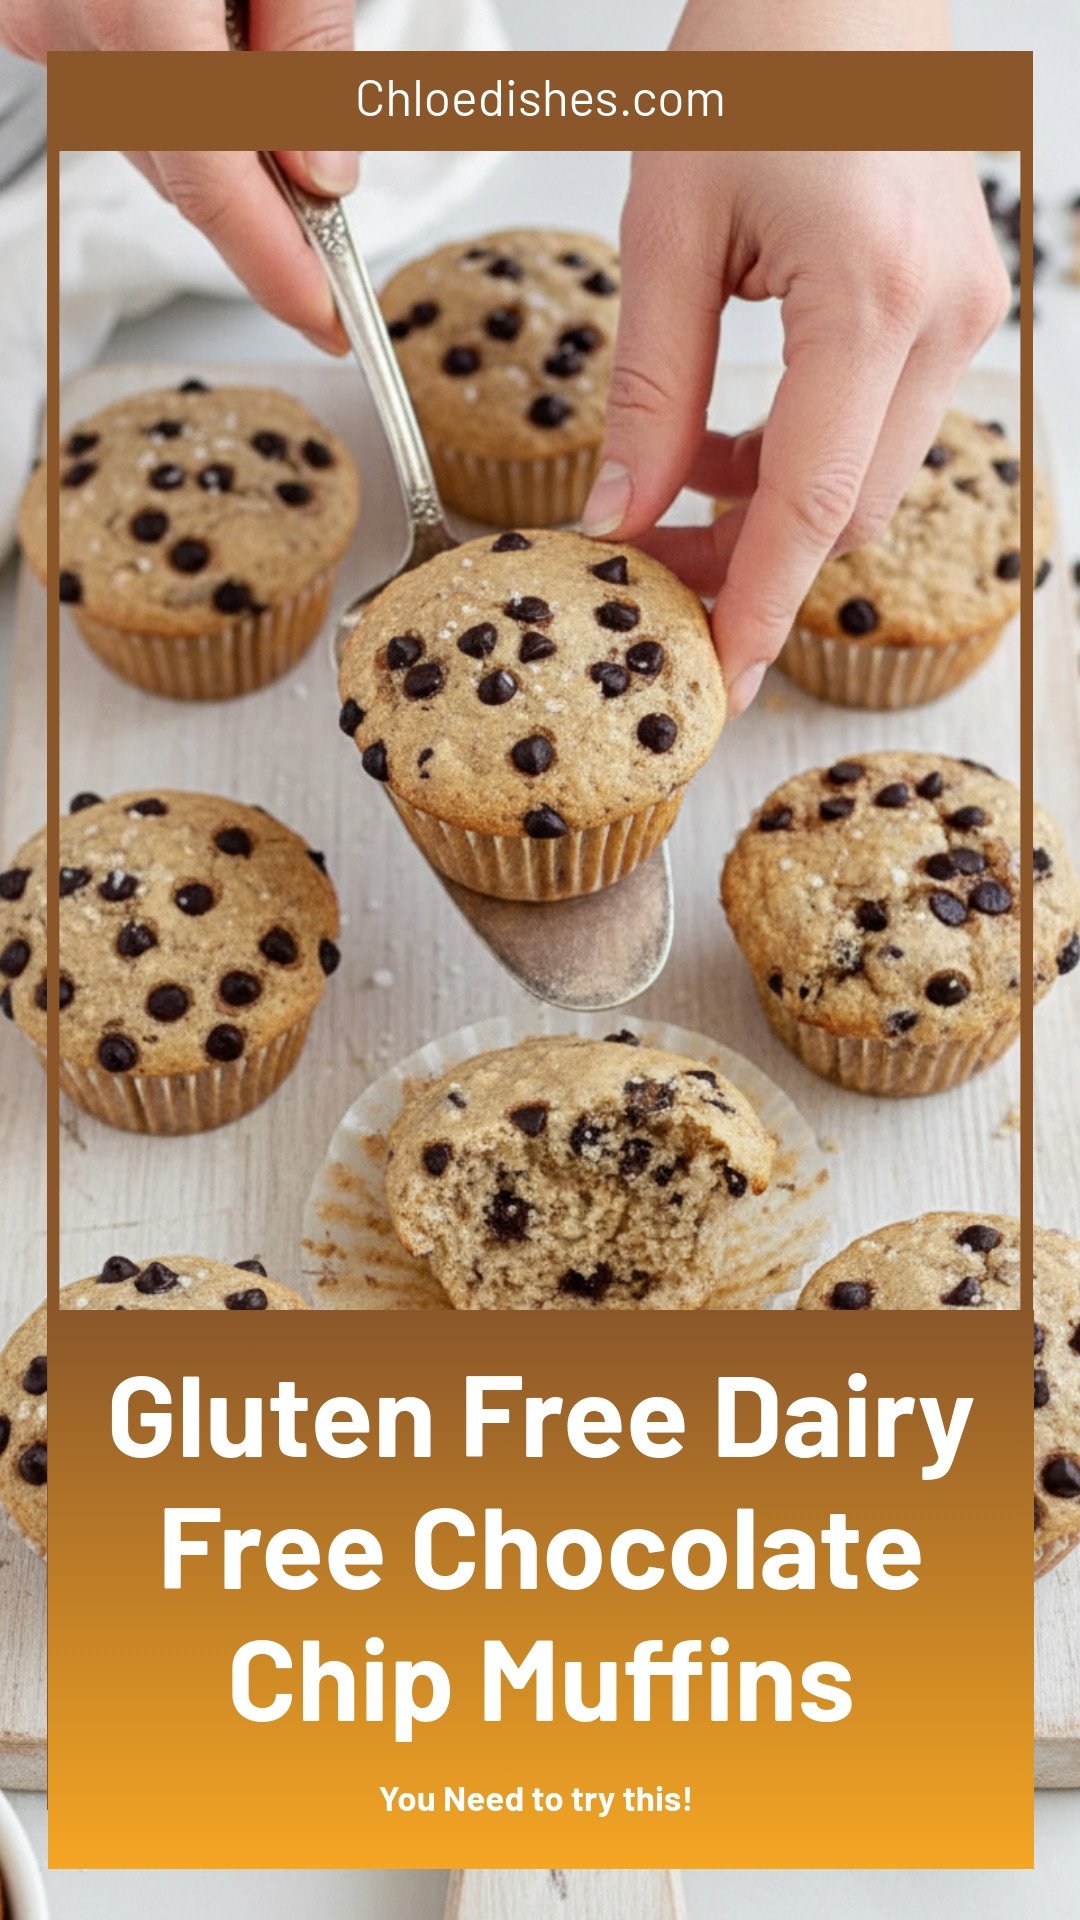
Gluten Free Dairy Free Chocolate Chip Muffins
Description
Easy, moist gluten-free dairy-free chocolate chip muffins. Perfect for breakfast or a sweet snack. Allergy-friendly and delicious for everyone to enjoy!
Ingredients
Instructions
- Prepare a muffin pan with 12 liners and a spray of non-stick baking spray.
- Combine the butter, oil, milk, eggs, and vanilla in a mixing bowl and whisk together until well combined.
- Measure in the flour, sugar, baking powder, salt, and baking soda and gently fold together. Once the dry ingredients have been incorporated about halfway, add the chocolate chips and continue to fold until the batter is just combined.
- Cover the mixing bowl with a clean kitchen towel and set aside to rest while the oven preheats.
- Preheat the oven to 425ºF and divide the batter evenly into the muffin pan.
- Bake for 5 minutes and then reduce the oven temperature to 350ºF. Do not open the oven door at this point. Bake for another 7-10 minutes or until the tops begin to turn a light golden brown.
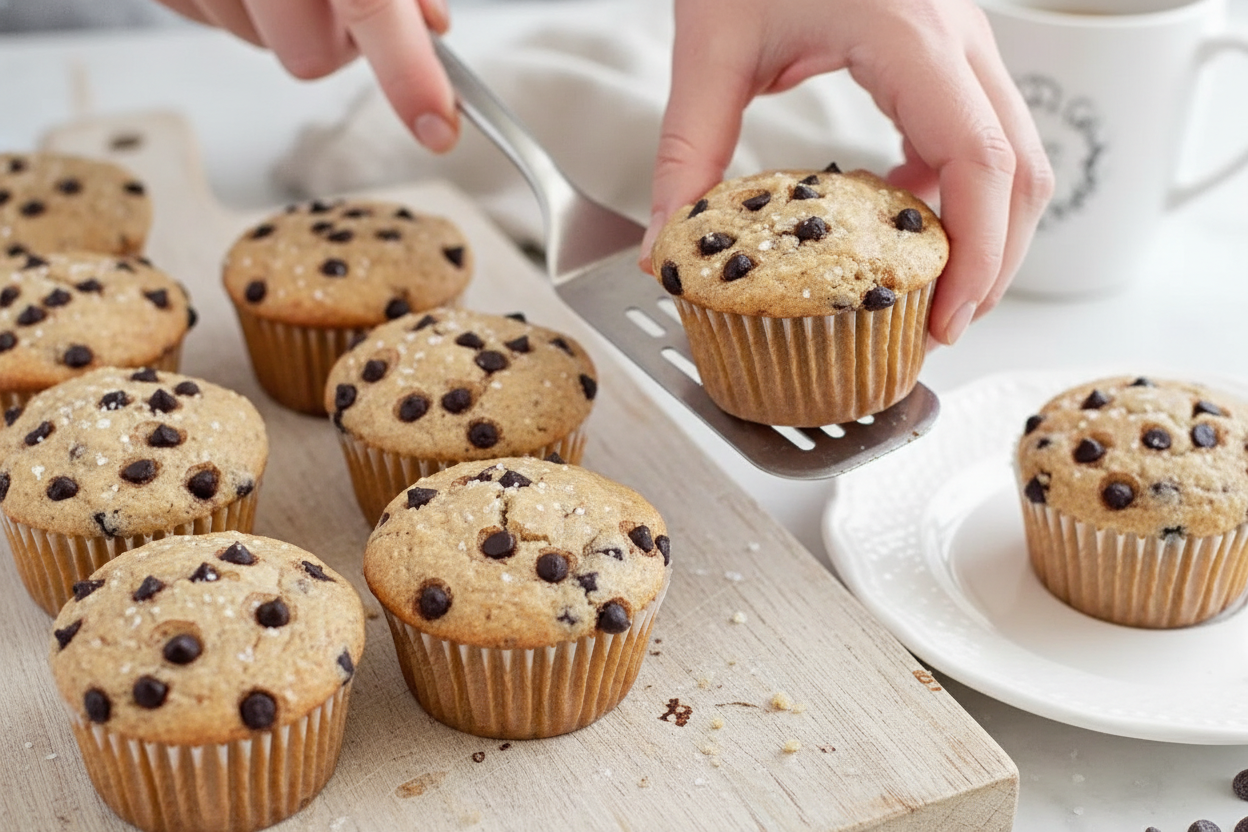
- Remove from the oven and allow the muffins to cool in the pan for 5 minutes before removing to fully cool. Enjoy!
Notes
- Leftover muffins can be stored at room temperature in an airtight container for up to 5 days or frozen for up to 3 months.


Leave a Reply