
My First Poke Cake Disaster
I made my first poke cake years ago. I was so excited. I poked the holes with a big wooden spoon handle. Can you guess what happened?
The cake fell apart into big chunks. I was so sad. But my grandson just laughed. He said it was “cake soup.” We ate it with spoons. I still laugh at that.
Why We Poke Holes
This step seems silly. But it is the most important part. Those little holes are like tiny tunnels. They let the sweet milk soak deep into the cake.
Every bite becomes super moist and sweet. It matters because it turns a simple cake into a special treat. It’s a little secret that makes a big difference.
The Magic of Buttermilk
That buttermilk in the recipe is not a mistake. It makes the cake soft and gives it a little tang. This balances all the sweetness later on.
Doesn’t that smell amazing when it bakes? *Fun fact: Buttermilk was originally the liquid left after making butter. That’s how it got its name!* Do you like using buttermilk in your baking?
Making It Your Own
The decorations are the best part. I love the red and green sprinkles. They look like tiny holiday lights. My neighbor uses crushed peppermints.
You can use white chocolate shavings too. It’s your cake canvas. What is your favorite holiday topping? I would love to know your ideas.
A Cake That Brings Joy
This cake is more than food. It is a centerpiece for laughter. It sits on the table during games and stories. Sharing it makes a memory.
That matters to me. Food is love made visible. Will you be making this for a special someone this season? Tell me who you’ll share it with.
Ingredients:
| Ingredient | Amount | Notes |
|---|---|---|
| Red velvet cake mix | 1 box | |
| Eggs | 3 large | |
| Buttermilk | 1 cup | |
| Vegetable oil | ½ cup | |
| Vanilla extract | 1 tsp | For the cake |
| Red food coloring | optional | |
| Sweetened condensed milk | 1 can | For poking into the cake |
| Heavy cream | ½ cup | For the frosting |
| Cream cheese | 8 oz | Softened, for the frosting |
| Unsalted butter | ½ cup | Softened, for the frosting |
| Powdered sugar | 2 cups | For the frosting |
| Vanilla extract | 1 tsp | For the frosting |
| Salt | Pinch | For the frosting |
| Holiday sprinkles | For garnish | |
| Crushed candy canes | For garnish | |
| White chocolate shavings | For garnish |
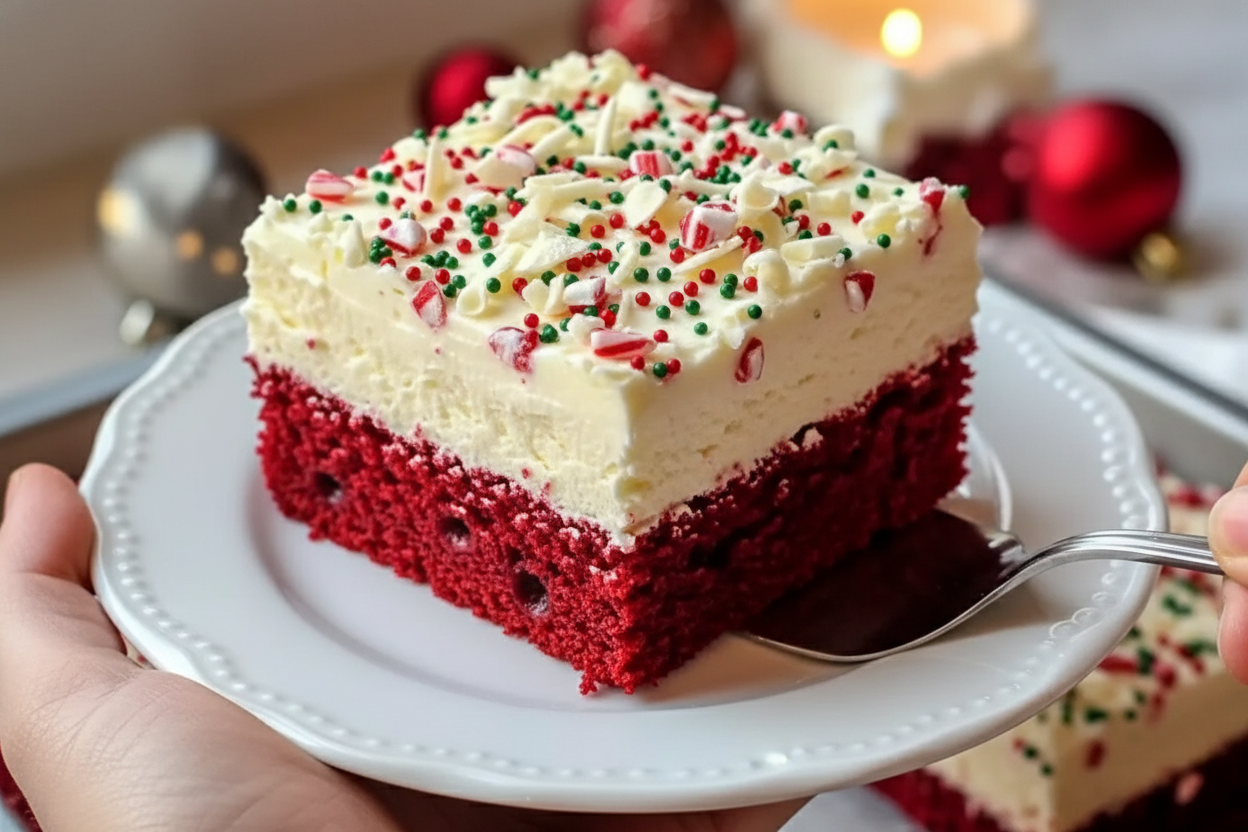
My Festive Red Velvet Poke Cake
Hello, my dear! Pull up a chair. Let’s bake some holiday magic. This cake is pure joy in a pan. I love making it for my grandkids. Their eyes get so wide when they see it.
It’s a simple box mix cake, but we make it special. We poke holes and pour in a sweet, creamy filling. Then we top it with fluffy frosting. The final touch is a shower of holiday sprinkles. Doesn’t that sound wonderful?
I remember the first time I made this. My grandson thought I’d ruined the cake with all the holes! I still laugh at that. Then he tasted it. His smile told me everything. Now, let’s get started. Here is how we make it together.
Step 1: First, turn your oven on to 350 degrees. Grease your 9×13 pan well. I use a little butter and a dusting of flour. In a big bowl, mix the cake mix, eggs, buttermilk, oil, and vanilla. Stir until it’s nice and smooth. The batter will be a beautiful red.
Step 2: Pour that lovely batter into your pan. Slide it into the hot oven. Bake it for about 30 minutes. You’ll know it’s done when a toothpick comes out clean. Let it cool for just 10 minutes. Then comes the fun part!
Step 3: Now, take a fork. Poke holes all over the warm cake. Go right to the bottom! (My hard-learned tip: Don’t wait for the cake to cool completely. Warm cake soaks up the filling like a dream.) While the cake cools a bit, mix your sweetened condensed milk and heavy cream. Stir until it’s one silky liquid.
Step 4: Slowly pour your creamy mixture over the cake. Watch it disappear into all those little holes! Isn’t that satisfying? Now, patience is key. Pop the whole pan into the fridge. Let it chill for at least an hour. This lets all that sweetness settle in.
Step 5: Time for the frosting! Beat the soft cream cheese and butter together. It should be perfectly smooth. Then add your powdered sugar, vanilla, and a tiny pinch of salt. Keep beating until it’s fluffy and light. Doesn’t that smell amazing?
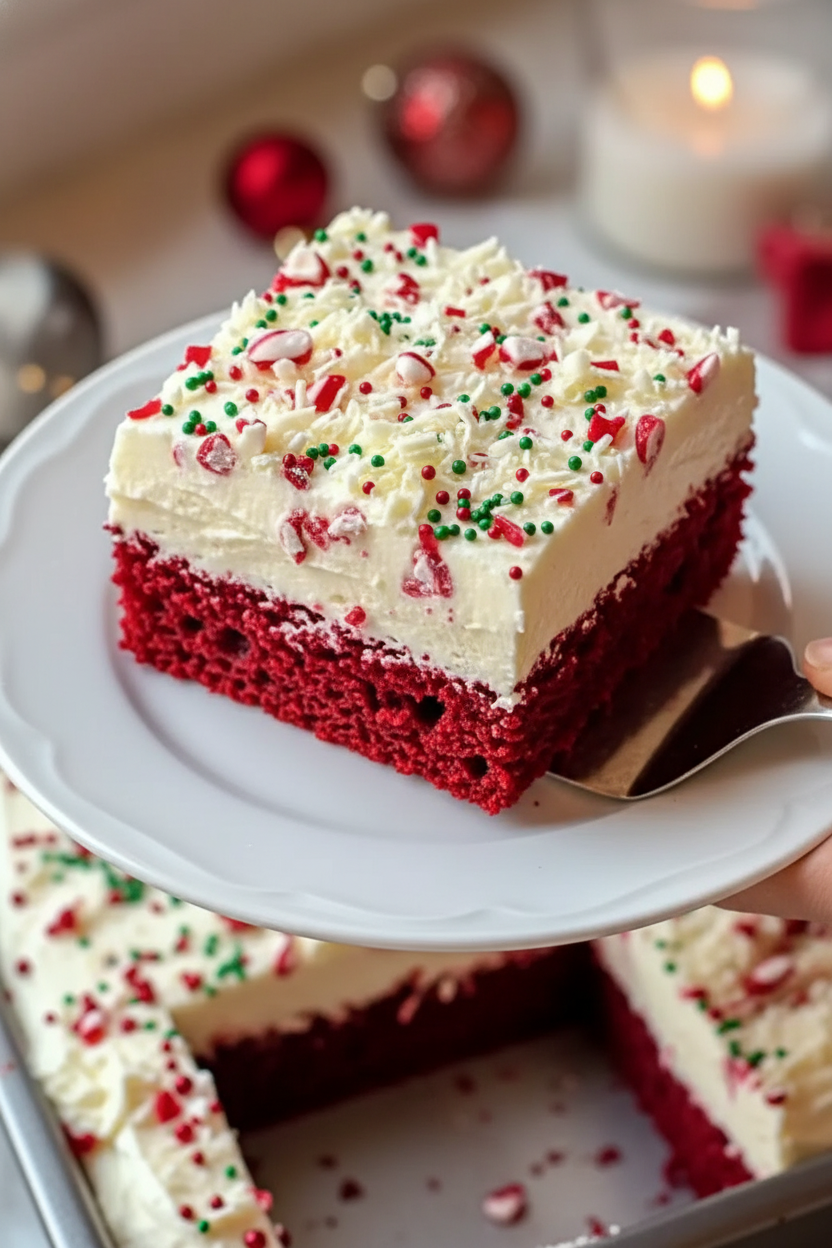
Step 6: Take your chilled cake from the fridge. Spread the frosting over the top. Be generous! Now, decorate. This is where you can be an artist. I love using red and green sprinkles. Crushed candy canes are wonderful too. What’s your favorite holiday sprinkle color? Share below!
Cook Time: 30 minutes (plus 1 hour chilling)
Total Time: About 2 hours
Yield: 12 generous squares
Category: Dessert, Holiday
Three Fun Twists to Try
This cake is like a blank canvas. You can dress it up so many ways! Here are a few of my favorite ideas. They are all simple and delicious.
Peppermint Party: Add a teaspoon of peppermint extract to the frosting. Top with only crushed candy canes. It tastes like a winter wonderland!
Chocolate Lover’s Dream: Use chocolate cake mix instead of red velvet. Fill it with the same sweet milk. Frost with chocolate cream cheese frosting.
Berry Blast: After adding the filling, scatter fresh raspberries on the cake. Then add the frosting. The tart berries are a lovely surprise.
Which one would you try first? Comment below!
Serving It Up Just Right
This cake is a star on its own. But I like to make it feel extra special. For a pretty plate, add a few fresh mint leaves beside the slice. A little dollop of whipped cream never hurts either!
What to drink with it? For the grown-ups, a small glass of cream sherry is nice. It’s sweet and cozy. For everyone, a cold glass of milk is the classic choice. Or a cup of hot cocoa with a candy cane stirrer.
It’s the perfect end to a big holiday meal. Or a sweet treat with afternoon tea. Which would you choose tonight? The sherry or the cocoa? I think I know what my grandkids would pick!
Keeping Your Poke Cake Fresh and Festive
Let’s talk about keeping your cake tasty. First, cover it tightly and store it in the fridge. It will stay good for about four days. You can also freeze slices for a month. Wrap each piece well in plastic wrap.
I love making this cake a day ahead. The flavors get even better overnight. This is a great batch-cooking trick for busy holidays. It saves you time on your big celebration day.
I once forgot to cover a cake. The fridge made it taste like my leftover onions! A good seal keeps flavors pure. Storing food well shows care for your family and guests. Have you ever tried storing it this way? Share below!
Simple Fixes for Common Cake Troubles
Is your cake too dry? You might have over-baked it. Check it a few minutes early next time. A moist cake makes every bite a joy.
Is the filling not soaking in? Your cake might be too cool. Poke holes when it is just warm. I remember when my filling pooled on top. A warm cake drinks it right up.
Is your frosting too runny? Your cream cheese and butter must be soft, not melted. Beat them well before adding sugar. Getting these steps right builds your kitchen confidence. It turns worry into a wonderful dessert. Which of these problems have you run into before?
Your Poke Cake Questions, Answered
Q: Can I make this gluten-free? A: Yes! Use a gluten-free red velvet cake mix. Check all other labels too.
Q: How far ahead can I make it? A: You can bake and fill it one day early. Add frosting the day you serve.
Q: What can I use instead of buttermilk? A: Mix one cup milk with one tablespoon lemon juice. Let it sit for five minutes.
Q: Can I make a smaller cake? A: Yes. Halve the recipe. Use an 8×8 inch pan. Bake for less time.
Q: Are the decorations required? A: Not at all! Use what you have or love. *Fun fact: The first red velvet cakes got color from a chemical reaction, not food dye!* Which tip will you try first?
Share Your Holiday Creation
I hope this cake brings sweetness to your table. Baking is about sharing joy and making memories. I would love to see your beautiful results.
Please share a photo of your festive cake. Show me your creative sprinkles and swirls. It makes my day to see your kitchen adventures. Have you tried this recipe? Tag us on Pinterest!
Happy cooking! —Chloe Hartwell.
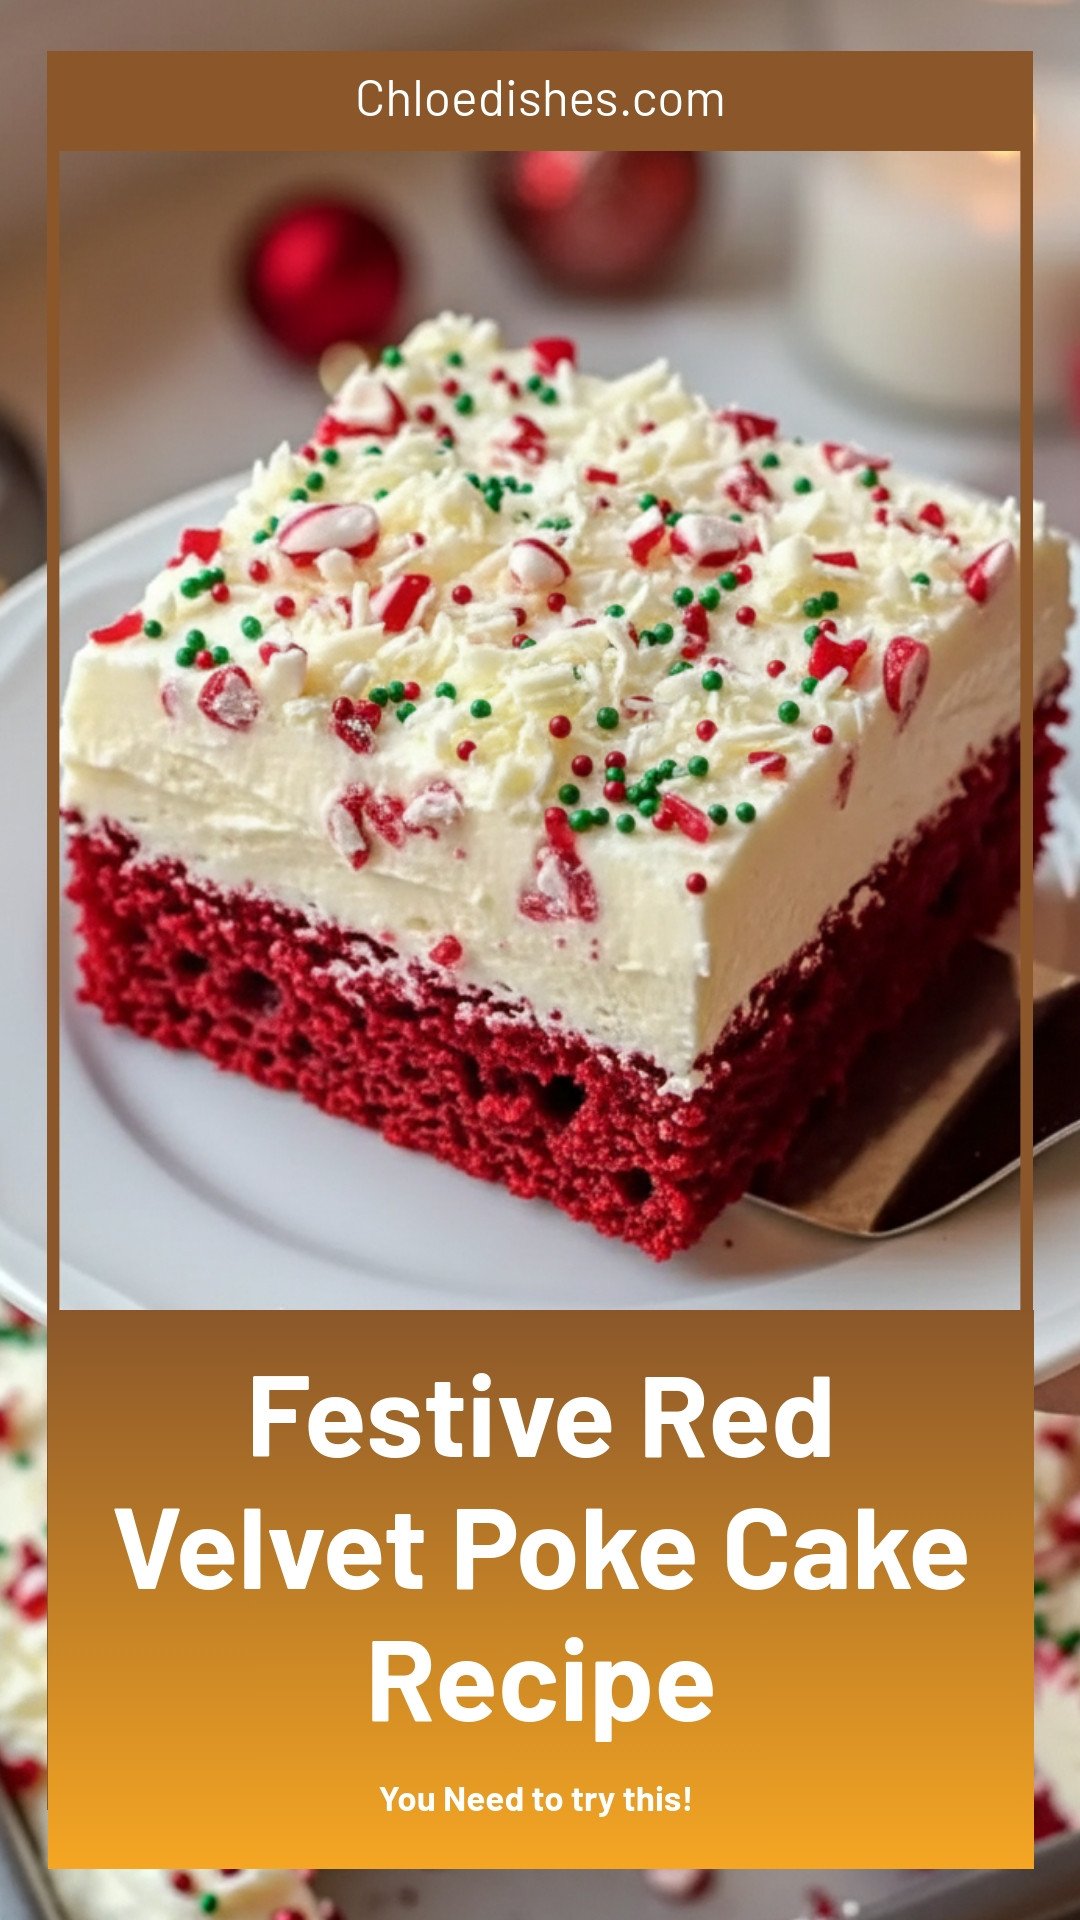

Festive Red Velvet Poke Cake
Description
This festive red velvet poke cake is a stunning, moist dessert. Easy to make and perfect for holidays or any celebration!
Ingredients
Instructions
- Preheat the oven to 350°F (175°C). Grease a 9×13-inch baking dish and set it aside.
- Prepare the cake batter: In a large bowl, combine the cake mix, eggs, buttermilk, vegetable oil, and vanilla extract. Mix until smooth, adding a few drops of red food coloring if you want a deeper red color.
- Bake the cake: Pour the cake batter into the prepared baking dish. Bake for 28-30 minutes, or until a toothpick inserted into the center comes out clean. Let the cake cool for 10 minutes before poking holes.
- Make the filling: While the cake cools, mix the sweetened condensed milk with the heavy cream in a bowl. Stir until smooth.
- Poke the cake: Use a fork or skewer to poke holes all over the cake once it’s cooled slightly, making sure to reach the bottom of the cake.
- Add the filling: Pour the filling evenly over the cake, letting it soak into the holes. Let the cake cool completely in the fridge for at least 1 hour.
- Make the frosting: Beat the softened cream cheese and butter together until smooth. Gradually add the powdered sugar, vanilla extract, and a pinch of salt, and continue to beat until fluffy.
- Frost the cake: Spread the cream cheese frosting evenly over the cooled cake. Decorate with holiday sprinkles, crushed candy canes, or white chocolate shavings as desired.
- Serve and enjoy: Slice the cake into squares and serve chilled.
Notes
- For best results, ensure the cake is completely cool before adding the frosting. Store leftovers covered in the refrigerator.


Leave a Reply