
The Sunshine in a Can
My grandkids call this my sunshine bread. It all started one rainy Tuesday. I had a lonely can of pineapple in the cupboard. I thought, why not bake some cheer? That first loaf filled the whole house with a sweet, warm smell. I still laugh at that. It turned a gray day bright yellow.
Using the juice from the can is my favorite trick. It gives the bread its special flavor. You get every bit of that sunny taste. Doesn’t that smell amazing when it bakes? That smell is pure happiness. It matters because cooking should make you smile, even before you take a bite.
Mixing Up the Magic
Let’s get our hands busy. First, turn your oven on to get it warm. Cream the soft butter and sugar together. This makes everything light and happy. Then mix in your eggs, one at a time. They help everything stick together.
Now, add your dry stuff and the pineapple juice a little at a time. Go slow. This keeps the bread tender. Finally, fold in those crushed pineapple bits. Be gentle so they don’t all sink. *Fun fact: Pineapple has an enzyme called bromelain. It can make cakes gummy, but cooking it first fixes that!*
Why This Recipe Matters
This isn’t just about following steps. It’s about making something with your hands. You take simple things and create joy. That is a wonderful lesson. It teaches patience and care. Every slice is a little reward for your effort.
It also matters because it’s a forgiving recipe. Did you mix it a bit too much? It will still taste wonderful. Baking should be fun, not scary. This bread is a friendly place to start. What’s the first recipe you ever felt proud of? I’d love to hear your story.
The Sweet Finish
While your loaf cools, make the glaze. It’s so simple. Just mix the powdered sugar, a little more pineapple juice, and vanilla. Stir until it’s smooth. Drizzle it over the warm bread. Watching it slowly drip down the sides is the best part.
Let that glaze set for a bit. This waiting is hard, I know. But it makes each slice neat and pretty. Do you like a lot of glaze or just a little? In my house, we always vote for extra!
Sharing the Warmth
This bread never lasts long. It’s perfect with a cup of tea in the afternoon. It’s also wonderful for breakfast. Toasting a slice makes it even better. The edges get a little crispy. The inside stays soft and moist.
Food is meant to be shared. It connects us. A neighbor, a friend having a tough day, they all appreciate a slice of sunshine. Who will you share your first loaf with? Tell me if they smiled. I bet they will.
Ingredients:
| Ingredient | Amount | Notes |
|---|---|---|
| Salt | ⅛ Teaspoon | |
| Butter | ½ Cup | softened |
| Crushed pineapple | 1 Cup | drained, but reserving the liquid separately |
| Eggs | 2 large | |
| All-purpose flour | 1 ½ Cup | |
| Pineapple liquid | ¼ Cup | drained from the crushed pineapple can |
| Sugar | ¼ Cup | |
| Milk | 2 Tbsp | |
| Baking powder | 2 Teaspoons | |
| Pineapple liquid | 2 tbsp | For the glaze |
| Confectioners sugar | 1 Cup | For the glaze |
| Vanilla | 1 Teaspoon | For the glaze |
My Sunny Pineapple Bread: A Taste of Summer
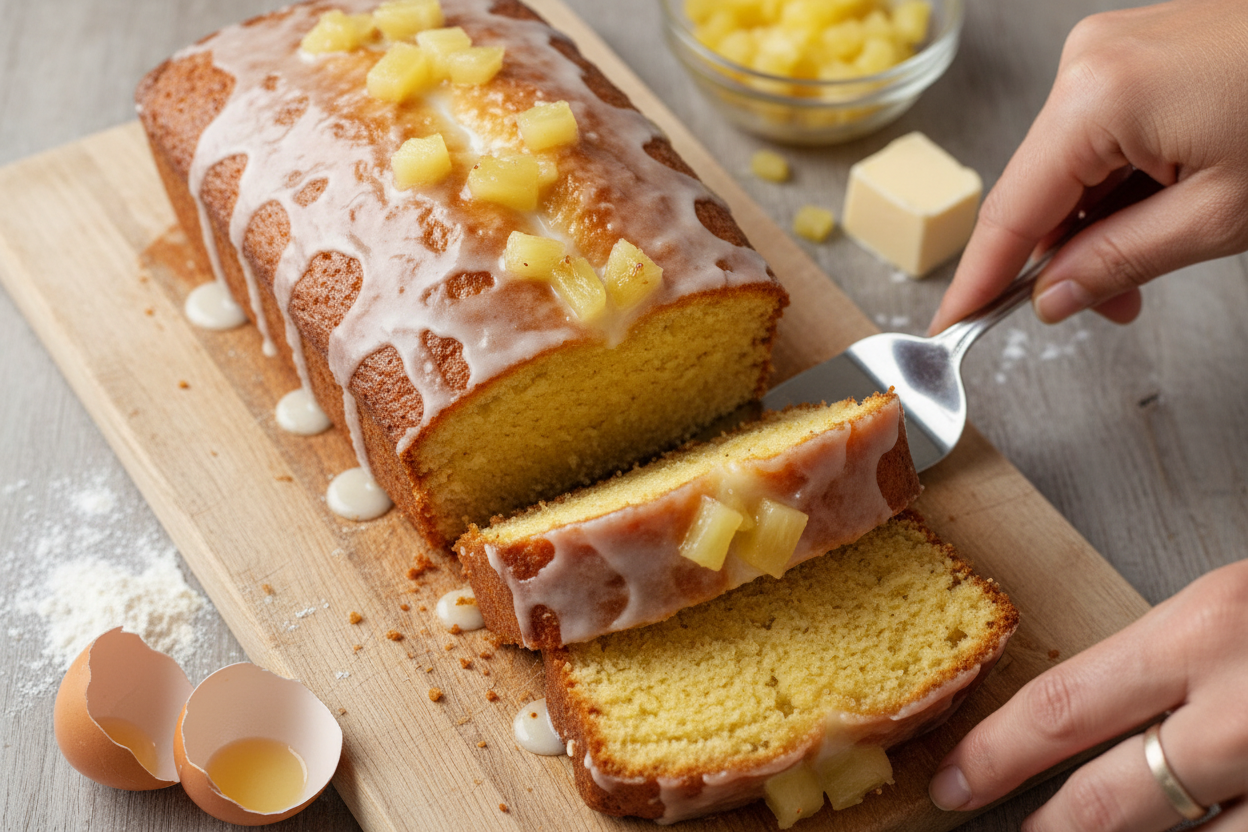
Hello, my dear. Come sit at the kitchen table. I want to tell you about my pineapple bread. It’s like a sweet, sunny hug in a loaf pan. I first made it for a rainy spring picnic years ago. It brought the sunshine right into our basket. The smell as it bakes is pure happiness. Doesn’t that smell amazing? Let’s bake some together.
Here is how we make it. Follow these simple steps. I’ll tell you a little story as we go. Remember, baking is about joy, not perfection. My grandson once used the whole can of pineapple, juice and all! We had a very soggy, but very happy, mess. (Hard-learned tip: really drain that pineapple well, or your bread will be too wet.) Ready? Preheat your oven to 350°F. Grease up a loaf pan for us.
Step 1: Grab a big bowl. Sift your flour, baking powder, and salt right into it. This makes the bread light and fluffy. I still use my grandmother’s old metal sifter. It makes a lovely, soft shower of flour. In another bowl, mix the soft butter and sugar. Cream them until they look pale and creamy.
Step 2: Crack in your two eggs. Mix them in one at a time. Now, add some of the dry flour mixture. Then pour in a little of that saved pineapple juice. Keep alternating until it’s all mixed. The batter will look lovely. Stir in the milk last. This keeps everything tender.
Step 3: Here’s the star! Gently fold in your drained crushed pineapple. Just fold it over and into the batter. Don’t stir too hard. Pour this beautiful batter into your waiting pan. Smooth the top with a spoon. What’s your favorite fruit to bake with? Share below!
Step 4: Slide the pan into the oven. Bake for 50 to 55 minutes. It’s done when a toothpick poked in the center comes out clean. The waiting is the hardest part, I know. Let it cool in the pan for just 10 minutes. Then turn it out onto a rack to cool completely.
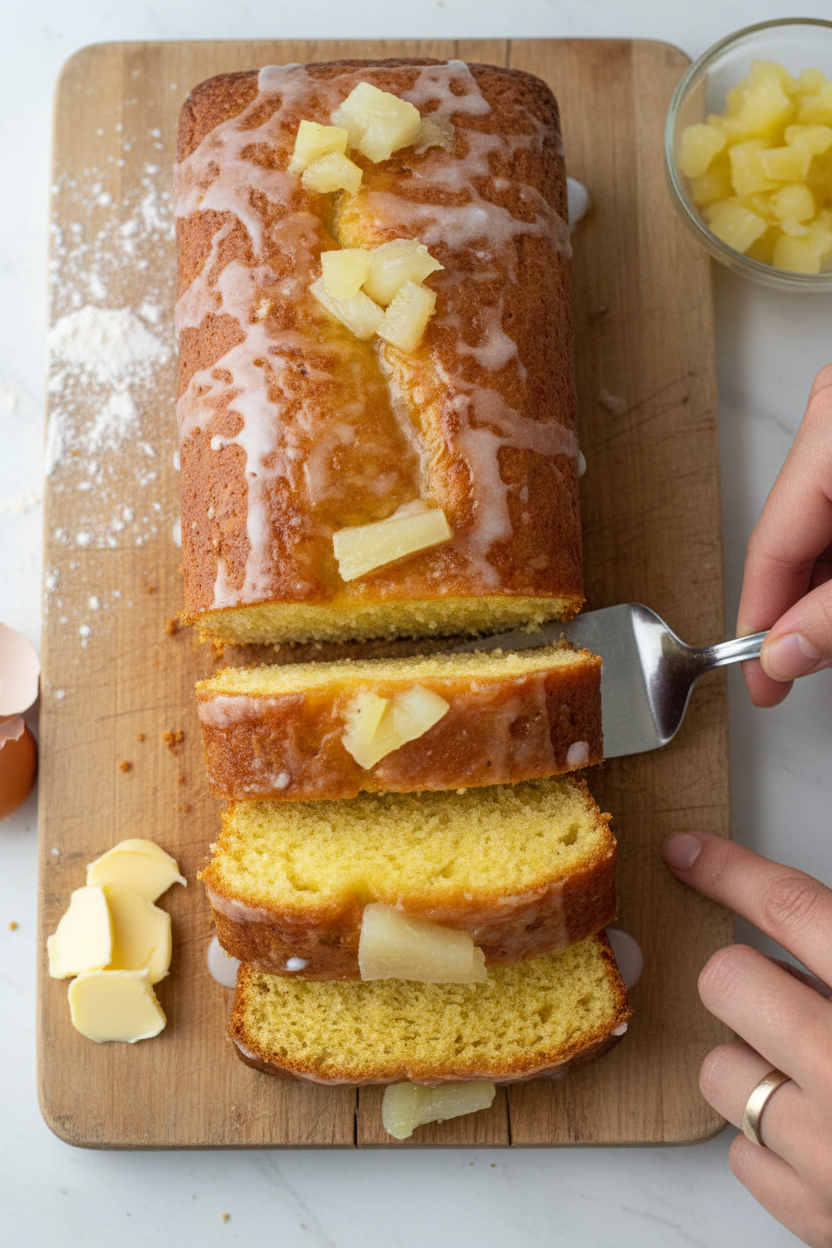
Step 5: Time for the glaze! Whisk the confectioners’ sugar, vanilla, and last 2 tablespoons of pineapple juice. Drizzle it all over the cooled loaf. Let it set for a few minutes. Then, slice a thick piece. Taste the sweet, tropical sunshine. I still laugh at how quickly my family makes it disappear.
Cook Time: 50–55 minutes
Total Time: About 1 hour 20 minutes
Yield: 1 delicious loaf
Category: Baking, Sweet Bread
Three Sweet Twists to Try
This recipe is like a favorite dress. You can accessorize it! Here are three fun ways to change it up. Each one brings its own little personality to the table.
Tropical Party: Add a handful of shredded coconut to the batter. It toasts up so nice.
Nutty Crunch: Mix in half a cup of chopped pecans or walnuts. They give a wonderful texture.
Citrus Sparkle: Use the zest of one orange or lemon in the glaze. It’s so bright and fresh.
Which one would you try first? Comment below! I think I’d go for the citrus sparkle today.
Serving Your Sunshine Loaf
This bread is wonderful all on its own. But you can make it extra special. For breakfast, toast a slice lightly. Spread a little cream cheese on it. The tang is perfect with the sweet pineapple. For dessert, serve it warm with a scoop of vanilla ice cream. It melts just a little over the top. Oh my, it’s so good.
What to drink with it? For a cozy afternoon, a big glass of cold milk is my classic choice. It just feels right. For a grown-up treat, a little glass of sweet Moscato wine pairs beautifully. It tastes like a vacation. Which would you choose tonight? I can hear the kettle whistling for my tea right now.
Keeping Your Pineapple Bread Fresh and Happy
Let’s talk about keeping your lovely loaf fresh. First, let it cool completely. Wrap it tightly in plastic wrap. It will stay good on the counter for about three days.
For longer storage, the freezer is your friend. I slice the whole loaf first. Then I wrap each slice in plastic. I pop them all into a big freezer bag. This way, I can grab one slice for my morning tea. I once froze a whole loaf without slicing it. It was a real chore to cut later!
To reheat, just toast a frozen slice. It brings back that warm, just-baked smell. Batch cooking matters because it saves time. A homemade treat is always ready for you or a surprise guest. Have you ever tried storing it this way? Share below!
Simple Fixes for Common Baking Hiccups
Even grandmas have baking troubles sometimes. Here are three common ones. First, a sunken middle. This often means the batter was over-mixed. I remember when I mixed too hard. My bread was dense like a brick! Just mix until the flour disappears.
Second, the bread sticks to the pan. Always grease your pan well. Use butter or a baking spray. This simple step saves so much frustration. It matters for your confidence. A perfect release feels like a small victory.
Third, a dry loaf. Did you drain the pineapple too much? That liquid is gold. Using it keeps the bread wonderfully moist. This matters for the flavor. Every bite should be tender and sweet. Which of these problems have you run into before?
Your Pineapple Bread Questions, Answered
Q: Can I make this gluten-free? A: Yes! Use a good gluten-free flour blend. Add a teaspoon of xanthan gum too.
Q: Can I make it ahead? A: Absolutely. Bake it the day before. Add the glaze just before serving.
Q: What if I don’t have fresh pineapple? A: Canned crushed pineapple works perfectly. That’s what I use every time.
Q: Can I double the recipe? A: You can! Just use two loaf pans. *Fun fact: Pineapple plants only produce one fruit at a time.*
Q: Any optional add-ins? A: A half cup of shredded coconut is lovely. It adds a nice chewy texture. Which tip will you try first?
From My Kitchen to Yours
I hope you love this sweet, sunny bread. It always reminds me of my granddaughter’s visits. She loves it warm with a little extra glaze.
I would be so delighted to see your creation. Sharing food is how we share joy. Have you tried this recipe? Tag us on Pinterest! You can find me at @ChloesCozyKitchen.
Thank you for baking with me today. Happy cooking!
—Chloe Hartwell.
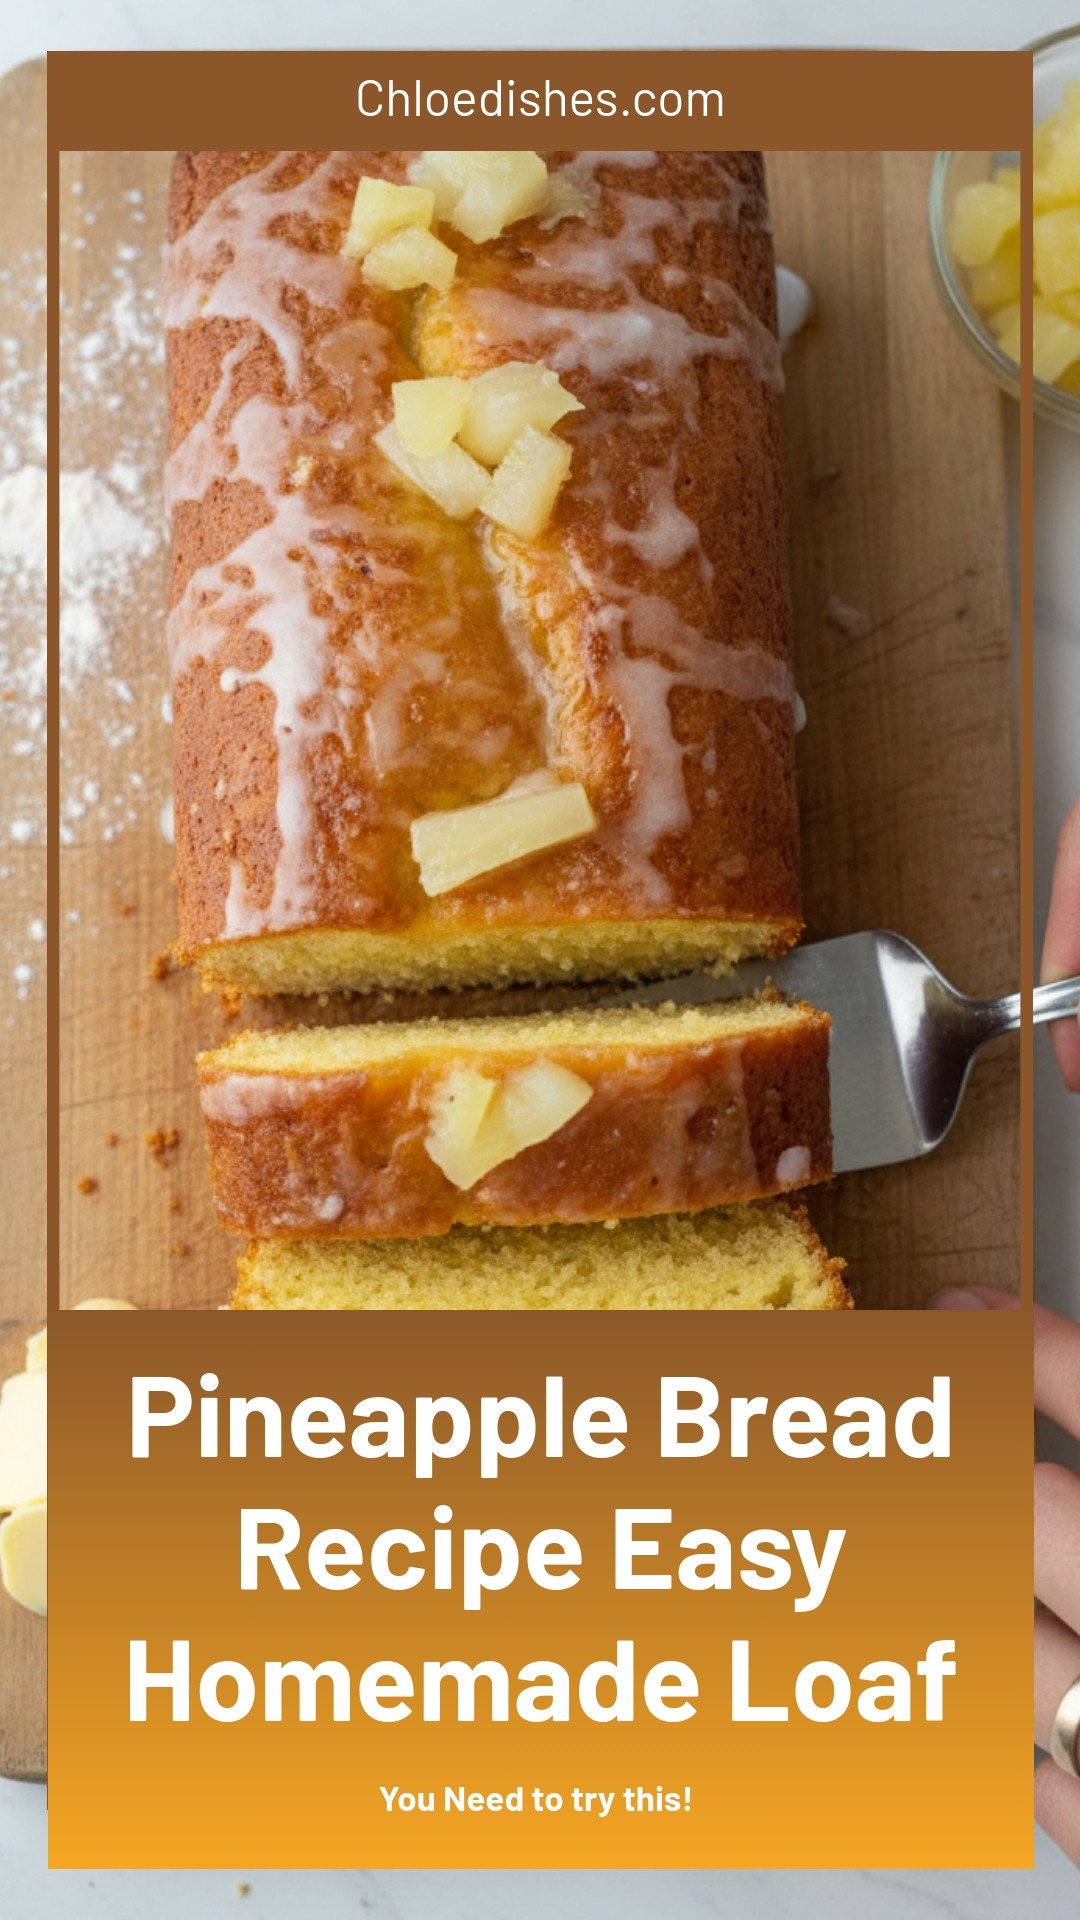

Pineapple Bread: Pineapple Bread Recipe Easy Homemade Loaf
Description
Bake a sweet, moist pineapple loaf in one bowl! This easy homemade pineapple bread is the perfect tropical treat for breakfast or a snack.
Ingredients
For the glaze:
Instructions
- Turn on the oven to 350 F.
- Use a sifter to place the flour, baking powder, and salt in a bowl.
- Put the butter and sugar in another bowl and cream them.
- Transfer in your eggs.
- Slowly mix in the dry ingredients and ¼ cup of pineapple syrup taking turns until blended.
- Pour the milk in and stir.
- Add in your crushed pineapple and overlap it. Oil a loaf pan and lay out your mixture into it.
- Let bake for 50 to 55 minutes.
- Chill it for 10 to 15 minutes, then flip it into a cooling rack and let it fully chill.
- Combine the components for the glaze, and drizzle it on top of your cake. Let it firm up a bit, then serve.


Leave a Reply