
Why I Love These Little Bars
These bars remind me of the first time I tried to bake for a friend who couldn’t eat gluten. I was so nervous. I remember standing in my kitchen, staring at a bag of special flour, and thinking, “What if this tastes like cardboard?” Well, these bars are the opposite of cardboard. They are soft and chewy. They are sweet and tangy. I still laugh at how worried I was. Doesn’t that smell amazing when the orange zest hits the butter? Have you ever baked something for a friend with a food allergy?A Little Story About Sharing
A few years ago, my neighbor Mary came over for coffee. She brought her daughter, who has a dairy allergy. I had just pulled these bars from the oven. I was scared to offer them. Mary’s daughter took a bite. Her eyes went wide. She asked for three more. I felt like I had won a medal. That moment taught me something important. Food is about making sure no one feels left out. Have you ever had a moment where a recipe made someone feel special?The Secret to That Soft Bite
The trick here is not to overmix the batter. You want to mix just until the flour disappears. If you mix too much, the bars get tough. Nobody wants a tough bar. Another secret is letting them cool all the way before frosting. I know. It is so hard to wait. But warm frosting turns into a puddle. Cold bars give you that thick, creamy top. *Fun fact: Letting the bars cool slowly on the counter makes them even more moist. It traps the steam inside.*Why This Recipe Matters
This recipe matters because it proves you do not need wheat or butter to make something delicious. You can use a simple gluten-free flour blend and dairy-free cream cheese. Nobody will ever know the difference. It also matters because these bars are for everyone. Your cousin with celiac disease can have one. Your neighbor who is vegan can have one. Your picky nephew who loves sugar can have five. Food should bring people together, not make them feel different. What is one food you wish everyone could eat?How to Make Them Your Own
Feel free to swap the dried cranberries for dried cherries. I have done that when I ran out. It works great. You can also skip the white chocolate drizzle if you want less sweetness. If you do not have a stand mixer, a wooden spoon and a strong arm will do the job. I have made these bars with nothing but a bowl and a whisk. They still turned out perfect. Do you like to follow a recipe exactly, or do you like to change things up?My Favorite Part of Baking These
My favorite part is the orange zest. I love grating the bright orange peel into the butter and sugar. It smells like sunshine. It makes the whole kitchen feel warm and cozy. The next best part is cutting them into triangles. It feels fancy. Like something from a bakery. But you made them right in your own kitchen. That is a good feeling, isn’t it?A Quick Poll for You
I have a question for you. Which part of the bar do you eat first? The soft middle? The crunchy corner? Or do you save the frosting for last? I am a corner person myself. I love that extra bite where the edges get a little golden. I would love to hear your answer. Next time you bake these, let me know how they turn out. And remember, if the first batch is a little messy, that is okay. You still get to eat them.Ingredients:
| Ingredient | Amount | Notes |
|---|---|---|
| Dairy-free salted butter | 1 cup (227g) | Room temperature |
| Brown sugar | 1 1/3 cup (266g) | |
| Orange zest | 1 tablespoon | Freshly grated |
| Large eggs | 2 | Room temperature; can sub 2 flax eggs |
| Vanilla extract | 1 tablespoon | |
| Gluten-free 1:1 baking blend | 2 cups (240g) | |
| Fine sea salt | 1 1/2 teaspoons | |
| Baking powder | 1 teaspoon | |
| Dried cranberries | 1 cup (120g) | |
| Dairy-free white chocolate chips | 1 cup (160g) | |
| Dairy-free cream cheese | 1 cup (200g) | Room temperature |
| Orange zest | 1 tablespoon | Freshly grated |
| Powdered sugar | 3 cups (360g) | |
| Fine sea salt | 1 teaspoon | |
| Dried cranberries | 1/2 cup (60g) | Chopped |
| White chocolate chips | 1/2 cup (80g) | Melted |
| Coarse sea salt | optional |
So, Let Me Tell You About These Bars
I still remember the first time I made these. My friend Sarah could not have dairy or gluten, and I wanted her to feel special. We all want a treat that tastes like a hug, don’t we? These cranberry bliss bars are just that. The orange smell will float through your whole kitchen. Doesn’t that sound like a good afternoon?
Now, I know dairy-free and gluten-free can sound scary. But please, do not worry. The secret is good butter that comes from plants and a flour blend that works like magic. I have messed up plenty of baked goods in my time. One time I forgot the salt, and my cookies tasted like sad cardboard. We learn from little mistakes, and that is how we get better.
These bars are for birthday parties, cozy rainy days, or just because you want a smile. The frosting is the best part, I think. It is creamy and tangy, just like the real thing. You will be so proud when you pull them out of the pan.
Let’s Make Cranberry Bliss Bars Together
Step 1: Preheat your oven to 350 degrees. Get out a 9×13-inch baking pan. Spray it with non-stick spray and line it with parchment paper. Let the paper hang over the edges like little handles. That trick will save you later when you lift the bars out.
Step 2: In a big bowl, beat the soft dairy-free butter, brown sugar, and orange zest together. Use a mixer on high for about 2-3 minutes. You want it light and fluffy, like a soft cloud. The orange smell will make you hungry. (Hard-learned tip: If your butter is cold, the batter will be lumpy. Let it sit out for an hour first, so it softens up like playdough.)
Step 3: Add the eggs and vanilla extract. Beat again for another 2 minutes on high. The batter will look shiny and smooth. Now, dump in your gluten-free flour, salt, and baking powder. Mix on low until it turns into a soft dough. Do not over-mix, or the bars will be tough. My grandson once mixed for five minutes, and we got bricks. We still laugh about that!
Step 4: Gently fold in the dried cranberries and the dairy-free white chocolate chips. Use a rubber spatula and be kind to the dough. Spread the batter evenly into your prepared pan. It will be thick, so just pat it down with your hands or the spatula. Pop it in the oven for 22 to 27 minutes. The edges should look light golden brown, and a toothpick should come out clean. Let them cool completely in the pan. Do not rush this part.
Step 5: While the bars cool, make the frosting. Beat the dairy-free cream cheese and the rest of the orange zest together for 5 minutes. It needs to be light and fluffy. Add the powdered sugar and salt and mix slowly at first so it does not puff into your face. Then beat on high for another 5 minutes. Chill the frosting until you are ready. Fun fact: Did you know orange zest has tiny oils that add more flavor than juice ever could? Share below!
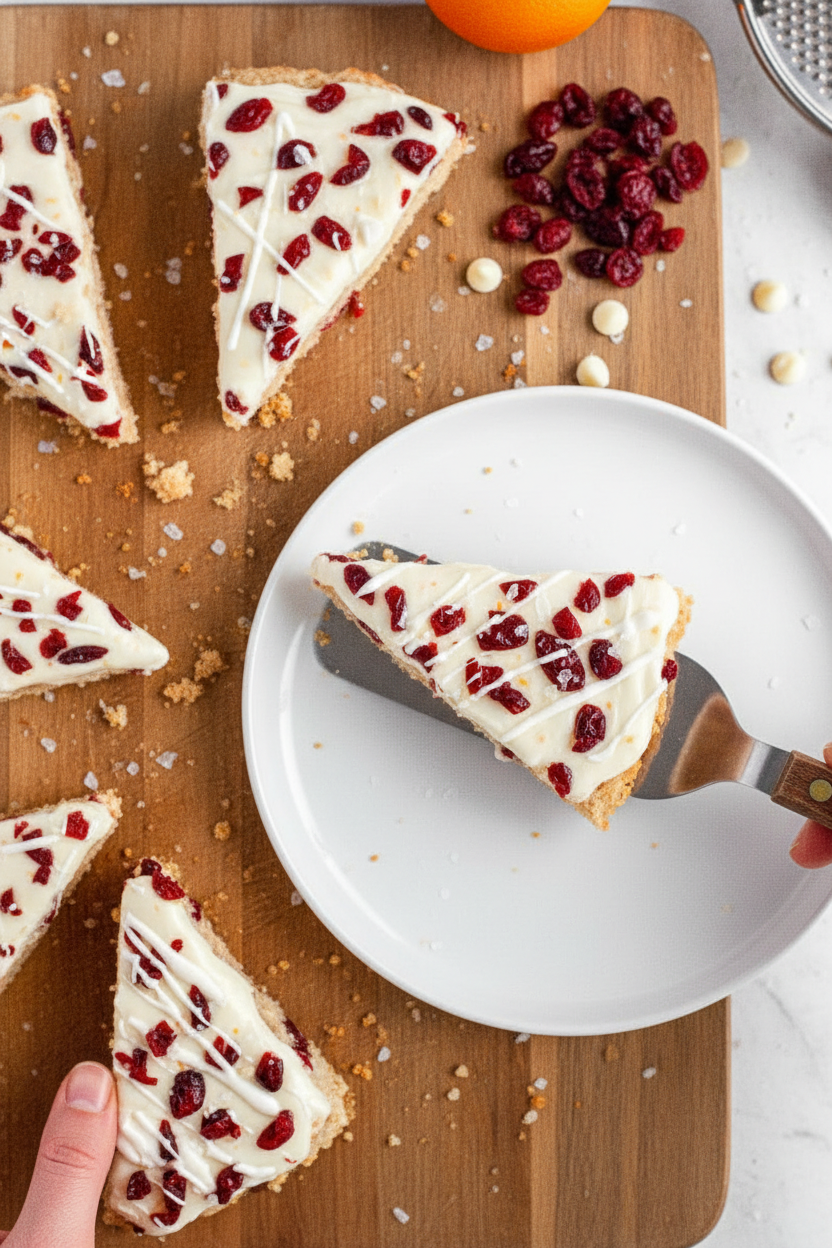
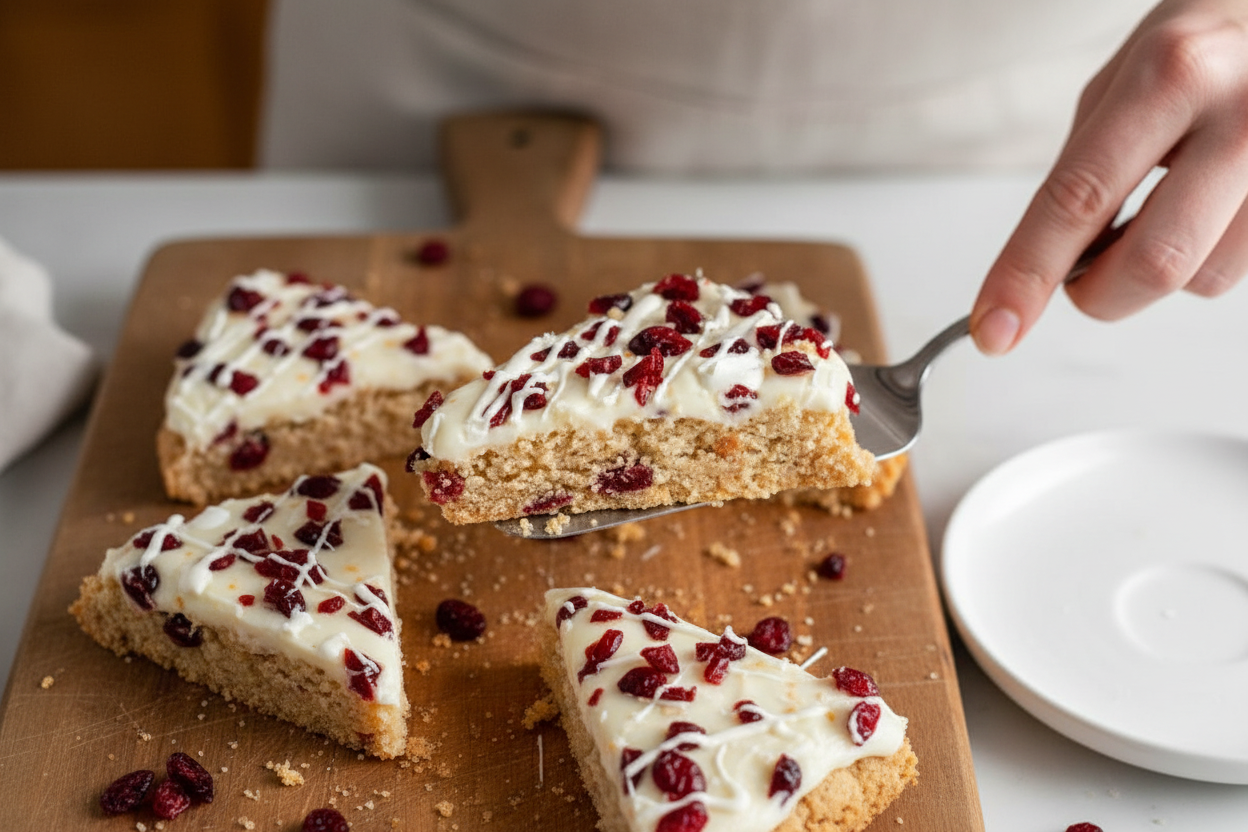
Step 6: Spread the chilled frosting over the cooled bars. Sprinkle on the chopped dried cranberries. Drizzle the melted white chocolate over the top. If you like a salty-sweet bite, add a pinch of coarse sea salt. Chill the whole pan until the frosting sets, about 30 minutes. Lift the bars out using the parchment paper handles. Cut into 12 rectangles, then cut each rectangle diagonally into triangles. That makes them look fancy, like from a bakery. Which shape do you cut yours? Tell me your favorite way to slice them? Share below!
Cook Time: 22–27 minutes
Total Time: 1 hour (plus cooling and chilling time)
Yield: 24 triangles
Category: Dessert, Snack
Three Fun Twists for Your Next Batch
Lemon-Lavender Bliss Bars: Swap the orange zest for lemon zest. Add 1 teaspoon of dried lavender buds to the dough. It tastes like a spring garden in your mouth.
Chocolate-Cherry Holiday Bars: Use dried cherries instead of cranberries. Swap the white chocolate chips for dark chocolate chips. This one feels like a cozy winter night.
Spiced Pumpkin Bliss Bars: Replace the orange zest with 1 teaspoon of pumpkin pie spice. Fold in 1/4 cup of pumpkin puree with the eggs. It is perfect for fall gatherings and Thanksgiving leftovers. Which one would you try first? Comment below!
How to Serve and What to Sip
These bars are wonderful on a simple white plate. Dust them with a little extra powdered sugar for a snowy look. A small spoonful of coconut whipped cream on the side makes it extra dreamy. I love serving them with a handful of fresh raspberries for color.
For a grown-up drink, try a warm cup of chai tea with oat milk. The spices match the orange and cranberry so well. For kids, a tall glass of cold apple cider is perfect. It is sweet and a little tart, just like the bars. Which would you choose tonight?
Storing Your Bliss Bars So They Stay Fresh
These bars are perfect for making ahead. The trick is to let them cool completely before you store them. I once made a batch and wrapped them while still warm. They turned into a sticky mess! Now I always wait.
For the fridge, place the bars in a single layer in an airtight container. They will stay fresh for up to five days. If you want to freeze them, wrap each bar tightly in plastic wrap first. Then put them in a freezer bag. They keep for six months.
To reheat, just let a frozen bar sit on the counter for 15 minutes. No need for the microwave. This keeps the frosting nice and creamy. The reason batch cooking matters is simple. You can make a big batch for a party or for busy weeks. It saves time and stress. Have you ever tried storing it this way? Share below!
Fixing Three Common Problems
Sometimes the bars come out too dry. This usually happens if you bake them too long. I remember when I first made these, I left them in for 30 minutes. They were like little rocks! The fix is simple. Start checking the bars at 22 minutes. They are done when a toothpick has a few moist crumbs.
Another problem is frosting that is too runny. That means your cream cheese was too warm. Cold cream cheese beats up fluffy and thick. Let it sit out for just 15 minutes before mixing. This matters because a thick frosting spreads evenly and looks beautiful.
The last issue is the bars sticking to the pan. Always use parchment paper with handles. Let the bars lift right out. I learned this after scrubbing a pan for twenty minutes. Why this matters? It saves your pan and your patience. Which of these problems have you run into before?
Five Quick Q and A Tips
Q: Can I use regular flour instead of gluten-free?
A: Yes, just swap in the same amount of all-purpose flour. The bars will be a bit denser but still tasty.
Q: Can I make these ahead of time?
A: Absolutely. Bake the bars and make the frosting the day before. Keep them separate in the fridge and frost just before serving.
Q: Can I swap the white chocolate for dark chocolate?
A: Yes, use the same amount. The flavor will be less sweet and more like a rich cookie.
Q: How do I double the recipe?
A: Use a half-sheet pan and bake for the same time. Just spread the batter thinner. Check at 20 minutes.
Q: Do I have to add the orange zest?
A: No, but it adds a bright flavor that wakes up the bar. Which tip will you try first?
A Warm Goodbye from My Kitchen to Yours
Thank you for spending time with me in the kitchen. I hope these bars bring you joy and a full belly. They are perfect for sharing with people you love. Have you tried this recipe? Tag us on Pinterest! I love seeing your photos. Remember, cooking is about making memories. The mess is always worth it. Happy cooking!
—Chloe Hartwell
*Fun fact: Cranberries bounce when they are ripe. That is why they are sometimes called bounceberries.*
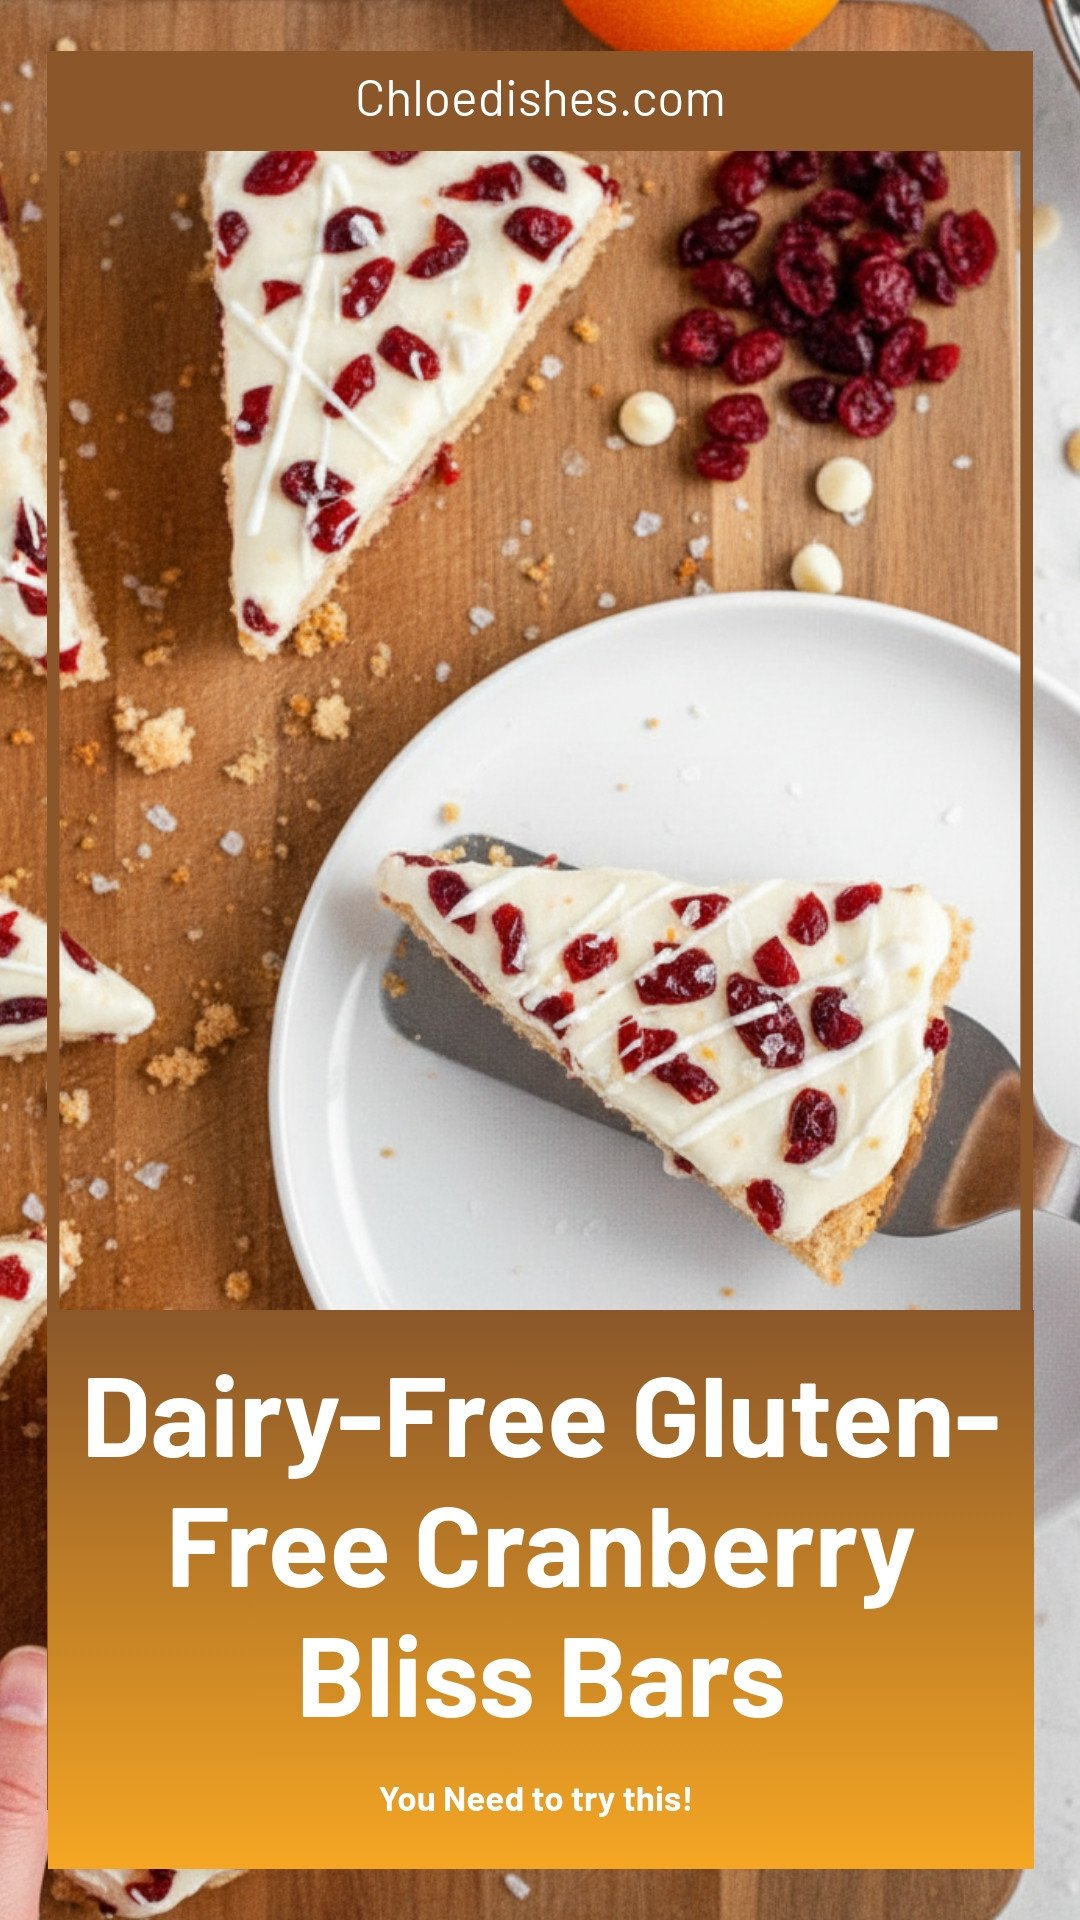
Dairy-Free Gluten-Free Cranberry Bliss Bars
Description
Indulge in Dairy-Free Gluten-Free Cranberry Bliss Bars—a festive, creamy, and tart dessert perfect for healthy holiday baking.
Ingredients
Cranberry Bliss Bars
Cream Cheese Frosting
Instructions
- Preheat the oven to 350ºF and prepare a 9×13-inch baking pan with non-stick baking spray and parchment paper. Set aside.
- In a stand mixer or large mixing bowl with electric beaters, cream the butter, brown sugar, and orange zest on high for 2-3 minutes or until light and fluffy.
- Add in the egg and vanilla extract and again mix on high for 2 minutes.
- Measure in the flour, salt, and baking powder and mix on low until combined and a soft dough forms.
- Gently fold in the cranberries and white chocolate chips.
- Spread the batter evenly in the prepared pan and bake for approximately 22-27 minutes or until the edges are a light golden brown a toothpick comes out clean or with a few moist crumbs.
- Remove from the oven and allow the bars to fully cool in the pan before frosting.
- In a stand mixer or a large mixing bowl with electric beaters beat the cream cheese and orange zest together for 5 minutes or until light and fluffy.
- Add in the powdered sugar and salt and mix on low until combined. Turn the mixer up to high and allow it to beat for 5 minutes. Chill until ready to frost the bars.
- Top the fully cooled cranberry bliss bars with the cream cheese frosting and spread evenly.
- Sprinkle on the chopped dried cranberries and drizzle the melted white chocolate on top. Top with coarse sea salt if desired. Chill until ready to slice and serve.
- Remove the bars from the pan using the parchment paper as handles. Slice into 12 rectangles and then cut each rectangle diagonally into a triangle if desired. Enjoy!
- Store leftover cranberry bliss bars in an airtight container at room temperature for up to 5 days or frozen for up to 6 months.




Leave a Reply