
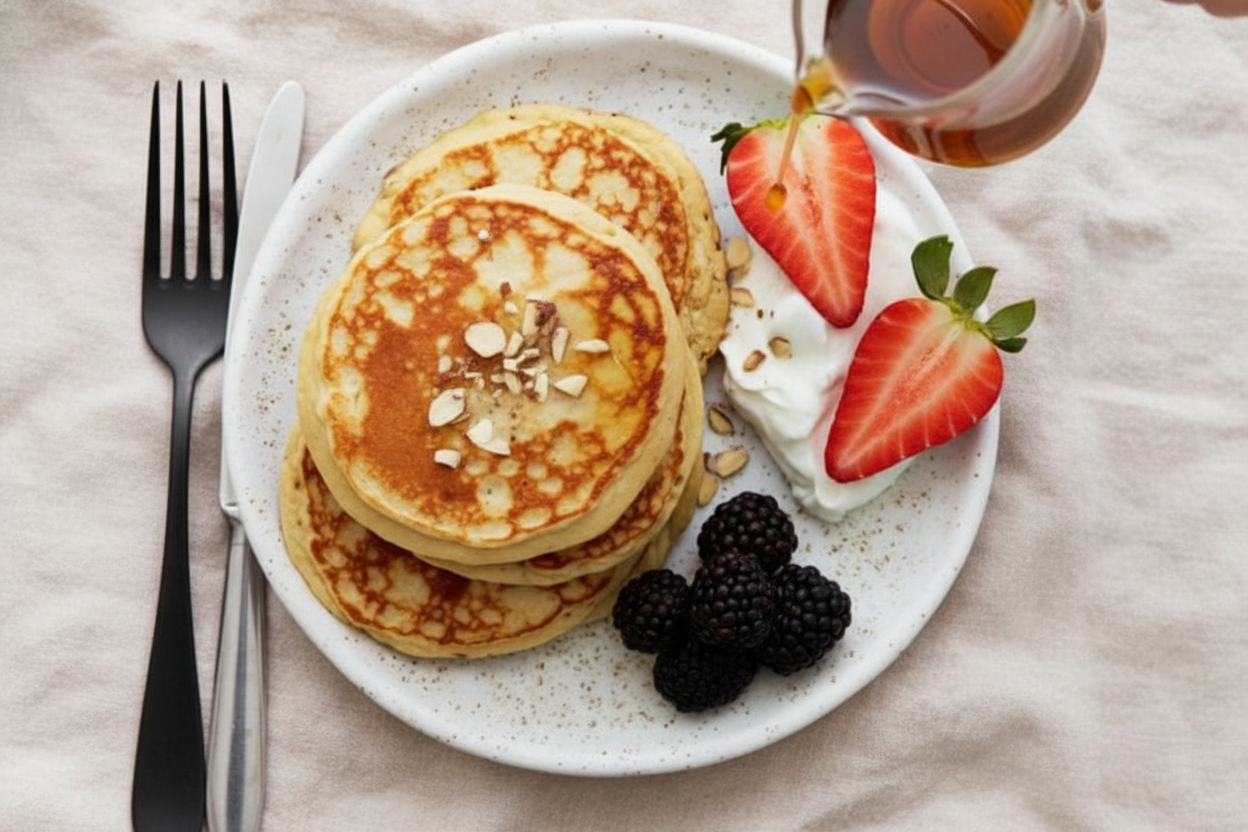
The Morning That Changed My Pancake Mind
I will never forget the first time I tried gluten-free pancakes. I was visiting my niece, and she handed me a plate of sad, gray pucks. They tasted like cardboard with sticky syrup on top. I felt so bad for her. She wanted pancakes so badly, but her tummy couldn’t handle the regular kind.
That day, I went home and started experimenting. I wanted her to have fluffy, happy pancakes again. Pancakes that make you close your eyes and smile. Does your family have someone who needs to eat gluten-free? This recipe is for them.
Why These Pancakes Are Different
Most gluten-free pancakes fall apart like wet sand. Not these. The secret is the almond flour. It gives them a soft, buttery texture that holds together perfectly. I also use protein powder, which most people think will make them taste like a gym. It does not. It just makes them fluffy and keeps your belly full until lunchtime.
Here is the thing about protein powder: you have to pick the right kind. Unflavored is best. If you use vanilla or chocolate, it changes the whole pancake. I learned this the hard way. My first batch tasted like a birthday candle smelled. We still laugh about that at family breakfasts.
Why does this matter? Breakfast is the most important meal for kids heading to school. These pancakes give them steady energy without a sugar crash. Plus, they taste like a treat, so nobody feels left out.
The Resting Secret
Do not skip the five-minute rest. I know you are hungry. I know the pan is hot. But the batter needs to sit. This lets the almond flour soak up the milk and eggs. It makes the pancakes light instead of grainy.
While the batter rests, I always wash my mixing bowl. It keeps me from rushing. Sometimes I pour myself a small glass of juice. Have you ever tried letting pancake batter rest? What happens if you skip it? The pancakes turn out flat and heavy. I promise, this little wait is worth it.
*Fun fact: Almond flour is just finely ground almonds. It has more protein than regular flour and tastes like a warm hug.*
How To Know When To Flip
Here is the trick my own grandma taught me. Watch for bubbles. When tiny bubbles pop up all over the surface, it is time to flip. Not before. I used to flip too early, and my pancakes looked like scrambled eggs. My kids would giggle and call them pancake monsters.
Cook them on medium heat. Not high. High heat burns the outside and leaves the middle gooey. Medium heat lets them cook all the way through. The edges should look dry and golden. Doesnt that smell amazing? It fills the whole kitchen with a toasty, nutty scent.
Toppings That Make People Happy
My favorite topping is simple: a pat of butter and a drizzle of pure maple syrup. But the kids in my life love berries and a big dollop of yogurt. My nephew pours chocolate chips into his batter before cooking. He calls them “hidden treasure pancakes.”
You can also add sliced bananas or a spoonful of peanut butter. These pancakes are strong enough to hold heavy toppings. They do not fall apart like some gluten-free pancakes do. That is what happens when you use almond flour and eggs. They build a strong, tender pancake that can carry your favorite things.
Why does this matter? Food should bring people together, not make them feel different. When everyone at the table eats the same beautiful pancakes, nobody feels left out. That is a gift worth cooking for.
My Offer To You
I want you to try these on a lazy Saturday morning. Make them for someone you love. Take a picture of your stack. See if the bubbles told you when to flip. I bet they did.
Tell me: What is your favorite pancake topping of all time? Have you ever cooked with almond flour before? And please, let me know if your family laughed when they tasted these. I hope they did.
Ingredients:
| Ingredient | Amount | Notes |
|---|---|---|
| Almond flour | 1 cup | |
| Gluten-free all-purpose flour | 1/4 cup | |
| Unflavored protein powder | 1/4 cup | |
| Baking powder | 2 teaspoons | |
| Salt | 1/4 teaspoon | |
| Large eggs | 2 | Room temperature |
| Almond milk (or any milk of choice) | 1 cup | Room temperature |
| Melted butter (or coconut oil for dairy-free) | 2 tablespoons | Use coconut oil for dairy-free |
| Maple syrup | 1 tablespoon | Optional for sweetness |
| Vanilla extract | 1 teaspoon |
My Love Letter to Breakfast Pancakes
I still remember the first time I tried making gluten-free pancakes. My kitchen looked like a flour snow globe! These protein-packed ones saved my mornings. They are fluffy, filling, and nobody will guess they are healthy. Doesn’t that smell amazing when they hit the pan?
Let me tell you a little secret. My grandson thought I was using “magic flour” when I served these. He asked for seconds before I could pour the syrup. That’s the moment I knew this recipe was a keeper. You will feel strong and happy after a stack of these.
Let’s Make These Pancakes Together
Grab your favorite mixing bowl and a whisk. This batter comes together faster than you can say “breakfast.” I love how the vanilla makes the whole kitchen smell cozy. Here is the step-by-step, just like I’d show you at my counter.
Step 1: In a big bowl, whisk together the almond flour, gluten-free all-purpose flour, protein powder, baking powder, and salt. Make sure there are no clumps hiding at the bottom. I learned the hard way that skipping this step makes lumpy pancakes. (Hard-learned tip: if your protein powder is chunky, sift it first with a fine strainer.)
Step 2: In another bowl, whisk the eggs, almond milk, melted butter, maple syrup, and vanilla extract. Use room-temperature eggs for a smoother mix—cold eggs make the butter clump up. My grandma told me that trick when I was twelve, and I still use it today.
Step 3: Pour the wet ingredients into the dry ones. Stir gently until just combined—no need to beat it to death. Then let the batter rest for 5 minutes. This is very important! Think of it as a little nap for the flour so the pancakes stay tender.
Step 4: Heat a non-stick pan over medium heat. Lightly grease it with a little butter or oil. I use a paper towel to spread it evenly. If the pan smokes, it is too hot—turn it down a notch or your pancakes will burn on the outside.
Step 5: Pour about ¼ cup of batter per pancake onto the pan. You can spread it slightly with the back of a spoon if it looks too thick. Wait until you see tiny bubbles pop on the surface—that is the signal to flip! Cook 2–3 minutes on the first side.
Step 6: Flip the pancake carefully with a spatula. Cook for another 1–2 minutes until golden brown. Repeat with the rest of the batter. You can keep them warm on a plate in a low oven. Here is a fun question: What is your favorite pancake topping? Share below!
Cook Time: 10 minutes
Total Time: 20 minutes
Yield: 6 medium pancakes
Category: Breakfast
Three Fun Ways to Switch It Up
These pancakes love a little adventure! Try one of these twists next weekend. They are so easy, you will wonder why you didn’t try them sooner.
Blueberry Delight: Fold ½ cup fresh blueberries into the batter before cooking. They burst like little jam pockets. My husband says this is the only way to eat pancakes.
Pumpkin Spice Dream: Swap the almond milk for pumpkin purée (same amount) and add ½ teaspoon pumpkin pie spice. It tastes like fall on a plate. Perfect for chilly mornings with a sweater.
Chocolate Lover’s Secret: Mix in 1 tablespoon cocoa powder and top with sliced bananas. Your kids will think you made dessert for breakfast. I won’t tell if you don’t. Which one would you try first? Comment below!
How to Serve and Sip Along
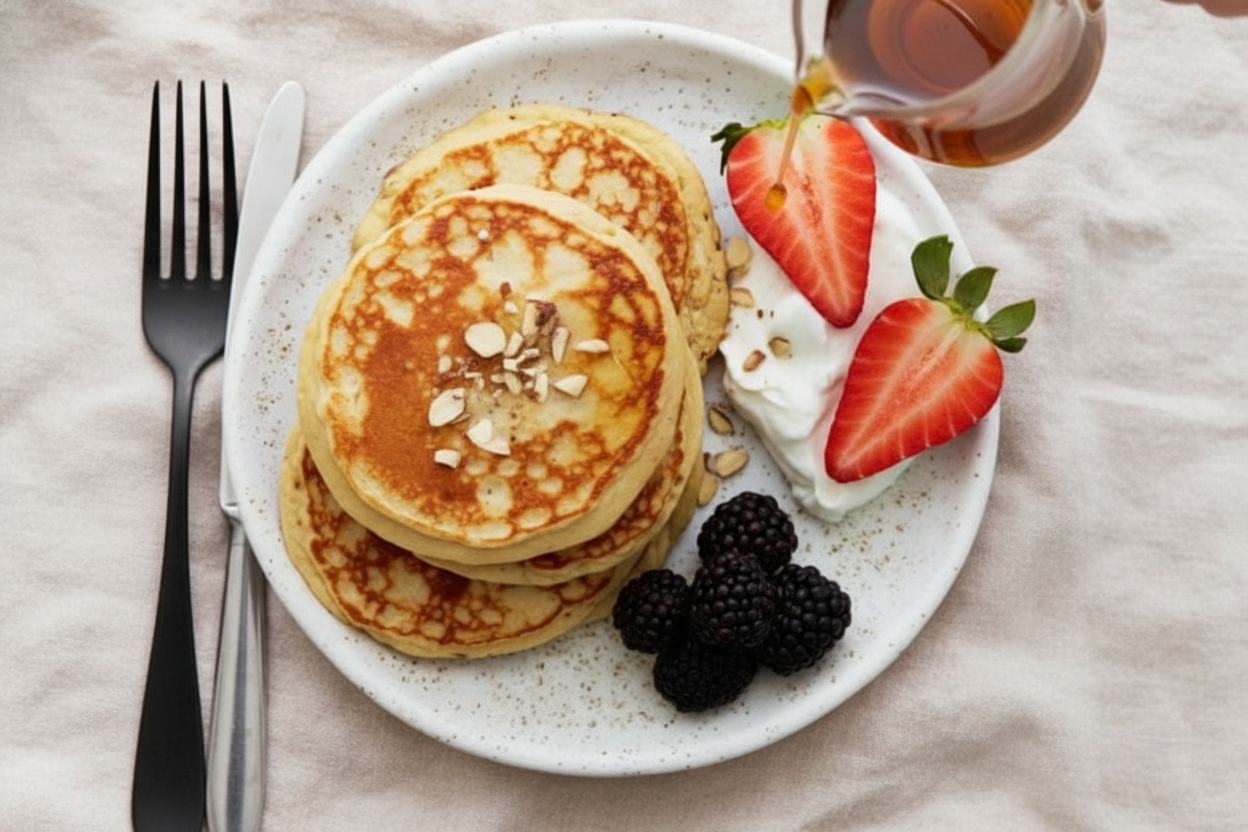
Stack your pancakes high on a warm plate. Drizzle with pure maple syrup or a dollop of Greek yogurt. For crunch, sprinkle some chopped pecans on top. A handful of fresh berries makes it look like a magazine cover.
For a grown-up drink, pour a hot cup of coffee with a splash of vanilla oat milk. It matches the cozy vanilla in the pancakes. For the kids (or you), try a tall glass of cold almond milk. It keeps the vibe light and healthy.
I always set out little bowls of toppings so everyone can build their own stack. It turns breakfast into a party. Which would you choose tonight?
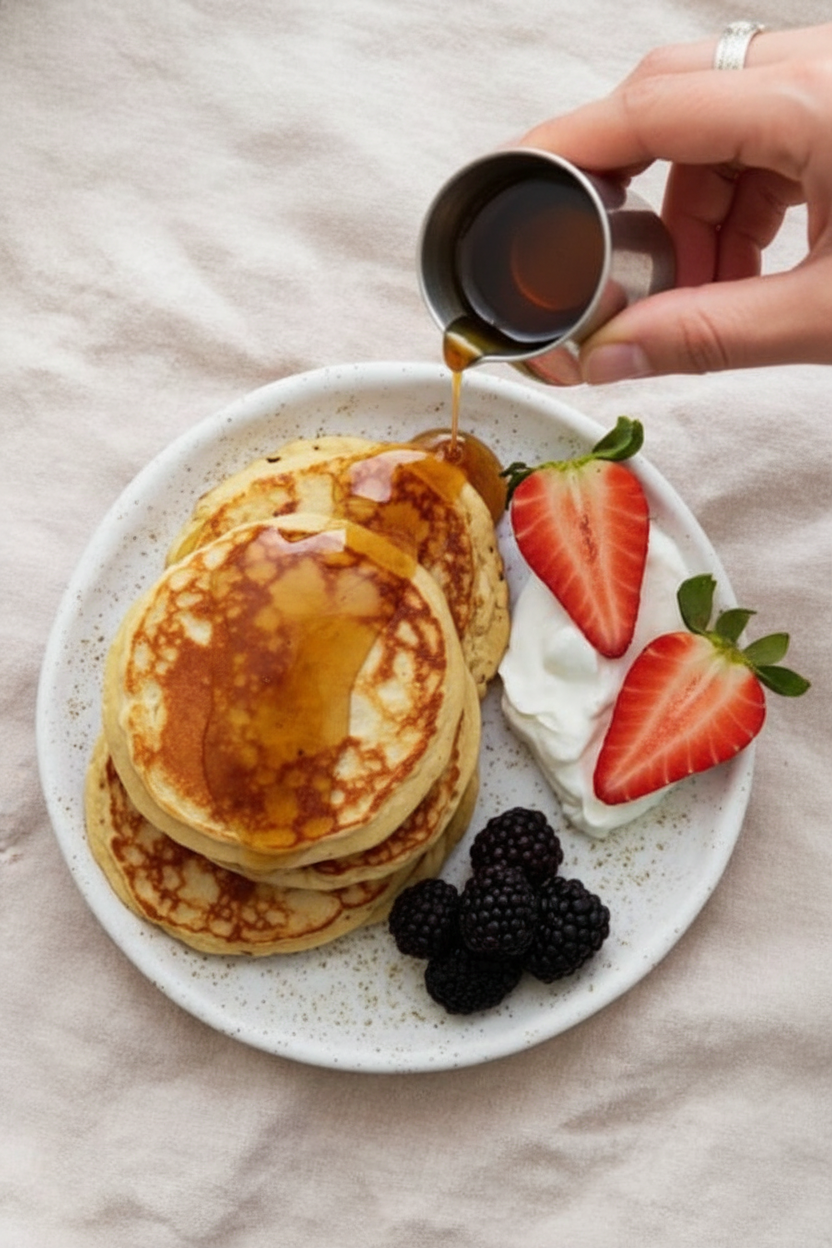
Storing Your Pancakes for Busy Mornings
These pancakes are perfect for making ahead. I learned this the hard way. I once made a huge batch and tried to keep them in a paper bag. They turned into a sad, sticky mess by the next day.
Here is what works better. Let the pancakes cool completely on a wire rack. Then stack them with a small piece of wax paper between each one. Place the stack in a zip-top bag and press out the air. They last in the fridge for up to four days.
For the freezer, the same trick works. Use a double layer of plastic wrap around the stack. Then put it in a freezer bag. They stay good for about three months. This matters because a hot breakfast can start your day off right, even when you are running late.
To reheat, pop a frozen pancake in the toaster on a low setting. It comes out crisp and warm. You can also use the microwave for 30 seconds, but the texture is softer. Have you ever tried storing it this way? Share below!
Three Common Pancake Problems and Easy Fixes
Sometimes your pancakes come out too dry. This is usually because you cooked them too long. Remember, these gluten-free pancakes cook faster than regular ones. Cook them just until bubbles appear on top. Flip them and count to sixty seconds. That should do it.
Another problem is batter that is too thick. I remember when I first made these, my batter looked like cookie dough. I was so worried. The fix is simple. Add an extra tablespoon of milk at a time until it looks like thick soup. This is important because the right batter thickness makes fluffy pancakes.
The third issue is pancakes that fall apart when you flip them. This happens when the pan is not hot enough. Let the pan heat for a full three minutes over medium heat. Then test it with a drop of water. If it sizzles, you are ready. Which of these problems have you run into before?
Fixing these small mistakes builds your cooking confidence. You learn to trust your eyes and hands. And better pancakes mean a happier breakfast table. That is a big win for everyone.
Your Quick Questions Answered
Q: Are these pancakes truly gluten-free? A: Yes, as long as your gluten-free flour and protein powder are certified gluten-free. Always check the labels.
Q: Can I make the batter the night before? A: I would not recommend it. The baking powder loses its power overnight. Make the batter fresh in the morning.
Q: Can I swap almond flour for something else? A: You can use oat flour or sunflower seed flour. The texture will be a little different, but still tasty.
Q: Can I double this recipe? A: Yes, you can easily double it. Just use a bigger bowl and cook in batches.
Q: Do I have to add the maple syrup? A: No, it is optional. The pancakes are still sweet and good without it. Which tip will you try first?
A Little Goodbye from My Kitchen to Yours
Well, my dear, I hope these tips help you make the best gluten-free pancakes yet. Cooking is all about sharing love and a little bit of patience. I love seeing what you create in your own kitchen. Take a photo of your pancake stack. Have you tried this recipe? Tag us on Pinterest! My handle is ChloeHartwellEats. It makes my day to see your pictures. Keep cooking, keep smiling, and remember that a good breakfast can fix almost anything.
*Fun fact: The word “pancake” first appeared in English way back in the 1400s. People have loved them for a very long time.*
Happy cooking!
—Chloe Hartwell.
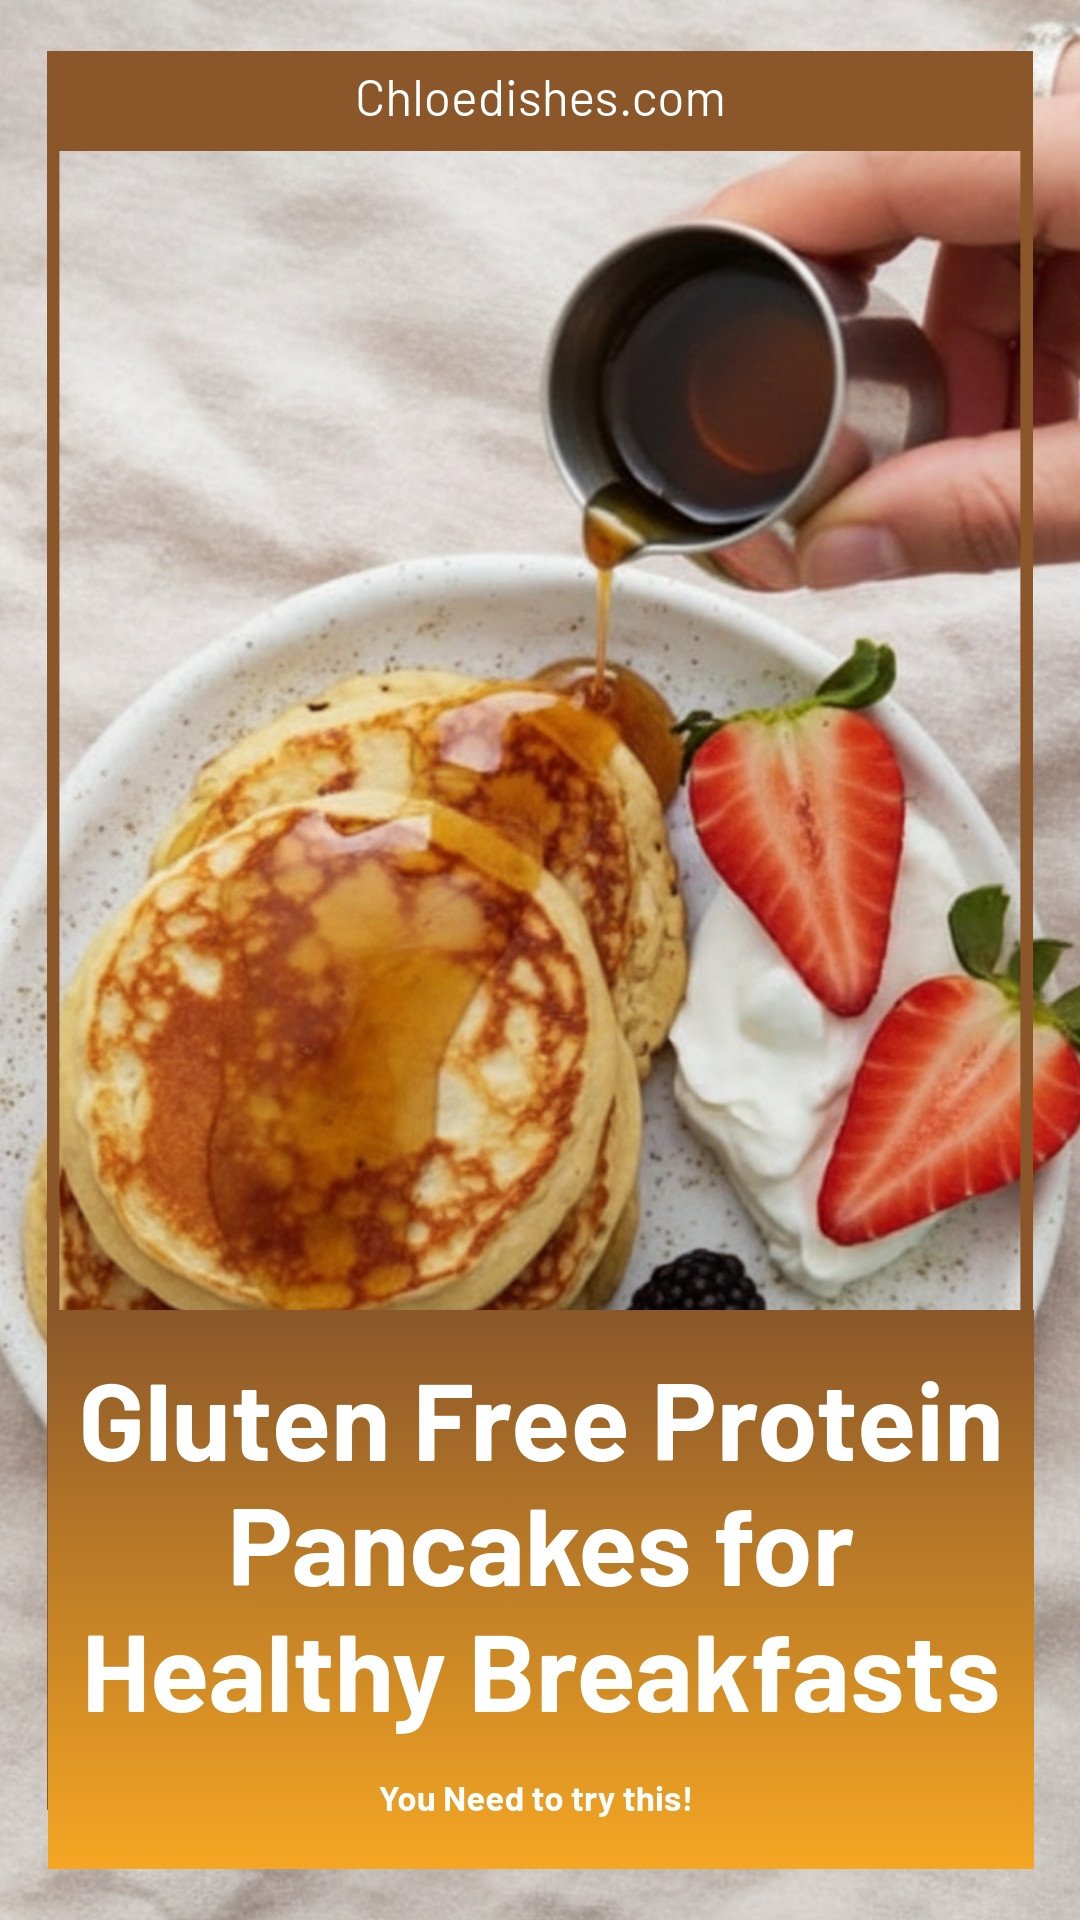
Gluten Free Protein Pancakes for Healthy Breakfasts
Description
Fluffy gluten free protein pancakes for a healthy breakfast. Easy, high-protein recipe perfect for clean eating and meal prep.
Ingredients
Instructions
- In a bowl, whisk together almond flour, gluten-free all-purpose flour, protein powder, baking powder, and salt.
- In a separate bowl, whisk eggs, almond milk, melted butter, maple syrup, and vanilla extract.
- Add the wet ingredients to the dry ingredients and stir until smooth. Let the batter rest for 5 minutes.
- Heat a non-stick pan over medium heat and lightly grease with oil or butter.
- Pour about 1/4 cup of batter per pancake onto the pan, spreading slightly if needed.
- Cook for 2–3 minutes until bubbles form on the surface, then flip and cook for another 1–2 minutes.
- Repeat with the remaining batter, adjusting heat if necessary.
- Serve warm with toppings of choice.
Notes
- For best results, use room temperature ingredients and let the batter rest to achieve fluffy pancakes.




Leave a Reply