
Why I Love Making French Bread
I still remember my first loaf. It was lopsided and pale, like a sleepy pillow. My grandma just smiled and said, “It will taste like love.” She was right. Bread has a way of filling a kitchen with warmth. Doesn’t that smell amazing? That yeasty, cozy scent is like a hug in the air.
This French bread recipe is special because it uses simple things you already have. Flour, water, yeast, and salt. No fancy tools. It is proof that you do not need much to create something wonderful. Why this matters: Making bread teaches patience. You cannot rush it, and that is a good lesson for a busy day. Have you ever baked bread with someone you love? I would love to hear your story.
The Secret to a Soft Dough
The first step is mixing yeast with warm water. Not too hot, or you will hurt the yeast. Think of bathwater for a baby. That is the perfect temperature. You add a pinch of sugar to wake the yeast up. It starts to bubble and foam like a tiny science experiment. I still laugh at that bubbly froth. It looks alive, because it is.
Then you stir in the flour until a soft dough forms. This is where the fun begins. You get your hands messy. Feel the dough squish between your fingers. It is sticky at first, but that is okay. Keep adding flour until it feels like a soft earlobe. Why this matters: Touching your food connects you to it. You are not just cooking; you are creating. *Fun fact: The word “dough” comes from an old word meaning “to form.” You are shaping history with your hands.*
The Kneading Dance
Now you push and fold the dough for about six to eight minutes. I like to pretend I am giving it a little massage. You fold it, push it away, and fold it again. This builds strength in the bread. It makes the inside soft and chewy. You will know it is ready when it springs back when you poke it. That is the dough saying, “I am ready.”
After kneading, you let it rest in a greased bowl. Cover it with a towel and find a warm spot. I put mine near a sunny window. You wait for it to double in size. This takes about an hour. Go read a book or hum a tune while you wait. What song do you hum while you bake? I usually hum “You Are My Sunshine.”
Shaping the Loaves
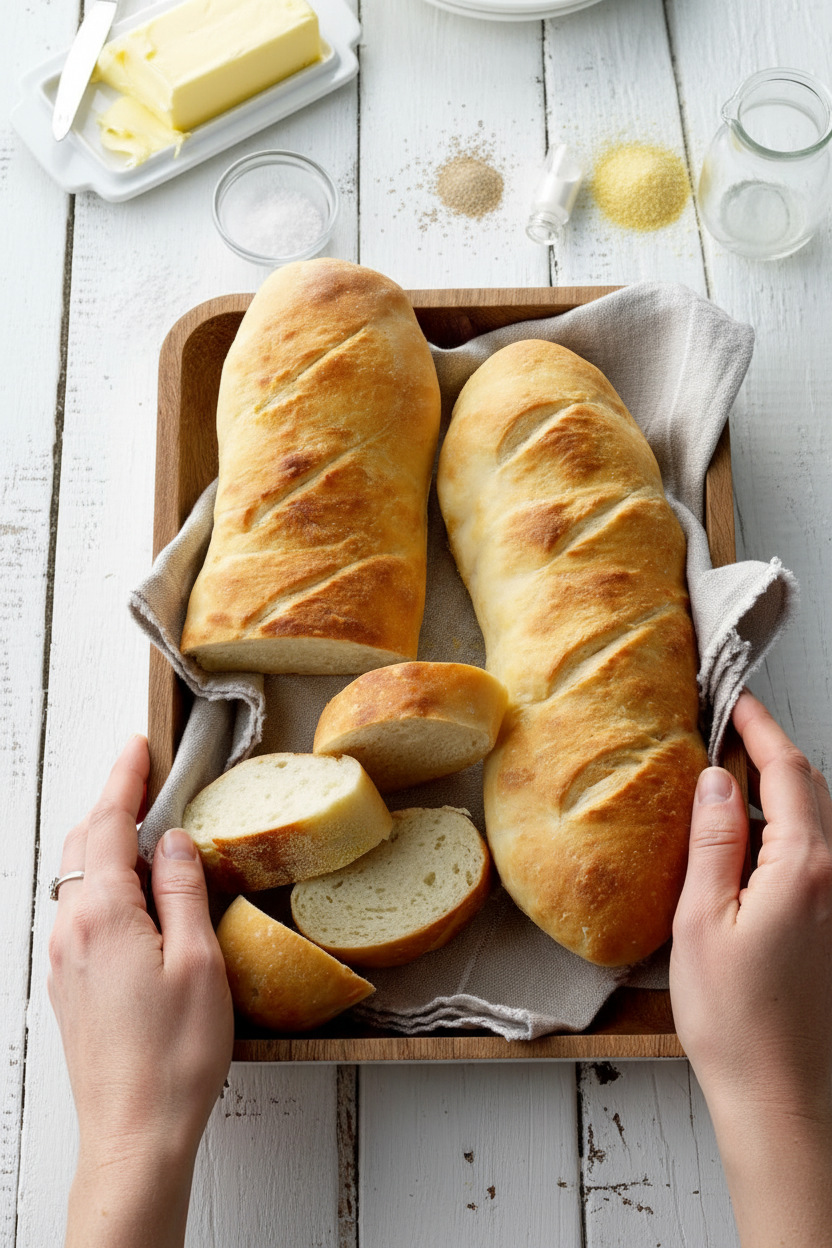
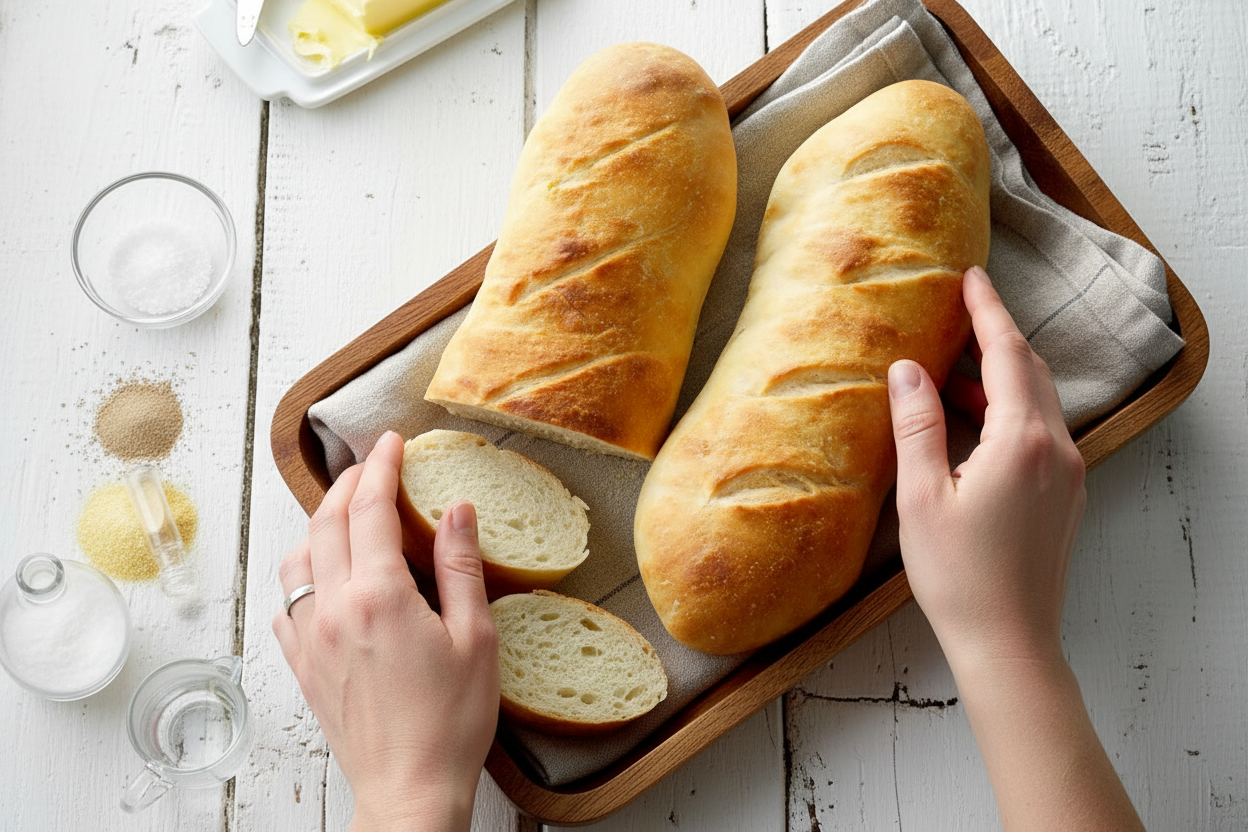
Once the dough has puffed up, you punch it down. Be brave! It will sigh and deflate. That is the air being released. Then you divide it into two pieces. Roll each one into a long snake, about 12 inches. Place them on a greased baking sheet. Sprinkle a little cornmeal underneath. It gives the crust a tiny crunch, like sand on a beach.
Let the loaves rise again for 30 minutes. This second rise makes the bread light and airy. You are giving it one last chance to grow. I love this part because the kitchen smells like a bakery. I peek under the towel to check on them. Do you ever sneak a peek at your food while it is rising? Tell me I am not the only one who does this.
The Hot Oven and the Slashes
Preheat the oven to 450 degrees. That is very hot, so be careful. Before you put the bread in, take a sharp knife and make four shallow cuts across the top. This is called scoring. It lets the bread expand without cracking all over. Those slashes also look pretty, like little smile lines. I always make a cross shape first. It feels like a small blessing.
Bake the loaves for 15 to 20 minutes. Watch until they turn golden brown, like a autumn leaf. When you tap the bottom, it should sound hollow. That is the sound of success. Why this matters: Baking bread is a skill you can pass down. Your kids or grandkids will remember these golden loaves. Have you ever given a loaf of bread as a gift? It is better than any store-bought present.
Cooling and Sharing
Let the bread cool on a wire rack. I know it is hard to wait. The smell is almost too much. But if you cut it too soon, the inside gets gummy. Patience, dear one. Let it rest for at least 10 minutes. Then slice it thick, slather on some butter, and watch it melt. That first bite is warm and soft and perfect.
I hope you try this recipe. It is simple enough for a beginner, but special enough for a holiday. The best thing about French bread is that it goes with everything. Soup, salad, or just a glass of milk. So tell me: what is your favorite thing to eat with warm bread? I am always looking for new ideas. And do not forget to save one loaf to share. Bread tastes better when someone else gets a piece, too.
Ingredients:
| Ingredient | Amount | Notes |
|---|---|---|
| Active dry yeast | 2 tablespoons | |
| Warm water (110° to 115°) | 2 cups | |
| Salt | 2 teaspoons | |
| Sugar | 1 teaspoon | |
| Bread flour | 4-1/2 to 5 cups | |
| Cornmeal | 1 teaspoon | For dusting |
My Grandma’s French Bread Secret
I still remember my grandma pulling golden loaves from her tiny oven. The whole house smelled like a warm bakery. Doesn’t that smell amazing? She always said bread baking is about patience, not perfection. This French bread recipe is exactly how she taught me, with soft insides and a crust that crackles. Let me walk you through it like she did, step by step at her kitchen table.
Step 1: Grab a big bowl and pour in 2 cups of warm water. It should feel like a cozy bath, not too hot. Sprinkle 2 tablespoons of active dry yeast on top and let it sit for 5 minutes. Add 1 teaspoon sugar and 2 teaspoons salt, then stir in 2 cups of bread flour. Beat it until smooth — my grandma called this the “make friends with the dough” step.
Step 2: Stir in enough of the remaining flour (about 2 to 3 more cups) to form a soft dough. Turn it onto a floured counter and start kneading. Push it away, fold it over, and push again for 6 to 8 minutes. You’ll know it’s ready when it feels like a squishy pillow that bounces back. (Hard-learned tip: if it sticks to your hands like gum, add a tiny sprinkle of flour.)
Step 3: Grease a clean bowl with a little oil and place your dough ball inside. Flip it once so the top is lightly oiled, then cover with a kitchen towel. Set it in a warm, draft-free spot — my grandma loved putting hers on top of the fridge. Let it rise until doubled, about 1 hour. It’s fun to peek under the towel and see how puffy it got!
Step 4: Punch the dough down gently with your fist. That’s the fun part! Turn it onto a floured surface and cut it in half with a knife. Shape each half into a long loaf about 12 inches long. Place them seam-side down on a greased baking sheet. Cover and let them rise again for 30 minutes until they’re nice and plump.
Step 5: Preheat your oven to 450 degrees — that’s hot! Sprinkle a little cornmeal over the loaves for crunch. Take a sharp knife and make 4 shallow slashes across the top of each loaf. This lets the bread breathe and makes it look fancy. Bake for 15 to 20 minutes until golden brown. Cool on a wire rack — if you can wait that long! What’s your favorite thing to dip bread in? Share below!
Cook Time: 15–20 minutes
Total Time: 1 hour 45 minutes
Yield: 2 loaves (about 12 pieces each)
Category: Bread, Baking
Three Fun Twists to Try
Sometimes I get bored with plain bread, so I mix things up. Here are three easy ways to make this recipe your own. Which one would you try first? Comment below!
Cheesy Garlic Bread: Before baking, brush the loaves with melted butter, sprinkle garlic powder and a handful of shredded mozzarella on top. Bake as usual — gooey and amazing.
Herb Garden Loaf: Mix 1 tablespoon dried rosemary, thyme, or oregano into the flour before adding water. It smells like a sunny garden when it bakes.
Spicy Cheddar Swirl: Roll the dough out flat before shaping, sprinkle with shredded cheddar and a pinch of red pepper flakes. Roll it up tightly and bake. It’s like a bread party in your mouth.
How to Serve and Sip
Fresh French bread is a star all by itself. Tear off a chunk and dip it in olive oil with a pinch of salt. Or serve it next to a big bowl of tomato soup for dunking. It’s also perfect for butter and jam at breakfast.
For a drink to go with it, try a glass of cold milk. It’s simple and reminds me of after-school snacks. If you’re having dinner, a glass of lemonade or sparkling water with a slice of orange matches the bread’s crunch. Which would you choose tonight?
Storing Your French Bread Like a Pro
Fresh French bread is best the day you bake it. But you can save some for later. Wrap cooled loaves tightly in foil, then put them in a plastic bag. They will stay good on the counter for two days.
For longer storage, freeze the bread. Wrap it in foil, then place it in a freezer bag. I remember my first time freezing bread. I forgot to wrap it tight, and it got freezer burn. Learn from my mistake!
To reheat, unwrap the frozen loaf and place it in a 350° oven for 10 minutes. It will taste almost fresh. This is perfect for batch cooking. You can bake several loaves at once. Freeze what you do not need. It saves time and energy. Have you ever tried storing it this way? Share below!
Storing bread well matters because it cuts down on waste. You work hard to make this bread. Saving it properly means you enjoy every last bite. It also makes dinner prep easier on busy nights.
Three Common Problems and Simple Fixes
Sometimes your bread dough does not rise. This usually means the water was too hot or too cold. Warm water should feel like a baby’s bath, not hot coffee. I once killed my yeast with boiling water. A whole batch went in the trash.
Another issue is a hard, dry crust. This happens when you bake it too long or at the wrong temperature. Check your oven with a thermometer. Ovens can be wrong by a lot. Also, brush the loaf with butter right after baking. That locks in moisture.
The third problem is a flat loaf. This means you did not knead the dough enough. Kneading builds strength. Your dough should feel smooth and bouncy, like a soft ball. Which of these problems have you run into before?
Fixing these issues matters because it builds your cooking confidence. When you understand why bread works, you can fix anything. It also makes your food taste better. Great bread makes a simple meal feel special.
Your Top Five Questions Answered
Q: Can I make this bread gluten-free?
A: Yes, but use a gluten-free flour blend made for bread. The texture will be denser.
Q: Can I prepare the dough ahead of time?
A: Yes. After kneading, cover the bowl and put it in the fridge overnight. Punch it down the next day.
Q: Can I swap bread flour for all-purpose flour?
A: You can, but the bread will be less chewy. Bread flour has more protein for better structure.
Q: How do I scale this recipe for more loaves?
A: Simply double or triple all ingredients. Use the same steps. Just make sure your bowl is big enough.
Q: Can I add herbs or cheese to the dough?
A: Yes! Stir in 1 cup of shredded cheese or 2 tablespoons of dried rosemary with the flour. Which tip will you try first?
A Warm Goodbye from My Kitchen to Yours
Thank you for letting me share this recipe with you. Baking bread is like giving a warm hug to your family. I hope your kitchen smells amazing and your table is full of smiles.
*Fun fact: French bread was once called “pain de liberté” during the French Revolution. It was a bread for everyone.*
I would love to see your loaves. Have you tried this recipe? Tag us on Pinterest! Share your photos and stories. Nothing makes me happier than hearing from you. Happy cooking!
—Chloe Hartwell.
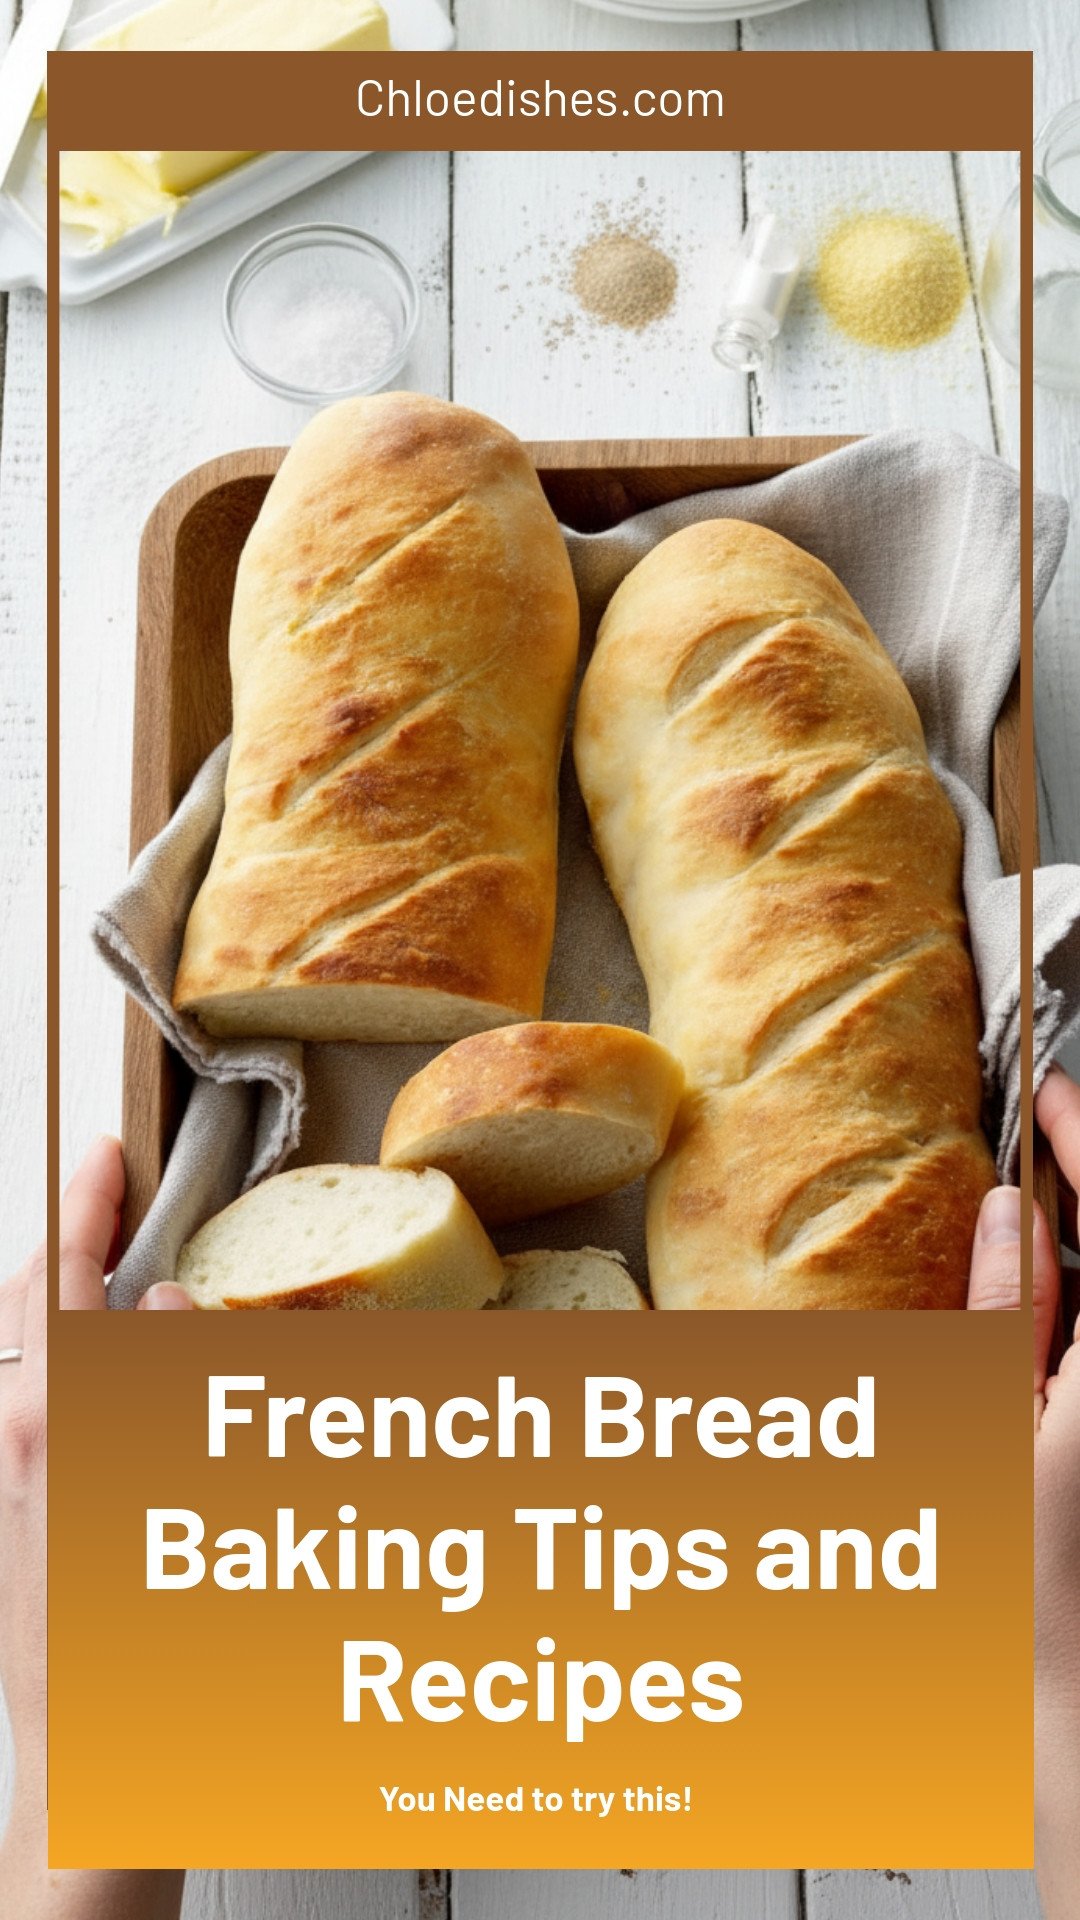
French Bread Baking Tips and Recipes
Description
Master French bread baking with tips, recipes, and crusty perfection. Bake artisan loaves at home with easy techniques.
Ingredients
Instructions
- In a large bowl, dissolve yeast in warm water. Add salt, sugar and 2 cups flour. Beat until smooth. Stir in enough remaining flour to form a soft dough.
- Turn onto a floured surface; knead until smooth and elastic, 6-8 minutes. Place in a greased bowl, turning once to grease the top. Cover and let rise in a warm place until doubled, about 1 hour.
- Punch dough down. Turn onto a lightly floured surface; divide in half. Shape into two 12-in.-long loaves.
- Place seam side down on a greased baking sheet. Cover and let rise until doubled, about 30 minutes.
- Preheat oven to 450°. Sprinkle loaves with cornmeal. With a sharp knife, make 4 shallow slashes across the top of each loaf. Bake 15-20 minutes or until golden brown. Cool on a wire rack.
Notes
- Nutrition Facts (per 1 piece): Calories: 97, Fat: 1g (0g saturated fat), Cholesterol: 0mg, Sodium: 198mg, Carbohydrate: 19g (0g sugars, 1g fiber), Protein: 3g


Leave a Reply