
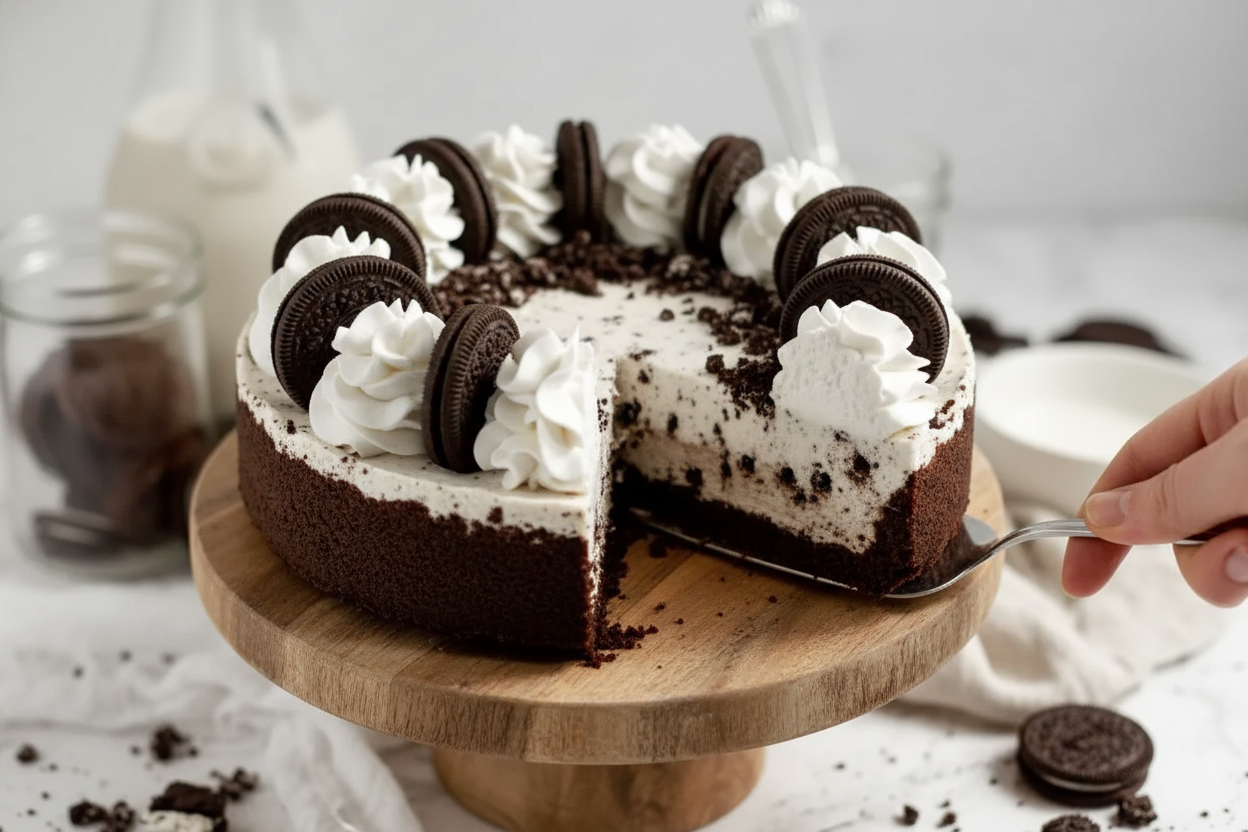
Why This Cheesecake Stole My Heart
I remember the first time I tried to make a cheesecake without gluten. It was for my grandson, Leo, who has a tummy that gets angry at wheat. He looked so sad at birthday parties, watching everyone else eat cake. That broke my heart a little. This recipe uses gluten-free Oreos. Yes, they exist, and they taste just like the real thing. I still laugh at how my husband snuck three of them before I could crush them for the crust. The trick is to use plant-based butter and cream cheese if you want it vegan. It works like a charm. Have you ever tried a gluten-free dessert that surprised you? I would love to hear your story.A Crust That Crunches Like a Hug
The crust is where the magic starts. You crush about 35 Oreos until they look like dark, sandy soil. Mix in melted butter and a tiny pinch of salt. That salt is important. It makes the chocolate taste deeper, richer. Press this mixture into your springform pan. Go up the sides a little, like making a little wall for the filling. Then put it in the fridge to chill. This step matters because a cold crust holds its shape better when you add the creamy filling. Why does this matter? A good crust gives each bite a satisfying crunch. It is the foundation, like a solid hug for your cheesecake.The Creamy Heart of the Matter
Now for the filling. Beat your cream cheese with sugar, vanilla, and salt until it is smooth as silk. Set that aside. In another bowl, whip cold heavy cream with powdered sugar until stiff peaks form. That means when you lift the beater, the cream stands up in a little peak. Here is the grandmother secret: fold the whipped cream into the cream cheese gently. Do not stir hard. You want the air bubbles to stay in there. Those bubbles make the cheesecake light and fluffy, not heavy like a brick. Doesn’t that sound amazing? Then you fold in chopped gluten-free Oreos. Use about nine cookies, chopped into bite-size pieces. *Fun fact: The first Oreo cookie was made in 1912 in New York City. Over 100 years later, we are still finding new ways to enjoy them.*Patient Waiting Makes It Perfect
This is the hardest part for me. Spread the filling into your crust. Then you must wait. Put the cheesecake in the fridge for at least six hours, but overnight is best. I always make mine the night before. Why does this matter? The waiting time lets the cheesecake set firm. If you cut it too soon, it will be a runny mess. Patience gives you clean slices and a perfect texture. My grandson once tried to sneak a bite after only two hours. We both laughed as it wobbled like jelly. What is the longest you have ever waited for a dessert? Tell me, I promise not to judge.Topping It With Clouds
When the cheesecake is fully set, make the whipped topping. Whip one cup of cold heavy cream with a quarter cup of powdered sugar. Again, whip until stiff peaks form. This should take about two minutes. Spread this cloud-like cream on top of your cheesecake. Then decorate with a few extra Oreos if you like. I sometimes crush one cookie and sprinkle the crumbs over the top like little chocolate snowflakes. It makes me smile every time.Storing Love for Later
If you have leftovers, keep them in the fridge in a sealed container. They will stay good for up to five days. Or you can freeze the cheesecake for up to three months. I like to freeze individual slices. That way, when a craving hits, I can pull out one perfect piece. It is like finding a treasure in your freezer. My husband calls it “emergency cheesecake,” and we both grin. Do you have a favorite dessert you freeze for emergencies? Share your secret with me.Ingredients:
| Ingredient | Amount | Notes |
|---|---|---|
| Crushed Oreos | 3 cups (400g) | approximately 35 Oreos |
| Butter, melted | 5 tablespoons (75ml) | regular or plant-based |
| Fine sea salt | 1 pinch | |
| Cream cheese, room temperature | 3 cups (24oz/696g) | regular or plant-based |
| Granulated sugar | 1/2 cup (100g) | |
| Vanilla extract | 1 teaspoon | |
| Fine sea salt | 1/4 teaspoon | |
| Heavy whipping cream, cold | 1 1/4 cup (300ml) | regular or plant-based |
| Powdered sugar | 1/2 cup (60g) | |
| Roughly chopped gluten-free Oreos | 2 cups (100g) | approximately 9 Oreos |
| Heavy whipping cream, cold | 1 cup (240ml) | regular or plant-based, for whipped topping |
| Powdered sugar | 1/4 cup (30g) | for whipped topping |
| Oreos for decor | optional |
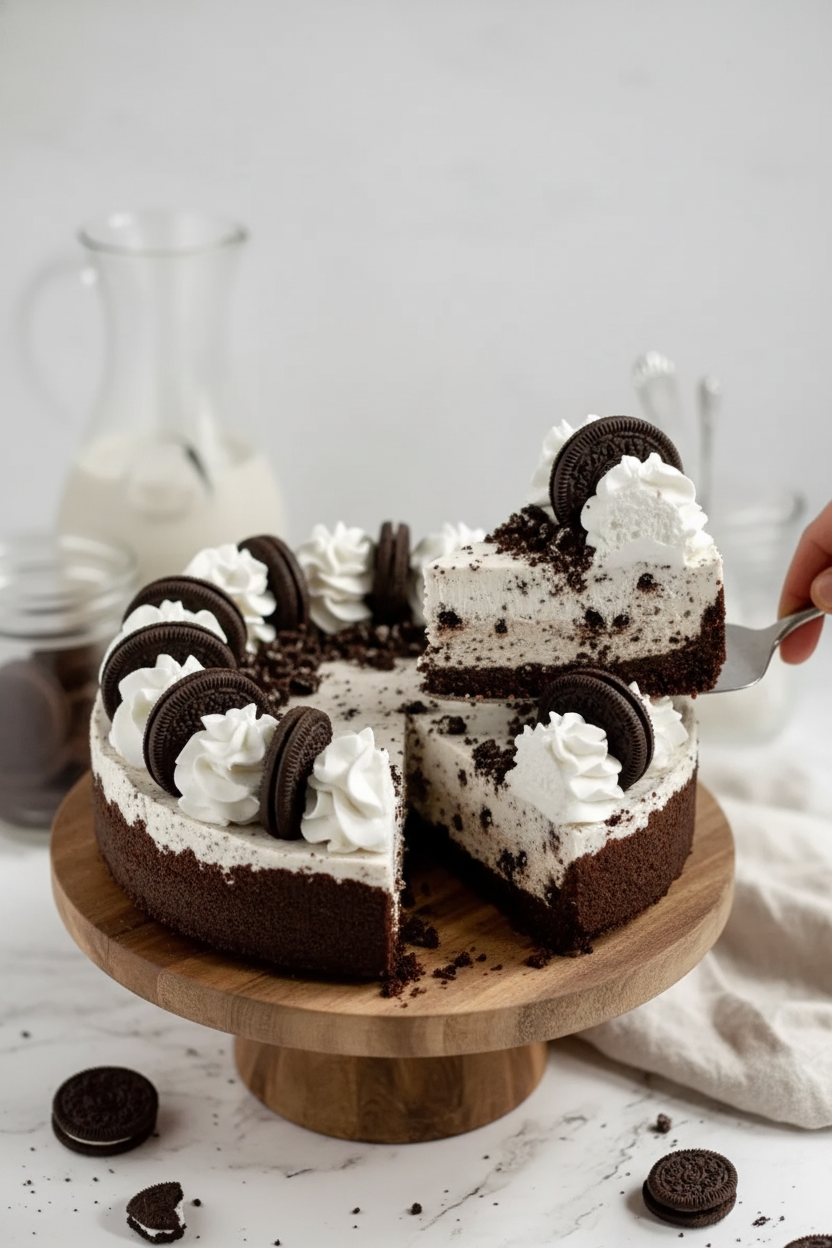
This Oreo Cheesecake Is the One I Bring to Every Family Party
When I was little, my grandma would pull out her heavy mixer and say, “We’re making something special today.” That feeling comes right back every time I make this cheesecake. And believe me, I have made it a LOT. My family now demands it for birthdays, holidays, or really any Tuesday. I still laugh at how fast the first slice disappears. This recipe is vegan and gluten-free, so everyone can grab a fork. Doesn’t that smell amazing already? Let me walk you through it, nice and easy.
Step 1: Get your pan ready. Grab an 8 or 9-inch springform pan. Cut a circle of parchment paper for the bottom and spray the sides with non-stick spray. This little trick saves you from a sticky mess later. Trust me, I learned this the hard way after prying a crust loose with a butter knife!
Step 2: Make the crust. Crush about 35 gluten-free Oreos until they look like coarse sand. I use a zip bag and a rolling pin — it feels like smashing stress away. Mix the crumbs with melted butter and a pinch of salt. Press this mixture firmly into the bottom and up the sides of your pan. Pop it in the fridge to chill while you make the filling.
Step 3: Beat the cream cheese. In a big bowl, mix your room-temperature cream cheese, sugar, vanilla, and salt. Beat until it’s smooth and creamy, with no lumps. Set it aside for a minute. Quick question: do you always let cream cheese sit out first, or are you an impatient baker like me? Share below!
Step 4: Whip the cream. In another bowl, pour in cold heavy whipping cream and powdered sugar. Whip on high until stiff peaks form — this means when you lift the beater, the cream stands up in a point. It usually takes about two minutes. Don’t over-whip, or you’ll end up with sweet butter. I once did that and cried a little.
Step 5: Fold everything together. Gently fold your whipped cream into the cream cheese mixture. Use a soft, slow motion — don’t stir like crazy or you’ll beat the air out. The air is what makes this cheesecake fluffy and light. Then fold in your chopped Oreos. Scrape the filling into the chilled crust and smooth the top.
Step 6: Patience, my friend. Refrigerate the cheesecake for at least 6 hours, but overnight is best. I know it’s hard to wait. (Here’s a hard-learned tip: if you rush it, your first slice will look like a mess. Let it set!) When it’s firm, whip up more cream for the top, spread it on, and decorate with extra Oreos. Slice and enjoy.
Cook Time: 6 hours
Total Time: 6 hours 20 minutes
Yield: 12 slices
Category: Dessert
Three Fun Ways to Switch Up This Cheesecake
Once you master the basic recipe, you can play around. Here are a few twists my family has tried. They all got a thumbs-up from the toughest critics — my grandkids.
Peppermint Crunch: Add half a teaspoon of peppermint extract to the filling. Crush up some candy canes and sprinkle them on top. It tastes like Christmas in July.
Peanut Butter Dream: Swirl a third cup of creamy peanut butter into the filling before you chill it. Drop spoonfuls in and drag a knife through for a marbled look. It’s rich and dreamy.
Berry Bliss: Smash a cup of fresh raspberries or strawberries and stir them in gently. They make the cheesecake pink and a little tangy. It’s perfect for springtime picnics.
Which one would you try first? Comment below!
How to Serve and What to Sip
This cheesecake is a star all on its own, but a few extras make it even better. I like to dust the top with a little cocoa powder through a strainer. Sometimes I add a drizzle of chocolate syrup on each plate. A handful of fresh berries on the side looks pretty and adds a fresh bite.
For drinks, grab a tall glass of cold oat milk. It’s creamy and doesn’t steal the spotlight from the cheesecake. For the grown-ups, a small cup of strong hot coffee is a classic match. The bitter coffee and sweet cheesecake go together like old friends.
Which would you choose tonight?
How to Store Your Oreo Cheesecake
This cheesecake stays fresh in the fridge for up to five days. Just keep it in an airtight container. That way, it won’t pick up funny smells from other foods.
You can also freeze it for up to three months. Wrap it tight in plastic wrap, then foil. I once froze a slice for my grandson’s surprise visit. When I thawed it in the fridge, it tasted just as good as the day I made it.
If you want to batch-cook, make the crust and freeze it raw. Then, add the filling the day you need it. This saves time and stress. Storing food right keeps it safe and delicious. Why does this matter? It means you can enjoy a sweet treat whenever you want, without rushing.
Have you ever tried storing it this way? Share below!
Three Common Problems and Easy Fixes
Sometimes your cheesecake cracks on top. This happens when you overmix the filling. Just stir gently until combined. I remember my first cheesecake looked like a map of the moon. Now I know better.
Another problem is a soggy crust. This happens if the crust is too warm when you add the filling. Always chill the crust in the fridge for at least 30 minutes. That little wait makes a big difference.
A third issue is the filling not setting. Your cream cheese must be room temperature. If it’s too cold, the filling stays runny. Set it on the counter for an hour before baking. Fixing these problems builds your cooking confidence. When you solve them, the flavor and texture come out perfect every time.
Which of these problems have you run into before?
Your Cheesecake Questions, Answered
Q: Can I use regular Oreos if I don’t need gluten-free?
A: Yes. Just skip the gluten-free label and use any Oreo you like.
Q: Can I make this cheesecake a day ahead?
A: Yes. It actually tastes better after chilling overnight.
Q: Can I swap the heavy cream for something lighter?
A: You can use coconut cream. The texture will be lighter, but still tasty.
Q: How do I double the recipe?
A: Use a larger pan or make two. Just double all ingredients carefully.
Q: What if I don’t have a springform pan?
A: Use a deep pie dish. Just line it with parchment so it releases easy.
Which tip will you try first?
A Sweet Send-Off From My Kitchen to Yours
*Fun fact: Oreos were invented in 1912, but this cheesecake is a new classic.*
I hope you make this cheesecake for someone you love. It is simple to put together, and it tastes like a hug. Take your time pressing the crust. Let the fridge do its job. There is nothing like a slice of homemade cheesecake shared at the table. It is one of the small joys that makes a week special. Have you tried this recipe? Tag us on Pinterest so I can see your beautiful creation. I love hearing from each one of you. Happy cooking! —Chloe Hartwell.
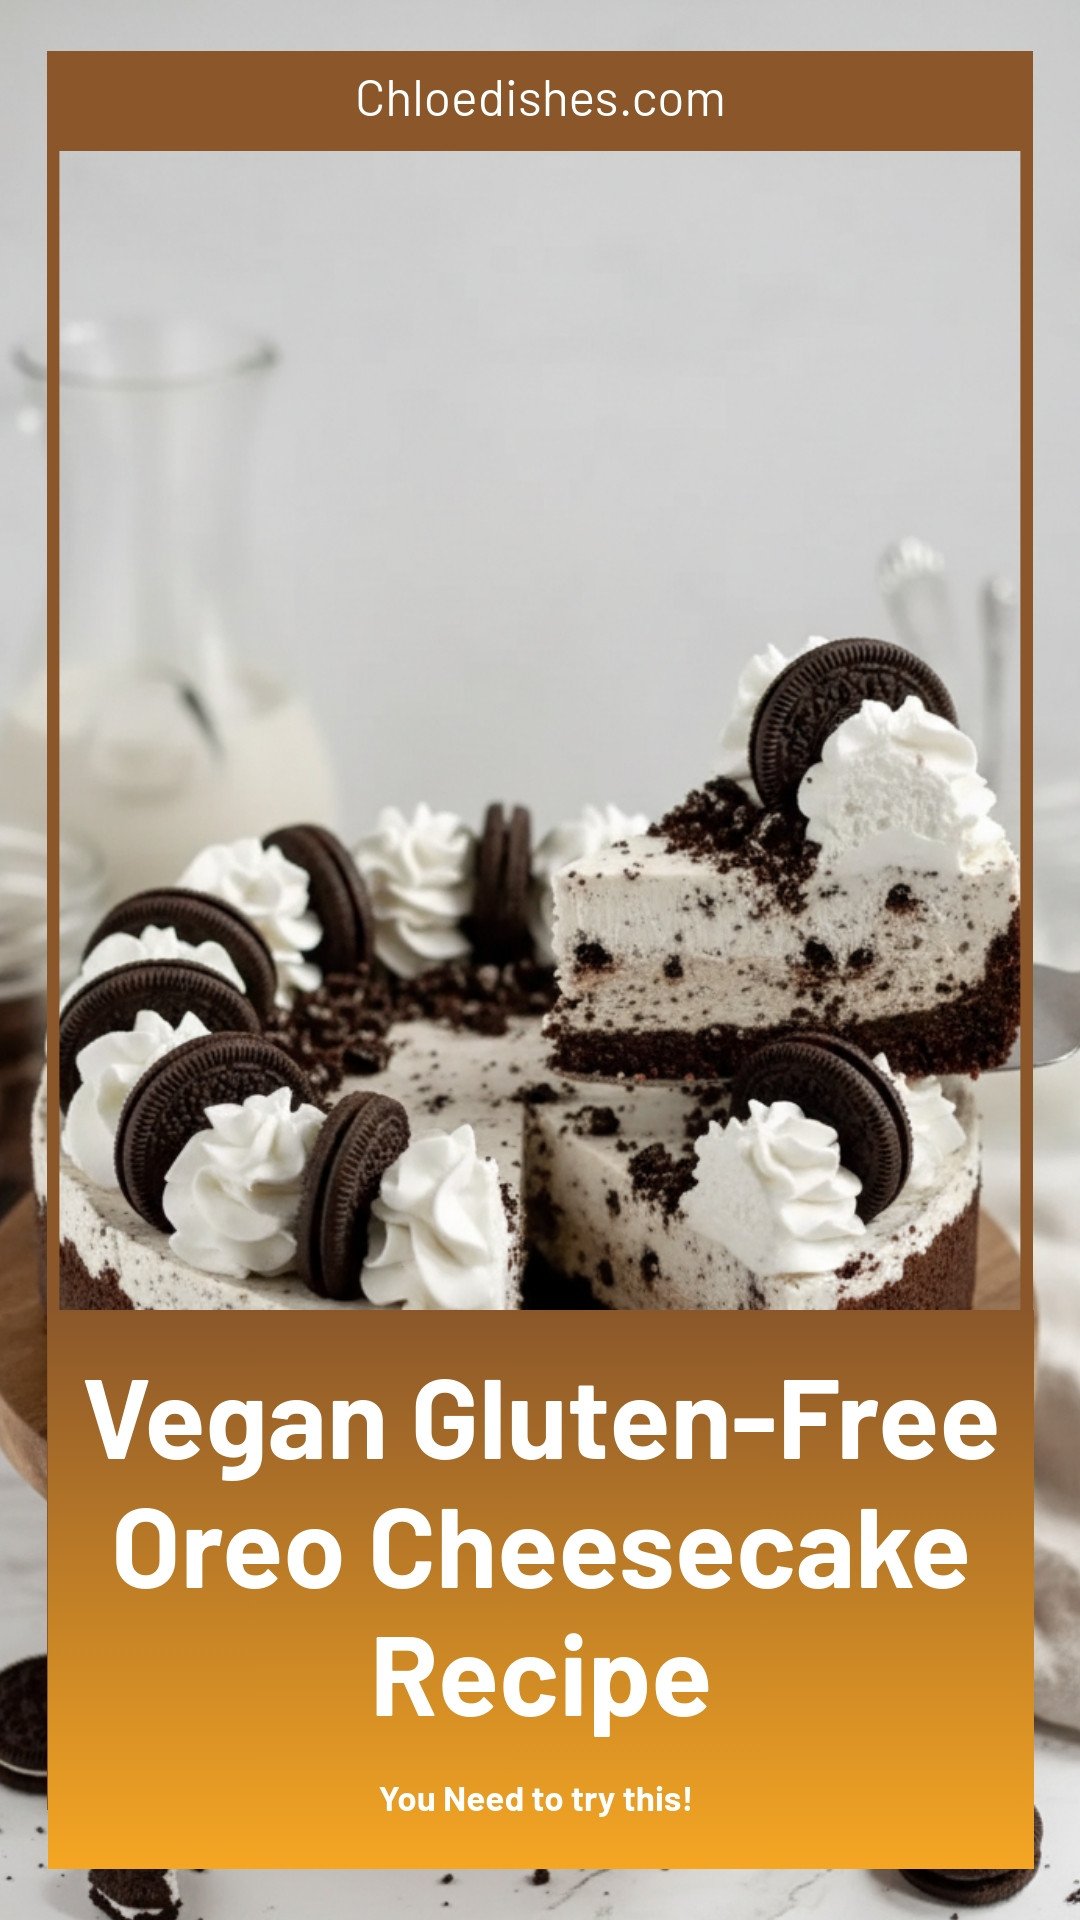

Vegan Gluten-Free Oreo Cheesecake Recipe
Description
Indulge in a rich, creamy Vegan Gluten-Free Oreo Cheesecake, the ultimate dairy-free dessert! Easy, no-bake, and perfectly decadent.
Ingredients
Instructions
- Prepare an 8 or 9-inch springform pan with parchment paper and non-stick baking spray.In a mixing bowl, combine all of the ingredients and mix until a coarse, sandlike texture is achieved.Press the mixture into the bottom and up the sides of the prepared pan.Place the crust in the fridge to chill.
- In a stand mixer or large mixing bowl with an electric mixer, beat the cream cheese, granulated sugar, vanilla, and salt together until smooth. Set aside.In another mixing bowl, whip the heavy whipping cream and powdered sugar together on high speed until stiff peaks form. This should take approximately 2 minutes.Gently fold the whipped cream into the cream cheese mixture until fully combined. Be careful to not beat the air out of the whipped cream.Gently fold the chopped Oreos into the cheesecake filling.Spread the Oreo cheesecake filling into the prepared crust and refrigerate for at least 6 hours, or preferably, overnight, until set.
- In a stand mixer or medium mixing bowl with an electric mixer, add the heavy whipping cream and powdered sugar and whip on high until stiff peaks form. This should take approximately 2 minutes.Remove the fully chilled and set cheesecake from the springform pan and top it with the whipped cream and Oreos. Serve chilled and enjoy!Store leftover Oreo cheesecake in the fridge in an airtight container for up to 5 days or frozen for up to 3 months.


Leave a Reply