

A Little Taste of Sunshine
I first made these bites for a summer picnic. My grandson called them “little snowballs on vacation.” I still laugh at that. They are sweet, chewy, and full of coconut. They always make me think of sunny days.
Making them is just as fun as eating them. It is a simple joy. Do you have a treat that reminds you of a happy memory? I would love to hear about it.
Why We Chill the Dough
You will mix everything and then pop the bowl in the freezer. This is my favorite trick. It only needs ten minutes. This step matters because it makes the sticky dough behave.
It firms up just enough. Then you can roll it into perfect little balls. Your hands will stay much cleaner. I always appreciate that.
The Chocolate Dip Magic
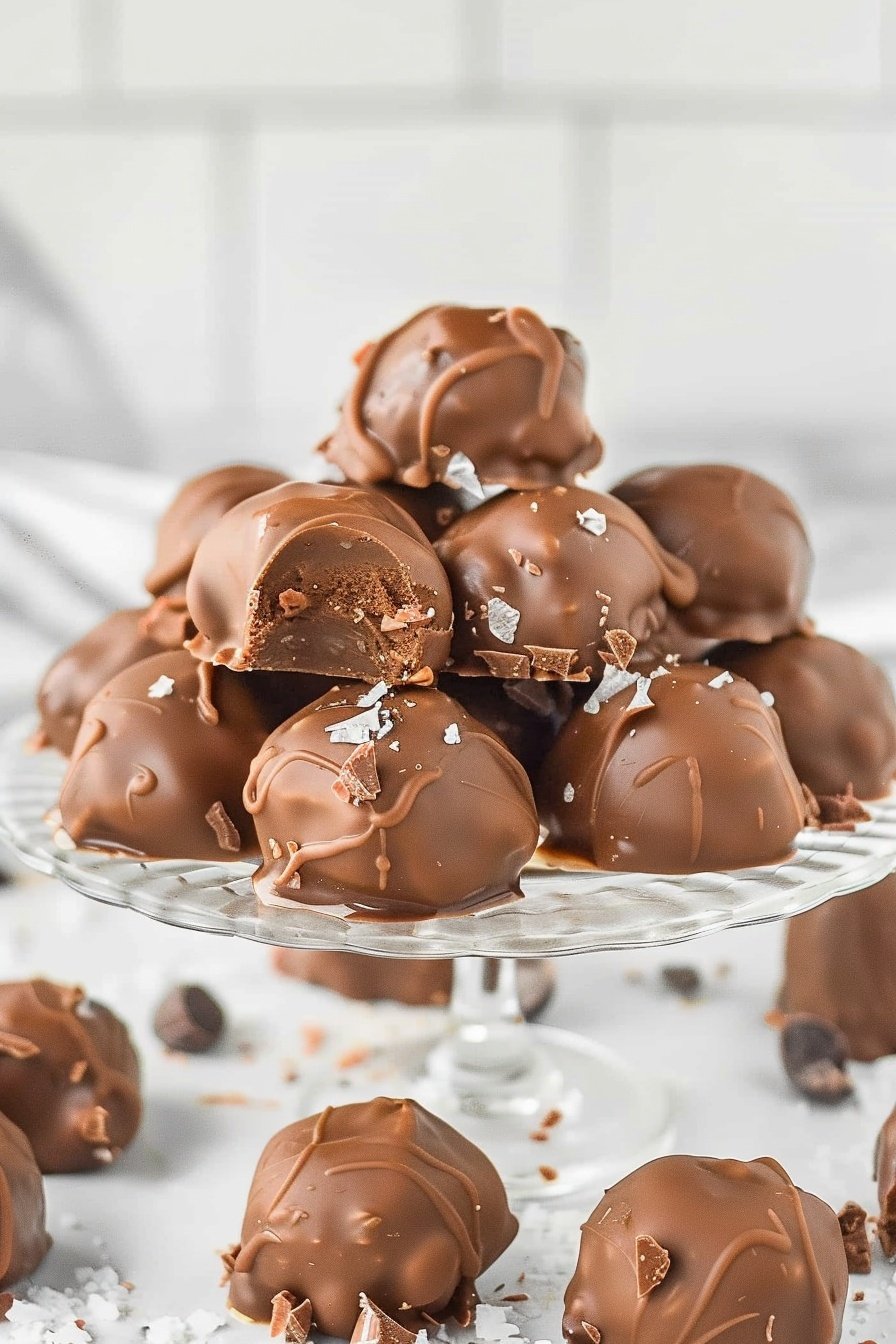
Now for the best part, the chocolate coat. We use both milk and white chocolate chips. The shortening helps them melt smoothly. Doesn’t that smell amazing?
*Fun fact*: The first chocolate chips were made for cookies in the 1930s. I love that bit of history. Melting the chocolate slowly is key. It keeps it shiny and beautiful.
A Story About Patience
My first time, I tried to dip all the balls at once. What a mess. The coconut started to soften. The chocolate got clumpy. I learned my lesson.
This is why we only take a couple from the freezer at a time. This matters because good things come to those who wait. It is a sweet little lesson in patience. What kitchen mistake taught you something?
Sharing Your Creations
These bites are perfect for sharing. They look so pretty on a plate. I like to put them in a little tin for friends. It is a small way to show you care.
Food made with love always tastes better. That is a truth I hold dear. Will you be making these for a special someone? Tell me who you would share them with.
Ingredients:
| Ingredient | Amount | Notes |
|---|---|---|
| sweetened shredded coconut | 12 ounces | |
| sweetened condensed milk | 14 ounces | |
| powdered sugar | 1 cup | |
| vanilla extract | 1 teaspoon | |
| milk chocolate chips | 1½ cups | |
| white chocolate chips | 1½ cups | |
| shortening | 1 tablespoon |
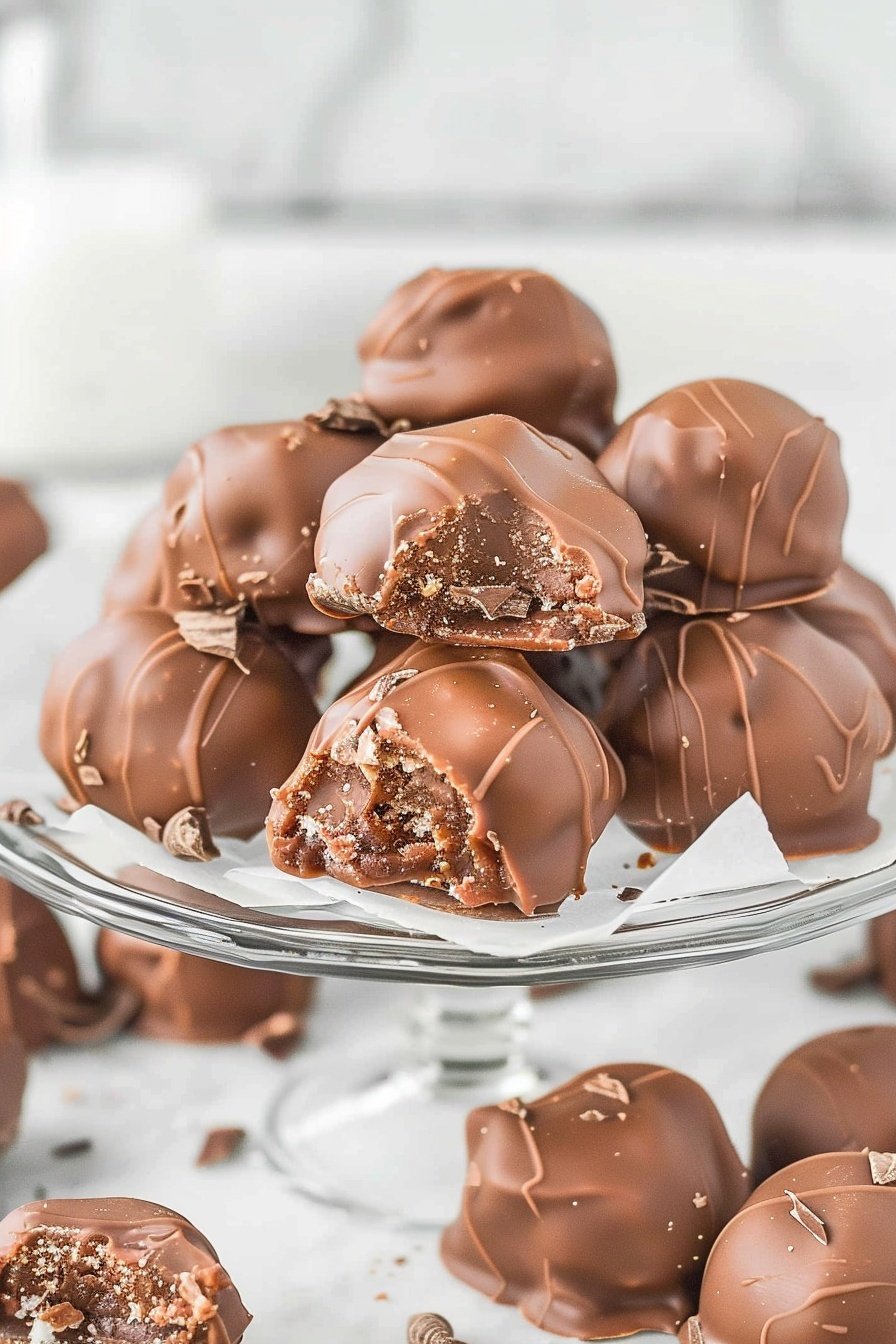
My Tropical Cocoa Bliss Bites
Hello, my dear! Come sit with me. I want to share a recipe for my Tropical Cocoa Bliss Bites. They are little clouds of coconut covered in chocolate. My grandson calls them “happiness bites.” I think he’s right. Making them fills my kitchen with the sweetest smell. It reminds me of sunny beaches and happy times.
We’ll make a simple coconut dough first. Then we’ll dip it in melted chocolate. It’s so much fun. I still laugh at the first time I made these. I got chocolate everywhere! But that’s how you know it’s made with love. Are you ready to make some bliss with me? Let’s begin.
Step 1
Grab a medium-sized bowl. Put the shredded coconut inside. Now pour in the sweet, sticky condensed milk. Add the powdered sugar and a splash of vanilla. Doesn’t that smell amazing already? It smells like a tropical vacation.
Step 2
Use a hand mixer to beat it all together. Keep mixing until it looks like sticky, white sand. You want everything to be fully combined. This is the “dreamy” part of our bliss bites. (A hard-learned tip: scrape the bowl’s sides with a spatula. This makes sure no coconut is left out.)
Step 3
Now, pop the bowl into the freezer. Let it sit for about ten minutes. This helps the mixture get a little firm. It will be much easier to scoop. This is a good time to wash the mixer. I always clean as I go.
Step 4
Take the bowl out of the freezer. Use a cookie scoop to make little balls. Place them on a baking sheet with parchment paper. If you don’t have a scoop, a spoon works just fine. My balls are never perfectly round, and that’s okay!
Step 5
Put the whole tray back into the freezer. Let the balls get hard for about an hour. This is the hardest part, waiting! But it’s very important for dipping. What’s your favorite thing to do while you wait for treats to chill? Share below!
Step 6
Time for chocolate! Put the milk and white chocolate chips in a bowl. Add the shortening. This helps the chocolate get nice and smooth. I remember my first time melting chocolate. I burned it! We learn from our mistakes.
Step 7
Melt the chocolate in the microwave. Do it in 30-second bursts. Stir well after each time. Be patient. Stop when there are just a few lumps left. The heat from the bowl will melt the rest. You’ll have a perfectly smooth pool of chocolate.
Step 8
Now for the fun part! Take only a couple of coconut balls from the freezer at a time. Use a fork to dip them in the chocolate. Tap the fork gently on the bowl’s edge. This lets the extra chocolate drip off. Then place each bite on wax paper to set.
Cook Time: 1 hour 10 minutes
Total Time: 1 hour 30 minutes
Yield: About 3 dozen bites
Category: Dessert, Snack
Three Tasty Twists to Try
Once you master the basic bliss bite, you can get creative. I love playing with new flavors in my kitchen. It keeps things exciting. Here are a few of my favorite twists on this sweet treat.
The Nutty Buddy
Roll the finished bites in chopped peanuts or pecans. It adds a wonderful crunch.
The Fruit Fiesta
Mix a handful of dried cranberries into the coconut mixture. It gives a lovely, tart surprise.
The Double-Dip Delight
Dip the bites in dark chocolate first. Then drizzle them with the leftover white chocolate.
They are all so delicious in their own way. Which one would you try first? Comment below!
Serving Your Sweet Creations
These little bites are perfect all on their own. But you can make them extra special. I like to put them in pretty paper liners. It makes them look like they came from a fancy bakery. You could also stack them high on a cake stand. Everyone will be so impressed.
For a drink, I think a cold glass of milk is the best partner. It just is. For the grown-ups, a little cup of strong coffee is wonderful. The bitter coffee and sweet bite are a perfect match. Which would you choose tonight?
Keeping Your Bliss Bites Perfect
These little bites love the cold. Store them in a sealed container in the fridge. They will stay fresh for about a week. You can also freeze them for a month. I always keep a batch in my freezer. It is perfect for surprise guests.
I remember my first time making these. I left them on the counter too long. They became a bit too soft. Now I always chill them right away. This keeps their shape and creamy texture. Batch cooking is a wonderful time-saver. It means a sweet treat is always ready for you.
This matters because it makes life sweeter and easier. A ready-made treat brings a little joy to any day. Have you ever tried storing it this way? Share below!
Fixing Common Bliss Bite Troubles
Is your coconut mixture too sticky to scoop? Just pop it back in the freezer. Ten more minutes will make it firm. This makes rolling the balls so much easier. I once tried to rush this step. My hands were covered in coconut!
Is your chocolate too thick for dipping? Add a tiny bit more shortening. This will thin it out perfectly. You will get a beautiful, smooth coating. Are your bites falling apart in the chocolate? Make sure they are frozen solid before you dip. A firm, cold center holds together best.
Fixing small problems builds your cooking confidence. You learn that mistakes are okay. A smooth chocolate dip also tastes much better. Which of these problems have you run into before?
Your Bliss Bite Questions Answered
Q: Are these bites gluten-free?
A: Yes, they are! All the ingredients are naturally free of gluten.
Q: Can I make them ahead?
A: Absolutely. They are perfect for making a day or two before you need them.
Q: What if I don’t have a cookie scoop?
A: Two spoons work just fine. Use one to scoop and the other to push the mixture off.
Q: Can I use only one kind of chocolate?
A: Of course! Use all milk or all white chocolate if you prefer. Fun fact: The first chocolate chips were made in 1937!
Q: Can I double the recipe?
A: You sure can. Just use a bigger bowl for mixing. Which tip will you try first?
A Sweet Note From Chloe
I hope you love making these Tropical Cocoa Bliss Bites. They always remind me of sunny days and happy kitchens. Sharing food is one of life’s greatest joys.
I would be so delighted to see your creations. Have you tried this recipe? Tag us on Pinterest! You can find me at Chloe’s Kitchen. I love seeing your photos and stories.
Happy cooking!
—Chloe Hartwell.
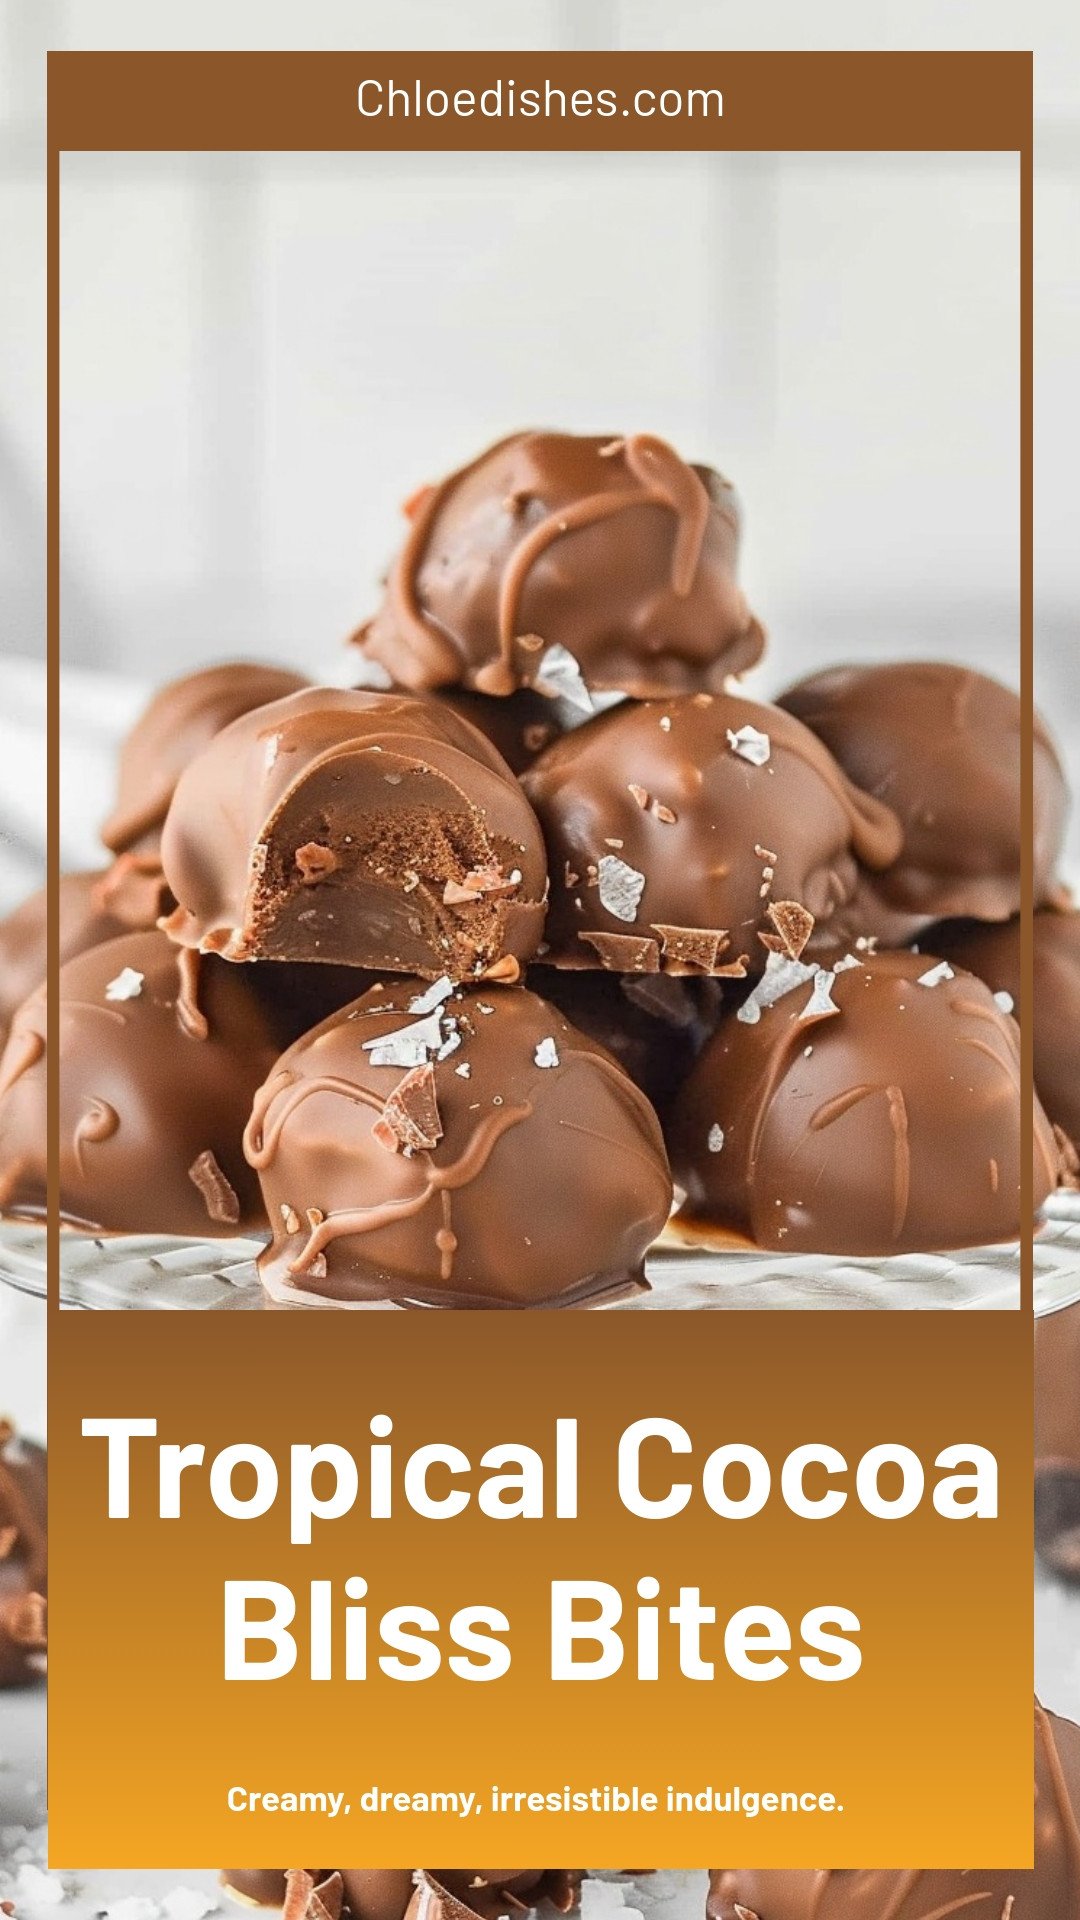
Tropical Cocoa Bliss Bites: Creamy, dreamy, irresistible indulgence.
Description
No-bake Tropical Cocoa Bliss Bites! A healthy vegan snack with coconut, cocoa, and tropical fruit. Easy to make, gluten-free, and perfect for energy.
Ingredients
Instructions
- Place coconut, sweetened condensed milk, powdered sugar, and vanilla extract in a medium mixing bowl.
- Use a hand mixer to beat together until fully combined.
- Place the bowl in the freezer for 10 minutes to allow the mixture to firm up enough to make scooping easier.
- After chilling for 10 minutes, use a cookie scoop to scoop balls of the coconut mixture onto a baking sheet lined with parchment paper.
- Place the baking sheet with scoops into the freezer to harden, about 60 minutes.
- Once the coconut scoops are firmed up, place both the white and milk chocolate chips and a tablespoon of shortening in a microwave-safe bowl.
- Heat in 30-second increments, stirring between each, until the chips are mostly melted.
- Stop heating and continue stirring until the mixture is fully melted and smooth.
- Remove just 1 to 2 coconut balls from the freezer at a time. Use a fork to dip and roll each coconut ball in the melted chocolate. Lift from the chocolate, and tap to remove excess chocolate, and place on a sheet of waxed or parchment paper to set.
- Continue dipping and setting a couple of coconut balls at a time.
Notes
- Store in an airtight container in the refrigerator for up to one week.


Leave a Reply