

The Day I Learned to Let Go in the Kitchen
I still remember the first time I made these cookies. I had a kitchen full of half-empty bags and a hungry family. My oldest daughter looked at the bowl and said, “Mom, are you sure?” I just shrugged and tossed in the potato chips. Doesn’t that smell amazing when they bake? The butter and salt mix together like a secret handshake. Why this matters: Sometimes the best recipes come from using what you have. You don’t need to be perfect to make something wonderful.What Goes In the Bowl
You start with two sticks of butter. Make sure it’s soft, like warm playdough. Then you add the sugars. White and brown, both of them. They make the cookies soft and chewy inside. Here comes the fun part. You need three cups of crunchy and salty things. That could be pretzels, corn flakes, or even potato chips. *Fun fact: The word “cookie” comes from the Dutch word “koekje,” which means “little cake.” So every cookie is a tiny cake you can hold in your hand!* I want to know: What is the crunchiest snack you have in your pantry right now?The Magic of Mixing
Here is where you have to be patient. Mix the butter and sugar for four whole minutes. I know, it feels long. But your mixer is doing important work. It is making tiny air pockets that will puff up in the oven. Then you add the eggs and vanilla. Stir until they look like they belong together. Why this matters: That four minutes of mixing makes the cookies soft instead of flat and hard. Your patience pays off in every bite.The Tumble of Flavors
Now you add the flour and baking soda. Use your fingers to sprinkle the baking soda on top. It helps it spread out evenly. Then you dump in the chocolate chips. Two whole cups. Plus your crunchy things. If you want, you can add dried fruit. I once added dried cherries and my grandson said they tasted like little candy bits. I still laugh at that. He was right, though.The Secret Bang Trick
Scoop the dough onto your baking sheets. Pop them in the oven at 375 degrees. After 8 minutes, take the pan out. Hold it with potholders (please be careful) and bang it down flat on your stovetop. This makes the cookies spread out perfectly. Like little golden pancakes. Then put them back for 2 to 3 more minutes. The tops should still look pale and a little raw. Trust me, they will firm up. Have you ever tried banging a cookie sheet? Tell me what happens!The Hardest Part: Waiting
Let the cookies cool all the way. I know it is so hard. If you eat them hot, the potato chips will be soft and chewy. That is weird. You want them crunchy. Once they cool, the chips get crisp again. The chocolate sets. The edges are buttery and the middles are soft. One time I hid a few from my husband and ate them while reading a book. I do not feel bad about it at all. Would you share these with a friend or keep them all for yourself?A Little Sprinkle of Truth
Before you serve them, sprinkle a little flaky sea salt on top. Just a pinch. It sounds fancy, but it is really simple. That tiny salt bite makes the sweet taste even sweeter. These cookies are a good reminder. You do not need the fanciest ingredients. You just need a little trust and a lot of butter. Tell me: What is the strangest thing you have ever put in a cookie? I would love to hear your story.Ingredients:
| Ingredient | Amount | Notes |
|---|---|---|
| Butter | 2 sticks | room temperature |
| White sugar | 1 cup | |
| Brown sugar | 1/2 cup | |
| Eggs | 2 | |
| Vanilla extract | 2 teaspoons | |
| All purpose flour | 2 cups | |
| Baking soda | 1 teaspoon | |
| Chocolate chips | 2 cups | |
| Crunchy and/or salty things (pretzels, rice krispies, corn flakes, potato chips) | 3 cups | |
| Flaky sea salt | To taste | for sprinkling |
| Dried fruit | 1 cup | optional |
My Grandma Used to Call These “Clean-Out-the-Pantry” Cookies
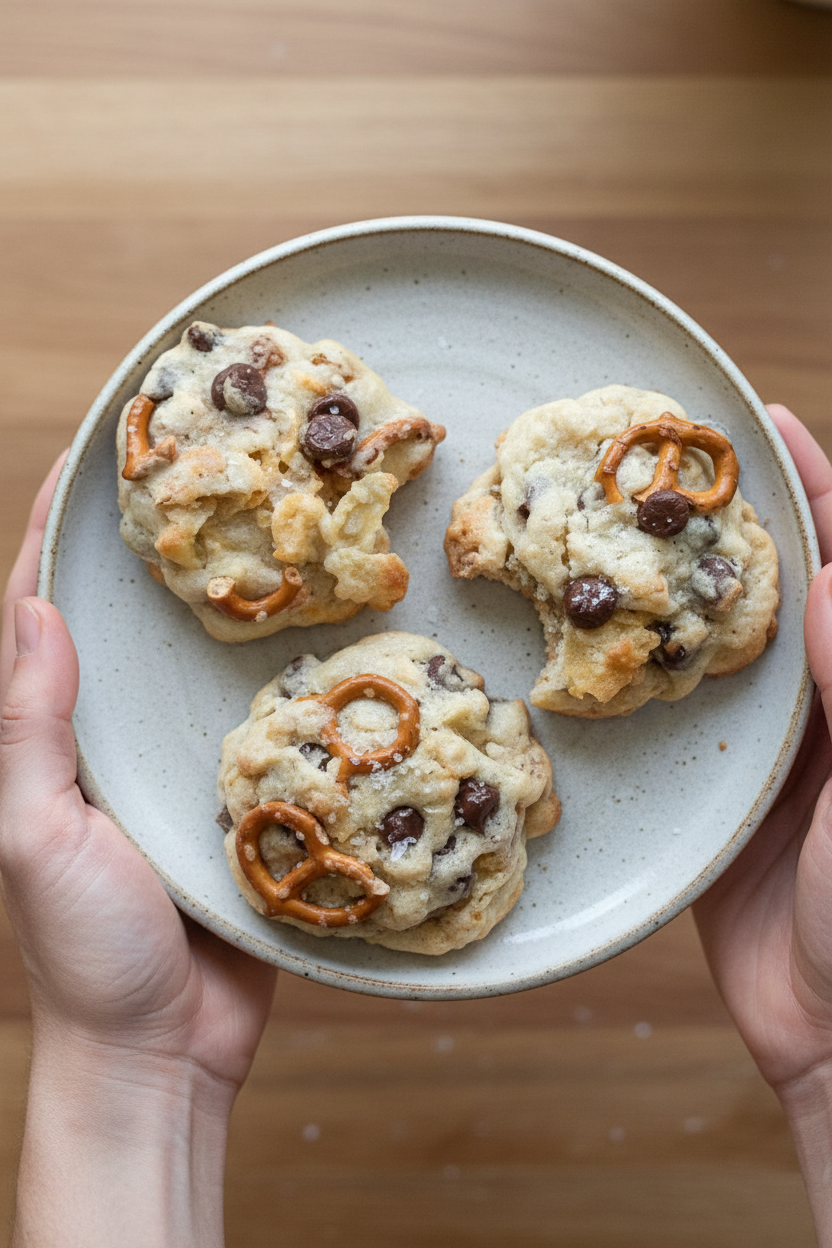
You know those days when the cookie jar is empty and you just crave something sweet? That is how I feel about these Kitchen Sink Cookies. My grandma would pull out all the half-empty bags from her cupboard. Pretzels, cereal, even crushed potato chips went into the bowl. I still laugh at how she called them “accidental genius.”
This recipe by Caroline Chambers is a total winner. It uses two whole sticks of butter, so you know it will be rich. The trick is beating the butter and sugar for a full four minutes. I set a timer on my phone, or I get distracted and forget. Doesn’t that smell amazing when the vanilla hits the mixer?
Let’s Bake Together: Step-by-Step
Put on your favorite apron and get your bowls ready. We will make a bit of a mess, but that is half the fun. Here is how to make the best cookies ever.
Step 1: Preheat your oven to 375°F. Line two baking sheets with parchment paper. (Hard-learned tip: Do not skip the parchment or they will stick and you will cry.) Let the butter sit out until it is soft to the touch. Step 2: Put the soft butter, white sugar, and brown sugar into a big bowl. Use a mixer on medium speed for four whole minutes. Yes, I know that is forever, but it makes the cookies chewy. I once stopped at two minutes and they came out flat as pancakes. Learn from my mistake! Step 3: Turn off the mixer and add both eggs and the vanilla. Turn it back on and mix until it looks smooth and yellow. Scrape the sides of the bowl with a rubber spatula so everything gets mixed in. My dog used to sit at my feet during this part, hoping I would drop an egg. Step 4: Turn the mixer off. Add the flour to the bowl. Sprinkle the baking soda and a pinch of salt right on top of the flour. Use your fingers to mix the baking soda into the flour a little. Turn the mixer on low and stir just until the flour disappears. Step 5: Now for the fun part! Dump in your chocolate chips and three cups of crunchy, salty things. I love using crispy rice cereal and broken pretzels. Turn the mixer on low for just a few seconds. (Pop quiz: How many minutes did you beat the butter and sugar? Share below!) Step 6: Scoop big spoonfuls of dough onto your baking sheets. Bake on the middle rack for 8 minutes. Pull the pan out carefully, hold it with potholders, and bang it firmly on the stovetop. This flattens the cookies so they get those lovely crispy edges. Step 7: Put the pan back in for 2 to 3 more minutes. The edges should be slightly brown, but the tops should look pale and a little underdone. I promise they will firm up into perfect chewy cookies. Let them cool completely before you take a bite, or the potato chips will be soggy and weird. Cook Time: 11 minutesTotal Time: 25 minutes
Yield: 24 large cookies
Category: Dessert, Snack
Three Fun Ways to Change Up the Recipe
These cookies are like a blank canvas for your favorite snacks. You can swap things in and out depending on your mood. Here are three twists I have tried and loved.
Go Tropical: Skip the potato chips and add one cup of dried mango and one cup of toasted coconut flakes. It tastes like a beach vacation in cookie form. Spicy Chocolate Lover: Add 1/2 teaspoon of cayenne pepper to the flour and use dark chocolate chips. The heat sneaks up on you in the best way. Peanut Butter Crunch: Swap half the butter for 1/2 cup of peanut butter. Add 1 cup of salted peanuts instead of the pretzels. My nephew says these are the best he has ever had. Which one would you try first? Comment below!How to Serve Your Cookies Like a Pro
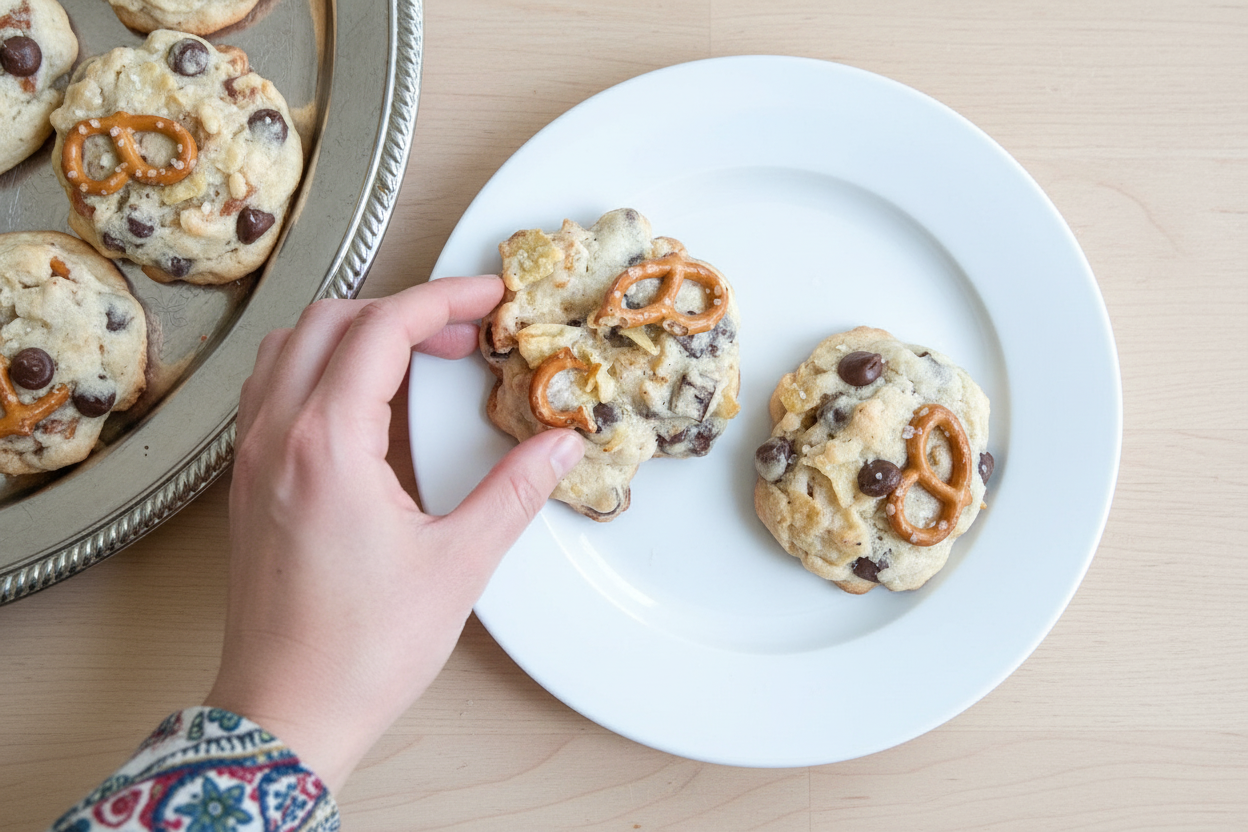
These cookies are delicious all on their own, straight from the cooling rack. But sometimes I like to fancy them up a little. Place a warm cookie next to a scoop of vanilla ice cream for a quick dessert that looks fancy.
You can also crumble a cookie over a bowl of plain yogurt for a crunchy breakfast. Yes, I eat cookies for breakfast sometimes. Do not judge me until you try it. For drinks, a cold glass of milk is the classic choice. Grown-ups might enjoy a cup of black coffee alongside theirs. Which would you choose tonight?
Storing Your Kitchen Sink Cookies Just Right
These cookies are best fresh, but they store well too. Let them cool completely first. That keeps the crunchy things crunchy. I once left a batch out overnight and they got soft. Lesson learned!
For the fridge, place cookies in a sealed container for up to a week. Add a slice of bread to keep them chewy. For the freezer, wrap dough balls tightly in plastic wrap. Then put them in a freezer bag. You can bake them straight from frozen. Just add two extra minutes to the bake time.
To reheat, pop a cookie in a 300°F oven for 5 minutes. It will taste like it just came out of the oven. Microwaves work too, but only for 10 seconds. Any longer and the crunchy bits get sad.
Why does this matter? Storing right means you can enjoy cookies all week long. Batch cooking saves time for busy days. Have you ever tried storing it this way? Share below!
Three Common Cookie Problems and Easy Fixes
Problem one: flat cookies. This happens when the butter is too soft. Make sure your butter is room temperature, not melted. I remember my first batch spread into one giant cookie. Now I use a timer for the mixer.
Problem two: crunchy things get soft. The fix is to add them at the very end. Mix just a few seconds. Also, let cookies cool completely on the pan. The heat helps the chips and pretzels set.
Problem three: cookies are hard the next day. You probably overbaked them. Take them out when the tops are still pale. They keep cooking on the hot pan. This matters because soft cookies are more fun to eat. It also builds your confidence in knowing when food is done.
Which of these problems have you run into before? I once forgot the salt and the cookies tasted flat. A little salt makes everything better.
Your Top Five Cookie Questions Answered
Q: Can I make these gluten-free? A: Yes! Swap the flour for a 1-to-1 gluten-free baking blend. The cookies will be a bit more tender, but still delicious.
Q: Can I make the dough ahead? A: Absolutely. Make the dough, scoop it into balls, and freeze. Bake from frozen for 10 to 11 minutes.
Q: What can I swap for the crunchy things? A: Try crushed graham crackers, broken tortilla chips, or even crushed cereal. Which tip will you try first?
Q: How do I make a smaller batch? A: Cut all ingredients in half. Use one egg. Bake for the same time. It works perfectly.
Q: Can I add dried fruit? A: Yes! Add up to one cup. Try dried cherries or chopped apricots. They add a sweet chewiness.
A Warm Goodbye From My Kitchen to Yours
Thank you for spending time in my kitchen today. These cookies remind me of afternoons with my grandkids. We would fight over the last one with potato chips.
I hope you try this recipe and make it your own. Add your favorite crunchy things. Share a photo with me. Have you tried this recipe? Tag us on Pinterest!
Happy cooking! —Chloe Hartwell
*Fun fact: The name “kitchen sink cookie” means you can throw in almost any leftover snack you have. It’s like a treasure hunt in every bite.
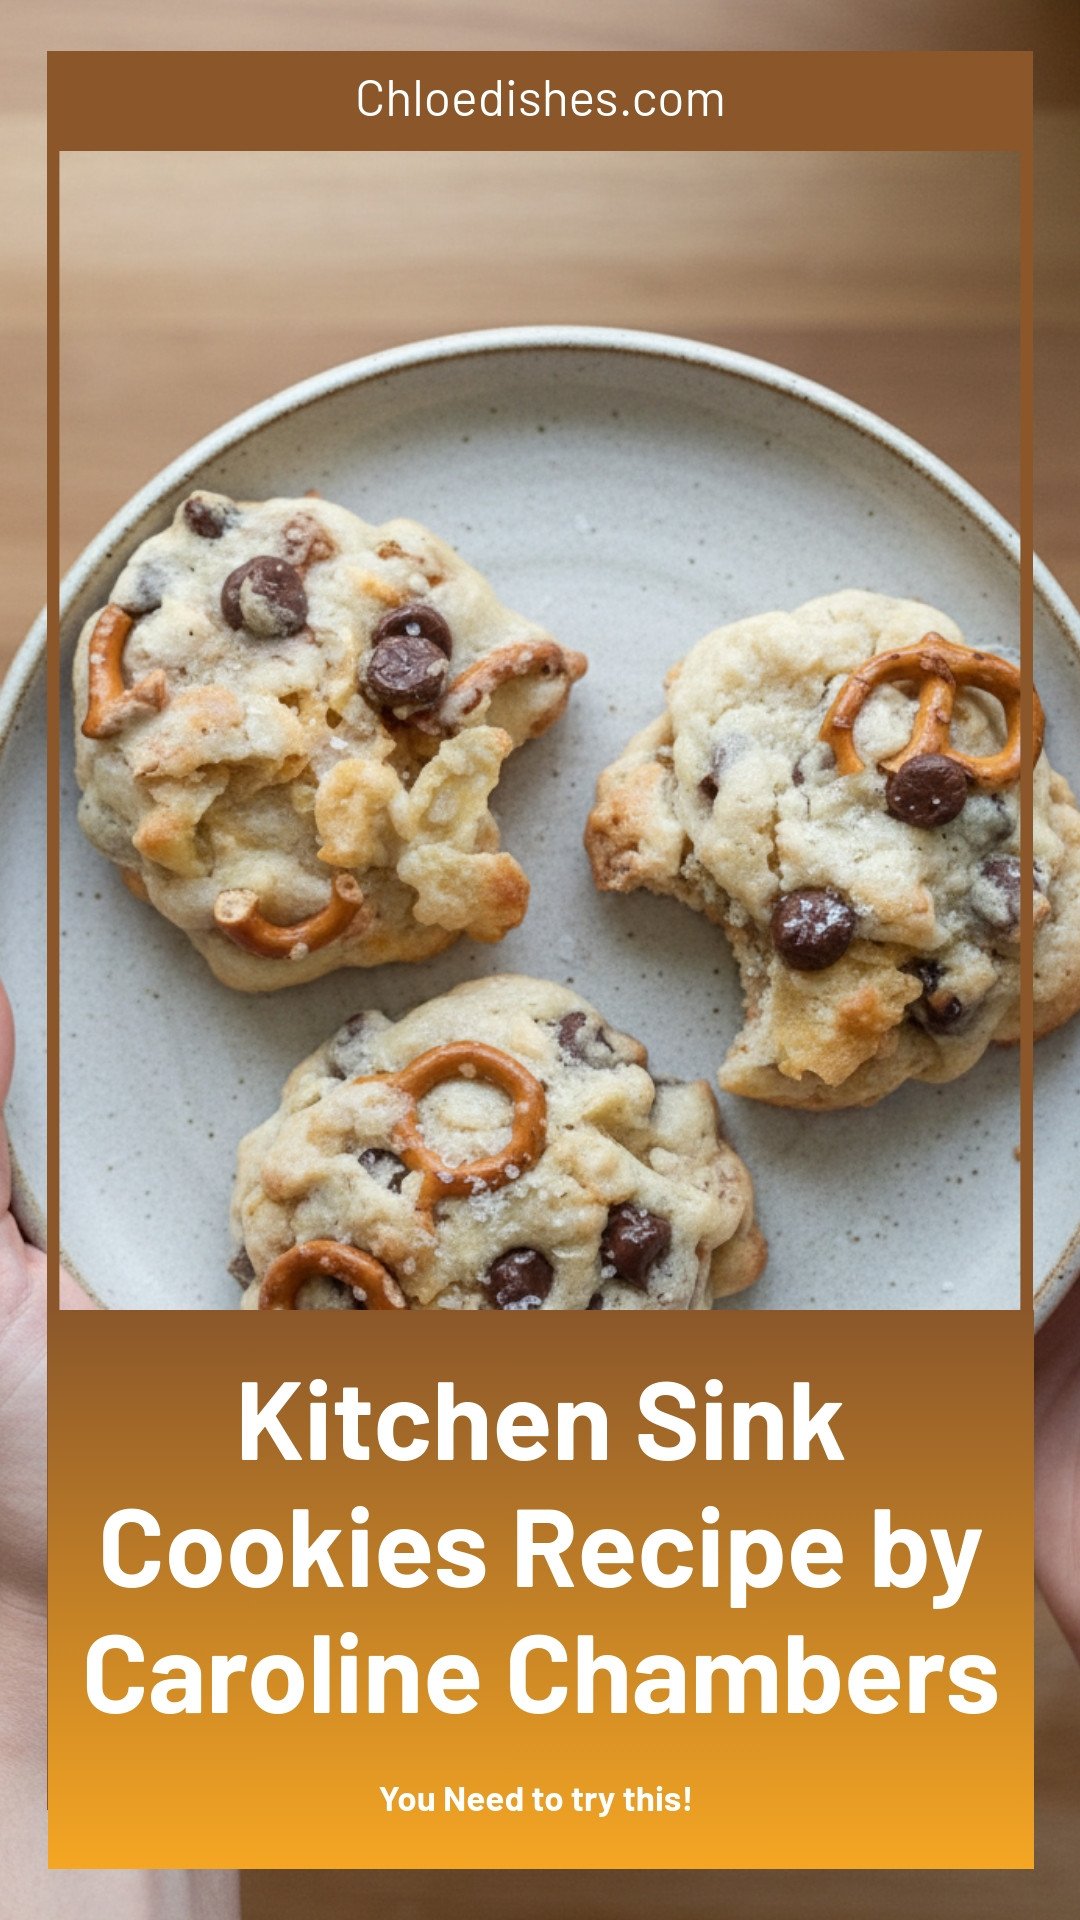
Kitchen Sink Cookies Recipe by Caroline Chambers
Description
The ultimate Kitchen Sink Cookies recipe by Caroline Chambers—loaded with chocolate, pretzels, and toffee. Easy, chewy, and absolutely irresistible.
Ingredients
Instructions
- Preheat oven to 375°F. Line two baking sheets w/ parchment paper.Add the butter and sugars to a stand mixer (or use a hand mixer!) and mix on medium speed, scraping down the sides of the mixer as needed, for 4 minutes. Yes, this is a long time, but it makes a difference!
- Turn it off and add the eggs and vanilla. Turn it back on until well combined, scraping down the sides as needed.Turn it off and add the flour and then baking soda and salt on top of the flour. Use your fingers to sift the baking soda and salt into the flour.
- Mix on low until just combined. Add the chocolate chips, 3 cups of crunchy salty things, and dried fruit. Turn the mixer on low for just a couple seconds to combine everything.Scoop heaping spoonfuls of cookie dough onto the parchment-lined baking sheets. Bake on the middle rack for 8 minutes, take the pan out, grab it on either side (with potholders duh) and bang it firmly down onto the stovetop to flatten the cookies out a bit.Return to the oven to 2 to 3 minutes, until the edges have lightly browned but the tops are still very pale. This is important! The tops should look like they aren’t quite cooked yet. They’ll firm up and be DELISH and chewy once they cool, I promise!Allow the cookies to cool completely before eating! Especially if you put potato chips in there — they’ll be weird and chewy while hot but crisp up once they cool down!
Notes
- Nutrition information is not provided in the text.


Leave a Reply