
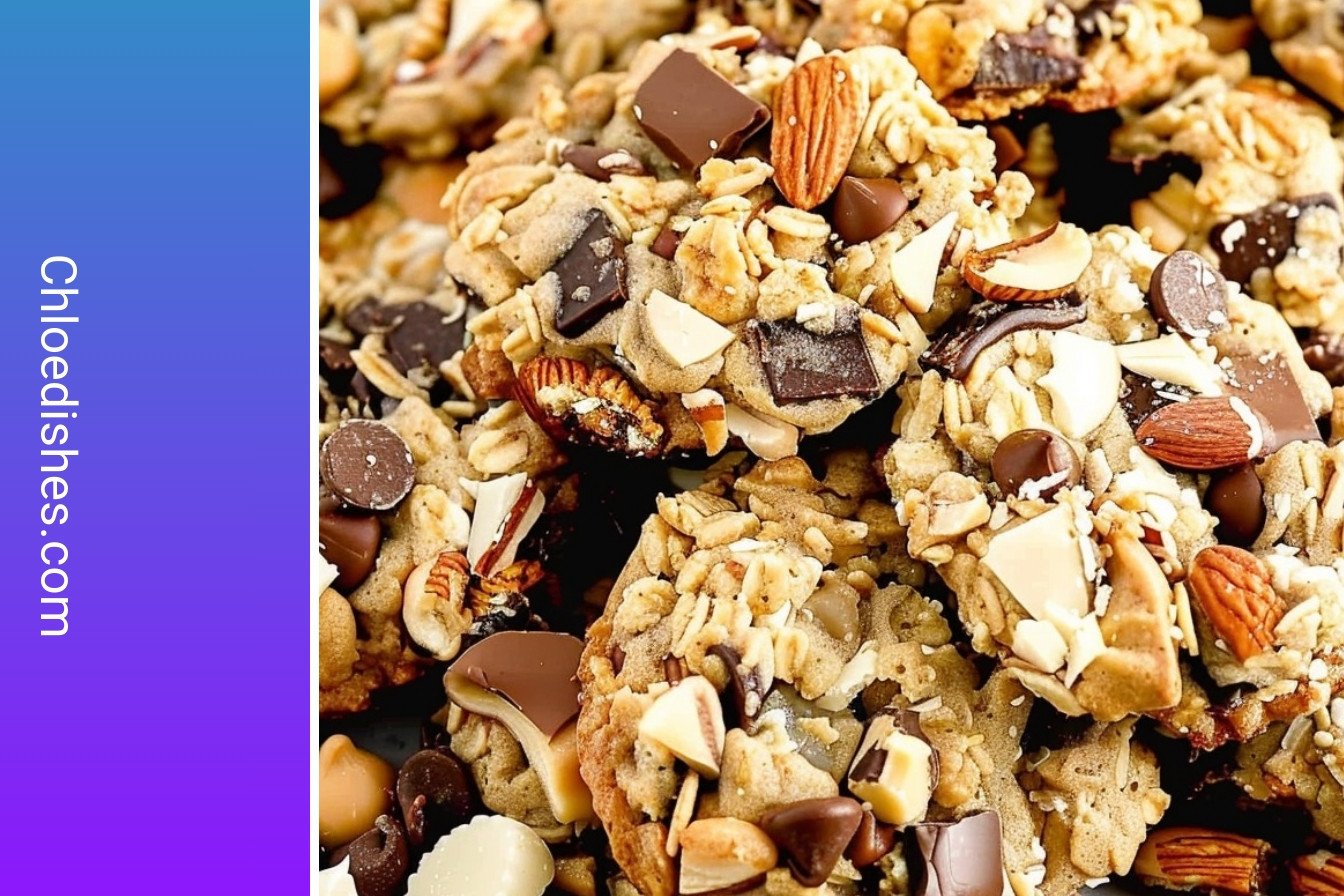
Why We Call Them Trail Ride Treats
My grandpa was a real cowboy. He loved his horse, Dusty. Every morning, he packed a lunch for his long rides.
He needed a snack that wouldn’t crumble in his pocket. These cookies were his favorite. They are sturdy and full of energy. I still smile thinking of him sharing one with me.
The Secret to a Chewy Cookie
Let me tell you a little secret. The cornstarch is the magic part. It makes the cookie soft and chewy inside.
And that extra egg yolk? It makes the cookie rich and tender. This matters because nobody wants a dry cookie! A good cookie should feel like a hug. Doesn’t that smell amazing as it bakes?
A Story in Every Bite
I once forgot the oats. The cookies spread out like pancakes! My husband just laughed. He ate them anyway.
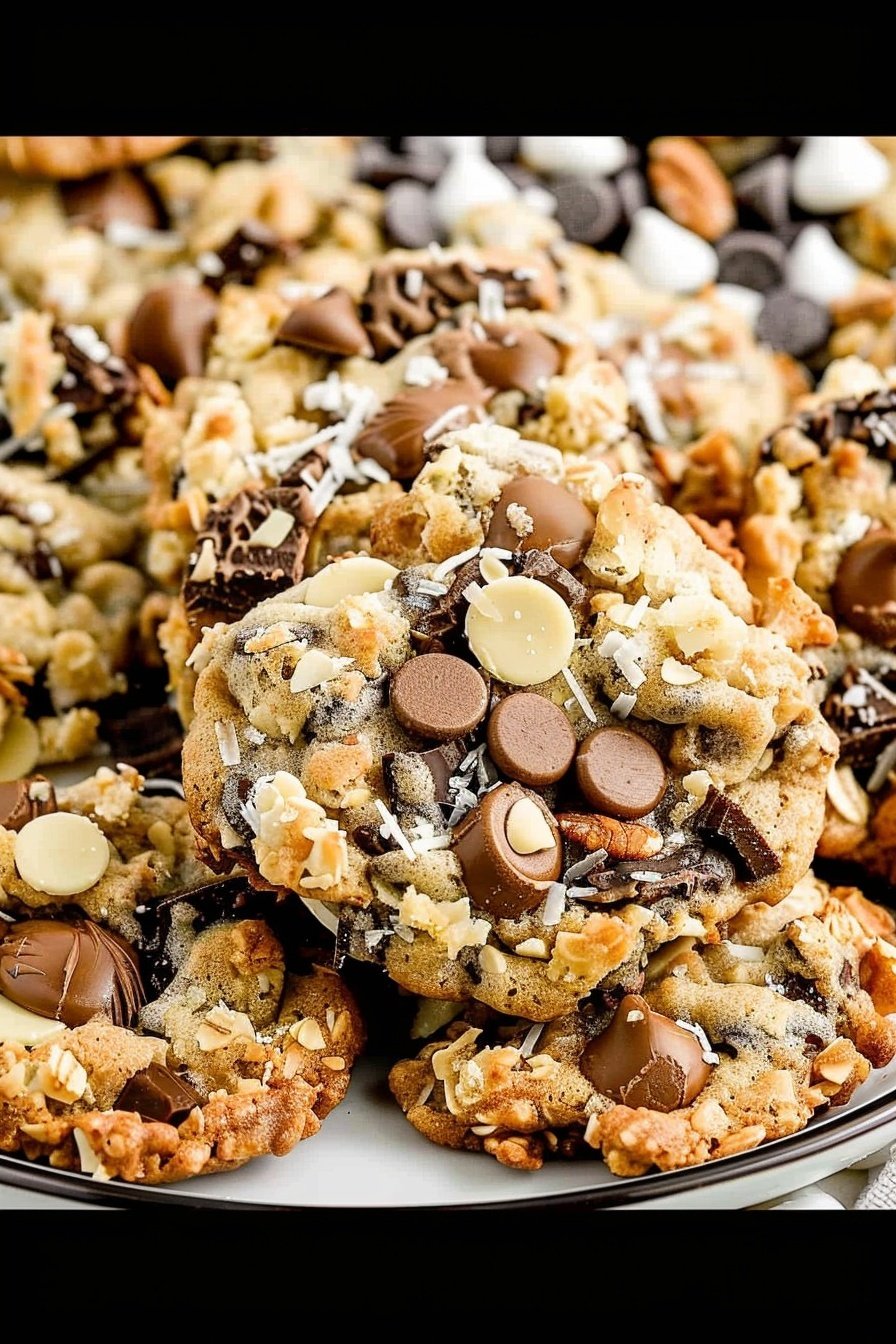
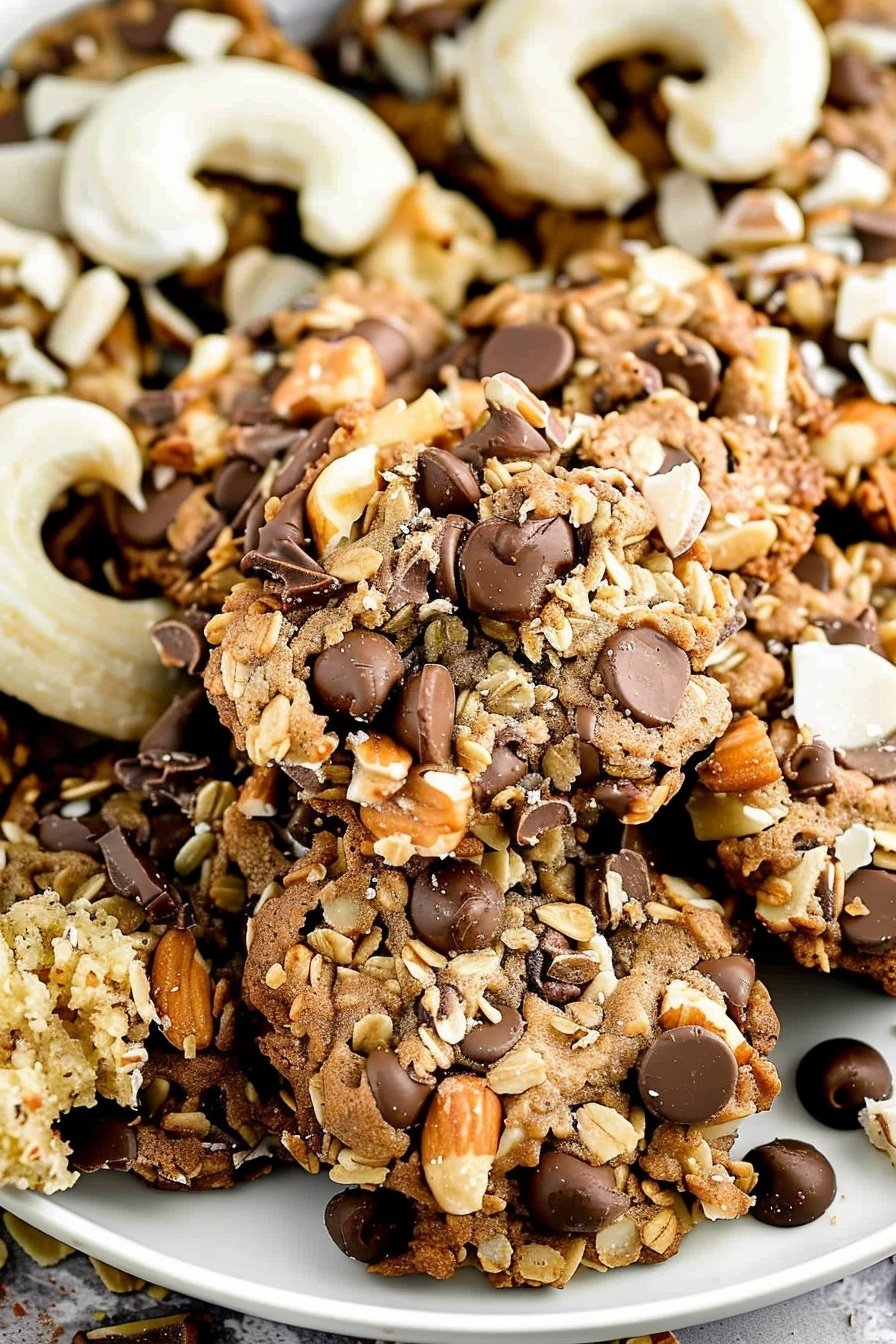
Every ingredient has a job. The oats and nuts give it a friendly chew. The chocolate and coconut make it a sweet surprise. What’s your favorite thing to add to cookies? Is it chocolate chips or something else?
Patience is a Virtue
The hardest part is waiting. You must chill the dough. I know, it is so tempting to skip this.
But this wait matters. It lets the flavors get to know each other. It also stops the cookies from going flat. This little rest makes all the difference. Do you find it hard to wait for cookies, too?
Fun Fact & Final Thoughts
*Fun fact*: Cookies like this, with lots of mix-ins, are sometimes called “kitchen sink” cookies. People say they have everything but the kitchen sink in them!
Baking is about sharing joy. It is not just about following steps. It is about making memories.
I hope you make these for someone you love. What’s the best cookie you’ve ever shared with a friend or family member? Tell me about it.
Ingredients:
| Ingredient | Amount | Notes |
|---|---|---|
| all-purpose flour | 2 cups | |
| cornstarch | 1 tablespoon | |
| baking soda | 1 teaspoon | |
| salt | ½ teaspoon | |
| cinnamon | ¼ teaspoon | |
| brown sugar | ¾ cup | |
| granulated sugar | ¼ cup | |
| unsalted butter | 1 cup | melted and cooled |
| egg | 1 whole | room temperature |
| egg yolk | 1 | room temperature |
| vanilla extract | 1½ teaspoons | |
| semi-sweet chocolate chips | 1 cup | |
| quick-cooking oats | ¾ cup | |
| pecans | ¾ cup | roughly chopped |
| sweetened shredded coconut | ½ cup |
Trail Ride Treats: Crispy Golden Perfection
Hello, my dear! Let’s bake some cookies. These are my Trail Ride Treats. I got the recipe from my friend Annie, years ago. We were on a long horseback ride together. She pulled these cookies from her saddlebag. They were the best I ever tasted. I still laugh at that. I begged her for the recipe right there on the trail.
Now, let’s get our hands busy. You’ll need two bowls. In one, mix your flour, cornstarch, baking soda, salt, and cinnamon. Doesn’t that smell amazing? Just a little hint of spice. Set that bowl aside for now. In your other bowl, we’ll mix the sugars. Then we slowly add the melted butter. It will look all grainy and wonderful.
Step 1: Grab your mixer bowl with the sugars. Turn it on low. Now slowly drizzle in the melted butter. Let it mix in completely. It will become a beautiful, smooth paste. This is the secret to a chewy cookie.
Step 2: Next, add the whole egg. Let it mix in fully. Then add the egg yolk. This makes the cookie extra rich. Finally, pour in the vanilla. That smell is pure happiness, isn’t it?
Step 3: Now, add your flour mixture. Do it in three parts. Mix a little, then add more. (Here’s a hard-learned tip: scrape the bowl sides between additions. No one wants a pocket of flour!). The dough will get thick. That’s a good sign.
Step 4: Time for the best part! Turn off the mixer. Add the chocolate chips, oats, pecans, and coconut. Mix it just until everything is combined. Don’t overmix it. You want every bite to be a surprise. Which add-in are you most excited about? Share below!
Step 5: Now, the hardest part. Cover the dough and chill it. This takes about 30 to 45 minutes. It helps the cookies keep their shape. I know, the wait is tough! But it’s worth it, I promise.
Step 6: Preheat your oven to 350°F. Scoop your dough into balls. Place them on a baking sheet. Gently press them down a bit with your fingers. This helps them bake evenly. I always think they look like little nests.
Step 7: Bake them for 11 to 13 minutes. They should be golden around the edges. The center might look a little soft. That’s perfect! They will set as they cool. Let them rest on the pan for a few minutes. Then move them to a rack.
Cook Time: 11–13 minutes per batch
Total Time: About 1 hour
Yield: About 2 dozen cookies
Category: Dessert, Snack
Three Tasty Twists to Try
This recipe is like a good friend. It’s happy to change things up. You can make it new every time. Here are a few of my favorite ways to play with it.
Sunflower Swap: Leave out the pecans. Add sunflower seeds instead. It gives a lovely, nutty crunch. Perfect for school lunches where nuts aren’t allowed.
Double Chocolate Dream: Swap the semi-sweet chips for milk chocolate. Then add a handful of white chocolate chips too. It’s so sweet and cheerful.
Raisin Rodeo: Skip the chocolate. Use plump raisins or dried cranberries. It tastes like a fancy oatmeal cookie. My grandson loves this version.
Which one would you try first? Comment below!
Serving Your Trail Ride Treats
These cookies are wonderful all on their own. But I love making a little moment special. For a real treat, serve one warm. Place it in a small bowl. Top it with a scoop of vanilla ice cream. The ice cream will melt into all the nooks and crannies. It’s pure magic.
What to drink with them? A tall, cold glass of milk is the classic choice. It just feels right. For the grown-ups, a cup of strong black coffee is lovely. The bitterness pairs so well with the sweet cookie. Which would you choose tonight?
Keeping Your Trail Ride Treats Fresh
These cookies are perfect for making ahead. Let them cool completely first. Then store them in a tin at room temperature. They will stay yummy for about five days.
You can also freeze the dough for a quick treat later. I scoop the dough into balls first. Then I freeze them on a baking sheet. Once frozen, I pop them into a bag.
I once baked a whole batch for my grandson’s visit. He never came because of a snowstorm. I had cookies in my freezer for two months. They baked up perfectly when I finally saw him.
This matters because a ready treat brings joy on busy days. A little planning makes life sweeter. Have you ever tried storing it this way? Share below!
Simple Fixes for Cookie Troubles
Sometimes cookies spread too much in the oven. This often happens if your butter is too warm. Chilling the dough always helps. It gives the flour time to soak up the butter.
Your cookies might be too cakey if you overmix. I remember when I first started baking. I mixed the dough until my arm hurt. My cookies were puffy and light, not crisp.
Getting the edges golden but the center soft is key. Take them out when they look a little underdone. They will finish cooking on the hot pan. This gives you that perfect texture.
Knowing these fixes builds your confidence in the kitchen. A small change can make your food taste much better. Which of these problems have you run into before?
Your Cookie Questions Answered
Q: Can I make these gluten-free? A: Yes, use your favorite gluten-free flour blend. Just make sure it has xanthan gum in it.
Q: How far ahead can I make the dough? A: You can keep it in the fridge for up to three days. It might even taste better!
Q: What if I don’t have pecans? A: You can use walnuts instead. Or just leave them out completely.
Q: Can I make a half-batch? A: Of course. Just divide all the ingredients in half. It is simple math.
Q: Is the coconut optional? A: It is. But it adds a lovely chewy texture. Fun fact: Shredded coconut is actually dried coconut meat! Which tip will you try first?
Bake Some Memories
I hope you love baking these cookies as much as I do. The smell filling your kitchen is pure happiness. It reminds me of my own grandma’s house.
I would be so thrilled to see your creations. Sharing food is a way to share love. Have you tried this recipe? Tag us on Pinterest!
Happy cooking! —Chloe Hartwell.
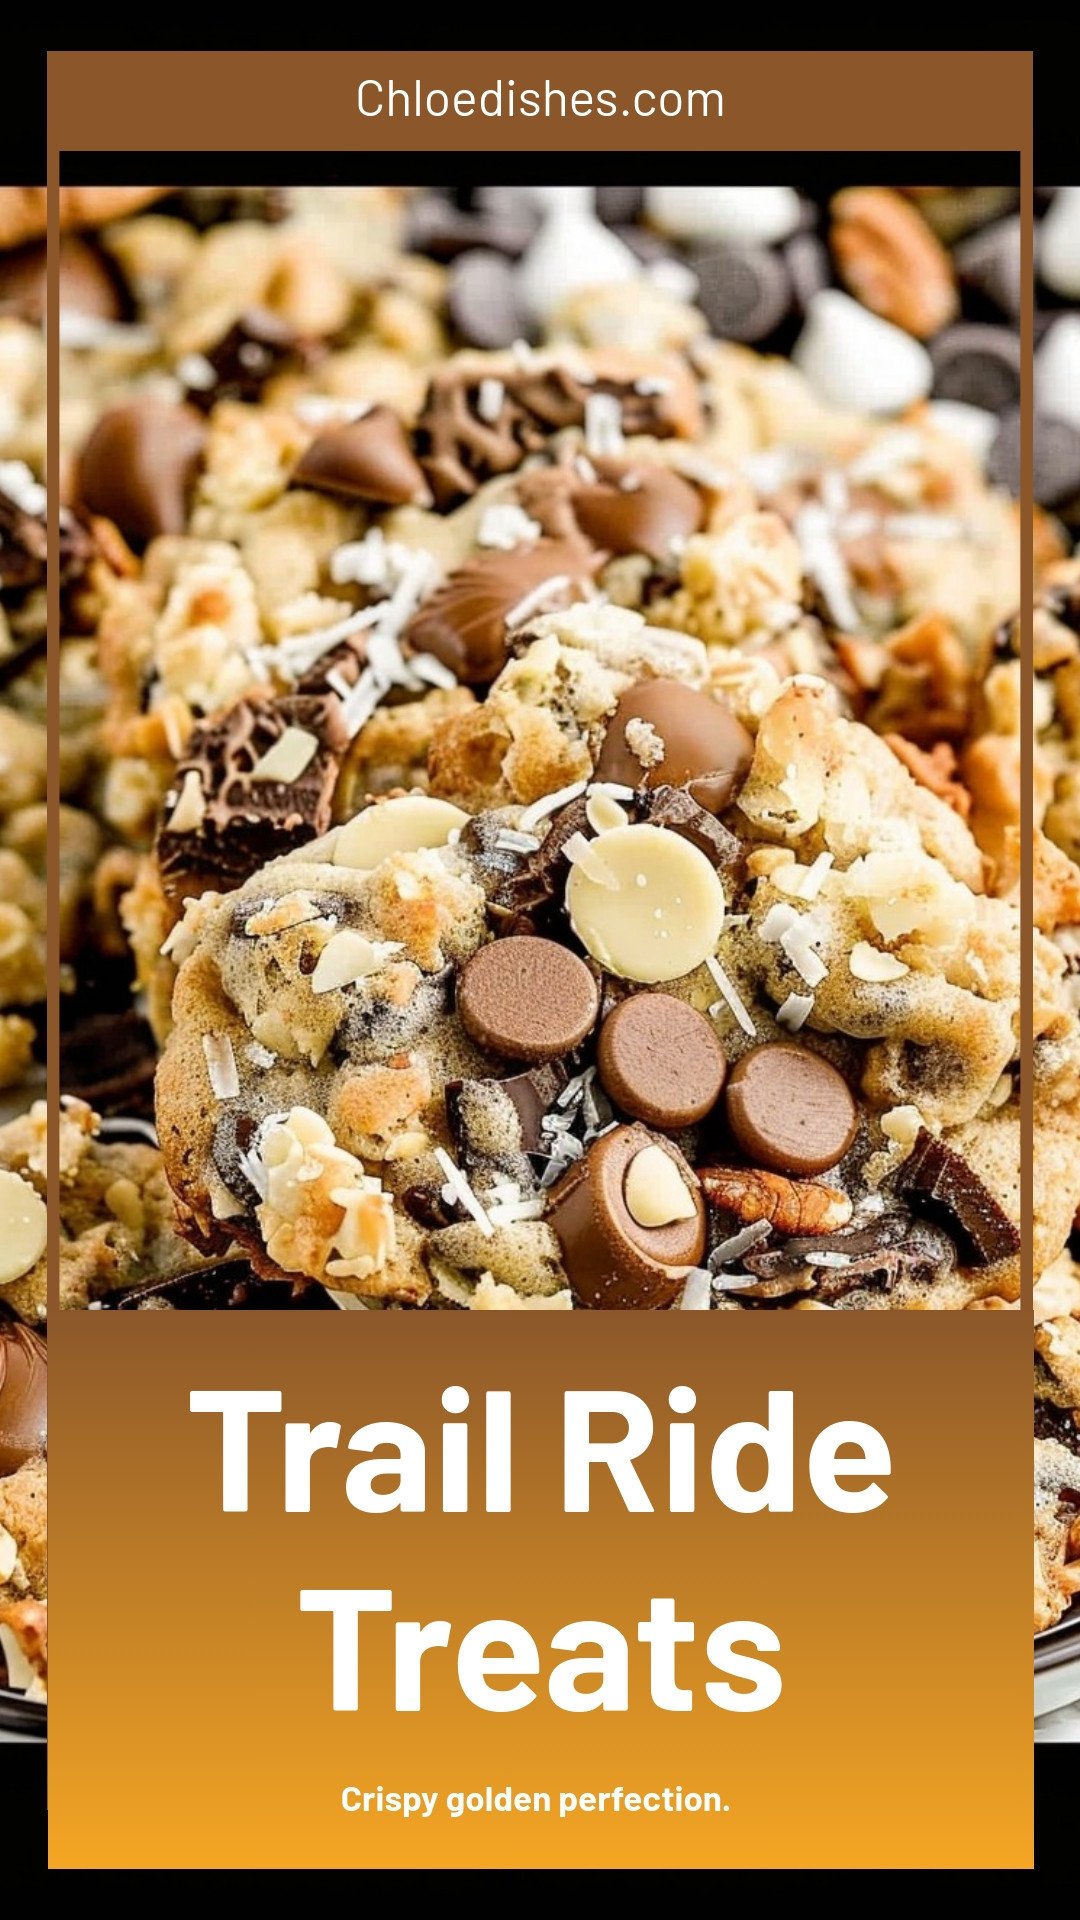
Trail Ride Treats: Crispy golden perfection.
Description
Fuel your next adventure with easy, no-bake trail ride treats for horses! Perfect for on-the-go rewards. Healthy, delicious, and made with simple ingredients.
Ingredients
Instructions
- In a medium bowl, combine the all-purpose flour, cornstarch, baking soda, salt, and cinnamon. Set aside.
- In the bowl of a stand mixer fitted with a paddle attachment, add the brown sugar and granulated sugar.
- With the mixer on low speed, slowly drizzle in the melted & cooled butter until all the butter has been fully incorporated into the sugars.
- While the mixer is still running, add the whole egg, egg yolk, and vanilla extract. Be sure to allow each egg to fully incorporate before adding the next one.
- To the bowl of the stand mixer, add the flour mixture in three additions, being sure to allow each addition to be mixed in before adding the next. You may need to stop the mixer and scrape down the sides of the bowl between each addition of the flour.
- Once all the flour mixture has been incorporated, stop the mixer and add the semi-sweet chocolate chips, quick-cooking oats, chopped pecans, and sweetened shredded coconut. Mix on low speed just until all the add-ins have been evenly distributed into the cookie batter. Do not overmix your cowboy cookie batter.
- Cover the bowl with plastic wrap and refrigerate the cowboy cookie dough for 30 to 45 minutes.
- Preheat the oven to 350°F. Line a large baking sheet with a piece of parchment paper.
- Scoop out the cookie dough using a 2-inch cookie scoop, and place 6 to 8 cookie dough balls onto the prepared baking sheet. Using your fingertips, lightly press down on the dough balls to flatten them slightly. This will help your cookies bake evenly.
- Bake for 11 to 13 minutes or until the cookies are lightly browned around the edges, and the center is set. Do not overbake your cookies.
- Allow the cookies to cool on the baking sheet for 3 to 5 minutes before transferring them to a cooling rack on the counter to cool completely.
- Repeat steps 9 to 11 with the remaining cookie dough until all the cowboy cookies have been baked.
Notes
- These treats are perfect for rewarding your horse on the trail. Store in an airtight container for freshness.


Leave a Reply