

Why I Love These Pumpkin Bars
The first time I made these pumpkin bars, I was nervous. My granddaughter Lily has to eat gluten-free, and I didn’t want her to miss out on fall treats. I remember pulling them out of the oven and the whole kitchen smelled like a pumpkin patch. Doesn’t that smell amazing? Lily took one bite, looked at me with a big grin, and said, “Gram, these are even better than the ones with flour!” I still laugh at that. She was right. They are so soft and cozy, just like a warm hug on a chilly day.
These bars are special because they prove gluten-free desserts can be just as tasty. You don’t need fancy ingredients. You just need love and a good recipe. Have you ever made a gluten-free dessert that surprised you? I would love to hear about it.
The Secret to Perfect Pumpkin Bars
The trick is in the mixing. Whisk your wet ingredients first. That means the pumpkin, eggs, oil, milk, and sugars. Get them smooth and happy. Then gently add the dry stuff. Don’t overmix. Overmixing makes the bars tough, and nobody wants a tough pumpkin bar. This is one of those “why this matters” moments. When you mix gently, the bars stay light and fluffy. It feels like magic, but it is just science doing a nice thing for us.
Another thing: let them cool completely before frosting. I know it is hard to wait. The smell is so tempting. But if you frost them warm, the frosting will melt into a puddle. We want thick, creamy frosting on top. So be patient. Put them in the fridge. You can do it.
That Cream Cheese Frosting is Everything
Now let me tell you about the frosting. You cream the butter and cream cheese together for a long time. Five to ten minutes. It feels like forever, but it makes the frosting super fluffy. You add the powdered sugar and beat it again for another five minutes. This is the second “why this matters” part. Beating the air in makes it light. You will taste the difference. Then you fold in the toffee bits. Those little crunchy, buttery pieces are like little treasures hidden in the clouds.
You can make this frosting dairy-free too. Just use plant-based butter and cream cheese. It works great. Do you prefer your frosting thick and creamy or light and fluffy? I am always curious how people like their sweets.
A Little History in Every Bite
Did you know pumpkin pie spice has been around for a long time? It is a mix of cinnamon, nutmeg, ginger, and cloves. People have been using these warm spices for hundreds of years. They were traded along old spice routes from faraway lands. Now we can buy them in a little jar at the grocery store. Isn’t that wonderful? These bars carry a taste of history. Every time you take a bite, you are tasting something people enjoyed long before us.
*Fun fact: Pumpkin is actually a fruit, not a vegetable. It is a type of squash. So you can tell your friends you are eating fruit bars. They will probably laugh, but it is true.
Making It Your Own
You can change this recipe to fit your family. For the eggs, use flax eggs instead. Just mix one tablespoon of ground flaxseed with three tablespoons of warm water per egg. Let it sit for five minutes. For the milk, use oat milk or almond milk. For the butter and cream cheese, use the plant-based kind. The bars will still be delicious. I love a recipe that works for everybody.
You could even skip the toffee bits and add chopped pecans or chocolate chips. Whatever makes you happy. What would you put on top of yours? I bet you have a good idea.
How to Store Them (If Any Last)
These bars keep for three days on the counter, five days in the fridge, or three months in the freezer. That means you can make them ahead for holiday parties or bake sales. I like to freeze a batch so I can pull them out when friends stop by unexpectedly. Just wrap them tight in plastic wrap and put them in a freezer bag. When you want one, let it thaw in the fridge. It is like having a secret supply of happiness.
I want to hear from you. Do you have a favorite fall dessert you make every year? Or are you trying something new this season? Share your story. It makes my heart happy to know what you are baking.
A Warm Memory to Finish
Last fall, I brought these bars to our neighborhood block party. A little boy named Sam, who is allergic to dairy and gluten, asked if he could have one. I told him they were made just for him. His face lit up. He ate two and asked if he could take one home for his mom. I gave him three. That moment reminded me why cooking for people matters so much. Food is not just about eating. It is about making sure everyone feels included and loved. These pumpkin bars do exactly that.
Now go ahead. Preheat your oven and make some memories. I promise you will be glad you did.
Ingredients:
| Ingredient | Amount | Notes |
|---|---|---|
| Gluten-free flour 1:1 baking blend | 2 cups (240g) | |
| Baking soda | 1 teaspoon | |
| Baking powder | 1 teaspoon | |
| Salt | 1 teaspoon | |
| Pumpkin pie spice | 3 teaspoons | *see note |
| Pumpkin puree | 1 can (15oz) | |
| Large eggs | 3 | room temperature; can sub 3 flax eggs |
| Brown sugar | 1 cup (200g) | |
| Granulated sugar | 2 tablespoons (25g) | |
| Vegetable oil | 2/3 cup (160ml) | |
| Milk | 1/4 cup (60ml) | room temperature; regular or plant-based |
| Vanilla extract | 1 tablespoon (15ml) | |
| Salted butter | 3/4 cup (170g) | room temperature; regular or plant-based |
| Cream cheese | 3/4 cup (170g) | room temperature; regular or plant-based |
| Powdered sugar | 1 1/2 cups (180g) | |
| Fine sea salt | 1 teaspoon | |
| Toffee bits | 1/2 cup (90g) | regular or plant-based; plus extra for sprinkling |
| Coarse or flaky sea salt | optional for sprinkling on top |
The Day I Fell in Love with Pumpkin Bars
I remember the first time I made these gluten-free pumpkin bars. My kitchen smelled like autumn in a hug. Doesn’t that smell amazing? Of course, back then I wasn’t gluten-free, but my neighbor Sarah had just found out she couldn’t eat wheat. I wanted her to feel included. So I grabbed my gluten-free flour blend and crossed my fingers. And you know what? They turned out even better than the regular ones. I still laugh at that. Now I make these for every Thanksgiving, and nobody even notices they’re gluten-free. That’s my favorite kind of happy accident.
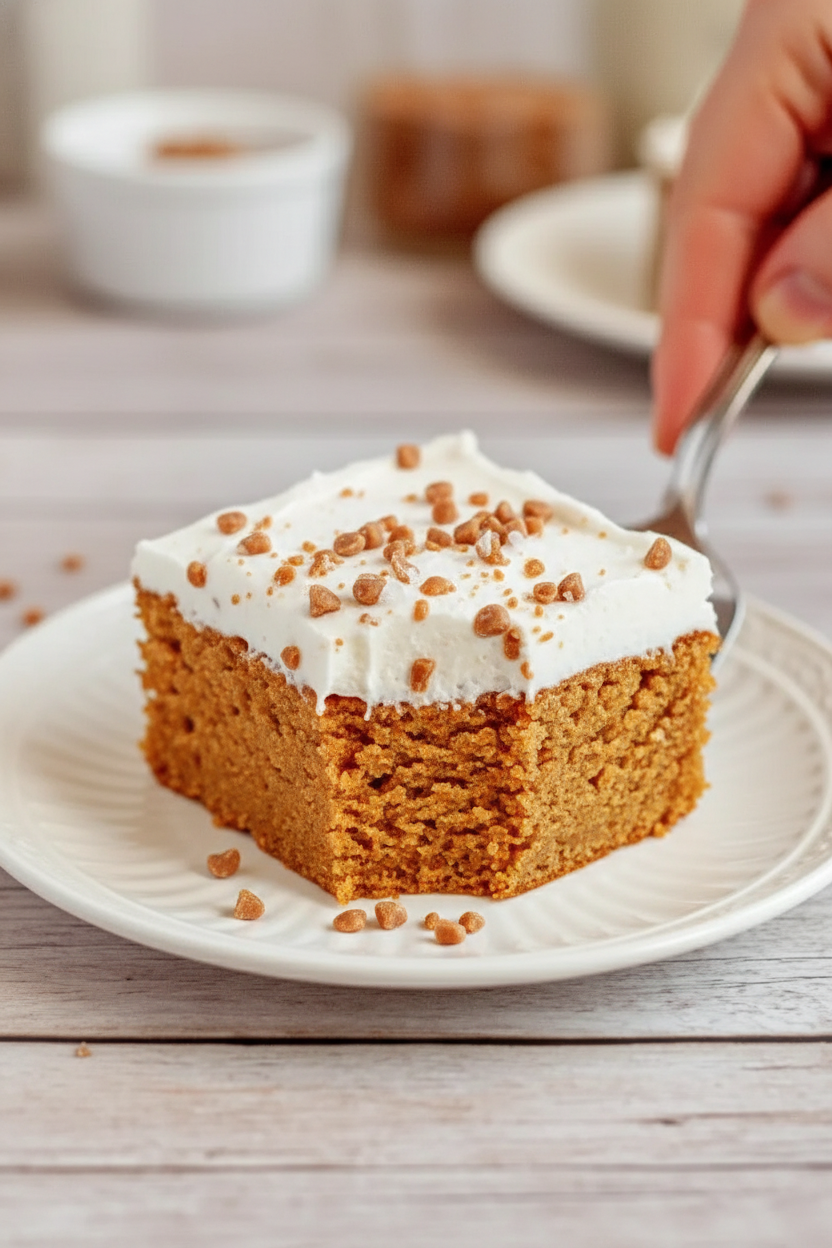
These bars are soft, spiced just right, and topped with a creamy toffee frosting. The secret is letting them cool completely in the fridge. Trust me, I learned that the hard way. One time I frosted them warm, and my frosting turned into a sad, melty puddle. Live and learn! Now I always plan ahead. Make them the night before, and you will thank me in the morning.
Let’s Bake Together, Step by Step
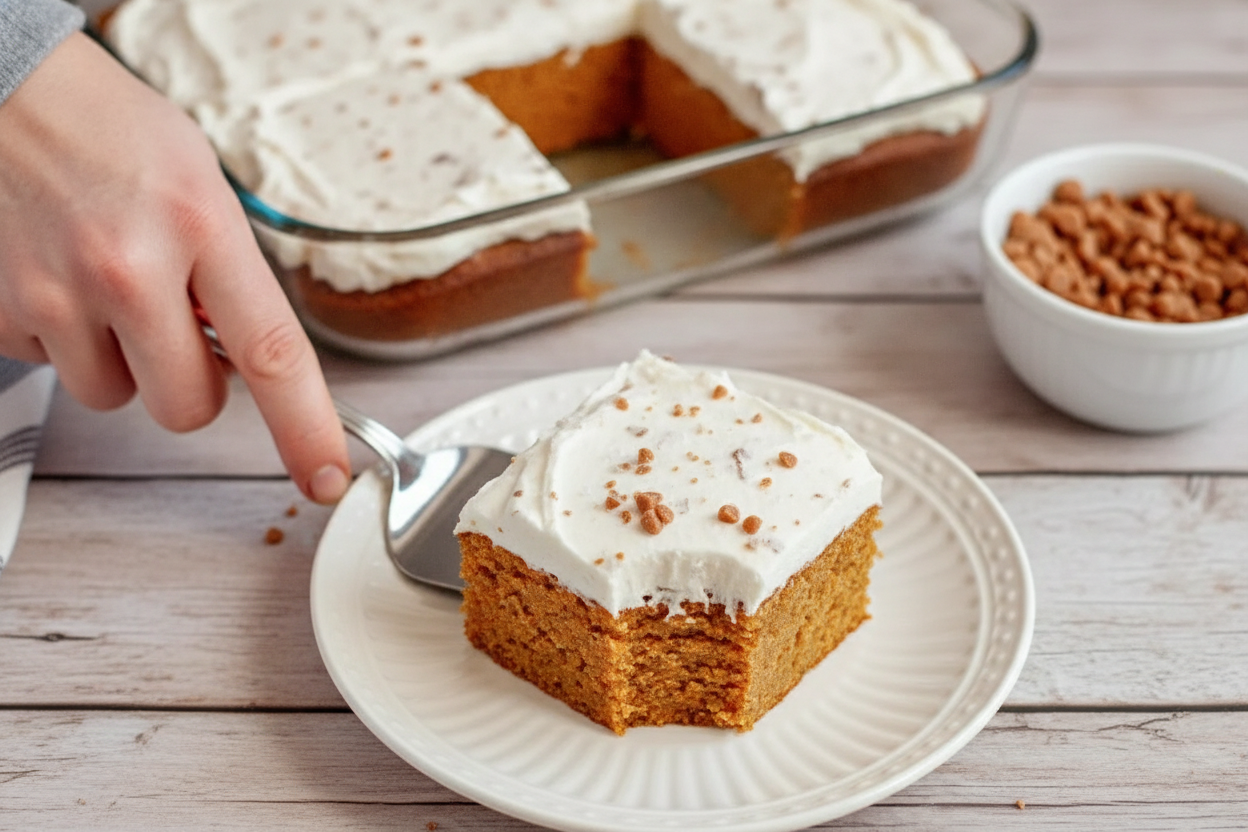
Step 1: Preheat your oven to 350 degrees. Grab a 9×13 pan and spray it with baking spray. Then lay a piece of parchment paper inside. I like to let the paper hang over the edges a bit. That way I can lift the whole bar out later like a little blanket of pumpkin goodness.
Step 2: In a big bowl, whisk together the pumpkin puree, eggs, brown sugar, white sugar, oil, milk, and vanilla. Whisk until it’s all smooth and pretty. Take a tiny taste. Go ahead, I won’t tell. (Hard-learned tip: if you use plant-based milk, make sure it’s unsweetened, or your bars might come out too sweet. Nobody wants that.)
Step 3: Now add the gluten-free flour, baking soda, baking powder, salt, and pumpkin pie spice. Whisk again, but only until just combined. Over-whisking can make the bars tough, and we want them soft as a cloud. Do you like to use a whisk or a spoon? Share below!
Step 4: Pour the batter into your prepared pan. Spread it all the way to the corners evenly. Bake for 30 to 35 minutes if you are using a 10×15 pan, or 35 to 40 minutes for a 9×13 pan. The center should spring back when you press it gently with your fingertip. That’s how you know it’s done.
Step 5: Take the pan out of the oven and let it cool for just 5 minutes. Then cover it tightly with plastic wrap and put it in the fridge. Let it cool completely. This takes about 2 hours. I usually make the bars in the afternoon and frost them before dinner. Patience is hard, but the frosting will thank you.
Step 6: While the bars cool, make the frosting. In a big bowl, beat the butter and cream cheese together on high speed. Beat for a full 5 to 10 minutes until it’s super light and fluffy. This step is key. If you rush it, the frosting will be too dense. Scrape the sides of the bowl with a spatula every few minutes.
Step 7: Add the powdered sugar and salt. Mix on low first so the sugar doesn’t fly everywhere. Then crank it up to high and beat for another 5 minutes. It should look silky and wonderful. Gently fold in the toffee bits with a spatula. Spread the frosting over your fully cooled bars. Sprinkle extra toffee bits and a pinch of flaky sea salt on top if you want. Cut and enjoy
Cook Time: 35 minutes
Total Time: 2 hours 40 minutes (including cooling)
Yield: 12 to 16 bars
Category: Dessert, Bars
Three Fun Twists to Try
Chocolate Chip Pumpkin Bars: Fold in a cup of chocolate chips before baking. The melty chocolate pairs perfectly with the pumpkin spice. Kids go crazy for these.
Maple Pecan Pumpkin Bars: Swap the toffee bits for chopped pecans and drizzle maple glaze on top instead of cream cheese frosting. It tastes like a fall forest.
Dairy-Free Coconut Bars: Use plant-based butter and cream cheese in the frosting, and replace the toffee bits with toasted coconut flakes. It’s like a tropical pumpkin dream. Which one would you try first? Comment below!
How to Serve and Sip
These bars are lovely on their own, but I love serving them with a dollop of whipped cream and a dusting of cinnamon. For a pretty plate, cut them into squares and place them on a wooden board with apple slices. For a cozy dessert, warm a bar for 10 seconds in the microwave and add a scoop of vanilla ice cream on top. Pure bliss.
For drinks, pour a tall glass of cold oat milk or warm spiced apple cider for the kids. Grown-ups might enjoy a small glass of bourbon or a dark rum and ginger ale on ice. The warm spice in the bars loves a little warmth in the glass too. Which would you choose tonight?
Storing Your Pumpkin Bars Like a Pro
These bars taste even better the next day. The flavors get cozy overnight. I remember making a batch for my neighbor and hiding one in the fridge for myself. It was soft, sweet, and perfect with my morning tea.
For the fridge, wrap the pan tightly with plastic wrap. They stay fresh for up to five days. For the freezer, cut the bars into squares first. Wrap each one in plastic wrap, then put them in a zip-top bag. They keep for three months. Just thaw a square on the counter for twenty minutes.
To reheat, pop a bar in the microwave for ten seconds. That brings back the softness without melting the frosting. You can also batch-make these before a holiday. Bake, cool, and freeze without frosting. Add the frosting the day you serve them.
Have you ever tried storing it this way? Share below! This matters because a good storage trick saves you from waste. It also gives you a quick treat when friends drop by.
Three Common Hiccups and How to Fix Them
Sometimes your bars come out too dry. That usually means the oven was too hot or you baked them too long. Next time, check them a few minutes early. The center should spring back when you lightly press it with your finger.
Another problem is frosting that turns runny. This happens if the butter or cream cheese is too warm. I once tried to rush and used butter straight from the fridge. It was lumpy and sad. Let both soften on the counter for an hour first. That makes a fluffy, creamy spread.
Your bars might also stick to the pan. Always use non-stick spray and parchment paper. Let the parchment hang over the edges like handles. This makes lifting the whole block out so easy. Which of these problems have you run into before? Fixing these small issues helps you feel proud of your baking. It also makes every batch taste like you meant it to.
Here is a fun fact: Pumpkin puree is not the same as pumpkin pie filling. Puree is just pumpkin. Pie filling has sugar and spices already added. Always grab the plain puree for this recipe.
Your Top 5 Questions Answered
Q: Can I use a different gluten-free flour?
A: Yes, but use a 1:1 baking blend. It already has the right starches and gums for good texture.
Q: Can I make these bars ahead of time?
A: Absolutely. Bake them one day early. Store them unfrosted in the fridge. Frost them right before serving.
Q: What can I swap for the eggs?
A: Use flax eggs. Mix 1 tablespoon ground flaxseed with 3 tablespoons water for each egg. Let it sit for 5 minutes.
Q: Can I double the recipe?
A: Yes. Use a larger pan or two pans. Bake times may go up by a few minutes.
Q: Do I have to add the toffee bits?
A: No. They add crunch, but the bars are delicious without them. Try chopped nuts or chocolate chips instead. Which tip will you try first?
A Sweet Goodbye from My Kitchen to Yours
I hope these pumpkin bars bring warmth to your table. There is something special about a homemade treat shared with people you love. I still remember handing a plate of these to my grandson after school. His smile said everything.
Please share your baking adventures. Take a photo of your bars and show them off. Have you tried this recipe? Tag us on Pinterest! I love seeing your kitchens come alive. Happy cooking!
—Chloe Hartwell.
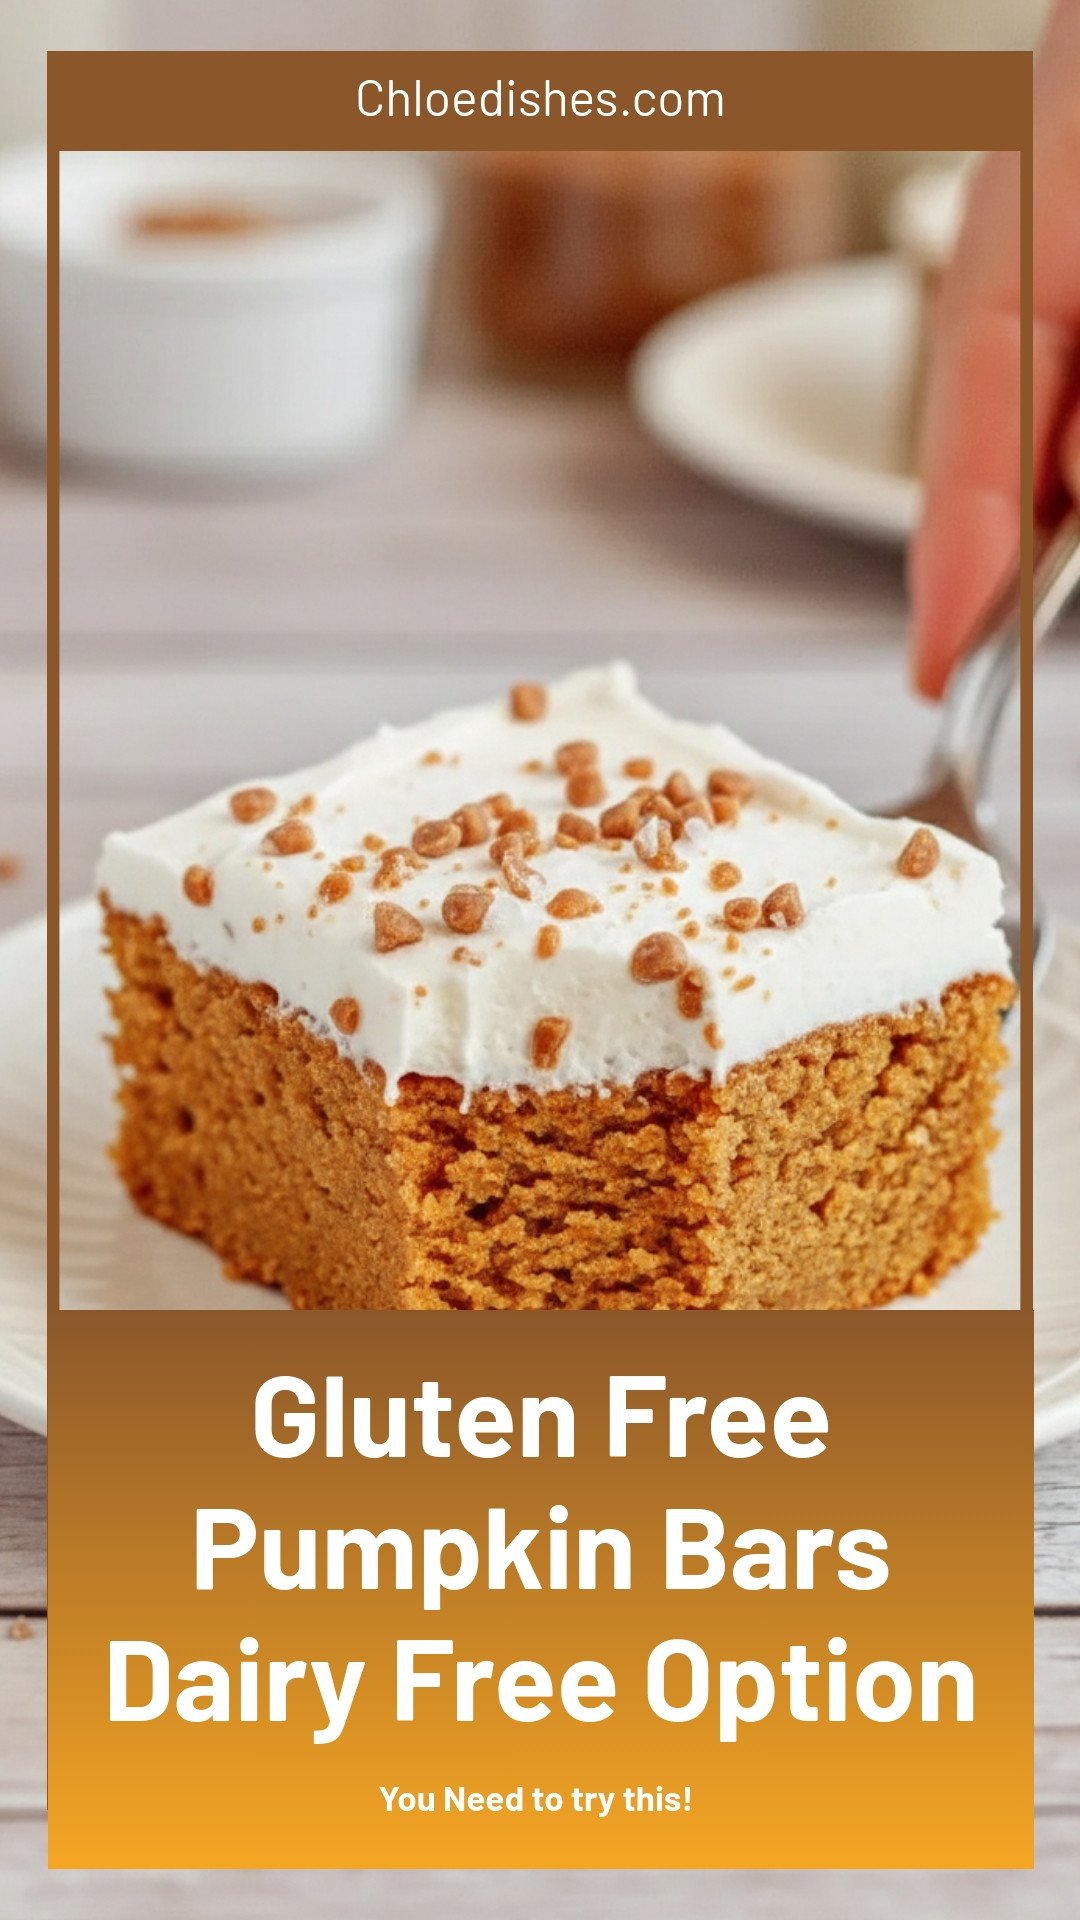
Gluten-Free Pumpkin Bars (Dairy-Free Option): Gluten Free Pumpkin Bars Dairy Free Option
Description
Moist gluten free pumpkin bars with a creamy dairy free option. Easy fall dessert perfect for healthy baking.
Ingredients
Cream Cheese Frosting
Instructions
- Preheat the oven to 350ºF and prepare a 9×13 or 10×15-inch baking pan with non-stick baking spray and parchment paper.
- In a large mixing bowl, combine the pumpkin puree, eggs, brown sugar, white sugar, oil, milk, and vanilla and whisk together until smooth.
- Measure in the flour, baking soda, baking powder, salt, and pumpkin pie spice and whisk again until just combined.
- Pour the pumpkin batter into the prepared pan, spread evenly, and bake for about 30-35 minutes for a 10×15-inch pan or 35-40 minutes for a 9×13-inch pan. The center should spring back when lightly pressed.
- Remove from the oven, cool for 5 minutes, cover with plastic wrap, and allow to fully cool in the fridge before frosting.
- In a stand mixer or large mixing bowl with electric beaters, cream the butter and cream cheese together on high until light and fluffy. This should take approximately 5-10 minutes.
- Add in the powdered sugar and salt and mix on low until combined. Turn the mixer up to high and allow it to beat for another 5 minutes. Scrape down the sides of the bowl when necessary.
- Gently fold in the toffee bits.
- Spread the toffee cream cheese frosting over the fully cooled pumpkin bars and, if desired, top with additional toffee bits and a sprinkle of coarse or flaky sea salt. Enjoy!
Notes
- Store leftover pumpkin bars in an airtight container at room temperature for 3 days, in the fridge for 5 days, or frozen for up to 3 months.


Leave a Reply