
The First Time I Made Cheesecake
The first time I baked a cheesecake, I was so nervous. I thought it would fall apart or crack right down the middle. Turns out, it was easier than I expected. That first bite made me laugh out loud. It was so creamy and rich. I still laugh at that memory now. Have you ever been scared to try a new recipe? What happened?
This cheesecake is extra special because it uses gluten-free Oreos. That means almost everyone can enjoy a slice. I love making desserts that welcome all my friends to the table. That is what cooking is really about.
Why We Use Room Temperature Ingredients
You will notice the recipe says to use room-temperature cream cheese, eggs, and cream. This is not just being picky. Cold ingredients do not mix together smoothly. They create little lumps. Room temperature ingredients blend into a silky, dreamy batter. It is like how a warm hug feels better than a cold one.
One *fun fact* is that professional bakers set out their cream cheese the night before. They know the secret to a smooth cheesecake. If you forget, just let your ingredients sit on the counter for an hour. Does your kitchen ever get too hot? I have to keep an eye on my butter in the summer.
The Little Story of a Cracked Cheesecake
Once, I forgot to wrap my springform pan in foil. I poured the water bath right in, and guess what? Water snuck inside. My cheesecake came out looking like a sad, wet pancake. We ate it anyway, and it still tasted wonderful. That is the thing with cooking. Even mistakes can be delicious.
The water bath is important because it keeps the cheesecake from cracking. The gentle steam makes the oven temperature steady. No sudden heat shocks. This is why you wrap the pan three times. I count them out loud. One. Two. Three. Never forget.
Patience Makes It Perfect
This cheesecake asks you to wait a long time. You bake it, then let it cool in the oven for an hour. Then it rests on the counter. Then it chills in the fridge for four hours. That is a lot of waiting. But trust me, this matters. The cheesecake is setting its flavor and texture during those quiet hours.
Patient food tastes better. That is a truth I learned from my own grandma. She would say, “Good things take their sweet time.” Next time you are hungry and waiting, just think of that creamy slice waiting for you. What is the longest you have ever waited for a meal?
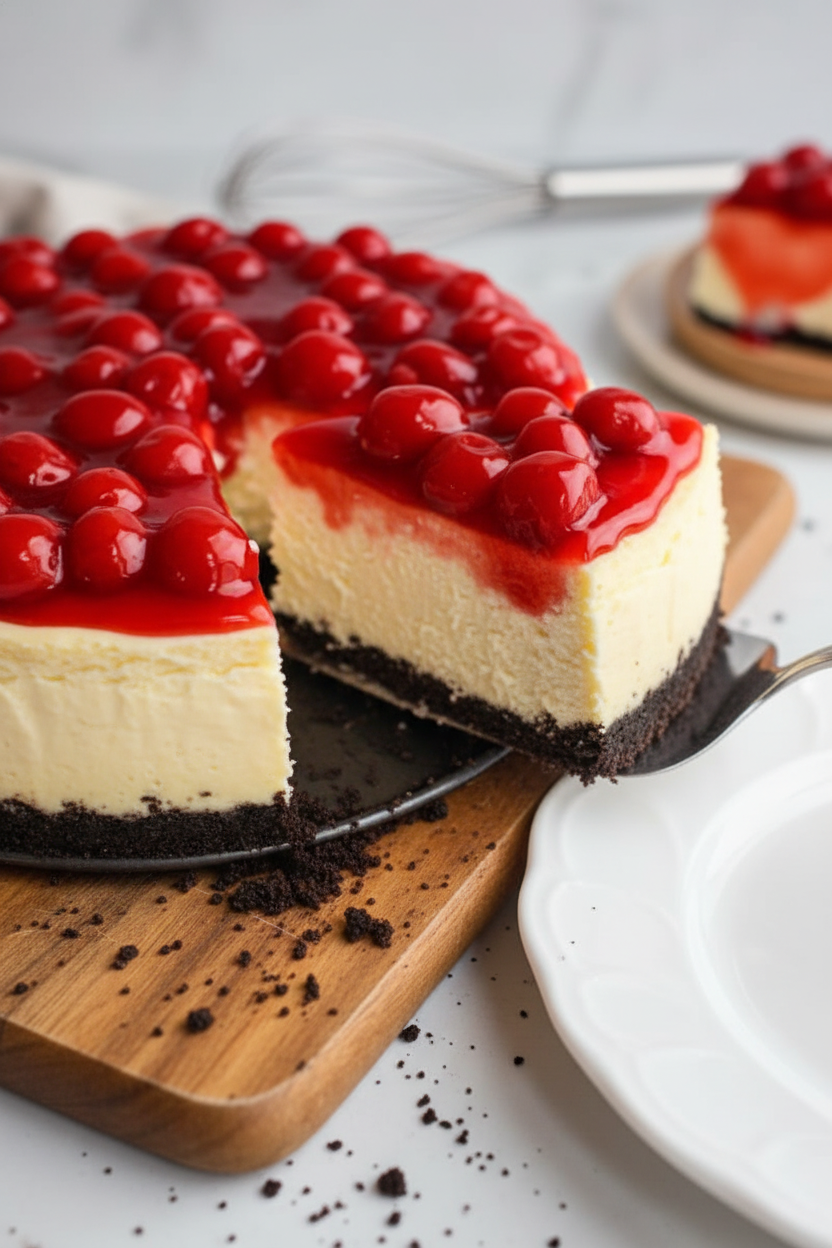
The Cherry On Top
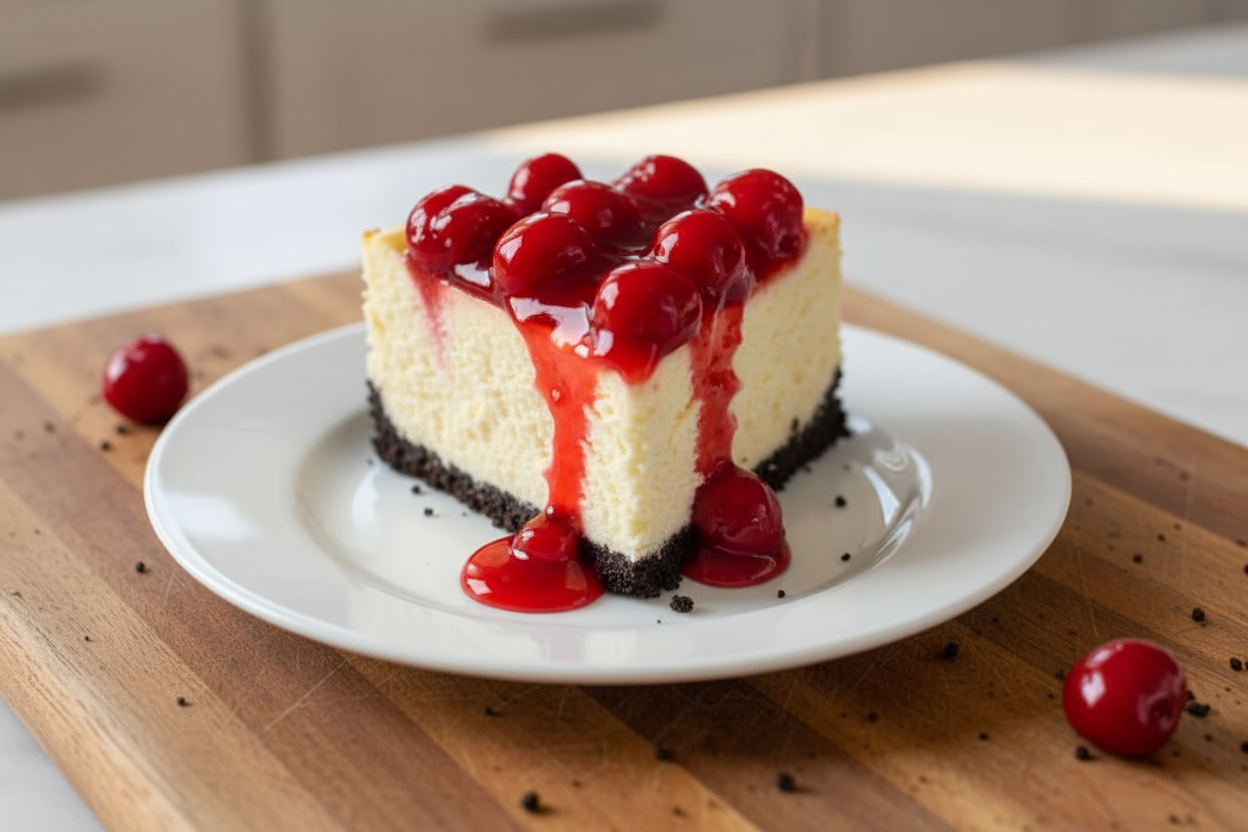
The final step is spreading a can of cherry topping over the top. It is like putting a shiny red crown on your dessert. The tart cherries balance the sweet, creamy cheesecake perfectly. I like to add a few extra cherries on top, just for looks.
You can swap the cherry for any topping you love. Maybe strawberry, blueberry, or even chocolate sauce. The cheesecake is your blank canvas. Why does this matter? Because cooking should always feel like play. Do you prefer fruit or chocolate on your cheesecake? I would love to know.
Making Memories with Every Bite
Cheesecake is more than just dessert. It is what you bring to birthday parties and holiday dinners. It is the treat you share with neighbors. When I serve this cheesecake, people close their eyes and smile. That is the best feeling in the world. I hope you get to see that smile too.
So get your Oreos, your cream cheese, and a big springform pan. Invite someone to help you press the crust. Laugh if you get flour on your nose. That is the mark of a real baker. Have you ever shared a recipe that became a family tradition? Tell me all about it.
Ingredients:
| Ingredient | Amount | Notes |
|---|---|---|
| Cream cheese | 4 packs | softened |
| Sugar | 1 ⅓ cup | |
| Salt | a pinch | |
| Eggs | 4 | room temperature |
| Vanilla bean paste | 2 tablespoons | |
| Heavy cream | ⅔ cup | room temperature |
| Sour cream | ⅔ cup | room temperature |
| Cherry topping | 1 can | corn syrup free |
| Gluten free Oreos | 20 | |
| Butter | ¼ cup | melted and cooled |
My Grandma’s Secret Cheesecake (It’s Gluten Free!)
I still remember the first time I baked this cheesecake. The kitchen smelled like vanilla and home. My grandma would always say, “The secret is patience, dear.” And she was right, as always. This gluten free cheesecake is creamy, dreamy, and perfect for a birthday or just a Tuesday. Doesn’t that sound amazing? Let’s get our hands a little messy and make something wonderful.
First, grab your ingredients and let them warm up on the counter. Cold cream cheese is grumpy cream cheese. It won’t mix smoothly. I learned that the hard way when I was twelve. I ended up with lumpy cheesecake and a sad face. So let those eggs, cream, and sour cream sit out for an hour. Your future self will thank you.
Now for the crust. It’s made with gluten free Oreos, which are just as delicious as the original. I like to crush them until they feel like wet sand at the beach. Butter is our glue here. Press the crumbs down firmly into your pan. Use a flat-bottomed cup if you want. It makes the crust nice and even.
Baking the crust first gives it a little crunch. While it cools, we whip up the filling. Cream cheese and sugar become fluffy clouds after a few minutes of beating. Add the eggs one by one, and be patient. This is where the magic happens. The sour cream makes it extra tangy and smooth.
The water bath sounds fancy, but it’s just a warm hug for your cheesecake. Foil around the pan keeps water out. Pour hot water into the bigger pan carefully. No splashing, please! Then bake low and slow. The top will turn golden, and the center will have a gentle jiggle. That’s how you know it’s perfect.
Cooling is the hardest part, I won’t lie. You have to let it rest in the oven, then on the counter, then in the fridge. But trust me, that wait is worth it. The flavors get deeper and richer. When you finally spread that cherry topping on top, you’ll feel like a real baker. What’s your favorite topping for cheesecake? Share below!
Let’s Bake Together: Step-by-Step
Step 1: Preheat your oven to 350 degrees Fahrenheit. Grab 20 gluten free Oreos and toss them into a food processor. Pulse until they look like fine, dark sand. No big chunks allowed. (Hard-learned tip: If you don’t have a food processor, put the cookies in a zip-top bag and crush them with a rolling pin. It works great and is oddly satisfying.)
Step 2: Pour 1/4 cup of melted butter over the Oreo crumbs. Pulse again until it all sticks together like wet sand. Press this mixture into a 9-inch springform pan. Use your fingers or the bottom of a measuring cup to press it down flat and even. Bake for 10 minutes, then let it cool completely.
Step 3: Turn your oven down to 325 degrees. In a large bowl, beat 4 packages of softened cream cheese with a paddle attachment. Beat on high for 4 minutes. It will get fluffy and light, like a cloud you can eat. Add 1 and 1/3 cups of sugar and beat for another 4 minutes. Scrape the bowl once if you need to.
Step 4: Add a pinch of salt and 2 tablespoons of vanilla bean paste. Mix until combined. Now, with the mixer running on low, add one egg at a time. Let each egg mix in for 30 seconds before adding the next. This prevents lumps. I once added all the eggs at once and ended up with scrambled cheesecake. Learn from my mistake.
Step 5: Finally, mix in 2/3 cup of heavy cream and 2/3 cup of sour cream. Beat until everything is smooth and creamy. It will look like thick pudding. Wrap the bottom of your springform pan in three layers of foil. This keeps the water bath from leaking in during baking.
Step 6: Pour the batter over the cooled crust. Place the springform pan into a larger roasting pan. Carefully pour hot water into the roasting pan until it reaches halfway up the sides of the springform pan. Bake for 85 to 90 minutes. The edges will be set, and the center will jiggle just a little.
Step 7: Turn off the oven and crack the door open. Let the cheesecake sit inside for one hour. It finishes cooking gently this way. Then take it out and cool it on the counter for another hour. Wrap it tightly in plastic wrap and refrigerate for at least 4 hours, or overnight. Spread the cherry topping on top before serving. What’s the best part of making this cheesecake? Share below!
Cook Time: 1 hour 30 minutes
Total Time: 6 to 7 hours (includes cooling and chilling)
Yield: 12 slices
Category: Dessert
Three Fun Twists to Try
Feeling adventurous? Here are three ways to switch up this cheesecake. Each one is easy and delicious.
Lemon Blueberry Dream: Swap the cherry topping for a homemade lemon curd and fresh blueberries. Add a teaspoon of lemon zest to the batter. It tastes like sunshine in spring.
Chocolate Lover’s Special: Mix 1/2 cup of melted dark chocolate into the batter before pouring. Top with chocolate shavings and fresh raspberries. My nephew calls this “the best thing ever.”
Salted Caramel Pecan: Skip the cherry topping. Make a simple salted caramel sauce and drizzle it over the top. Add chopped toasted pecans for crunch. It’s like a fancy dessert from a restaurant. Which one would you try first? Comment below!
How to Serve Your Cheesecake
Serving this cheesecake is almost as fun as baking it. For a pretty plate, put a thin slice on each dish. Add a small pile of fresh berries on the side. A dollop of whipped cream never hurts. You can also drizzle extra cherry syrup around the plate for a fancy look.
For drinks, I love a tall glass of cold milk. It pairs perfectly with the sweet creaminess. For the grown-ups, a small cup of strong coffee or espresso is lovely. The bitter coffee balances the sweet cheesecake so well. Which would you choose tonight?
How to Store Your Cheesecake So It Stays Creamy
This cheesecake loves the fridge. Wrap it tight in plastic wrap after it cools. It will keep for up to five days. I once forgot a slice on the counter overnight. It was a sad, soupy mess the next morning. Lesson learned. The fridge keeps it firm and creamy. You can also freeze it for up to a month. Just wrap it in plastic and then foil. Thaw it in the fridge overnight. Batch cooking is wonderful here. Make two cheesecakes at once. Freeze one for a busy week. Why does this matter? It saves you time and stress. You always have a dessert ready for guests. Have you ever tried storing it this way? Share below!
Three Common Problems and How to Fix Them
The first problem is a cracked top. Your oven might be too hot. Keep the temperature at 325 degrees. Also, do not open the oven door while it bakes. I remember my first cheesecake had a giant canyon in the middle. It tasted fine but looked sad. Why does this matter? A smooth top makes you feel proud. It also looks beautiful when you add cherry topping.
The second problem is a soggy crust. This happens when water leaks into the pan. Be sure to wrap the bottom in foil three times. Press the foil tight around the edges. I once skipped a layer of foil. The crust turned into mush. It still tasted good but fell apart. Why does this matter? A crisp crust gives the cheesecake a nice crunch. It makes each bite more fun.
The third problem is lumpy batter. Your cream cheese must be room temperature. Cold cream cheese does not mix smoothly. Let it sit out for an hour before you start. Beat it for a full four minutes until fluffy. My grandma always said, “Patience makes the batter smooth.” Which of these problems have you run into before?
Five Quick Questions About This Cheesecake
Q: Is this cheesecake really gluten-free?
A: Yes, as long as you use gluten-free Oreos. Regular Oreos have wheat flour.
Q: Can I make this cheesecake a day ahead?
A: Yes. It actually tastes better the next day. The flavors blend together nicely.
Q: What can I use instead of vanilla bean paste?
A: Use two teaspoons of vanilla extract. It works just as well.
Q: Can I halve the recipe for a smaller pan?
A: Yes. Use a 6-inch springform pan. Bake for about 50 minutes instead.
Q: Do I have to use a water bath?
A: It helps the cheesecake bake evenly. You can skip it, but the top may crack. Which tip will you try first?
A Warm Goodbye from My Kitchen to Yours
I hope you love this cheesecake as much as my family does. It is creamy, rich, and full of joy. The cherry topping makes it look like a party on a plate. If you try it, take a photo. Share it with your friends and family. Have you tried this recipe? Tag us on Pinterest! I love seeing your baking adventures. Remember, simple food made with love is always the best. Happy cooking! —Chloe Hartwell.
*Fun fact: Cheesecake is one of the oldest desserts in history. Ancient Greeks served it to athletes at the first Olympic games.
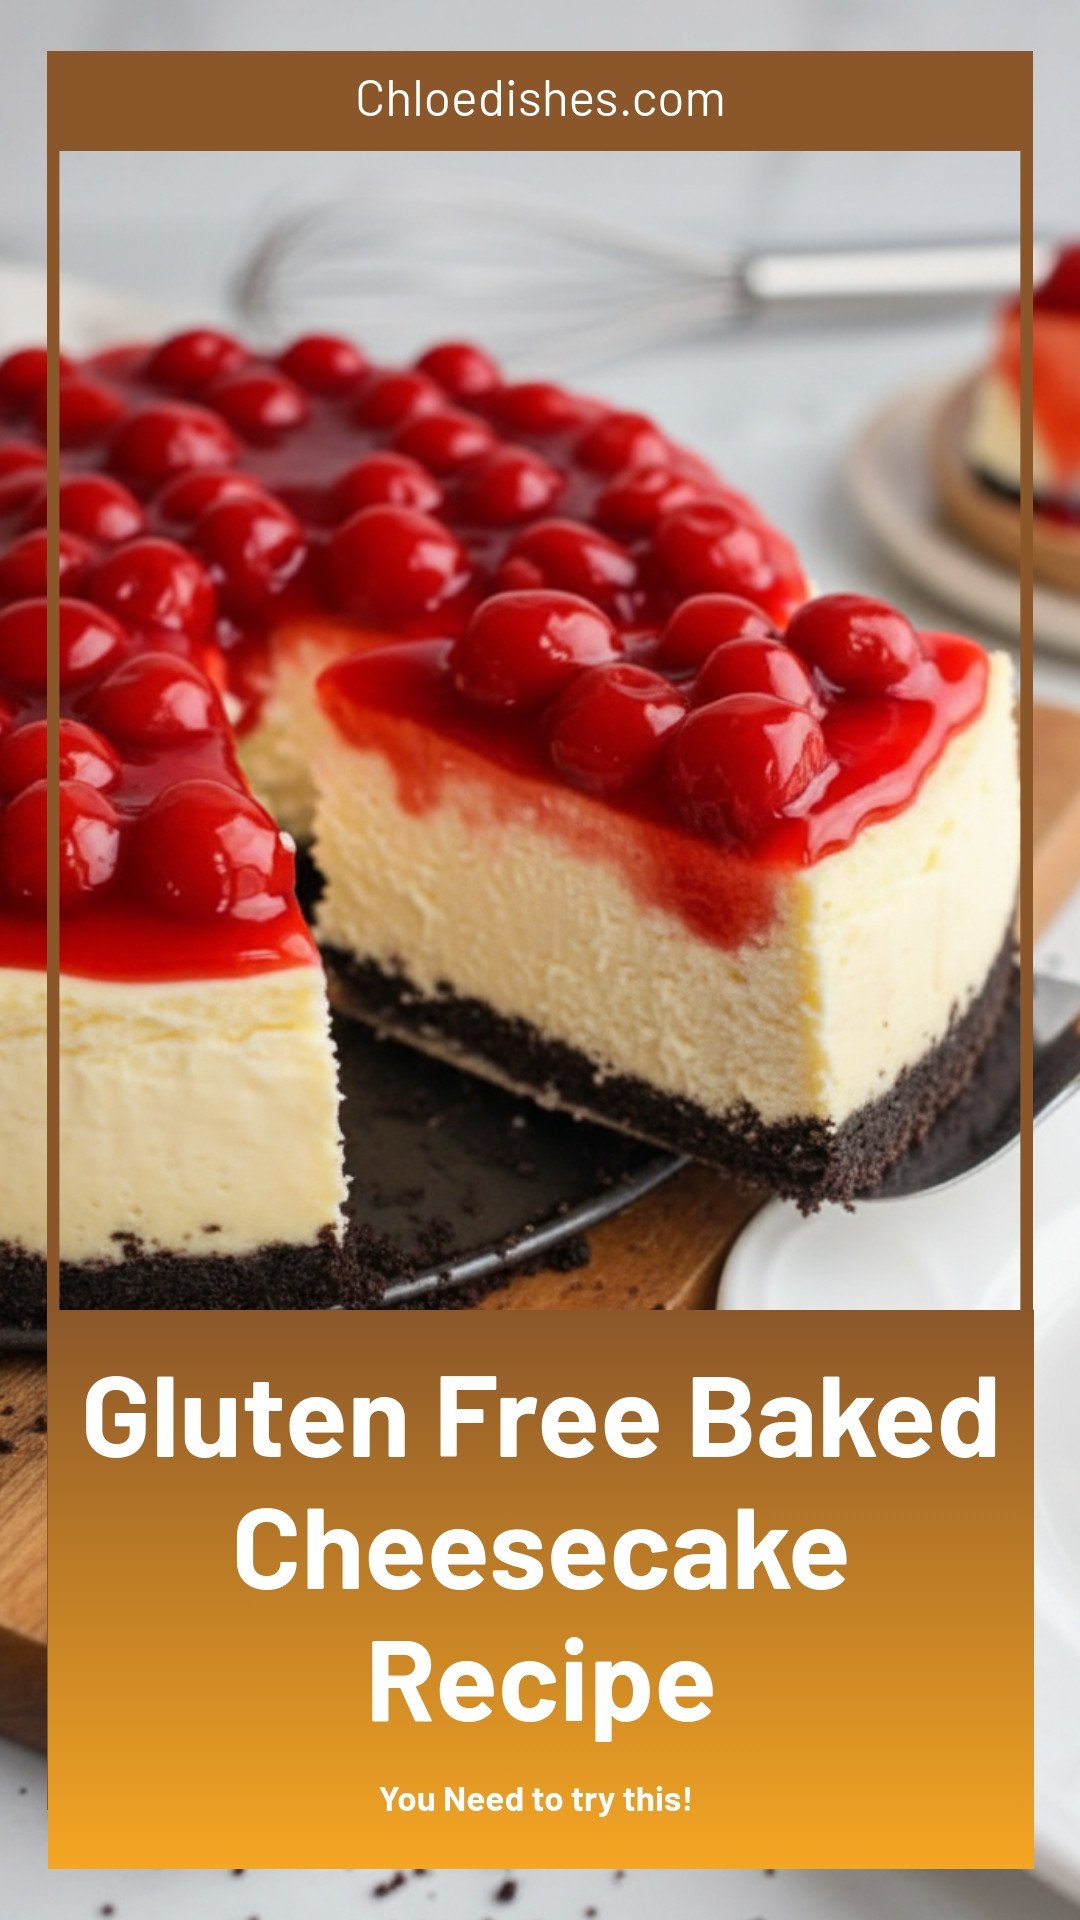
Gluten Free Baked Cheesecake Recipe
Description
Indulge in this rich, creamy gluten free baked cheesecake recipe. Perfectly dense and easy to make for any dessert lover.
Ingredients
Instructions
- Preheat your oven to 350 ℉.
- Add your Oreos to a food processor and pulse them until they’re fine and sandy.
- Add your melted butter to the Oreo crumbs and pulse to combine.
- Add your Oreo crumbs to a 9” springform pan and press down firmly to form your crust. You can use the underside of a measuring cup for this if you like.
- Bake your crust for 10 minutes. Remove it from the oven and allow it to cool completely while you make your cheesecake filling.
- Lower the heat of the oven to 325 ℉.
- Add your room-temperature cream cheese to the bowl of your mixer. Make sure your mixer is fitted with a paddle attachment and mix on high for 4 minutes. It will begin to get fluffy.
- Add your sugar to the whipped cream cheese and beat it on high for another 4 minutes.
- Next add your salt and vanilla bean paste and mix to combine.
- With the mixer running, add one egg at a time. Allow each egg to incorporate for 30 seconds before adding the next.
- Finally, mix in the sour cream and heavy cream until completely incorporated. The mixture will be extremely creamy.
- Prepare your 9” springform pan by wrapping the bottom three times in foil. This will prevent water from getting in as this cheesecake is baked in a water bath.
- Pour your cheesecake batter into the baked Oreo crust.
- Place your springform pan into a larger pan such as a roasting pan.
- Carefully pour water into the larger pan allowing it to reach halfway up the springform pan, but no further. You can do this in the oven so it doesn’t splash into the cheesecake batter.
- Allow the cheesecake to bake for 85-90 minutes. The top will be a light golden color and the cheesecake will be set but still have a little jiggle.
- Once your cheesecake is down crack open your oven door and let your cheesecake gently cool down in the oven for an hour. The residual heat will gently finish cooking the cheesecake.
- Remove the cheesecake from the larger pan and allow it to cool on the counter for another hour. You want to make sure it is completely cool before covering it in plastic wrap so steam doesn’t make any condensation on the cheesecake.
- Tightly wrap the cooled cheesecake in plastic wrap and allow it to refrigerate for at least four hours. You can make this cheesecake a day in advance.
- Once your cheesecake has been completely chilled and set, spread your cherry topping over the top before serving.


Leave a Reply