
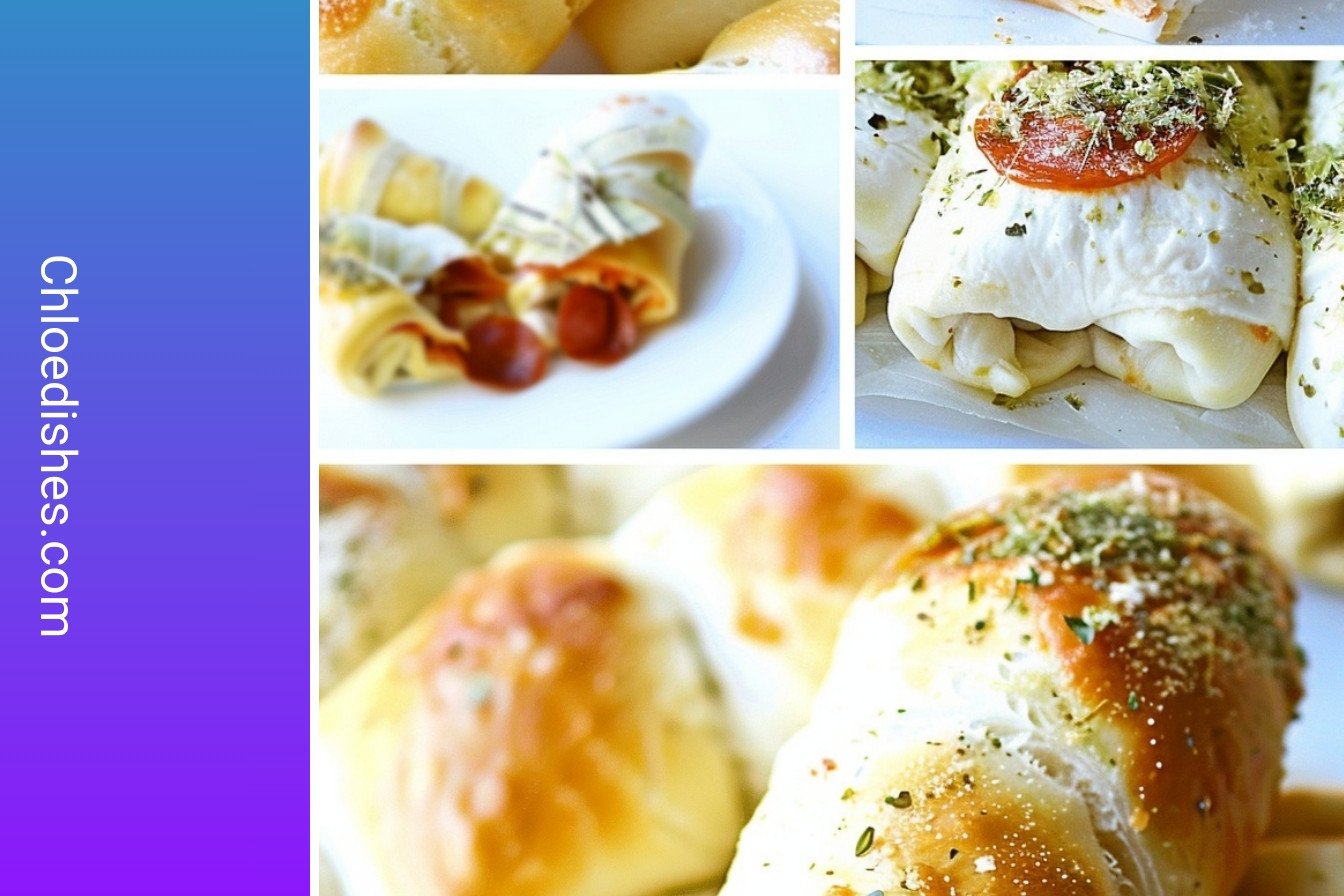
My First Pizza Roll-Up
I first made these for my grandson, Leo. He wanted pizza, but I had no dough. I saw a tube of crescent rolls in the fridge. I thought, why not give it a try. We rolled up the pepperoni and cheese inside. The whole kitchen smelled so good.
Leo took one bite and his eyes got wide. He said, Nana, these are magic! I still laugh at that. It matters because sometimes the best meals are happy accidents. They bring us together. What is your favorite magic meal you’ve made?
Let’s Get Rolling
First, preheat your oven to 375 degrees. Get out a baking sheet. Lining it with parchment paper is a good idea. It stops the bottoms from getting too dark. It makes cleanup easy, too. I always do it.
Now, pop open that tube of crescent rolls. It always makes me jump! Separate the dough into triangles. Lay them out on your baking sheet. The wide end is where all the fun starts. What is your favorite dipping sauce? I love a good marinara.
The Fun Part: Filling & Folding
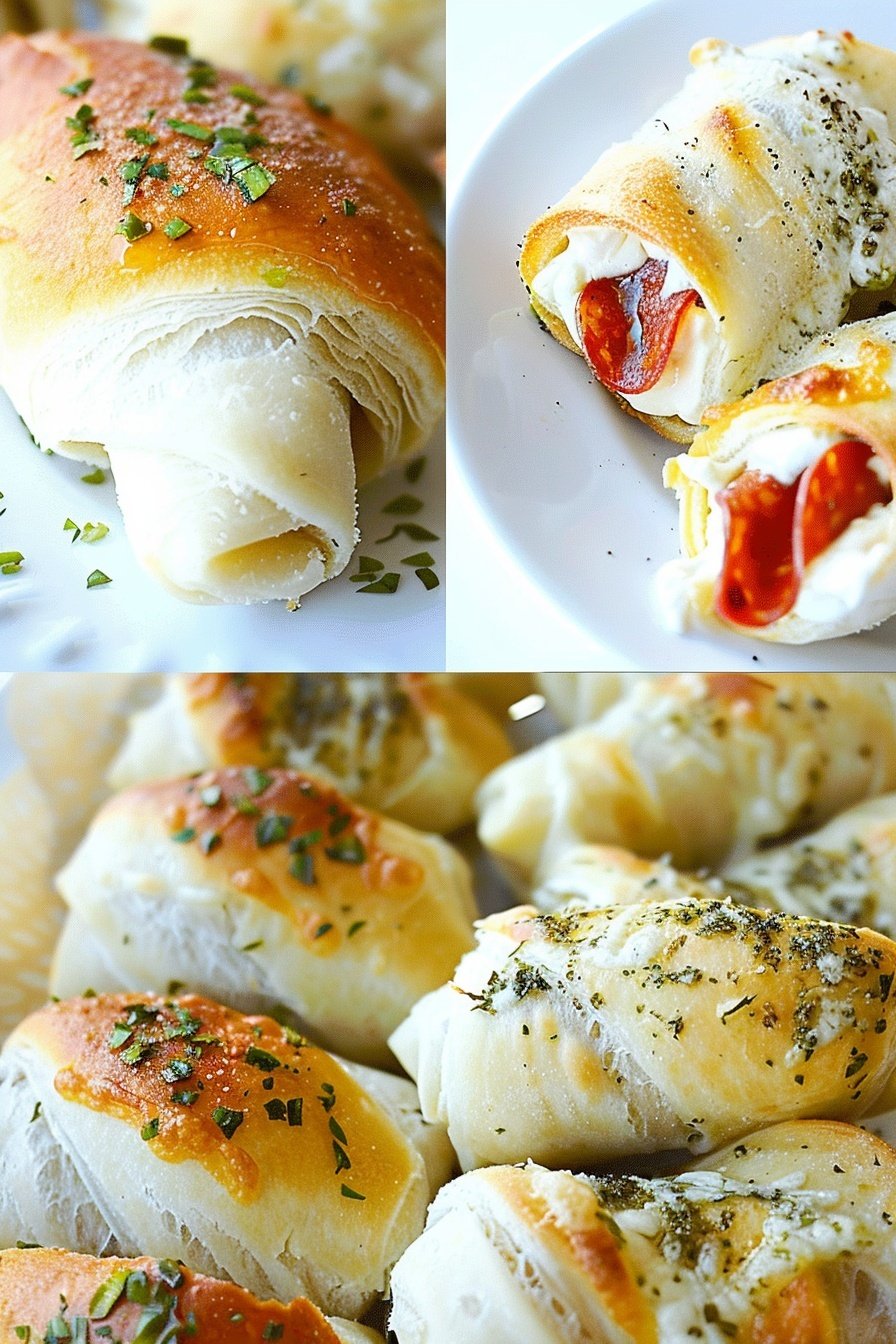
At the wide end of each triangle, add mini pepperoni. Then, sprinkle on that lovely mozzarella cheese. Do not be shy with the cheese. The more, the merrier, I say. Doesn’t that look delicious already?
Here is the secret step. Fold the two side corners in over your toppings. This makes a little pocket. Now, just roll it all up towards the pointy tip. It is like making a tiny, tasty burrito. Fun fact: The first pizza was just bread with toppings, no cheese!
Golden Brown and Buttery
Bake your roll-ups for 12 to 14 minutes. Watch for a nice golden brown color. That is how you know they are ready. The smell will drive you crazy. It is the best part.
Take them out of the oven. Be careful, they are hot! Now, brush the tops with melted butter. Sprinkle on the garlic salt and chives. This step matters. It gives them that special, restaurant-quality flavor. It makes them extra special.
Your Turn in the Kitchen
This recipe is so easy to change. You could use cooked sausage instead of pepperoni. Or add some chopped olives. Making food your own is a wonderful thing. It builds confidence.
I love hearing about your kitchen adventures. What other fillings would you try in these roll-ups? Share your ideas with me. Let’s keep making simple, happy food together.
Ingredients:
| Ingredient | Amount | Notes |
|---|---|---|
| crescent rolls | 1 tube | |
| mini pepperoni | 1 package | |
| mozarella cheese | 1 cup | shredded |
| butter | 2 tbsp | melted |
| garlic salt | ¼ tsp | |
| chives | 1 tbsp | chopped |
My Cheesy Pepperoni Roll-Ups
My grandson Leo calls these my pizza cookies. I still laugh at that. They are so fun to make together. You get that wonderful smell of baking bread and pepperoni. Doesn’t that smell amazing? It fills the whole kitchen with happiness. These little roll-ups are perfect for an after-school snack. They are also great for game night with friends.
Let me walk you through it. It’s easier than you think. Just follow these simple steps for a delicious treat.
- Step 1: First, get your oven nice and hot. Set it to 375°. This gives it time to warm up. Then grab a baking sheet. Lining it with parchment paper is a big help. (This is my hard-learned tip! It stops the bottoms from getting too dark.)
- Step 2: Now, open the tube of crescent rolls. Don’t you love that little pop? Separate the dough into triangles. Lay them out on your baking sheet. Those triangles are like little blank canvases. I remember my own grandma teaching me to work with dough. It’s a special feeling.
- Step 3: Time for the good stuff! On the wide end of each triangle, add mini pepperoni. Then sprinkle on a handful of mozzarella cheese. You can add other toppings too. What’s your favorite pizza topping? Share below! Just don’t overfill them, or the cheese might escape.
- Step 4: Here’s the secret to a neat package. Fold the two side corners of the triangle inward. This makes a little pocket for your fillings. Then, just start rolling it up from the wide end to the point. You’ll get a perfect little bundle.
- Step 5: Pop them in the hot oven. Bake for about 12 to 14 minutes. You’ll know they’re done when they turn a beautiful golden brown. I like to watch them through the oven window. It’s the best part, waiting for them to puff up.
- Step 6: Take them out of the oven. Be careful, they’re hot! Mix your melted butter with the garlic salt. Brush this all over the warm roll-ups. This makes them shiny and so tasty. Finally, sprinkle on the chopped chives for a fresh bite.
Cook Time: 12–14 minutes
Total Time: About 25 minutes
Yield: 8 roll-ups
Category: Snack, Appetizer
Three Fun Twists to Try
This recipe is like a best friend. It’s happy to change its clothes! You can fill these rolls with so many different things. Get creative with what you have in the fridge. It’s a great way to make the recipe your own.
- Hawaiian Twist: Use chopped ham and little pineapple bits. It’s sweet and salty.
- Veggie Lover’s: Skip the pepperoni. Try chopped bell peppers and black olives instead.
- Breakfast Roll-Up: Fill with scrambled egg and crumbled bacon. Perfect for a busy morning.
Which one would you try first? Comment below!
Serving Them Up Right
These roll-ups are delicious all on their own. But I love making a little meal out of them. Serve a few on a plate with a small bowl of warm marinara sauce for dipping. A simple side salad with a light dressing is lovely too. It makes the plate look so colorful and inviting.
What to drink? A cold glass of root beer is a classic choice. For the grown-ups, a chilled Italian red wine is a nice match. Which would you choose tonight? Whatever you pick, enjoy every single bite.

Keeping Your Pizza Roll Ups Tasty
Let’s talk about keeping these roll ups for later. They are best fresh from the oven. But you can save them for a quick snack.
Let them cool completely first. Then store them in a sealed container in the fridge. They will stay good for about three days. You can also freeze them for a month.
I once put warm roll ups in a container. The steam made them soggy. Now I always let them cool on the rack. This keeps the bottoms crisp.
To reheat, use your oven or toaster oven. Bake at 350 degrees for five to ten minutes. This brings back their wonderful crunch. The microwave makes them soft and chewy.
Batch cooking saves you time on busy days. It means a homemade treat is always close by. Have you ever tried storing it this way? Share below!
Easy Fixes for Common Roll Up Troubles
Sometimes our cooking does not go as planned. Do not worry. Here are some simple fixes for common problems.
First, if your filling leaks out, you might have used too much. A small handful of cheese and pepperoni is perfect. I remember when my grandson loaded his up. We had a cheesy puddle on the pan.
Second, if the rolls are not browning, your oven might be too cool. An oven thermometer can help you check. Getting the temperature right gives you that perfect golden color.
Third, if the bottoms burn, try using parchment paper. It creates a protective layer. This small step makes a big difference. It builds your confidence in the kitchen. Which of these problems have you run into before?
Your Pizza Roll Up Questions Answered
Q: Can I make these gluten-free?
A: Yes! Just use a gluten-free crescent roll dough. It works very well.
Q: Can I make them ahead of time?
A: You can assemble them and keep them in the fridge. Bake them right before you eat.
Q: What other fillings can I use?
A: Try cooked sausage or just extra cheese. You can use whatever you like on pizza.
Q: Can I double the recipe?
A: Of course! Just use two baking sheets. You might need to bake a little longer.
Q: Is the garlic salt necessary?
A: It adds great flavor, but it is optional. You could use a little Italian seasoning instead. Which tip will you try first?
A Little Note From My Kitchen
I hope you love making these pizza roll ups. They always remind me of my grandkids after school. The kitchen fills with happy noise.
Fun fact: The first pizza was made in Italy over 1,000 years ago! I love how food connects us through time.
I would love to see your creations. Your photos always make my day. Have you tried this recipe? Tag us on Pinterest!
Happy cooking!
—Chloe Hartwell.
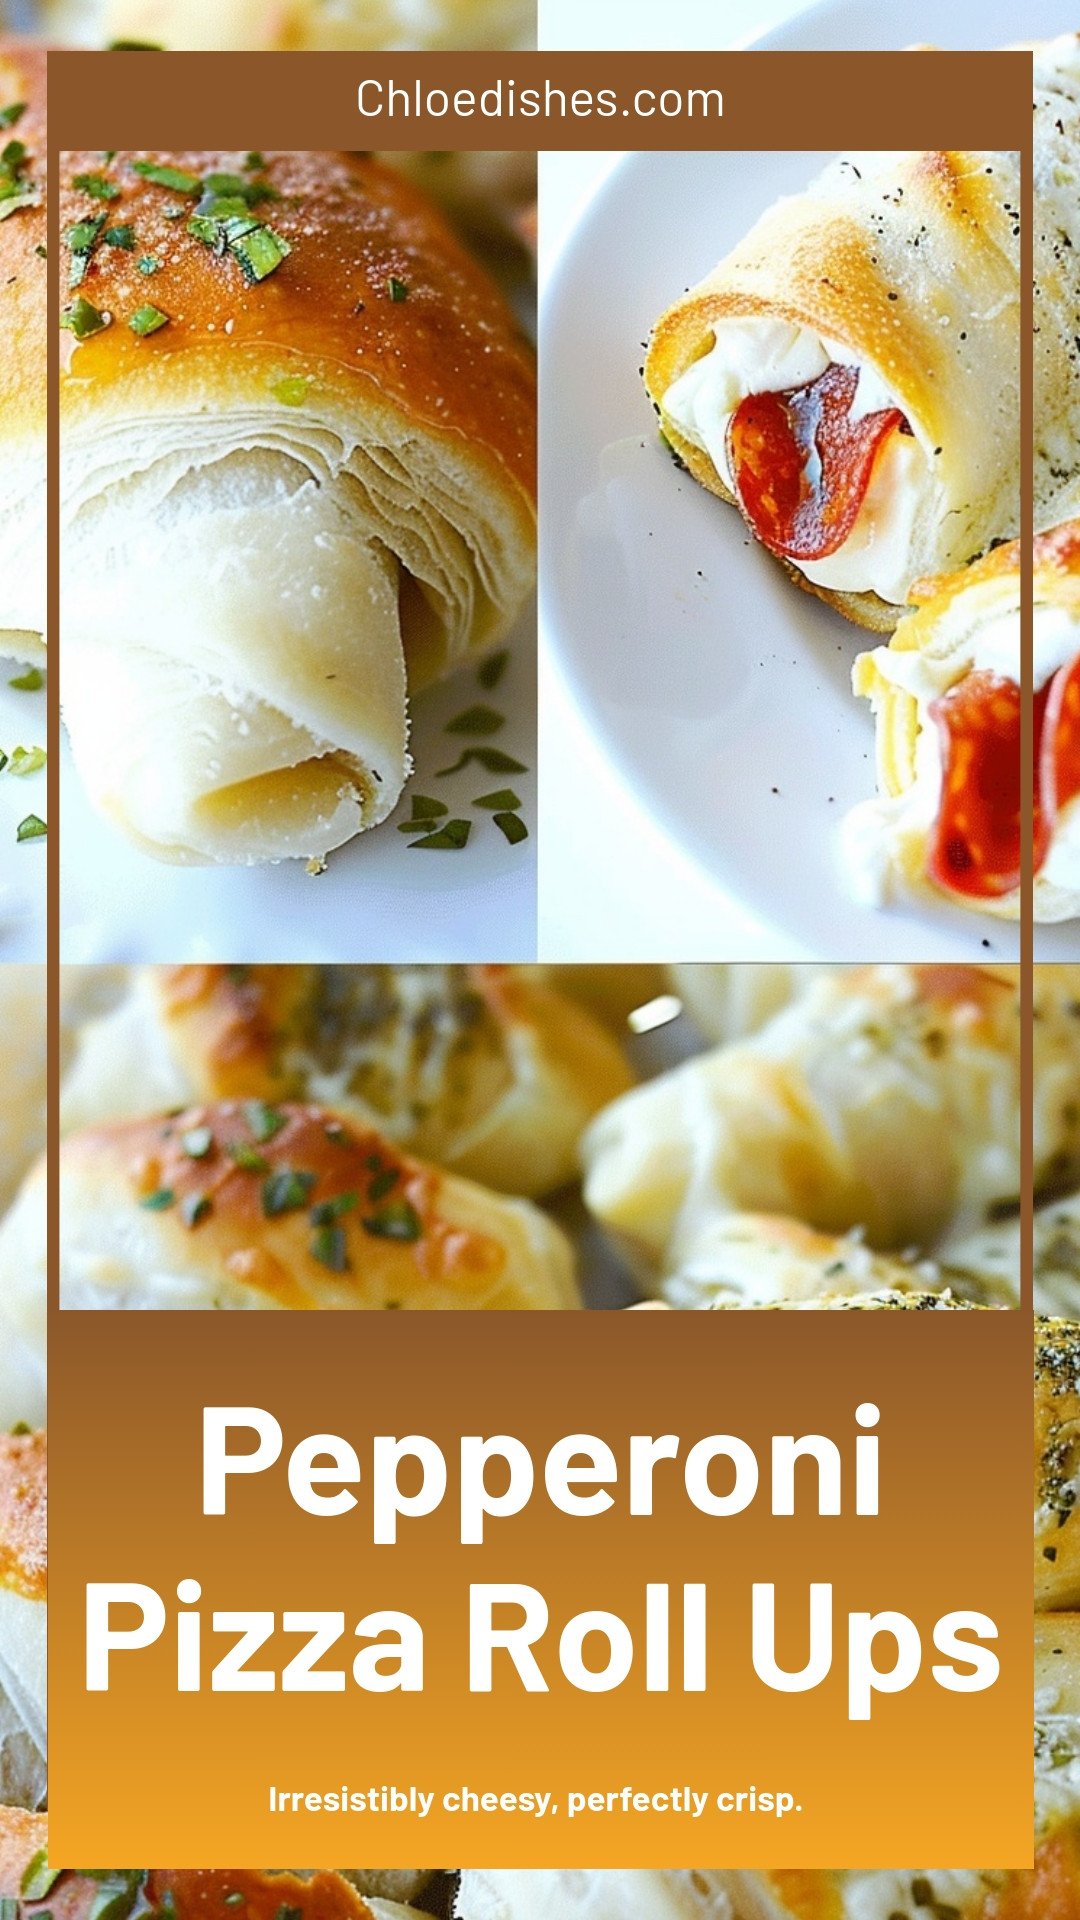
Pepperoni Pizza Roll Ups: Irresistibly cheesy, perfectly crisp.
Description
The easiest, cheesiest pepperoni pizza roll ups! Perfect for a quick snack, party appetizer, or fun kids lunch. Ready in under 20 minutes.
Ingredients
Instructions
- Pre-heat your oven to 375°.
- Separate your crescent rolls into individual triangles and lay on your baking sheet lined with a silicone mat or parchment paper (not required but it helps them not burn on the bottom).
- Add your favorite toppings to the wide end and top with shredded mozzarella cheese.
- Fold the ends inwards to keep your toppings in place and roll shut.
- Bake at 375° for 12-14 minutes. They are done when the tops are a nice golden brown color.
- Remove from the oven and brush with melted butter. Sprinkle garlic salt over the top and serve with your favorite dipping sauce!
Notes
- Serve with your favorite pizza dipping sauce!


Leave a Reply