

My First Taste of Poi
The first time I tried poi, I was at a big family luau in Hawaii. A kind lady handed me a little bowl of purple stuff. I did not know what to think. It was soft, a little sour, and very different from anything I ate back home. I took one bite, then another. Pretty soon, I was hooked. I still laugh at that memory.What Is Poi, Anyway?
Poi is a traditional Hawaiian dish made from the taro root. Think of it like a thick, sticky pudding. Hawaiians have been making it for hundreds of years. It does not look like much at first. But it is a big part of Hawaiian culture and family meals. Have you ever tried a food that looked strange but tasted great?The Simple Ingredients
You only need two things: one pound of taro root and half a cup of water. That is it. No fancy spices or hard-to-find items. Taro looks a bit like a potato, but purple inside. You can find it at some grocery stores or farmer’s markets. Just scrub it clean and peel it before you start.How to Make It at Home
First, cut your taro into chunks and steam them until soft. This takes about 20 minutes. The kitchen will smell earthy and warm. Doesn’t that smell amazing? Then comes the fun part. You pound the soft taro into a smooth paste. This used to be done with a big stone and lots of elbow grease. Today, you can use a mortar and pestle or even a mixer. The smooth paste is called paiai. *Fun fact: When poi sits out for a few days, it ferments and gets a sour tang. It also grows more probiotics than yogurt!*Finding Your Finger
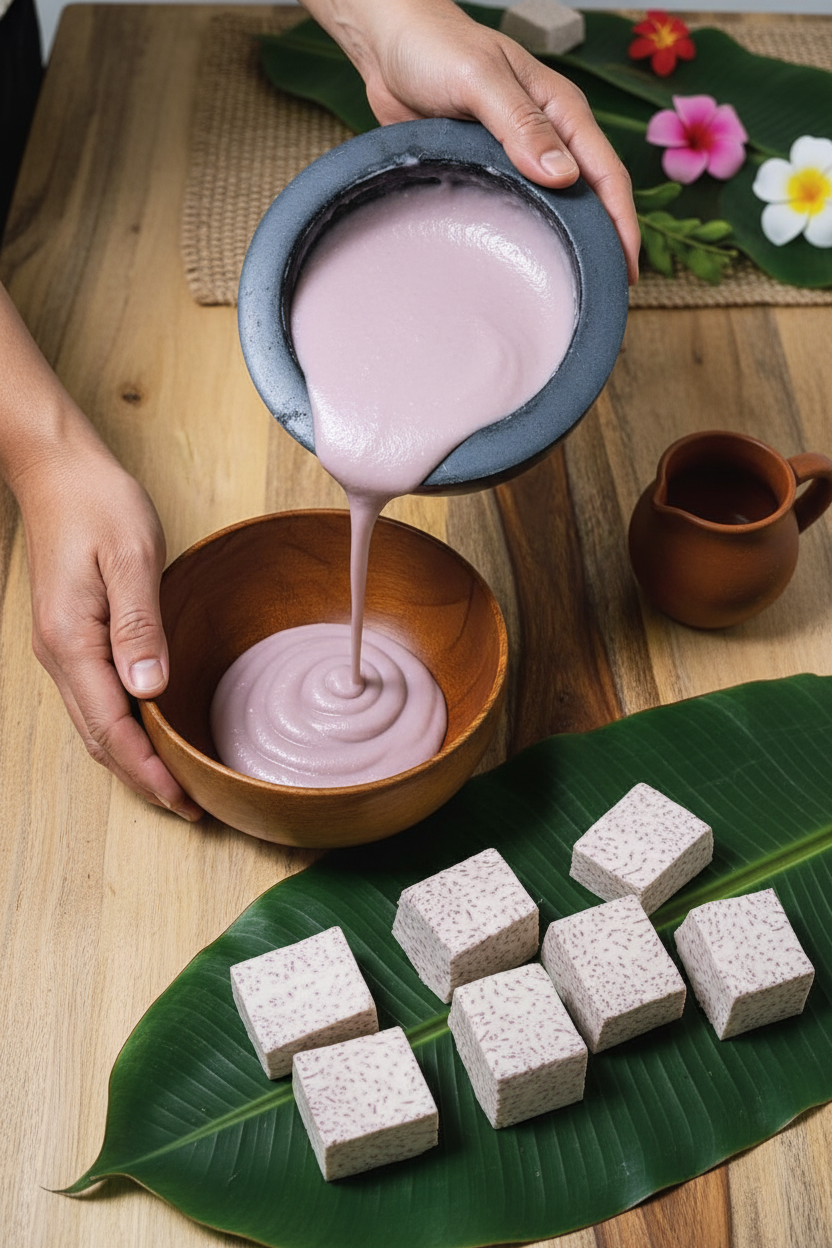
Now you add water a little at a time. You want it just thick enough to pick up with your fingers. If you need two fingers to scoop it, that is two-finger poi. One finger is thicker, three fingers is more runny. My grandma always said two-finger poi is the perfect thick. But you get to choose what you like. That is the best part of cooking. Which finger do you think you would try?Why This Matters
Poi is more than just food. It is a way to connect with history and family. Making it slowly teaches you patience. Pounding the taro is like a little meditation. It is also super healthy. Poi has lots of vitamin B and phosphorus for strong bones. And because it is gluten-free and low in fat, almost anyone can enjoy it. Does your family have a special dish that brings you together?A Story from My Kitchen
The first time I made poi myself, I added too much water. It looked like purple soup. My husband walked in and asked if I was making a drink. We both laughed so hard. I just added more pounded taro and fixed it right up. Now I always go slow with the water. Making mistakes in the kitchen is how we learn. Tell me about a funny cooking mistake you have made.Ingredients:
| Ingredient | Amount | Notes |
|---|---|---|
| Taro root | 1 pound | Scrubbed clean, peeled and cut into 2-inch chunks |
| Water | 1/2 cup | For desired consistency |
My First Taste of Poi (and a Sticky Mistake)
I still remember the first time I tried poi. I was visiting a friend in Hawaii, and her grandma handed me a bowl. It was purple and smooth, and I had no idea what to do with it. I stuck my whole hand in by accident. We laughed so hard we nearly cried. Doesn’t that smell amazing? It’s a gentle, earthy smell, like a quiet morning.
Poi is made from taro root, which is a starchy vegetable. It’s been a favorite in Hawaii for a very long time. People eat it with their fingers, which I think is the fun way. It’s also low-fat and gluten-free, which is nice for lots of folks. And get this: when you let it sit, it gets full of good probiotics, just like yogurt. Ever tried a fermented food before? Share below!
Let’s Make Poi Together
Okay, friend, roll up your sleeves. We are going to make homemade poi. It takes a little patience, but the result is worth every second. Here is how we do it, step by step.
Step 1: First, you need to steam your taro root. Grab that pound of taro, scrub it clean, peel it, and chop it into two-inch chunks. Put the chunks in a steamer basket over a pot of boiling water. Steam them until they are fork-soft, which takes about 20 to 25 minutes. (Hard-learned tip: Wear kitchen gloves when peeling raw taro. It can make your hands itchy if you don’t.)
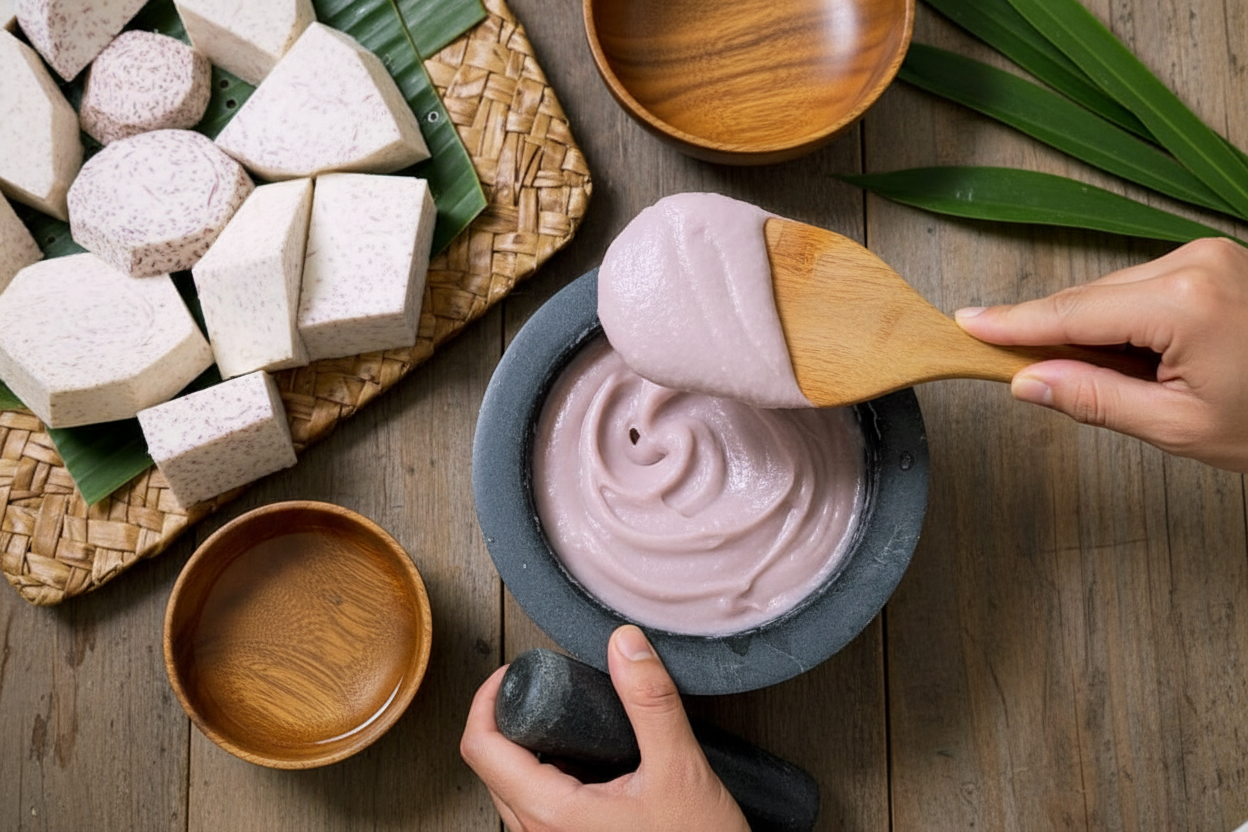
Step 2: Now comes the fun part–the pounding. Transfer your soft taro into a big mortar (a strong bowl). Use a pestle to pound it for about 20 minutes. Keep going until all the lumps and fibers are gone. The texture should be a smooth, sticky paste. This paste is called pa’i’ai, and it is the heart of poi. My arms got tired the first time, but I just thought of it as a workout.
Step 3: Time to find the right consistency. Keep mashing while you add a little water at a time, about half a cup total. You want it smooth but not runny. Here is the fun test: stick your fingers into the poi. If you can pick it up with two fingers, that is two-finger poi, the ideal texture. If you like it thicker, go for one-finger poi. Thinner means three-finger poi. It is your kitchen, so you decide. I usually aim for two-finger poi, just like my friend’s grandma taught me.
Cook Time: 20-25 minutes for steaming
Total Time: About 1 hour (including pounding)
Yield: About 4 servings
Category: Side dish, Snack
Three Fun Twists on Classic Poi
Poi is lovely plain, but sometimes we like a little change. Here are three easy ways to dress it up. Which one would you try first? Comment below!
Sweet Coconut Poi: Stir in a splash of coconut milk and a tiny pinch of sugar. It tastes like a gentle dessert.
Spicy Poi Dip: Mix in a dash of chili flakes and a squeeze of lime. It wakes up your taste buds.
Herb Garden Poi: Add some chopped cilantro or green onion. It makes the poi feel fresh and bright.
What to Eat and Drink with Poi
Poi is like mashed potatoes–it loves company. Try serving it next to grilled fish or roasted chicken. It also goes great with a simple salad of greens and tomatoes. For a cozy meal, pair it with a bowl of soup.
For drinks, you have two nice choices. Grown-ups might enjoy a light beer like a crisp lager. Kids and everyone else can sip a cold glass of pineapple juice or iced tea. Both taste wonderful with the earthy flavor of poi. Which would you choose tonight?
How to Store Your Poi and Keep It Fresh
Poi is a special dish. It changes flavor as it sits. Fresh poi tastes sweet and mild. After a day or two, it gets a tangy, sour taste. This is normal and loved by many. To store it, put your poi in a glass bowl. Cover it tight with plastic wrap. Keep it in the fridge. It stays good for about three to five days. I once left poi on the counter by mistake. It fermented fast and got too sour for my family. Now I always pop it in the fridge right away. You can also freeze poi. Spoon it into a freezer bag. Press out the air and seal it. It keeps for up to three months. When you want some, thaw it in the fridge overnight. Stir it well before eating. Batch cooking is smart here. You can make a big batch of pa’i’ai. Store half in the fridge and half in the freezer. That way you have poi ready for the whole week. Have you ever tried storing it this way? Share below! Why does this matter? Proper storage keeps the flavor just right. It also saves you time and waste. You get to enjoy poi at its best.
Common Poi Problems and Simple Fixes
Sometimes your poi turns out too stiff. This is a common issue. The fix is easy. Just add a little more water, a tablespoon at a time. Mash it until it feels right. I remember when I made my first poi. I added all the water at once. It became a runny mess. Now I go slow. Another problem is lumpy taro. This happens if you do not steam it long enough. Always test your taro with a fork. It should slide in like soft butter. Steam it five extra minutes if you are unsure. The third issue is poi that tastes bland. This is usually because you did not mash long enough. Mashing releases the natural sugars. That is where the sweet flavor lives. Be patient. Pound that taro for the full 20 minutes. Your arms might get tired. That is okay. It means you are doing it right. Which of these problems have you run into before? Why does fixing these matter? It builds your cooking confidence. You learn to trust your hands and eyes. Plus, the flavor becomes rich and true to the dish.
Your Poi Questions Answered
Q: Is poi gluten-free? A: Yes, taro root is naturally gluten-free. It is great for anyone who avoids gluten.
Q: Can I make poi ahead of time? A: Absolutely. Make it one or two days before serving. The flavor deepens as it sits.
Q: What if I do not have a mortar and pestle? A: Use a potato masher or a food processor. Just pulse gently so it does not get gummy.
Q: Can I double the recipe? A: Yes, scaling is simple. Just use double the taro and one cup of water. Steam in batches if needed.
Q: What is a fun fact about poi? A: *Fun fact: Poi contains more probiotics than yogurt when it ferments.* That is great for your gut health.
Which tip will you try first?
A Warm Goodbye from the Kitchen
I hope you try making poi at home. It is a simple, humble dish with big flavor. There is something cozy about pounding taro on a quiet afternoon. It connects you to history and to the table. I would love to see your creation. Have you tried this recipe? Tag us on Pinterest! Take a photo of your bowl of poi and share it. Keep cooking, keep tasting, and keep asking questions. The kitchen is a happy place. Happy cooking!
—Chloe Hartwell.
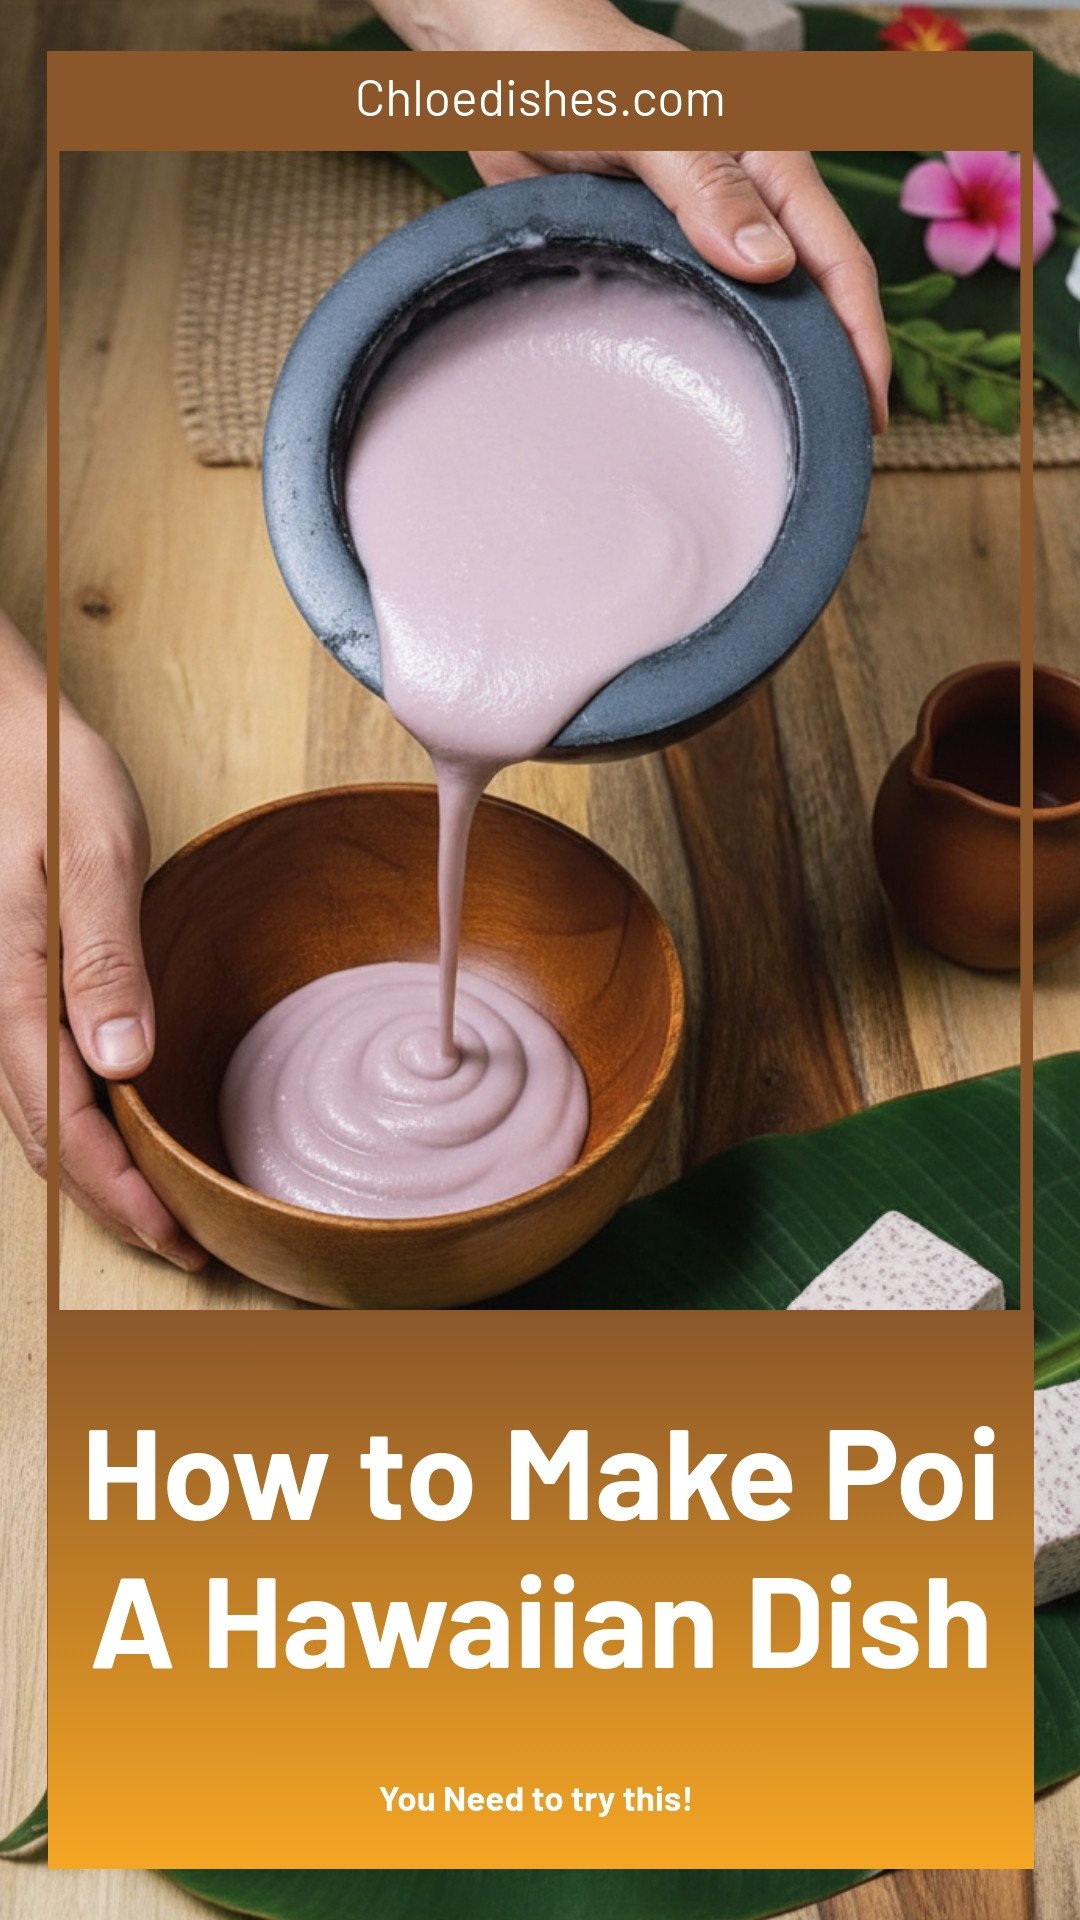
How to Make Poi A Hawaiian Dish
Description
Learn how to make poi, a traditional Hawaiian dish, with this easy step-by-step guide. Perfect for authentic island cooking at home.
Ingredients
Instructions
- Place taro root chunks in a steamer basket over a pot of boiling water. Steam your taro until fork-soft (about 20 to 25 minutes).
- Transfer steamed taro into your mortar and pound with the pestle for about another 20 minutes until all the fibers and lumps are gone, and the consistency is nice and smooth paste. This is called pa’i’ai.
- Continue mashing as you pour a little water at a time (about 1/2 cup in total) until you get the desired consistency. If you stick your fingers into the poi and you can pick it up with two fingers, that’s called two-finger poi, and it’s the ideal consistency. But if you prefer one-finger poi or three-finger poi, that’s cool too!
Notes
- Nutrition: Low-fat, Gluten-free, High in phosphorous, High in vitamin B, Contains more probiotics than yogurt when fermented.


Leave a Reply