
The Day I Burned the Butter (And Learned a Lesson)
The first time I made these cookies, I was talking on the phone to my sister. I forgot I had butter melting on the stove. It turned brown and smelled nutty, almost like popcorn. I still laugh at that memory. I had to start all over again. But you know what? The second batch taught me patience. That is why this recipe matters. Simple ingredients can teach us to slow down. Doesn’t that smell amazing when maple and butter get together? Have you ever had a kitchen accident that turned into a good story?What Makes These Cookies So Special
The secret is in the brown sugar and maple syrup. They hug each other in the bowl. The brown sugar gives a deep, rich flavor. The maple syrup adds a little woodsy sweetness. The cornstarch makes them soft and chewy, like a pillow for your taste buds. And here is a fun fact: Cornstarch is not just for gravy. It helps cookies stay tender. This works for gluten-free flour too. You would never know the difference. I promise. Do you like your cookies soft and chewy or crispy and thin? I am curious about your favorite cookie texture.Making Them Fit Your Family
My neighbor has a son who cannot eat dairy. So we swapped the butter for a dairy-free kind. It worked perfectly. You can also use a flax egg instead of a regular egg. I mix one tablespoon of flaxseed meal with three tablespoons of water. Let it sit for five minutes until it gets gooey. That is your egg. This matters because nobody should miss out on a good cookie. Food is about sharing, not about rules. I have brought these to potlucks and watched kids and grown-ups grab three at once. No one ever guessed they were special. They just knew they tasted like a warm hug. What is the hardest allergy or food choice you have to work around in your kitchen? Tell me about it.The Little Trick with Cinnamon Sugar
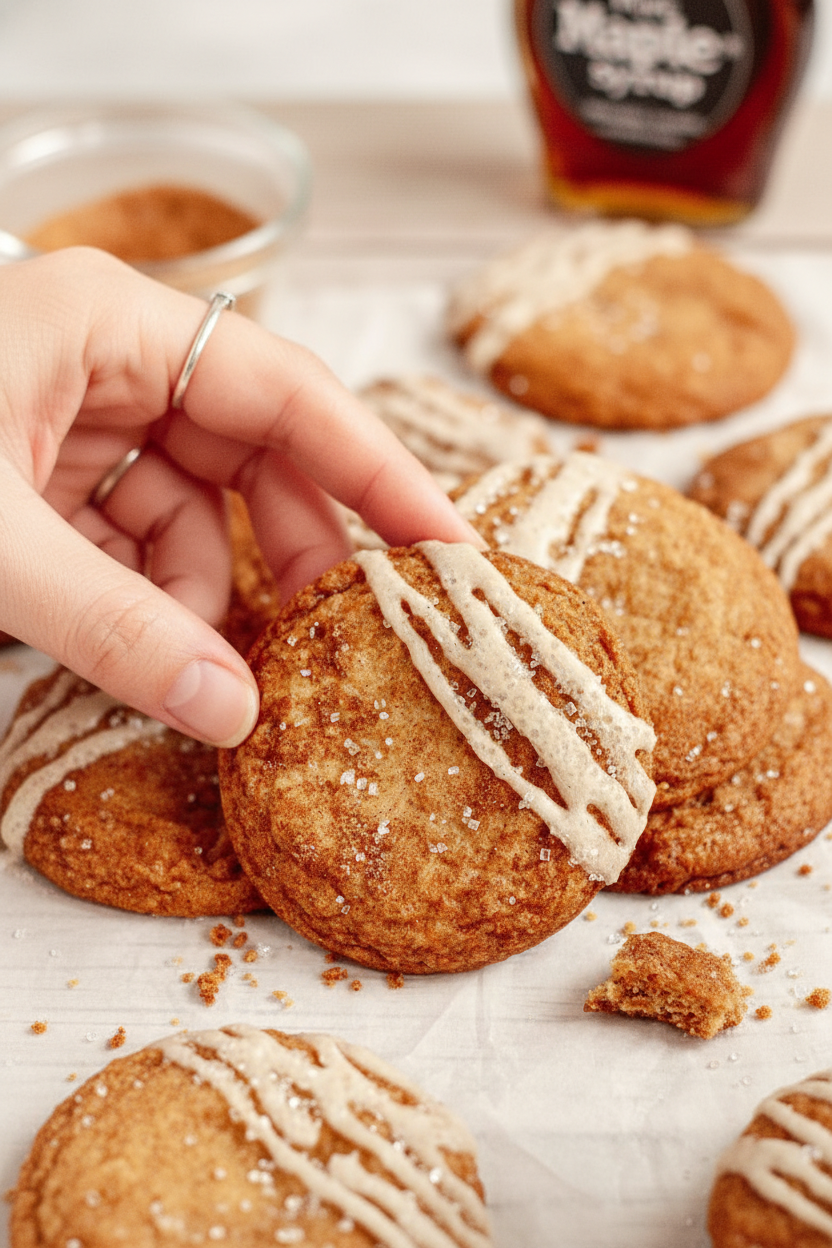
Before baking, I roll the dough balls in cinnamon sugar. This is optional but wonderful. It makes the outside a little crisp and sparkly. The cinnamon talks to the maple like old friends at a fair. I like to close my eyes and pretend I am at a fall festival. I do this with my granddaughter. She loves getting her hands sticky. We roll the dough together and she sneaks bites. That messy happiness is why this recipe matters. It creates small moments you remember long after the cookies are gone. Do you ever cook with little helpers in the kitchen? How do you keep it fun for them?The Icing on Top (Literally)
The salted maple icing is the hero here. It is just a little butter, maple syrup, powdered sugar, and salt. I drizzle it on with a spoon. Sometimes I add sparkly sugar on top. My grandson calls them fairy cookies. I still laugh at that. A tip from my grandma heart: Do not skip the salt. A tiny pinch wakes up the sweetness. It is like turning up the volume on a quiet song. You will taste the maple much better. What is your favorite way to decorate cookies? Do you like a lot of icing or just a little?How to Keep Them Fresh (If They Last)
These cookies stay soft for days. Store them in a container on your counter. They keep for about five days. But in my house, they are gone in two. You can also freeze them for up to three months. Just wrap them well. I once hid a few in the freezer for myself. My daughter found them. She left me a note that said, “Nice try, Mom.” I still laugh at that. So hide them well, friend. Or just make a double batch. That is what I do now.Ingredients:
| Ingredient | Amount | Notes |
|---|---|---|
| Salted butter (regular or dairy-free) | 1/2 cup (114g) | Room temperature |
| Brown sugar | 1 cup (200g) | |
| Large egg (or 1 flax egg) | 1 | Room temperature |
| Pure maple syrup | 1/4 cup (60ml) | |
| Maple extract (or vanilla extract) | 1/2 teaspoon | |
| All-purpose flour (or gluten-free 1:1 baking blend) | 2 1/4 cups (270g) | |
| Cornstarch | 2 teaspoons | |
| Baking soda | 1 teaspoon | |
| Fine sea salt | 1/2 teaspoon | |
| Granulated sugar + cinnamon (optional for rolling) | 1/2 cup + 1 tablespoon | Optional |
| Salted butter (regular or dairy-free), melted | 1 tablespoon (14g) | For icing |
| Maple syrup | 1 tablespoon (15ml) | For icing |
| Powdered sugar | 1/2 cup (60g) | For icing |
| Fine sea salt | 1/4–1 teaspoon | To taste, for icing |
| Sparkly sugar (optional for decor) | To taste | Optional |
The Cozy Memory Behind These Cookies
I still remember the first time I used maple syrup in a cookie. My kitchen smelled like a warm autumn morning. Doesn’t that smell amazing? These cookies are soft, chewy, and full of that rich maple taste. The brown sugar makes them taste like a hug from your grandma. You can make them gluten-free or dairy-free too.
My friend Sarah once brought these to a potluck. Everyone asked for the recipe. I laughed because I had just made them up that morning. Little mistakes sometimes turn into the best recipes. The secret is not to overbake them. Let the centers stay a little soft and puffy.
If you use a gluten-free baking blend, pick one that has xanthan gum. It helps the cookies hold together. I learned that after a batch that crumbled into sweet little pebbles. Still tasted good, though. You could call them “maple crumbles” and nobody would complain.
Which childhood cookie memory makes you smile? Share below!
Let’s Bake These Together
Here is how to make these sweet maple cookies. Take your time and enjoy each step. I’ll share a few stories along the way.
Step 1: Preheat your oven to 350 degrees. Line two cookie sheets with parchment paper. This keeps the bottoms from getting too dark. I once forgot the parchment and had to scrape cookies off with a spatula. My son still teases me about that.
Step 2: In a big bowl, beat the butter and brown sugar together. Use a mixer on high for about two minutes. You want it light and fluffy, like soft clouds. This step helps the cookies stay tender. If you use dairy-free butter, make sure it is room temperature.
Step 3: Add the egg, maple syrup, and maple extract. Mix until everything is smooth. Scrape the sides of the bowl with a spatula. (Here is a hard-learned tip: if you skip the maple extract, the cookies taste less mapley. Do not skip it unless you must use vanilla instead.)
Step 4: Measure in the flour, cornstarch, baking soda, and salt. Mix on low until a soft dough forms. Do not overmix or the cookies get tough. Think of it like making a sandcastle—just enough stirring to hold it together.
Step 5: Scoop the dough with a 1.5-tablespoon cookie scoop. Roll each ball in cinnamon sugar if you want extra sweetness. Place them two inches apart on the pan. Bake for 10 to 12 minutes. The edges should look set, but the centers will look a little underdone.
Step 6: Take the cookies out of the oven. Use a butter knife to gently push any uneven edges back into place. Let them cool on the pan for five minutes. Then move them to a wire rack to cool completely. I always sneak one while it is still warm.
Step 7: Make the salted maple icing. Stir melted butter, maple syrup, powdered sugar, and a pinch of salt together. It should be smooth and shiny. Spoon or pipe it over the cooled cookies. Add sparkly sugar on top if you want them fancy. Which topping would you choose—plain or sparkly? Share below!
Cook Time: 10–12 minutes
Total Time: 30 minutes
Yield: 18–24 cookies
Category: Dessert, Cookies
Three Fun Twists to Try
Want to change things up? These twists keep the cookies exciting. Each one is easy and delicious.
Pumpkin Spice Maple Cookies: Add 1/2 teaspoon pumpkin pie spice to the dough. Roll in cinnamon sugar. It tastes like a fall festival in your mouth.
Chocolate Chip Maple Crunch: Stir in 1/2 cup mini chocolate chips. The chocolate and maple are best friends. My nephew calls these “breakfast cookies” (wink wink).
Lemon Maple Sunshine: Add 1 teaspoon lemon zest to the dough. Skip the cinnamon sugar. Drizzle with a simple lemon glaze instead. They taste like spring morning sunshine.
Which one would you try first? Comment below!
How to Serve and Sip
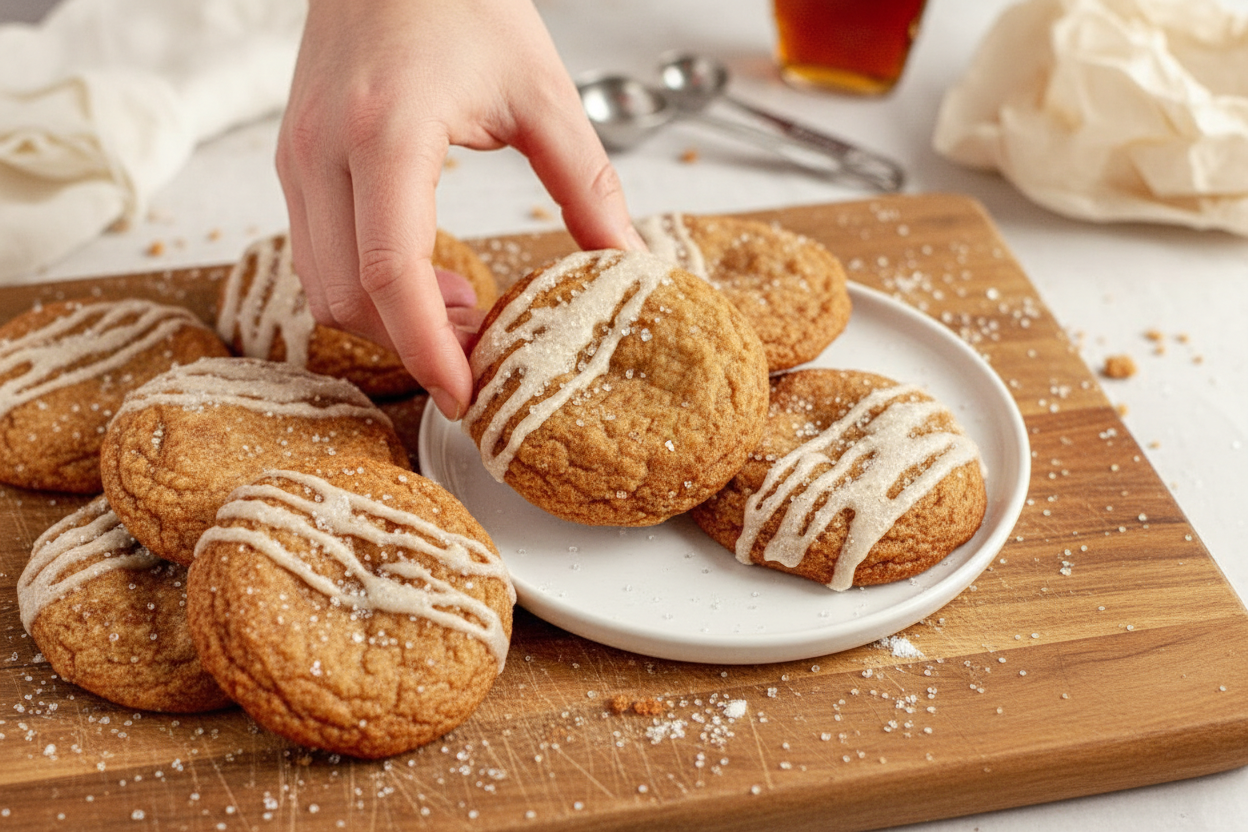
These cookies are wonderful all by themselves. But a little extra makes them special. Serve them on a pretty plate with a few fresh apple slices. The tart apple balances the sweet maple. You can also crumble one over a bowl of vanilla ice cream. That is my favorite lazy dessert.
For a cozy drink, pair them with a warm mug of spiced chai tea. The cinnamon and maple sing together like old friends. If you want something cold, pour a tall glass of oat milk. It is creamy and just sweet enough. Which would you choose tonight?
Storing and Freezing These Cookies Like a Pro
I remember my first batch of these cookies. I left them out on the counter overnight without a lid. The next morning, they were hard as little rocks. We ate them anyway, but I learned my lesson. Store these in an airtight container at room temperature for up to five days. They will stay soft and chewy.
You can freeze them, too. Place baked cookies in a single layer inside a freezer bag. Press out all the air before sealing. They will keep for up to three months. To thaw, just leave them on the counter for an hour. This matters because you can bake once and enjoy treats for weeks. Have you ever tried storing it this way? Share below!
For make-ahead prep, scoop the dough into balls first. Freeze the dough balls on a tray, then pop them into a bag. Bake them straight from the freezer. Just add two extra minutes to the bake time. Batch cooking like this saves time on busy days.
Three Common Problems and Easy Fixes
Cookies spread too thin in the oven. This happens if the butter is too soft. I once forgot to soften mine and microwaved it until it melted. The cookies turned into big flat puddles. To fix this, use room temperature butter that is still firm to the touch. This matters because proper texture makes cookies look pretty and bake evenly.
The dough is too sticky to roll. This is common with gluten-free flour blends. They soak up moisture differently. I remember adding a little extra flour to fix the stickiness. Add one tablespoon of flour at a time until the dough feels smooth. This will help your cookies hold their shape. Which of these problems have you run into before?
The icing turns out too runny. You want a thick drizzle that stays put. Start with the powdered sugar and a tiny splash of maple syrup. Stir well, then add more liquid drop by drop. This matters because good icing makes the cookies feel extra special without making a mess.
Your Top Questions Answered
Q: Can I make these cookies completely dairy-free?
A: Yes. Use dairy-free butter in both the dough and the icing. It works just as well.
Q: What is the best gluten-free flour blend to use?
A: Use a 1:1 gluten-free baking blend. One that contains xanthan gum works best for cookies.
Q: Can I skip the maple extract?
A: Yes. Use vanilla extract instead. The cookies will still taste sweet and delicious.
Q: How do I scale this recipe down for fewer cookies?
A: Half the recipe is easy. Use one egg yolk instead of a whole egg for better balance.
Q: Can I make the dough ahead of time?
A: Yes. Wrap the dough in plastic and keep it in the fridge for up to three days. Which tip will you try first?
A Warm Goodbye from My Kitchen to Yours
I hope these cookies bring a little sweetness to your week. Baking is one of those simple joys that connects us all. I would love to see your batch. Have you tried this recipe? Tag us on Pinterest! Just snap a photo and use the handle @ChloeHartwellEats. I always smile when I see your creations.
*Fun fact: Maple syrup was first collected by Native Americans using hollowed-out logs.* Keep baking, keep sharing, and know that every cookie tells a little story. Happy cooking! —Chloe Hartwell.
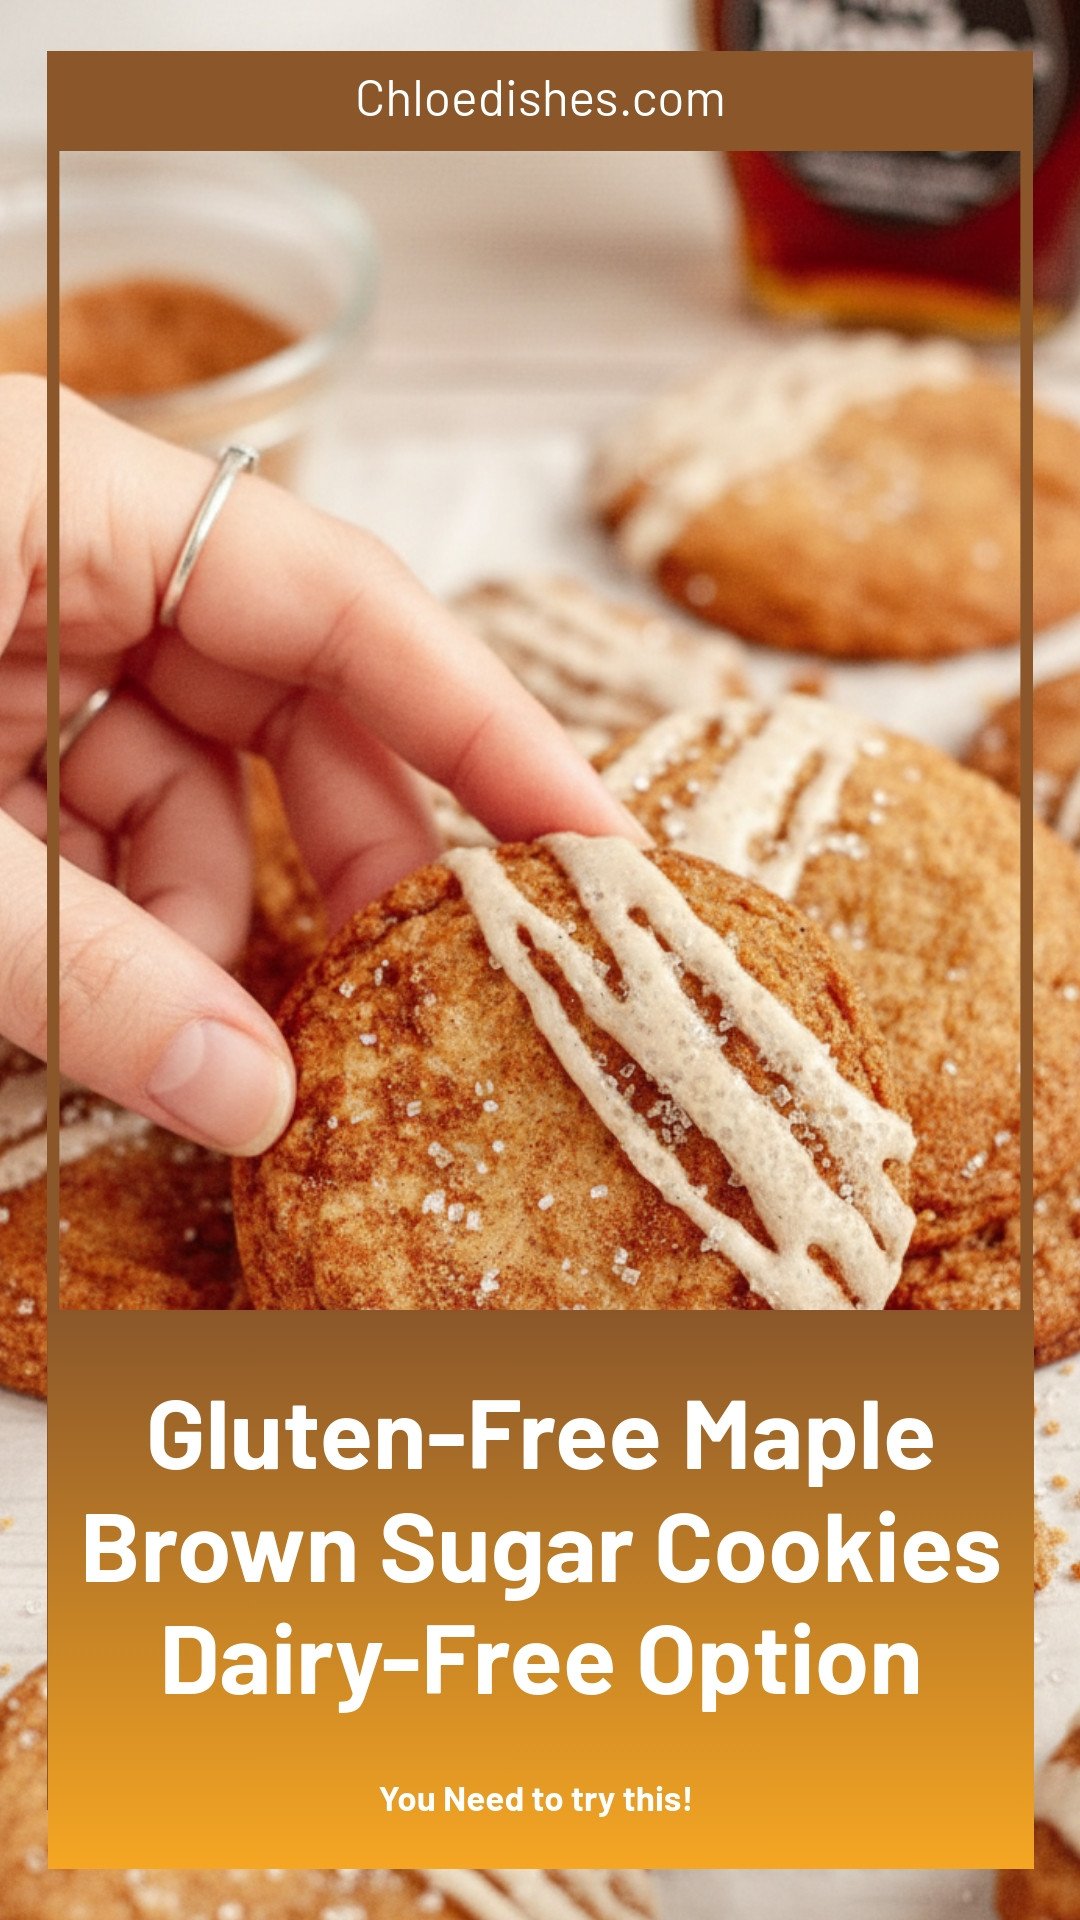
Gluten-Free Maple Brown Sugar Cookies Dairy-Free Option
Description
Soft, chewy gluten-free maple brown sugar cookies with a dairy-free option. Easy, cozy fall dessert perfect for holiday baking. gluten free cookies, dairy free cookies, maple brown sugar, cookie recipe, fall baking
Ingredients
Salted Maple Icing
Instructions
- Preheat the oven to 350ºF and prepare two large cookie sheets with parchment paper.
- In the bowl of a stand mixer or large mixing bowl with an electric mixer, combine the butter and brown sugar and beat together on high until light and fluffy. This should take approximately 2 minutes.
- Add in the egg, maple syrup, and maple extract, and mix until fully combined. Scrape the edges of the bowl with a spatula when necessary.
- Measure in the flour, cornstarch, baking soda, and salt and mix on low until a dough forms.
- With a 1.5 tablespoon cookie scoop, scoop the cookie dough and, if desired, roll each cookie ball into the cinnamon sugar mixture. Place on the prepared cookie sheet approximately 2 inches apart and bake for 10-12 minutes. The edges should be set and the center slightly underbaked.
- Remove from the oven and immediately push in any errant edges with a butter knife or a cookie cutter. Allow the cookies to cool for 5 minutes, and remove to a wire rack to fully cool.
- Combine the icing ingredients in a small mixing bowl and stir until fully combined and smooth. Pipe or spoon over the fully cooled cookies and top with sparkly sugar if desired. Enjoy.
Notes
- Store leftover cookies in an airtight container at room temperature for up to 5 days or frozen for up to 3 months.


Leave a Reply