
The Cake That Started with a Surprise
I still remember the first time I made this chocolate cake. I was twenty-four and my neighbor, Mrs. Gable, knocked on my door holding a half-empty bag of flour. She had run out of eggs and needed a cake for her grandson’s birthday. I told her, “Well, I don’t have eggs either.” She laughed and said, “Then we’ll make one without them.” That was the day I learned that hot coffee can replace eggs in a cake. It sounds strange, I know. But coffee makes the chocolate taste deeper and richer. It also helps the cake rise without any eggs at all. Doesn’t that smell amazing when you pour it in? I still grin when I think of Mrs. Gable’s face after her first bite. She said it was the best chocolate cake she ever had. *Fun fact: Hot coffee actually brings out the natural sweetness in cocoa powder. That means you can use less sugar and still have a very rich cake.*Why This Cake Works for Everyone
This recipe is special because it welcomes everyone. You can use regular cake flour or a gluten-free 1:1 blend. You can use regular butter or plant-based butter. The cake itself has no dairy or eggs. It is what I call a “kitchen-friendly” cake. I think that matters a lot. Not everyone can eat eggs or dairy. Some folks have allergies. Others just want to try something lighter. This cake lets everyone sit at the same table and share a slice. I once brought it to a school bake sale. A little girl with a dairy allergy told me it was her first birthday cake ever. Her smile stayed with me all week. Have you ever had a cake that made someone feel included? Tell me about it in your heart or share it with a friend.The Secret in the Batter
Here is the part that surprises most people. The batter is very runny. Do not worry when you see it. That is exactly how it should be. You pour it into the pans and give each pan a little tap on the counter. That tap pushes out tiny air bubbles so your cake bakes up even and smooth. Why does this matter? Runny batter means the cake stays moist. It is not thick and dense like a brownie. It is light and soft, almost like a cloud. When you pull it out of the oven, the edges will pull away from the pan. That is how you know it is ready. A toothpick in the middle should come out clean. I always let it cool for ten minutes before I try to take it out. Patience is hard, I know. But it is worth it. How do you like your chocolate cake? Fudgy and thick or light and fluffy? I would love to know what you prefer.Frosting That Feels Like a Hug
The vanilla frosting is the other star here. You beat the butter for a full ten minutes. Yes, ten minutes. That seems like a long time, and it is. But this step turns the butter into something silky and light. It gets so fluffy that it almost looks like whipped cream. Then you add the powdered sugar and vanilla and beat it for five more minutes. I once tried to skip the ten minutes because I was in a hurry. Do you want to know what happened? The frosting was lumpy and hard to spread. The cake kept sliding around. I had to scrape it all off and start over. Now I set a timer and just enjoy the sound of the mixer. It becomes a kind of kitchen music. This is why the ten minutes matter. It gives you a frosting that is easy to work with and tastes like a hug in a bowl.Building the Cake Like a Tower
After the cakes are cool, you level them. That means you cut off the little dome on top so they are flat. Then you put one layer on your plate or turntable. You add about two cups of frosting on top. Then you place the second layer gently on top. Here is a tip I learned the hard way. If your cake feels wobbly or the frosting is too soft, stop. Put the whole thing in the fridge for fifteen minutes. Let it chill. I used to push through and try to fix it with more frosting. That only made a mess. Now I listen to what the cake is telling me. A chilled cake is a steady cake. This matters because a steady cake is much easier to decorate. You will not have frosting sliding down the sides. Have you ever had a cake disaster? I would love to hear your story. It helps me feel less alone in my kitchen mistakes.Making It Pretty Your Own Way
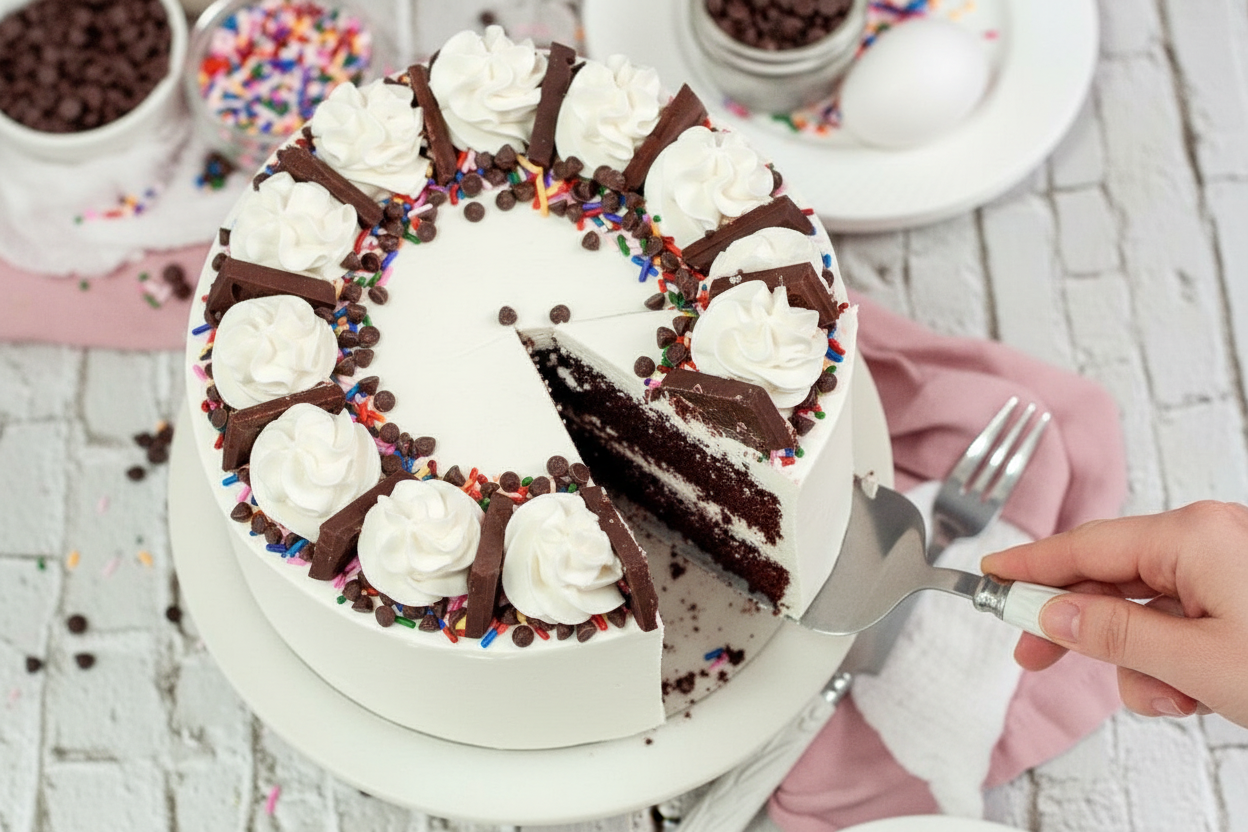
Once your cake is chilled and stable, you add the final layer of frosting. Smooth it with a spatula or cake smoother. Then comes the fun part. You get to decorate. I like to pipe buttercream swirls around the top with a big star tip. Then I place a chocolate square between each swirl. I finish with a sprinkle of rainbow sprinkles and mini chocolate chips. But you do not have to do it my way. You can use fresh berries. You can add crushed cookies. You can even leave it plain with just smooth frosting on top. That is the beauty of baking. It becomes yours. I always tell people to make it look like something they love. That little touch of you is what makes the cake memorable. What is your favorite way to decorate a cake? I am always looking for new ideas.Keeping the Joy for Later
This cake stays good for five days in the fridge. You can also freeze it for up to three months. I like to wrap leftover slices in plastic wrap and then put them in a freezer bag. That way, I have a little happiness waiting for me on a hard day. Why does this matter? Because baking is not just about the moment. It is about knowing there is something sweet waiting. It is about sharing a slice with a neighbor or saving one for tomorrow. I hope you make this cake and feel the same warmth I do every time I pull it out of the oven. Happy baking, friend.Ingredients:
| Ingredient | Amount | Notes |
|---|---|---|
| Cake flour (or gluten-free 1:1 baking blend) | 3 cups (360g) | |
| Granulated sugar | 2 cups (400g) | |
| Cocoa powder | 1/2 cup (40g) | |
| Baking soda | 2 teaspoons | |
| Fine sea salt | 1 teaspoon | |
| Coffee, hot | 2 cups (480ml) | |
| Vegetable oil | 2/3 cup (160ml) | |
| White vinegar | 2 tablespoons (30ml) | |
| Vanilla extract | 1 tablespoon (15ml) | |
| Salted butter (regular or plant-based), room temperature | 2 cups (454g) | For frosting |
| Powdered sugar | 4 cups (480g) | For frosting |
| Vanilla extract | 1 tablespoon (15ml) | For frosting |
| Fine sea salt | 1 teaspoon | For frosting |
| Sprinkles, chocolate squares, chocolate chips | to taste | For decor (optional) |
My Grandma’s Secret Chocolate Cake (Now for Everyone)
I still remember the first time my grandma pulled this cake from the oven. The smell of coffee and chocolate floated through her little kitchen like a hug. She always said a good cake should make you close your eyes when you take a bite. This one does, I promise. And now it’s gluten-free and dairy-free, so no one has to miss out.
Doesn’t that smell amazing just thinking about it? The secret is hot coffee. It doesn’t make the cake taste like coffee, just makes the chocolate deeper and richer. I once forgot the vinegar and the cake fell flat—literally. So trust me, every ingredient matters here.
Before we start, let me share a little truth: your butter must be soft, like a warm hug soft. If it’s cold, your frosting will look like rocky roads instead of fluffy clouds. (Hard-learned tip: don’t microwave butter to soften it—it melts unevenly. Leave it on the counter for an hour instead.)
Okay, apron on. Let’s bake something that makes people smile. Here’s the step-by-step for the most tender, fudgy chocolate cake with a dreamy vanilla frosting.
How to Make This Cake (Step by Step)
Step 1: Preheat your oven to 350°F. Grease two 8-inch round cake pans with non-stick spray, then line the bottoms with parchment paper. My grandma always tapped the paper down and said, “This saves the cake, honey.” She was right.
Step 2: In a large bowl, whisk together 3 cups gluten-free flour blend, 2 cups sugar, 1/2 cup cocoa powder, 2 teaspoons baking soda, and 1 teaspoon salt. Make sure there are no lumps. I like to pretend I’m mixing a magic potion.
Step 3: Make a well in the center of the dry mix. Pour in 2 cups hot coffee, 2/3 cup oil, 2 tablespoons vinegar, and 1 tablespoon vanilla. Whisk gently from the center until smooth. The batter will be thin—don’t panic!
Step 4: Divide the batter evenly between the pans. Tap each pan on the counter a few times to pop any air bubbles. Bake for 30–35 minutes. The cake is done when a toothpick poked in the center comes out clean.
Step 5: Cool the cakes in the pans for 10 minutes, then flip them onto a wire rack to cool completely. Be patient—if you frost a warm cake, you’ll get a melty mess. (Hard-learned tip: patience is the hardest ingredient to measure.)
Step 6: For the frosting, beat 2 cups room-temperature butter in a stand mixer for 10 minutes until light and fluffy. Add 4 cups powdered sugar, 1 tablespoon vanilla, and 1 teaspoon salt. Mix on low, then high for 5 minutes.
Step 7: Level the cake tops if needed. Place one layer on a plate, spread about 2 cups frosting on top, then add the second layer. Coat the whole cake with a thin layer of frosting and chill for 15 minutes. Then add your final thick layer.
Step 8: Decorate however you like—I pipe swirls on top and add chocolate squares and sprinkles. Now for a fun question: What’s your favorite way to decorate a cake? Share below!
Cook Time: 30–35 minutes
Total Time: 1 hour 15 minutes (plus cooling)
Yield: 12–16 servings
Category: Dessert, Cake
Three Fun Twists to Try
Want to switch things up? I love playing with flavors. Here are three easy ideas that turn this cake into something new each time.
Peppermint Patty Cake: Add 1 teaspoon peppermint extract to the frosting. Crush up some candy canes and sprinkle on top. It tastes like winter in a forkful.
Orange Dream Cake: Swap the coffee for hot orange juice (trust me!) and add 2 tablespoons orange zest to the batter. The chocolate-orange combo is pure sunshine.
Spicy Mexi-Cake: Mix 1 teaspoon cinnamon and a pinch of cayenne pepper into the dry ingredients. The little kick makes the chocolate sing. Which one would you try first? Comment below!
How to Serve and Sip This Cake
This cake is a star on its own, but a little company makes it shine. I love serving it with a scoop of dairy-free vanilla ice cream and a handful of fresh raspberries on the side. The tart berries cut through the sweetness perfectly.
For a cozy gathering, dust the plate with cocoa powder and add a drizzle of melted chocolate. A dollop of coconut whipped cream never hurts either. It looks fancy but takes just seconds.
Now for drinks: an iced oat milk latte is my non-alcoholic go-to. The coffee notes dance with the cake. For grown-ups, a small glass of dark rum or bourbon pairs beautifully with the rich chocolate. Which would you choose tonight?

Storing Your Cake So It Stays Fresh
This chocolate cake keeps well. Let it cool completely before storing. Wrap each slice in plastic wrap, then put it in a sealed container. It stays fresh on the counter for two days. For longer, use the fridge. It will last up to five days there. I once forgot a slice in the fridge for a week. It was still moist and tasty. That is because the coffee and oil keep it soft.
You can freeze this cake too. Wrap the whole cake or slices in plastic wrap. Then wrap them again in foil. Freeze for up to three months. To thaw, leave it on the counter for two hours. This matters because you can make the cake ahead for a party. You save time and stress. Batch cooking is a lifesaver for busy weeks. *Fun fact: This cake tastes even better the next day. Have you ever tried storing it this way? Share below!
Three Common Cake Problems and Easy Fixes
Problem one: Your cake sinks in the middle. This happens if the oven door is opened too soon. Wait until the cake is almost done to check it. I remember when I opened the oven after ten minutes. My cake looked like a bowl. Learn from my mistake and be patient.
Problem two: The frosting is too runny. This usually means your butter was too soft. Chill the frosting for ten minutes. Then whip it again. It will firm right up. This matters because thick frosting stays on the cake and looks pretty.
Problem three: The cake sticks to the pan. Always use parchment paper on the bottom. Grease the sides well. Let the cake cool for ten minutes before flipping. This matters because a whole cake is sad when it breaks apart. Which of these problems have you run into before?
Your Top 5 Questions Answered
Q: Can I make this cake gluten-free? A: Yes. Use a 1:1 gluten-free baking blend. Measure it the same as regular flour.
Q: Can I make the cake ahead of time? A: Yes. Bake it the day before. Wrap it well and keep it on the counter.
Q: What if I don’t have coffee? A: Use hot water instead. The flavor will be less rich but still good.
Q: Can I cut the recipe in half? A: Yes. Use one 8-inch pan. Bake for 20 to 25 minutes.
Q: Can I use a different frosting? A: Yes. Try a dairy-free chocolate ganache. It pairs well with the cake. Which tip will you try first?
From My Kitchen to Yours
I hope this cake brings you joy. It is simple to make and hard to mess up. Share a photo of your cake if you make it. I love seeing how you decorate yours. Tag us on Pinterest so I can cheer your work. Have you tried this recipe? Tag us on Pinterest! Happy cooking!
—Chloe Hartwell.
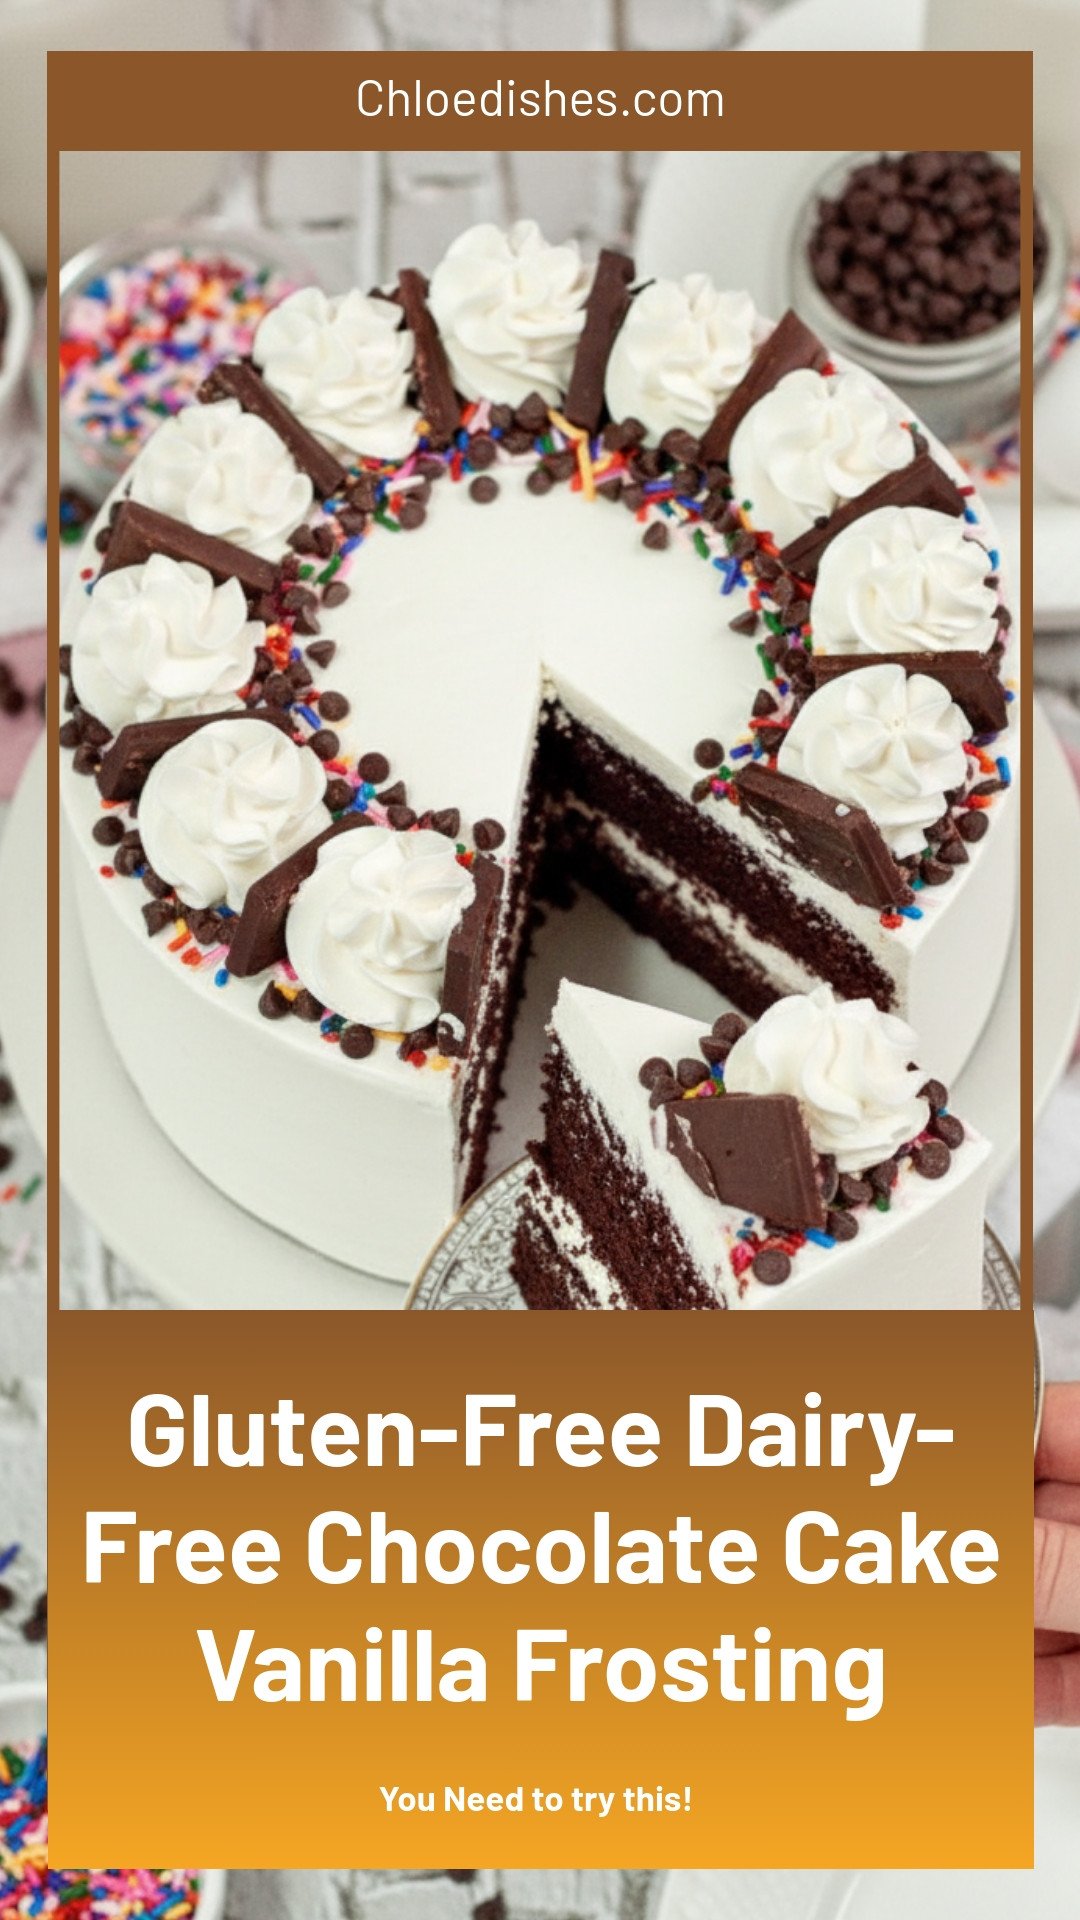

Gluten-Free Dairy-Free Chocolate Cake Vanilla Frosting
Description
Indulge in rich, moist gluten-free dairy-free chocolate cake topped with creamy vanilla frosting. Perfect for allergies & dessert lovers.
Ingredients
Instructions
- Preheat the oven to 350ºF and prepare two 8-inch round cake pans with non-stick baking spray and parchment paper.
- In a large mixing bowl, combine the flour, sugar, cocoa powder, baking soda, and salt and whisk together well.
- Make a well in the center of the dry ingredients and pour in the coffee, oil, vinegar, and vanilla extract.
- From the middle of the well, begin to whisk the ingredients together until just combined and smooth. Note: the batter will be quite runny.
- Divide the batter evenly into the prepared cake pans, give each pan a tap on the counter to release any air bubbles, and bake for 30-35 minutes. The edges of the cake should be pulling away from the pan and a toothpick inserted in the middle should come out clean.
- Remove from the oven and allow to cool for 10 minutes on a wire rack before inverting and removing the cake layers to fully cool.
- In the bowl of a stand mixer with the paddle attachment, beat the butter on high speed until light and fluffy. Approximately 10 minutes.
- Add in the powdered sugar, salt, and vanilla extract and mix on low until combined.
- Turn the mixer up to high and let mix for 5 minutes until smooth and fluffy. Scrape the sides of the bowl when necessary.
- Level each fully cooled chocolate cake layer with a cake leveler or knife if needed.
- Place one leveled layer of cake on a cake board, plate, and/or cake turntable and top with approximately 2 cups of vanilla frosting.
- Top with the remaining cake layer and very gently apply a thin coat of buttercream to the entire cake. Chill the cake for 10-20 minutes. *If the cake feels unstable or the buttercream becomes too soft at any point while stacking, stop and chill the cake and frosting for 15 minutes.
- Cover the cake with a final layer of buttercream and smooth the sides with a cake smoother and/or offset spatula.
- Decorate the cake as you please. Enjoy! I piped buttercream swirls around the top of the cake with a Wilton 1m piping tip, placed a chocolate square between each swirl, and sprinkled on a mix of rainbow sprinkles and mini chocolate chips.
Notes
- Store leftovers in an airtight container in the fridge for up to 5 days or in the freezer for up to 3 months.


Leave a Reply