
Why I Love Stuffed Peppers
The first time I made stuffed peppers, I burned my fingers on the hot skillet. I still laugh at that. My grandma just handed me a spoon and said, “Try again, sweetie.” Now, these peppers are my favorite way to use up a pound of beef. They feel like a hug on a plate. Doesn’t that smell amazing when they bake? I think peppers are little bowls from the garden just waiting for a cozy filling. What color pepper do you like best—red, green, or yellow? Drop your answer in the comments next time you write.
A Quick History of Stuffed Peppers
People have been stuffing peppers for a long, long time. In places like Mexico and Spain, they used rice and spices. In my family, we used breadcrumbs. This version skips the rice, so it’s lighter on the belly. *Fun fact: Bell peppers have more vitamin C than oranges.* That’s why your mom always told you to eat them. So when you eat this, you’re getting strong and happy at the same time. Why this matters: You don’t need rice to make a filling meal. Sometimes simple is best.
The Secret to a Tender Pepper
Here is a little trick my grandma taught me. Before you bake the peppers, brush them with olive oil. It helps them get soft and shiny in the oven. Some people boil the peppers first, but I like them with a little crunch. When you take a bite, the pepper should bend, not break. Why this matters: Good food is about texture, not just taste. If your pepper is too hard, the filling doesn’t feel right. Have you ever tried a pepper that was too crunchy? Tell me about it—I want to know.
Making the Beef Filling
Start by cooking the onion until it smells sweet. That takes about three minutes. Then add the garlic, and your kitchen will smell like a restaurant. When you brown the beef, don’t rush it. Let it get a little crispy on the edges. I like to use a big spoon to break it into tiny pieces. After you add the tomatoes and spices, stir everything together. I always taste it at this point. Add a little more salt if you want. This step is where the love comes in. What is your favorite spice? Mine is paprika, just like in this recipe.
Stuffing and Baking
Now comes the fun part. You get to fill the peppers like little presents. Press the meat down gently so there are no air pockets. Then pile on the cheese. My grandkids always sneak a piece of cheese before it goes in the oven. I pretend not to notice. Cover the dish with foil so the peppers steam and get soft. After 25 minutes, take the foil off and let the cheese bubble for ten more minutes. Watch it turn golden and crisp. That’s when you know dinner is ready.
How to Serve and Enjoy
Let the peppers sit for a few minutes before you eat them. This keeps you from burning your tongue—trust me. Sprinkle fresh parsley on top for a pop of green. You can eat these with a fork or pick them up with your hands. I like to serve them with a simple salad or some crusty bread. They also taste great the next day, cold from the fridge. I sometimes eat one for breakfast, and nobody judges me. Do you ever eat dinner leftovers for breakfast? I sure do.
Your Turn to Make Them
I hope you try this no-rice version at home. It’s easy enough for a 12-year-old to help with. Just be careful with the knife and the hot oven. Ask an adult to help with those parts. The rest is all about mixing and spooning and having fun. I still remember the first time I stuffed a pepper by myself. I felt so grown up. Now I want to hear from you. When you make these, will you add extra cheese? Or maybe swap beef for turkey? Tell me what you change. I love learning new tricks from new friends.
Ingredients:
| Ingredient | Amount | Notes |
|---|---|---|
| Large bell peppers (any color) | 4 | |
| Ground beef (or ground turkey) | 1 lb | |
| Small onion | 1 | diced |
| Garlic | 2 cloves | minced |
| Diced tomatoes (14.5 oz can) | 1 can | drained |
| Shredded cheese (cheddar or mozzarella) | 1 cup | |
| Italian seasoning | 1 teaspoon | |
| Paprika | 1 teaspoon | |
| Salt and pepper | To taste | |
| Olive oil | 2 tablespoons | |
| Fresh parsley | For garnish | chopped |
The Most Comforting Dinner in a Pepper Shell
There are dinners you make on busy Tuesday nights, and then there are dinners you make to feel hugged from the inside. These stuffed bell peppers fall into the second category, trust me. I still remember the first time my grandmother taught me to make them, white-knuckling a pepper while she laughed and said, “It won’t bite you, dear.”
The best part? They look fancy but they’re secretly simple. You just fill a pepper with beef and cheese, then let the oven do all the work. Doesn’t that smell amazing just thinking about it?
This is also a low-carb recipe, meaning you get all the comfort without the bread. Nobody at your table will miss the rice or pasta, I promise. (My uncle, a picky eater, once asked for seconds before I could even sit down!)
For this recipe, you’ll need: 4 large bell peppers (any color looks pretty), 1 pound of ground beef, a small onion, two garlic cloves, a can of diced tomatoes, 1 cup of shredded cheese, some Italian seasoning and paprika, salt and pepper, olive oil, and fresh parsley for topping. Run to the fridge and gather everything—I’ll wait right here.
Also, here’s a fun fact you can share while cooking: Green bell peppers have a slightly bitter taste, while red ones are sweeter. Use whichever your heart desires!
Step 1: Turn your oven to 375°F. Then wash your bell peppers. Slice the tops off carefully and scoop out the white seeds and membranes inside. (Hard-learned tip: If you tap the pepper upside down on the counter, stubborn seeds fall out in seconds!) Lightly brush the outside of each pepper with olive oil and stand them upright in a baking dish. They should look like little bowls ready for a tasty filling.
Step 2: Heat the olive oil in a big skillet over medium heat on the stove. Toss in the diced onion and stir it around for about three or four minutes, until it goes soft and see-through. Then add the garlic and cook for one more minute—that smell means good things are coming. Add the ground beef and break it up with a spoon as it cooks through, about five to seven minutes. Drain away any extra fat, then stir in the drained tomatoes, Italian seasoning, paprika, salt, and pepper. Let it bubble together for three more minutes. Take the skillet off the heat and mix in half of your shredded cheese until it gets all melty. Doesn’t that look incredible?
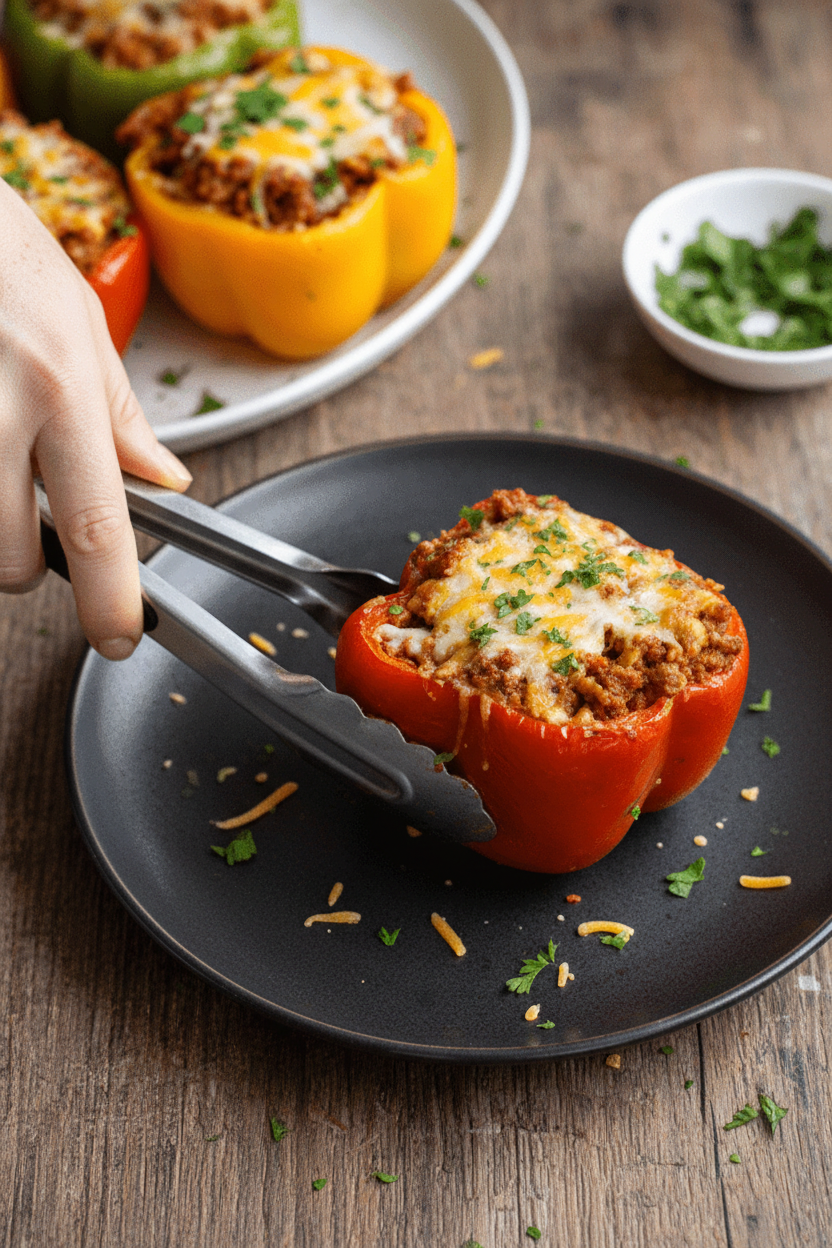
Step 3: Now comes the fun part: filling the peppers! Spoon that beefy, cheesy mixture into each pepper, pressing it down gently so there are no air pockets. Pile it right up to the top like a little mountain. Sprinkle the rest of your shredded cheese over each one, letting a few golden strands fall onto the baking dish. (Hard-learned tip: If you have extra filling, just spoon it next to the peppers in the dish—it makes a delicious, crispy topping for later!)
Step 4: Cover the baking dish tightly with aluminum foil and slide it into the preheated oven. Bake for 25 minutes while the peppers soften and the flavors get cozy. Then carefully remove the foil and bake for 10 more minutes. This last part lets the cheese turn golden and bubbly on top—just how we like it. Your kitchen will smell so good, neighbors might knock on your door!
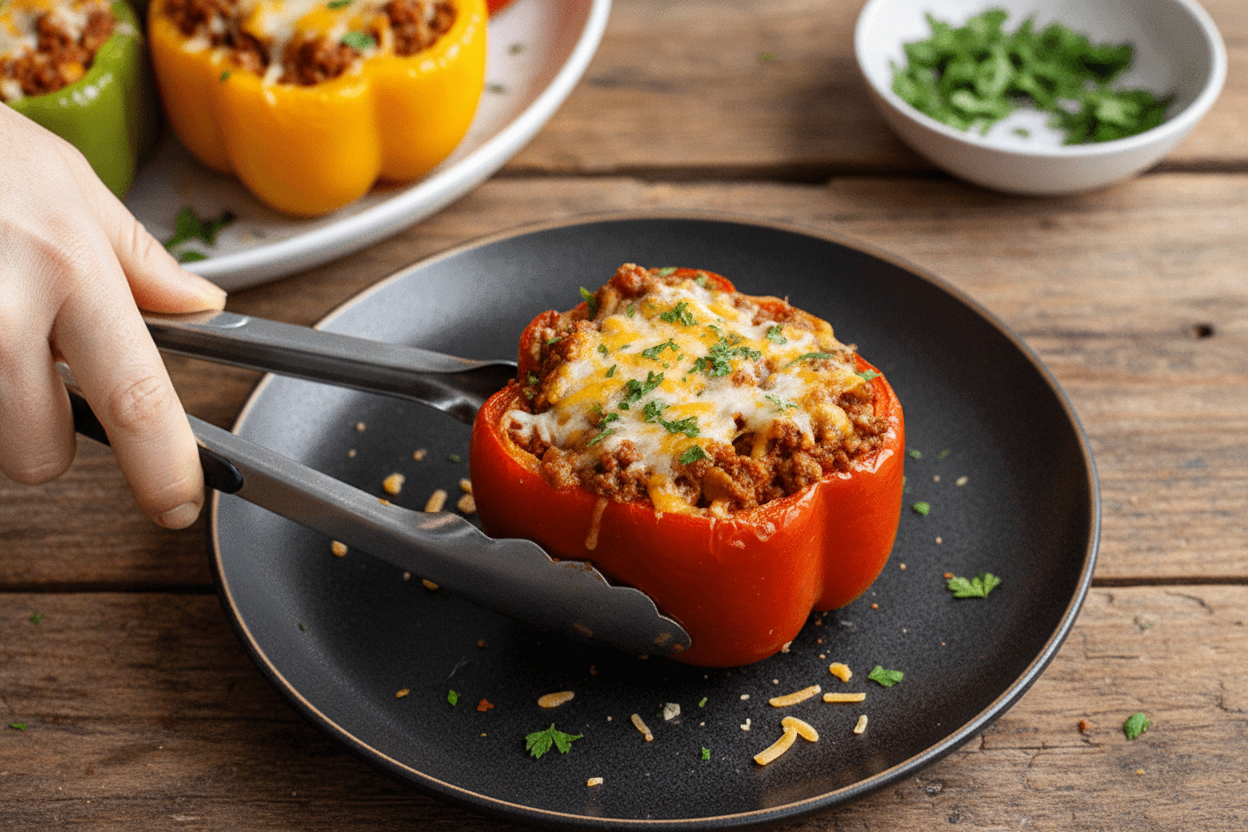
Step 5: Pull the dish out of the oven and let it sit for a few minutes—this is the hardest part, I know. The peppers will be tender enough to cut with a fork. Sprinkle fresh chopped parsley over each one for a pop of green. Serve them warm on plates. I love to ask my family: Guess which color pepper is hiding the cheese? Share below!
Cook Time: 35–40 minutesTotal Time: 50–55 minutesYield: 4 stuffed peppers (serves 4)Category: Dinner, Low-Carb
Three Fun Ways to Change This Recipe
Sometimes you want to shake things up a little. Here are three twists I’ve tried over the years, each one a winner in my kitchen.
Vegetarian Swap: Use one can of drained black beans and one cup of cooked quinoa instead of beef. Add a pinch of cumin. My vegetarian niece says these are “better than the original”—but shh, don’t tell anyone.
Spicy Kick: Add a diced jalapeño (seeds removed if you’re shy) to the onion and garlic while cooking. Use pepper jack cheese instead of cheddar. My brother calls these “firecracker peppers” and eats three in a row.
Seasonal Summer Twist: Swap the ground beef for ground turkey and mix in a handful of fresh corn kernels and chopped zucchini. Use fresh basil instead of parsley on top. Tastes like a garden on a plate. Which one would you try first? Comment below!
How to Serve and What to Sip On
These peppers are a whole meal on their own, but they love a little company. I always set them on a big platter with a simple green salad dressed in lemon juice and olive oil on the side. A bowl of sour cream or Greek yogurt for dipping is also a family favorite. My youngest always asks for a spoonful of extra salsa on top, which is honestly delicious.
For beverages, you have two wonderful choices. Adults will enjoy a glass of cold, crisp lager or a light red wine like a Pinot Noir. For the kiddos (or anyone who wants something fun), make a tall glass of fizzy lime soda—just sparkling water with a squeeze of fresh lime and a pinch of salt. It cuts through the richness perfectly. Which would you choose tonight?
Storing, Freezing, and Reheating Your Stuffed Peppers
These stuffed peppers keep very well. Let them cool completely before storing. Place them in a sealed container in the fridge. They will stay good for up to four days.
I once made a whole batch for a busy week. I froze half of them before baking. That was a lifesaver on a tired Tuesday night. For the freezer, wrap each pepper tightly in plastic wrap. Then put them in a freezer bag. They last for three months.
To reheat, just pop them in the oven at 350°F for 20 minutes. You can also use the microwave for a quick lunch. Batch cooking matters because it saves you time on hectic days. Have you ever tried storing it this way? Share below!
Common Problems and Easy Fixes
Sometimes the peppers come out too hard. The fix is simple. Bake them a little longer with the foil on. The steam softens them right up.
Another issue is watery filling. This happens if the tomatoes are not drained well. I always drain them in a strainer first. Why this matters: dry filling keeps the pepper from getting soggy. It also makes the taste stronger and better.
I remember when my filling was too bland. I forgot the Italian seasoning. Now I always taste it before stuffing. Add a little more salt or paprika if needed. Why this matters: fixing flavor early means a dinner everyone loves. Which of these problems have you run into before?
Your Top 5 Questions Answered
Q: Is this recipe gluten-free? A: Yes, all the ingredients are naturally gluten-free. Just check your spice labels to be safe.
Q: Can I make this ahead of time? A: Absolutely. Stuff the peppers a day early and keep them in the fridge. Bake when you are ready.
Q: What can I swap for the beef? A: Ground turkey or chicken works great. You can even use cooked lentils for a meatless version.
Q: How do I scale this for more people? A: Just double or triple the ingredients. Use a bigger baking dish and bake a few extra minutes.
Q: Any optional tips? A: Add a spoonful of cream cheese to the filling for extra creaminess. Which tip will you try first?
A Warm Goodbye from Chloe
I hope these stuffed peppers bring warmth to your table. They are a simple dish that feels like a hug. Cooking for your family is a special gift. I love hearing how my recipes turn out in your kitchen. Have you tried this recipe? Tag us on Pinterest!
*Fun fact: Bell peppers have more vitamin C than oranges.* Share a photo of your peppers and let me see. Happy cooking!
—Chloe Hartwell.
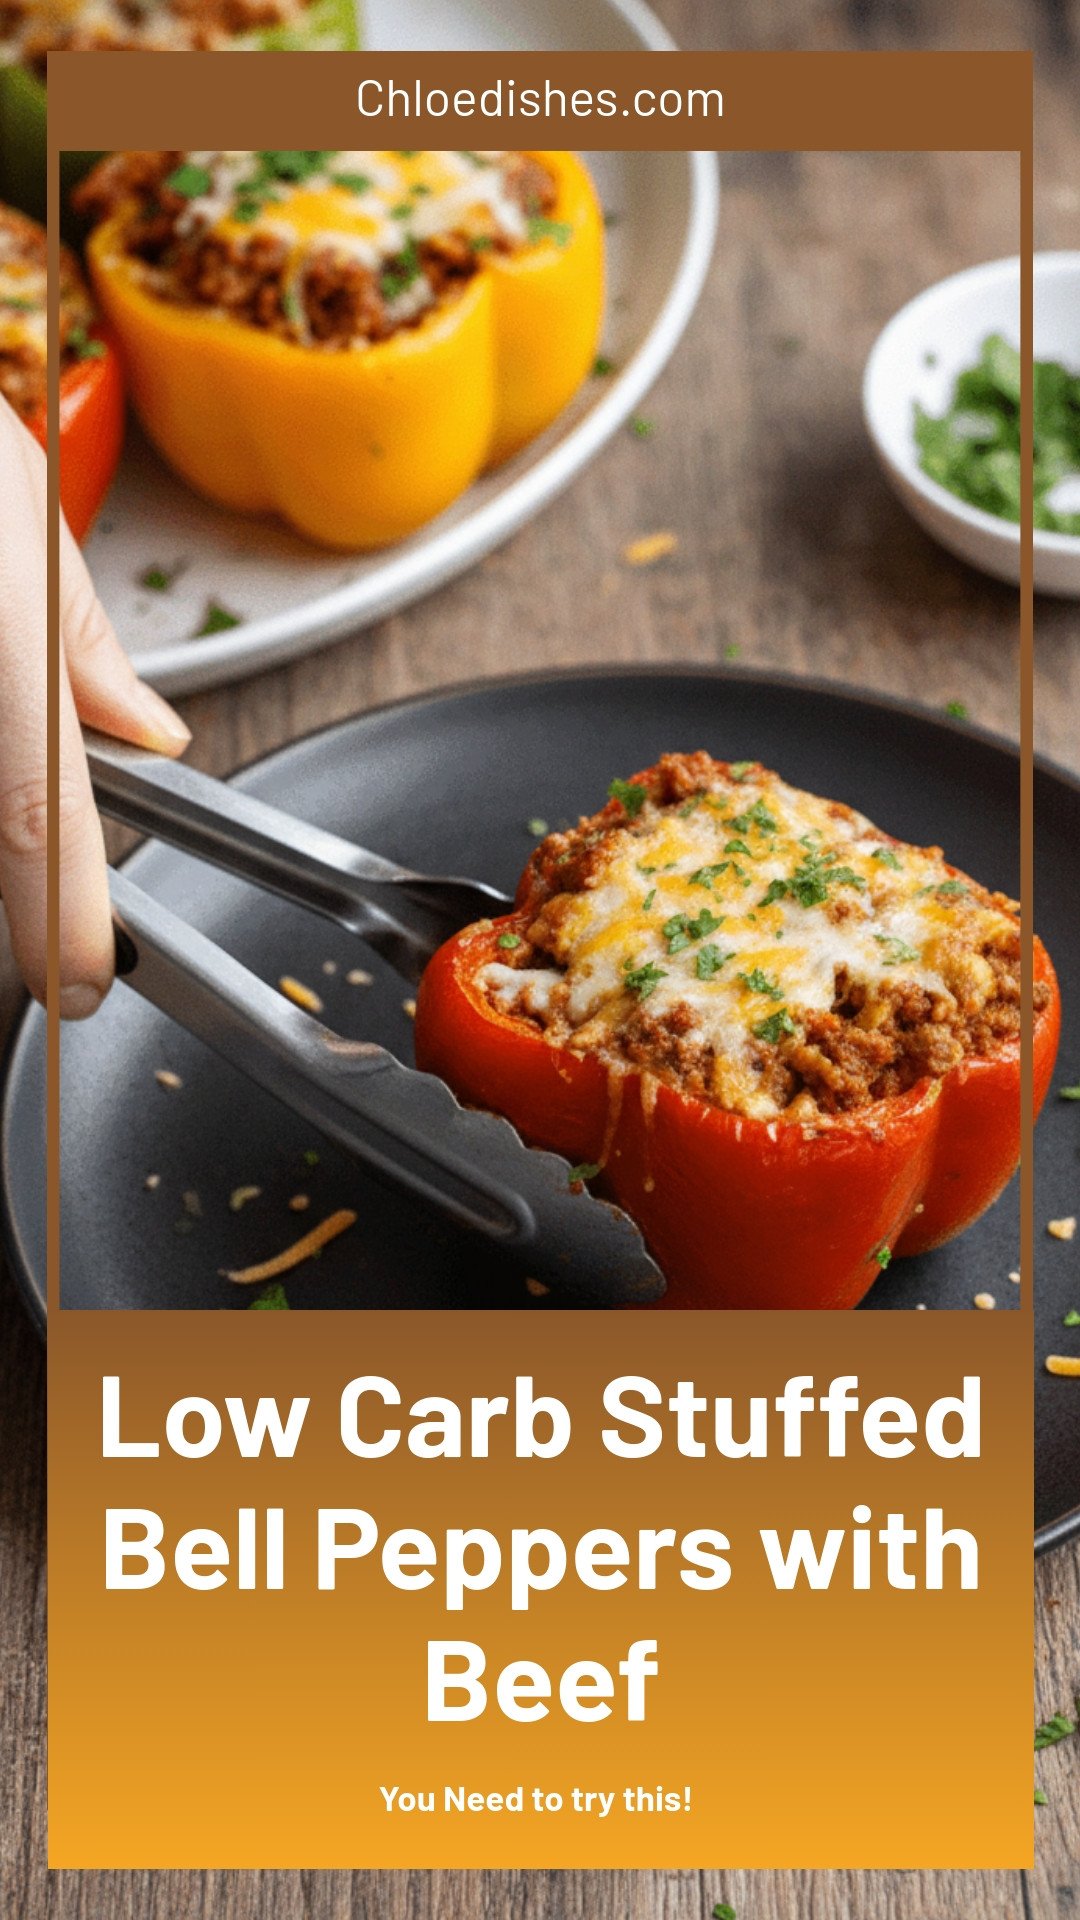

Low Carb Stuffed Bell Peppers with Beef
Description
Low Carb Stuffed Bell Peppers with Beef – a keto-friendly, cheesy, and hearty dinner idea perfect for meal prep.
Ingredients
Instructions
- Preheat your oven to 375°F (190°C). Cut the tops off the bell peppers and remove the seeds and membranes. Lightly brush the outside with olive oil and place them upright in a baking dish.
- In a large skillet, heat the olive oil over medium heat. Add the diced onion and sauté for about 3–4 minutes until translucent. Add the minced garlic and cook for an additional 1 minute until fragrant. Add the ground beef to the skillet. Cook until browned and cooked through, breaking it up with a spatula. Drain any excess fat. Stir in the drained diced tomatoes, Italian seasoning, paprika, salt, and pepper. Cook for another 3–4 minutes until heated through. Remove from heat and stir in half of the shredded cheese until melted and combined.
- Spoon the beef mixture into each prepared bell pepper, packing it down gently. Sprinkle the remaining shredded cheese on top of each stuffed pepper.
- Cover the baking dish with aluminum foil and bake in the preheated oven for 25 minutes. Remove the foil and bake for an additional 10 minutes, or until the cheese is melted and bubbly, and the peppers are tender.
- Remove from the oven and let cool for a few minutes. Garnish with chopped fresh parsley. Serve warm and enjoy your stuffed bell peppers.
Notes
- For best results, choose bell peppers that can stand upright easily. Leftovers can be stored in the fridge for up to 3 days.


Leave a Reply