
The Day I Learned Brownies Could Love You Back
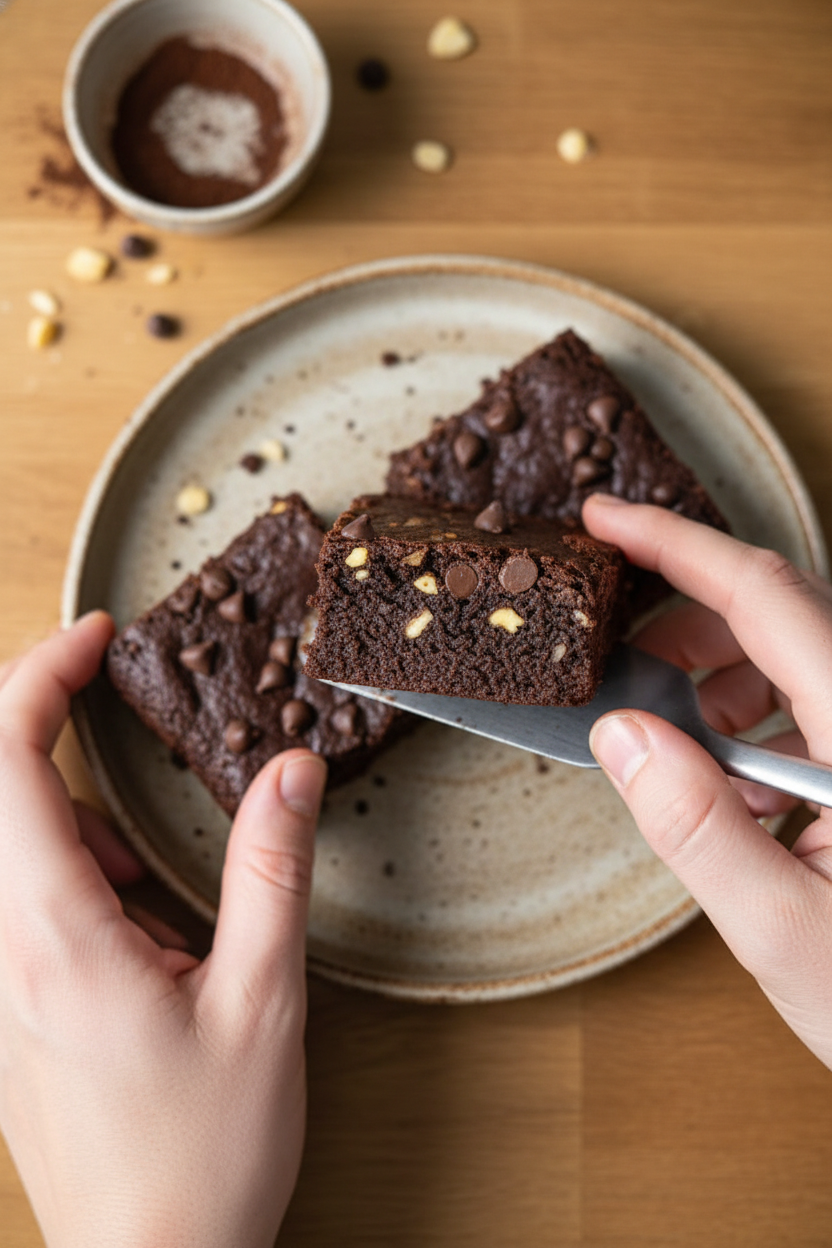
I still laugh at that rainy afternoon in my kitchen. My grandson, Leo, had just told me he could not eat gluten or dairy anymore. I thought, “Oh no, no more brownies?” But I was wrong. These fudgy squares changed everything. They are so rich and chocolatey, you would never guess they are free of both gluten and dairy. It is like a warm hug in dessert form.
*Fun fact:* Almond flour is made from ground-up almonds. It is packed with protein and good fats, so these brownies are a little bit healthier than the regular kind. Does that make you want to try them even more?
What Goes Into the Magic Bowl
The list is short, and you probably have most of it already. You need almond flour, cocoa powder, maple syrup, coconut sugar, and coconut oil. Then grab some almond milk, eggs, baking powder, salt, and vanilla. If you want, toss in nuts or dairy-free chocolate chips for extra fun.
I love how the coconut sugar brings a deep, warm sweetness. It is not too sugary, just right. Why does this matter? Because you do not need white sugar to make a dessert taste amazing. Real food, like maple syrup, does the job naturally. Have you ever tried baking with coconut sugar before?
The Easy Steps That Never Fail
First, preheat your oven to 350 degrees. Line an 8×8 inch pan with parchment paper. In one bowl, whisk the almond flour, cocoa powder, baking powder, and salt. In another bowl, mix the maple syrup, coconut sugar, melted coconut oil, almond milk, eggs, and vanilla. This is my favorite part: watching the wet ingredients swirl together, smelling like heaven.
Then, pour the wet mix into the dry. Stir gently until just combined. This small step matters a lot. Over-mixing makes the brownies tough, not fudgy. That is one of the “why this matters” secrets. Do you ever poke at your brownie batter with a spoon, trying not to stir too much? I always do, and it works every time.
A Little Story About Patience
I remember the first time I made these. I was so excited that I pulled them out of the oven too fast. They fell apart into a crumbly mess. My kitchen smelled amazing, but the pan looked like a chocolate earthquake. Leo still ate the crumbs with a spoon and smiled.
Now I know: you must let them cool for at least 20 minutes. That rest time lets the fudgy texture set. It is hard to wait, I know. But trust me, patience turns good brownies into great ones. What is the hardest thing you have ever had to wait for in the kitchen?
The Bite That Tells You Everything
Bake for 20 to 25 minutes. Test with a toothpick. You want it to come out with a few moist crumbs, not dry. That is the sign of a perfect fudgy brownie. The edges will look slightly cracked, and the center will be soft. Doesnt that smell amazing when they come out of the oven?
Why does this matter? Because overbaking is the number one way to ruin a gluten-free brownie. A dry brownie is a sad brownie. These stay soft and rich because you catch them at just the right moment. I always set a timer on my phone, and I still peek through the oven window like a kid.
How to Share the Chocolate Love
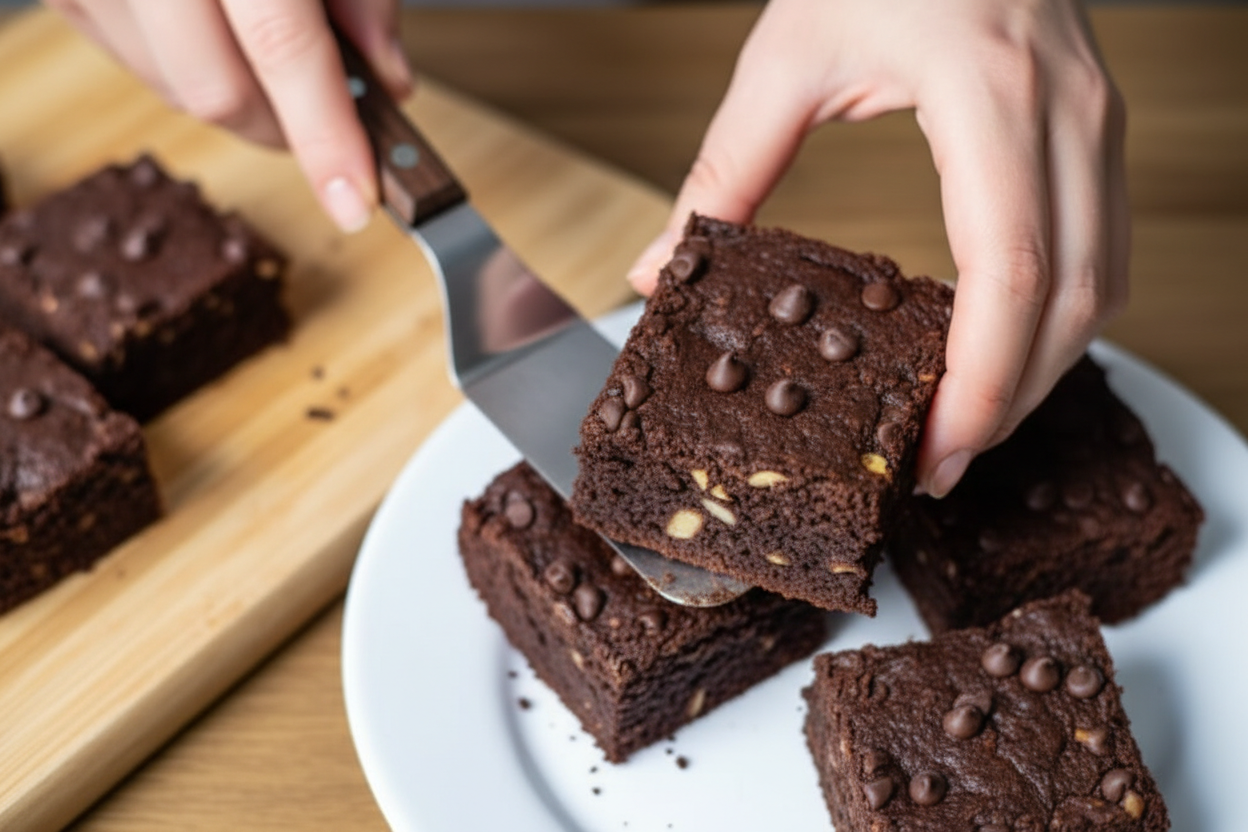
Once cooled, cut them into squares. They are perfect for a school snack, a cozy afternoon, or a party potluck. Nobody will know they are gluten-free and dairy-free unless you tell them. That is the best kind of secret.
If you want to make them vegan, use two flax eggs instead of regular eggs. Just mix one tablespoon of ground flaxseed with three tablespoons of warm water for each egg. Let it sit for five minutes until it gets gooey. Works like a charm. Have you ever tried a flax egg before? It is like a little science experiment you can eat.
Your Turn to Bake a Memory
Here is my final thought: baking is about sharing love. These brownies let everyone at the table feel included, no matter what they can or cannot eat. That is the sweetest part. So grab your bowl, preheat that oven, and make a pan of fudgy goodness.
I would love to know: What is your favorite thing to add to brownies? Nuts, chocolate chips, or maybe a sprinkle of sea salt? Let me know. And if you try this recipe, tell me how they turned out. I bet you will be laughing and licking the spoon, just like I do.
Ingredients:
| Ingredient | Amount | Notes |
|---|---|---|
| Almond flour | 1 cup | |
| Cocoa powder (unsweetened) | ¾ cup | |
| Maple syrup | ⅓ cup | |
| Coconut sugar | ⅓ cup | |
| Coconut oil (melted) | ⅓ cup | |
| Almond milk (or any plant-based milk) | ¼ cup | |
| Large eggs (or 2 flax eggs) | 2 | |
| Baking powder | 1 teaspoon | |
| Fine sea salt | ¼ teaspoon | |
| Pure vanilla extract | 1 teaspoon | |
| Nuts (walnuts, pecans, or crushed peanuts) | ½ cup | Optional |
| Dairy-free chocolate chips | ¼ cup | Optional |
My Grandma Always Said, “Chocolate Fixes Everything”
I remember the first time I tried making brownies without gluten or dairy. I was so nervous they’d turn into a dry, crumbly mess. But my grandma winked and handed me a bag of almond flour. “Trust the recipe, Chloe,” she said. Doesn’t that smell amazing? I still laugh at that memory every time I pull these from the oven.
These brownies are rich, fudgy, and a little bit cakey. The secret is in the mix of maple syrup and coconut sugar. It gives them a deep sweetness that tastes like a hug. Plus, the almond flour makes them moist without being heavy. My nephew (who is picky) ate three in one sitting!
Here is how we make them, step by step. Take your time, especially with the cooling part. That is the hardest lesson I ever learned—trust me!
Step 1: Heat your oven to 350°F. Line an 8×8 inch pan with parchment paper. This little trick saves you from scrubbing later. (Hard-learned tip: If you skip the parchment, use a little coconut oil on the pan. Don’t use butter or spray—it burns with this recipe.)
Step 2: Whisk the dry things in a big bowl. That’s the almond flour, cocoa powder, baking powder, and salt. Make sure there are no lumps. I once forgot the salt and the brownies tasted flat. What’s your favorite baking mistake? Share below!
Step 3: In another bowl, mix the wet ingredients. That means maple syrup, coconut sugar, melted coconut oil, almond milk, eggs, and vanilla. Stir until it’s all smooth like chocolate milk. If you are using flax eggs, let them sit for five minutes first.
Step 4: Pour the wet into the dry. Stir gently, just until it comes together. Do not overmix or the brownies get tough. Fold in your nuts or chocolate chips if you want extra fun in every bite.
Step 5: Pour the batter into the pan and smooth the top. Bake for 20 to 25 minutes. Check with a toothpick—if it comes out with moist crumbs, they are ready. If it’s clean, you baked them a minute too long.
Step 6: Let them cool in the pan for at least 20 minutes. This is the hardest part! I know you want to dig in, but waiting makes them set just right. Slice into squares and enjoy your chocolatey prize.
Cook Time: 20–25 minutes
Total Time: 45 minutes
Yield: 9 large brownies
Category: Dessert
Fun Ways to Switch It Up
Sometimes I like to play with the recipe when I have different ingredients on hand. Here are three of my favorite twists. Each one brings a new surprise to the party.
Spicy Chocolate Kick: Add 1/2 teaspoon of cinnamon and a pinch of cayenne pepper to the dry mix. It gives a warm, sneaky heat that makes you reach for another bite.
Peppermint Party: Stir in 1/2 teaspoon of peppermint extract with the vanilla. Top with crushed candy cane for a holiday treat any time of year.
Orange Dream: Swap the vanilla for 1 tablespoon of orange zest and 1 tablespoon of fresh orange juice. It tastes like a chocolate orange bar from my childhood. Which one would you try first? Comment below!
How to Serve and Sip
These brownies are lovely all on their own. But sometimes I dress them up for company. Try serving them with a scoop of dairy-free vanilla ice cream and a drizzle of warm chocolate sauce. My neighbor swears by a dusting of powdered sugar and fresh raspberries on the side.
For drinks, I love a tall glass of cold almond milk. It’s like the brownies and milk are old friends. If you are having a grown-up night, pour a small glass of rich red wine or a dark rum. The sweet, deep flavors match perfectly. Which would you choose tonight?
How to Store and Reheat Your Brownies
These brownies stay fudgy for days if you store them right. Let them cool completely first. Then place them in an airtight container at room temperature. They will stay fresh for up to three days. I once left brownies out on the counter uncovered. The next morning they were dry and crumbly. Learn from my mistake!
You can freeze them for up to three months. Wrap each brownie in plastic wrap. Then put them in a freezer bag. To reheat, pop one in the microwave for 15 seconds. Or warm it in a 300°F oven for 5 minutes. This matters because you can make a big batch when you have time. Then grab a treat whenever you want one. Have you ever tried storing it this way? Share below!
Three Common Brownie Problems and Easy Fixes
First problem: brownies turn out too dry. This usually means you baked them too long. Check them at 20 minutes with a toothpick. You want moist crumbs, not a clean stick. I remember pulling out a dry pan once when I was twelve. I cried a little. Now I always set a timer and peek early.
Second problem: brownies are too crumbly. This happens when you overmix the batter. Stir just until everything comes together. Why does this matter? Overmixing makes the batter tough and loose. You want a tender brownie that holds its shape. Third problem: the flavor is bland. Make sure you use good cocoa powder and a pinch of salt. Salt makes chocolate taste deeper. Which of these problems have you run into before?
Five Q&A Tips for Perfect Brownies
Q: Are these really gluten-free? A: Yes. Almond flour has no gluten at all. Just check your cocoa powder label.
Q: Can I make the batter ahead of time? A: Yes. Store it in the fridge for up to 24 hours. Let it sit on the counter for 10 minutes before baking.
Q: What if I don’t have coconut sugar? A: Use brown sugar instead. It will work just the same.
Q: Can I double the recipe? A: Yes. Use a 9×13 pan and bake for 30 to 35 minutes.
Q: Do I have to add nuts or chocolate chips? A: No. The brownies are delicious plain. Add them only if you want extra crunch or sweetness. Which tip will you try first?
A Warm Goodbye from Chloe
I hope these brownies bring a little sweetness to your day. They are perfect for sharing with family or keeping all to yourself. No judgment here! I love seeing what you make in your kitchen. Have you tried this recipe? Tag us on Pinterest! Your photos make me smile. Happy cooking! —Chloe Hartwell.
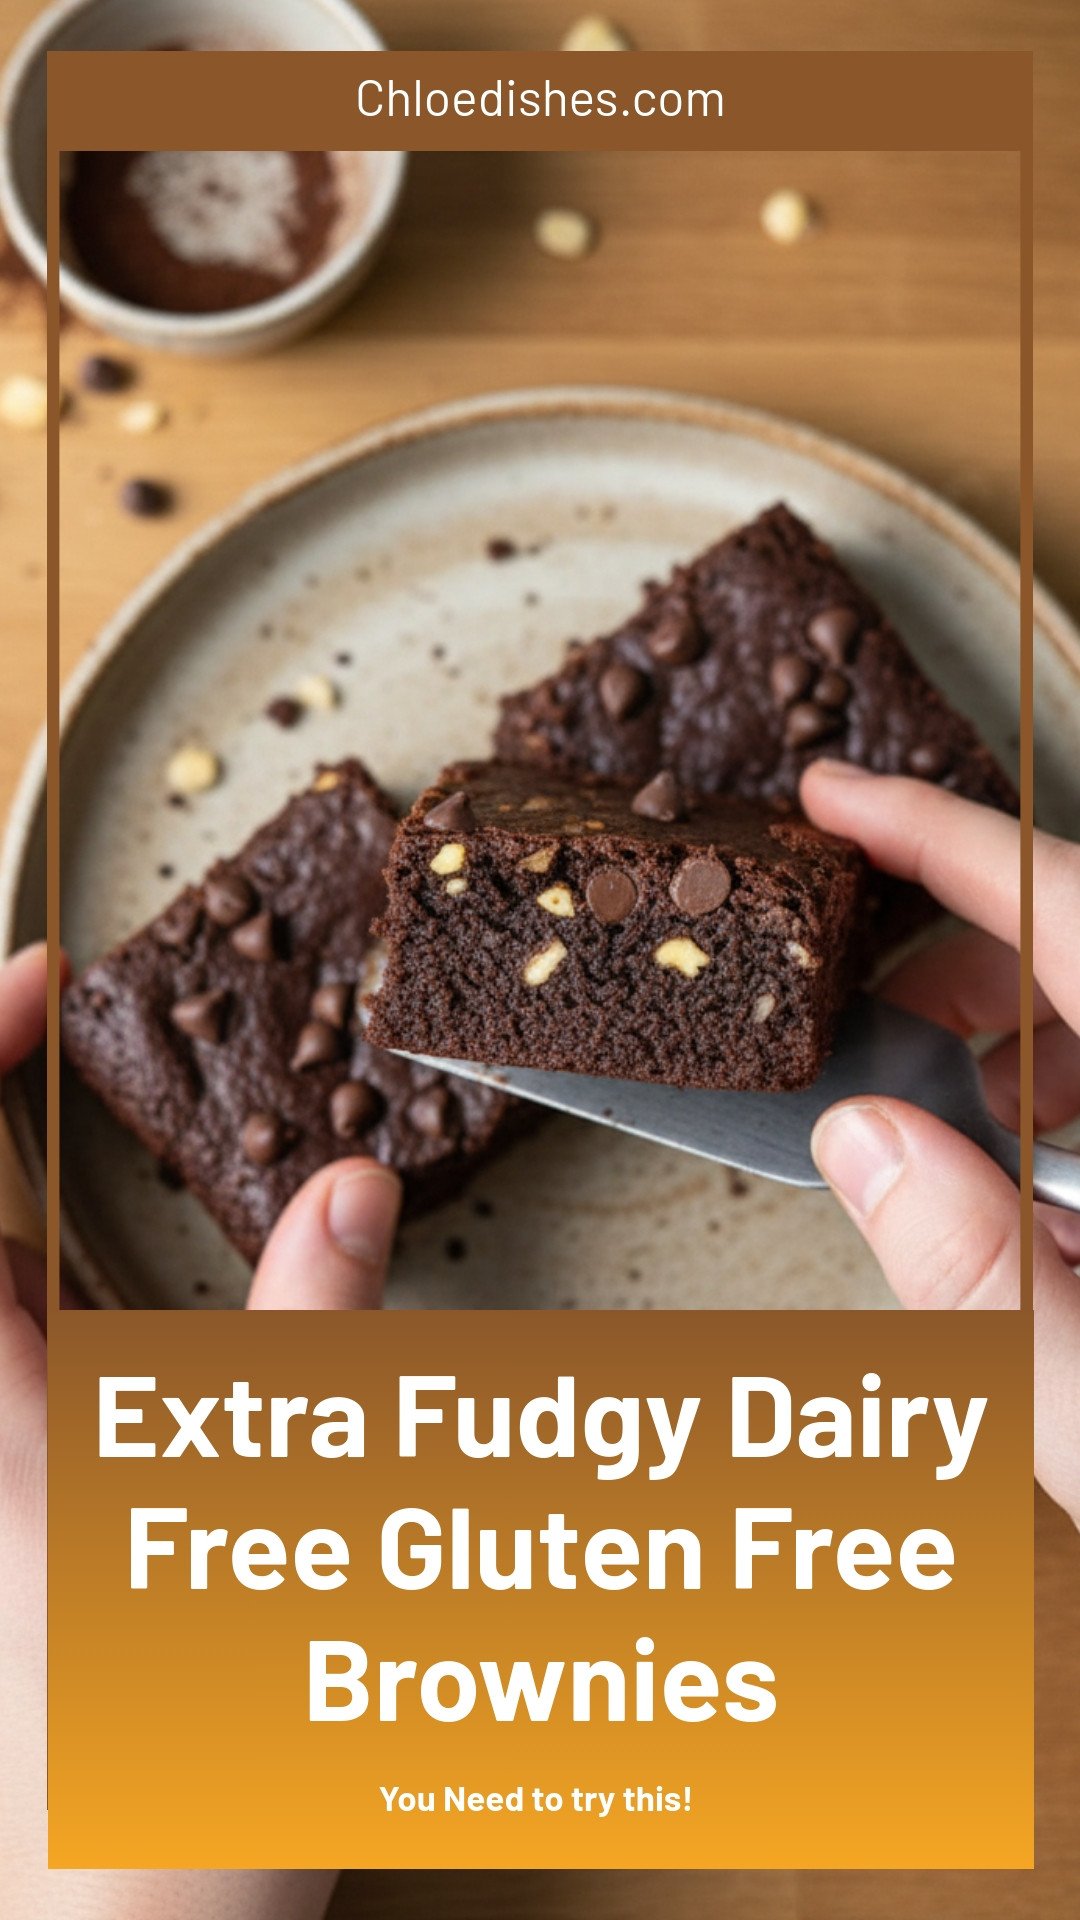
Extra Fudgy Dairy Free Gluten Free Brownies
Description
Extra Fudgy Dairy Free Gluten Free Brownies that taste just like the real thing. The ultimate rich, gooey dessert for everyone to enjoy.
Ingredients
Instructions
- Preheat Oven & Prep Pan: Heat your oven to 350°F (175°C). Line an 8×8 inch square pan with parchment or lightly grease it.
- Dry Mix: In a large mixing bowl, whisk together almond flour, cocoa powder, baking powder, and sea salt.
- Sweetener Mix: In a separate bowl, combine the maple syrup, coconut sugar, melted coconut oil, almond milk, eggs (or prepared flax eggs), and pure vanilla extract. Use a whisk or electric mixer to blend until fully integrated.
- Combine Wet and Dry: Gradually mix the wet ingredients into the dry, stirring just until combined to ensure a better texture.
- Extras: Fold in optional nuts and chocolate chips evenly into the batter for chewy brownies with more character.
- Bake: Pour the batter into the prepared pan, smoothing the top. Bake for 20-25 minutes, checking for moist crumbs with a toothpick to avoid overbaking.
- Cool: Allow the brownies to cool in the pan on a wire rack for at least 20 minutes. This step is crucial for setting the texture.
- Slice & Serve: Cut into squares and enjoy these moist, cakey brownies that boast a complex sweetness and rich, chocolatey flavor.
Notes
- Optional: Add ½ cup nuts (walnuts, pecans, or crushed peanuts) and ¼ cup dairy-free chocolate chips for extra texture.


Leave a Reply