
The Day I Learned to Stop Buying Boxed Mix
My grandma never bought a box of biscuit mix in her life. She would laugh and say, “Why buy a box when flour and butter are right there?” I remember sitting on her counter, watching her pinch the dough between her fingers. She called it “making biscuits from the heart.” This recipe reminds me of her. It is simple, honest, and it makes you feel like a real cook. Doesn’t that smell amazing? Just thinking about warm biscuits makes me smile. Have you ever made something from scratch that surprised you?What You Need for the Mix
The ingredients are things you probably already have in your kitchen. You need nine cups of all-purpose flour. That is a lot, but it makes enough for many batches. You also need a quarter cup of baking powder, a tablespoon of salt, and two cups of chilled shortening. Chilled shortening is important. It stays cold and makes the biscuits flaky. If you don’t have shortening, you can try cold butter. I still laugh at the time I used warm shortening and ended up with flat, sad biscuits. Learn from my mistake, friends. What is one cooking mistake you have made that taught you something?Mixing It with Your Hands
This is the fun and messy part. Combine the flour, baking powder, and salt in a big bowl. Then, cut in the shortening using your hands. You want the mixture to look crumbly, with some clumps the size of peas. Getting your hands dirty is part of the magic. The warmth of your fingers helps everything come together. If you really do not like sticky hands, use a food processor. Just pulse until it looks like coarse cornmeal. Why does this matter? Because the way you mix affects how light your biscuits will be. Treat the dough gently, like a sleepy kitten.Storing It for Later
Once your mix is ready, put it in an airtight container. Label it with a “use-by” date from the shortening package. Store it in a cool, dry place. You can also freeze it for up to eight months. This is why I love this recipe. It saves time on busy mornings. You can have fresh biscuits without buying a box. You just dip into your own mix. *Fun fact: Homemade biscuit mix was a common gift in the 1950s, often given in pretty jars.*How to Bake the Biscuits
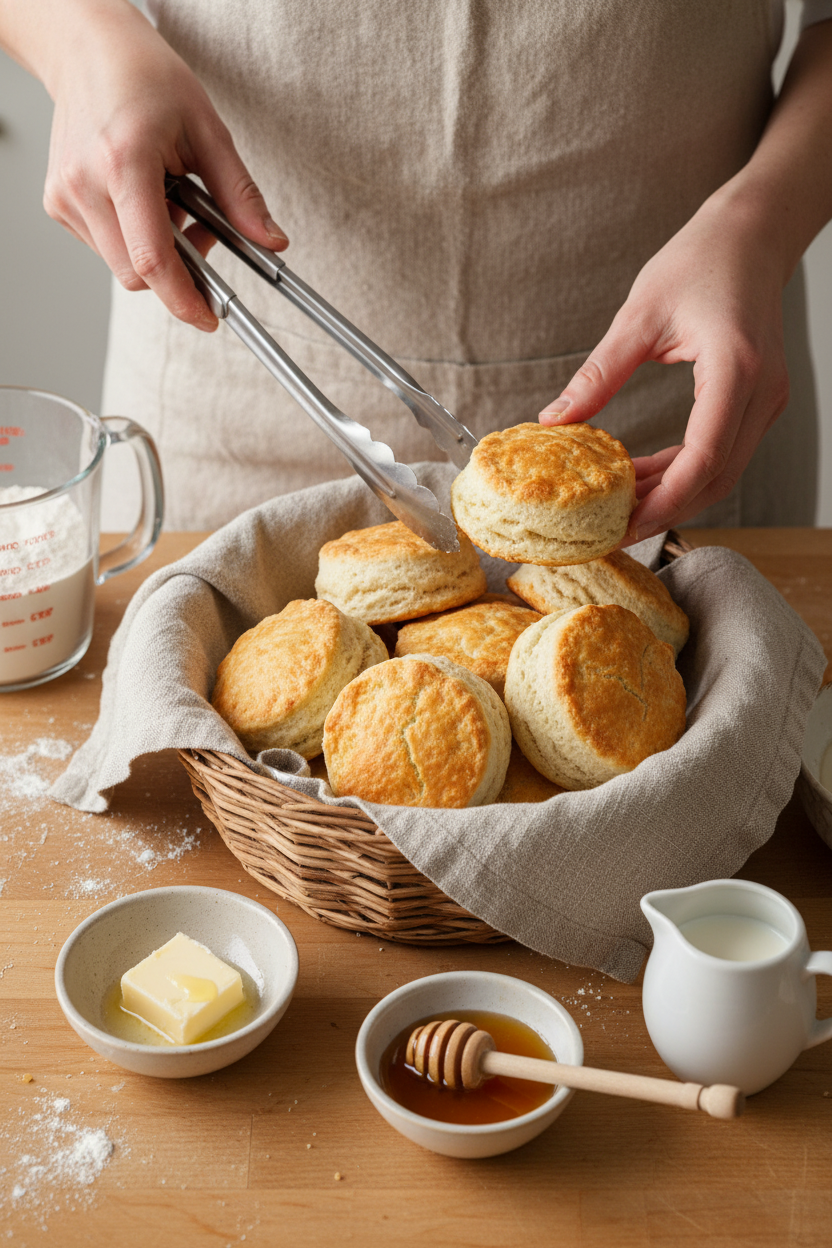
Now for the best part. Take one cup of your mix and add a third cup of cream, milk, or buttermilk. Stir it gently until it forms a soft dough. Drop it onto a baking sheet or roll it out and cut it into rounds. Bake them until they are golden brown. I like to pull one apart right away and watch the steam rise. Why does this matter? Because food made with your own hands tastes different. It tastes like love and patience. Would you rather have plain biscuits or ones with a drizzle of honey?More Than Just Biscuits
This mix is not just for biscuits. You can use it to make scones, dumplings for chicken soup, or even a quick cobbler topping. I once used it to make a last-minute apple crisp when friends showed up at my door. That night, we sat on the porch with warm bowls of apples and cream. Everyone thought I had spent hours in the kitchen. I just smiled and said, “It’s grandma’s secret.” What is one thing you would make with this mix besides biscuits? Share your ideas, I love to hear them.Ingredients:
| Ingredient | Amount | Notes |
|---|---|---|
| All-purpose flour | 9 cups | |
| Baking powder | 1/4 cup | |
| Salt | 1 tablespoon | |
| Shortening | 2 cups | Chilled and cut into small pieces |
| Biscuit baking mix | 1 cup | Per batch |
| Cream, milk, or buttermilk | 1/3 cup | Per batch |
The Day I Learned to Stop Buying Boxed Mix
Years ago, I burned a batch of biscuits so badly, the smoke alarm sang like a bird. My grandma just laughed and handed me her old mixing bowl. She showed me how to make my own biscuit baking mix from scratch. It is simpler than you think, and it saves money too. Now I keep a big jar of this mix on my counter, ready for any craving.
Doesn’t that smell amazing? The secret is cold shortening and gentle hands. When you rub the fat into the flour, you are making tiny pockets for steam. That steam creates the flaky layers everyone loves. I still laugh at how I used to buy the boxed stuff.
Let me walk you through it. Grab a large bowl and a measuring cup. This recipe makes 12 cups of mix, which is enough for many lazy mornings. Step 1: In a big bowl, stir together 9 cups of all-purpose flour, 1/4 cup of baking powder, and 1 tablespoon of salt. Toss them with a fork so everything is even. (Hard-learned tip: Do not skip the salt. It wakes up the flavor.)
Step 2: Now add 2 cups of chilled shortening cut into little pieces. Use your fingers to rub the shortening into the flour. Keep going until the mix looks like coarse crumbs with some pea-sized clumps. This is the part my grandkids love, because they get to dig their hands in. If you are in a hurry, you can use a food processor and pulse it a few times.
Step 3: Pour the mix into an airtight container. Write the date on the lid using the “use-by” date from your shortening package. Store it in a cool, dry pantry, or freeze it for up to 8 months. Congratulate yourself, because you now have 12 cups of ready-to-bake magic. Here is a fun question for you: What is your favorite thing to eat with a warm biscuit? Share below!
Step 4: When you want biscuits, measure 1 cup of your mix into a bowl. Pour in 1/3 cup of cream, milk, or buttermilk. Stir gently with a fork until a soft dough forms. Drop spoonfuls onto a baking sheet or pat it out and cut rounds. Bake at 450 degrees for 10 to 12 minutes, until golden and smelling like heaven.
Cook Time: 12 minutes
Total Time: 15 minutes
Yield: 12 cups of mix (makes about 6 batches of biscuits)
Category: Baking, Pantry Staples
Three Fun Twists for Your Biscuit Mix
Once you have this mix in your pantry, the fun really begins. You can make scones, dumplings, or even a quick cobbler. Try these three ideas to shake things up. Which one would you try first? Comment below!
Cheesy Herb Biscuits: Stir in a handful of shredded cheddar and a pinch of dried rosemary before adding the milk. They are perfect with soup.
Sweet Cinnamon Scones: Add a tablespoon of sugar and a teaspoon of cinnamon to the mix. Drizzle with a simple glaze after baking.
Savory Dumplings for Chicken Soup: Drop spoonfuls of the dough into simmering chicken broth. Cover and cook for 15 minutes, and you have cozy dumplings.
How to Serve Your Biscuits Like a Pro
Warm biscuits are a blank canvas for so many good things. Split one open and add a pat of salted butter and a drizzle of honey. Or pile on some sausage gravy for a hearty breakfast. I also love serving them alongside a bowl of tomato soup for a simple lunch.
For drinks, try a glass of cold lemonade if you are keeping it non-alcoholic. It cuts through the buttery richness perfectly. If you want something grown-up, a tall glass of iced tea with a sprig of mint is lovely. Which would you choose tonight?
Title 1: Storing and Reheating Your Biscuit Mix
This mix loves a cool, dry pantry. Just put it in an airtight container. I remember the first time I made this, I used a big glass jar with a clamp lid. It felt so cozy seeing it on my shelf. You can also freeze the mix for up to 8 months. That is a great trick for busy weeks. Just scoop out what you need and keep the rest cold. When you are ready to bake, add your cream or milk. No need to thaw the mix first. Have you ever tried storing it this way? Share below! This matters because having mix ready means fresh biscuits anytime. No last-minute trips to the store. It turns a simple meal into a warm, happy moment.
Title 2: Three Common Biscuit Problems and Easy Fixes
First problem: your biscuits come out hard and flat. This happens when you add too much liquid. Use exactly 1/3 cup of cream, milk, or buttermilk. I once added extra milk thinking it would make them fluffier. They turned out like hockey pucks! Second problem: the mix tastes too salty. That means your salt was not mixed in evenly. Stir the dry ingredients well before adding the shortening. Third problem: the biscuits burn on the bottom. Your oven might be too hot. Bake them at 400 degrees, not higher. Which of these problems have you run into before? Fixing these matters because it builds your cooking confidence. You learn to trust your hands and eyes. It also makes every batch taste just right.
*Fun fact: Grandma cooks used pea-sized shortening clumps for the flakiest biscuits.*
Title 3: Quick Answers to Your Biscuit Mix Questions
Q: Can I make this mix gluten-free? A: Yes! Swap the all-purpose flour for a 1-to-1 gluten-free baking flour. It works great.
Q: Can I prepare the mix a week ahead? A: Absolutely. Store it in a sealed container for up to 2 weeks in the pantry.
Q: What if I do not have shortening? A: Use cold butter cut into small cubes. It adds a lovely rich flavor.
Q: How do I make just half the recipe? A: Cut all ingredients in half. Use 4.5 cups flour, 2 tablespoons baking powder, and 1 cup shortening.
Q: Can I add herbs or cheese to the mix? A: Yes! Stir in dried herbs or grated cheese before storing for savory biscuits. Which tip will you try first?
Title 4: A Warm Goodbye from My Kitchen to Yours
I hope this mix brings you as much joy as it has brought me. There is nothing like a warm biscuit with butter on a rainy day. Share your baking photos with us! Have you tried this recipe? Tag us on Pinterest! I love seeing your golden biscuits and hearing your kitchen stories. Keep mixing, keep baking, and keep sharing. Happy cooking! —Chloe Hartwell.


Make Your Own Biscuit Baking Mix
Description
Create your own biscuit baking mix for quick, flaky, buttery biscuits every time. Easy DIY recipe for beginners and busy bakers.
Ingredients
Instructions
- In a large bowl, combine the flour, baking powder and salt. Cut in the shortening using your hands until the mixture is crumbly with some pea-sized clumps. If you don’t like getting your hands dirty (or you’re doubling the recipe), you can use a food processor. Place all ingredients in the bowl and pulse until the mixture looks like coarse meal.
- Once the mixture is well combined, place the biscuit mix in an airtight container. Label it with a “use-by” date (obtained from the shortening package) and store it in a cool, dry place. You can also freeze this mixture for up to 8 months.
- Congratulations, you now have 12 cups of ready-to-bake biscuit mix! Just add 1/3 cup cream, milk or buttermilk to the mixture and bake ’em up. But the fun doesn’t stop with biscuits. You can use this mix to make your favorite scones or whip up a batch of chicken dumpling soup, among other tasty things.
Notes
- Nutrition information was not provided in the text.


Leave a Reply