
My First Dairy-Free Brownie
I remember the first time I made these. My grandson Leo came over. He couldn’t have dairy. I wanted him to have a treat. So I tried this recipe. He took one bite and grinned. His smile was my reward. I still laugh at that.
It matters because food should include everyone. No one should feel left out at the dessert table. These brownies prove you don’t need butter for something wonderful. What’s a treat you love to share with friends or family?
Getting Your Pan Ready
First, turn your oven to 350 degrees. This gets it nice and hot. Grab your 13×9 inch metal pan. Give it a good spray with dairy-free spray. A metal pan works best here.
Fun fact: Glass pans bake things differently! They can make the edges too hard. A metal pan gives you that perfect, chewy middle. Trust me on this one.
The Simple Mixing Magic
Now, get a big bowl. Put in the sugar, flour, cocoa, and salt. Stir them up until they are one color. Doesn’t that smell amazing? It’s like a chocolate cloud.
Next, crack in the five eggs. Pour in the oil and vanilla. Now, mix it all together. Use a whisk or a mixer. Mix until it’s smooth and shiny. No lumps allowed! This batter is your canvas.
The Best Part: Chocolate Chips
Pour your batter into the greased pan. Spread it out evenly. Now, take your dairy-free chocolate chips. Sprinkle them all over the top. Be generous!
They will sink in a little as they bake. This makes little pockets of melty chocolate. It’s the secret to every great bite. Do you like nuts in your brownies, or are you a chocolate-chip-only person?
Baking and The Big Wait
Slide the pan into your hot oven. Set your timer for 30 minutes. The hard part is waiting. Your kitchen will smell incredible. That’s how you know it’s working.
When the timer goes, do the toothpick test. Poke the center. If it comes out clean, they’re done! If it’s gooey, give them a few more minutes. Then, take them out. Let them cool in the pan on a rack.
Why Patience Pays Off
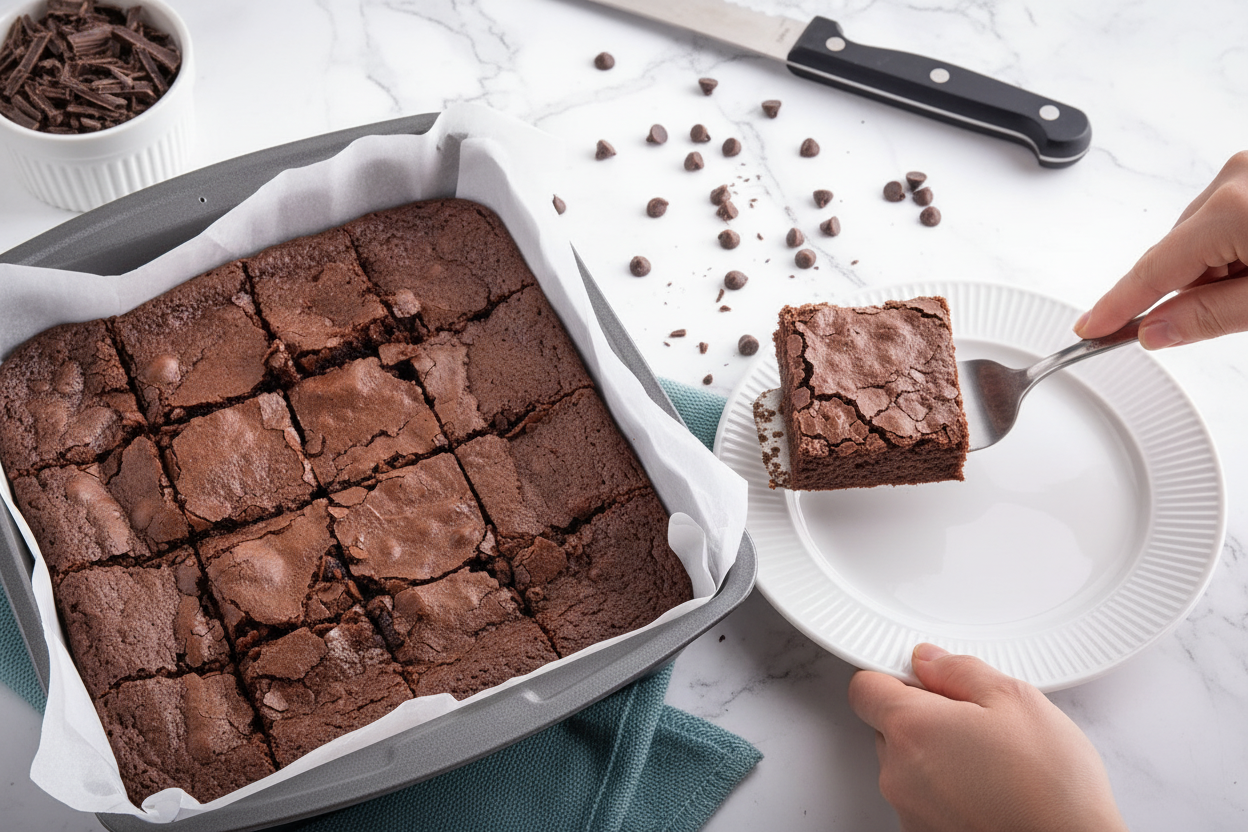
This is the final lesson. You must let them cool completely. I know it’s tempting to cut them warm. But if you wait, they will slice so neatly. You’ll get perfect squares.
It matters because cooking teaches us patience. Good things come to those who wait. Then, you get to share. What’s the hardest part about waiting for dessert in your house?
Ingredients:
| Ingredient | Amount | Notes |
|---|---|---|
| Sugar | 2 cups | |
| All-purpose flour | 1-3/4 cups | |
| Baking cocoa | 1/2 cup | |
| Salt | 1 teaspoon | |
| Eggs | 5 large | |
| Canola oil | 1 cup | |
| Vanilla extract | 1 teaspoon | |
| Dairy-free semisweet chocolate chips | 1 cup (6 ounces) |
My Favorite Fudgy Friend
Hello, my dear! Come sit at my kitchen table. Let’s talk about brownies. A good brownie is like a warm hug. This recipe is my dairy-free friend. It’s wonderfully simple and deeply chocolatey. I’ve made it for years. It always brings smiles. Doesn’t that smell amazing already?
You just need a few simple bowls. I still use my old yellow mixing bowl. It has seen so many batches. Let’s walk through the steps together. I’ll share a little story as we go. Ready to make some magic?
- Step 1: First, say hello to your oven. Turn it on to 350 degrees. This lets it get nice and warm. Grease your baking pan well. I like a metal pan for these. (A hard-learned tip: Glass pans can make the edges too hard. Trust me on this!).
- Step 2: Now, let’s mix the dry stuff. Sugar, flour, cocoa, and salt go in a big bowl. Stir them until they look like one. See how the cocoa makes it all brown? Next, crack in the eggs. Add the oil and vanilla. Mix it all until it’s smooth and shiny. No lumps allowed!
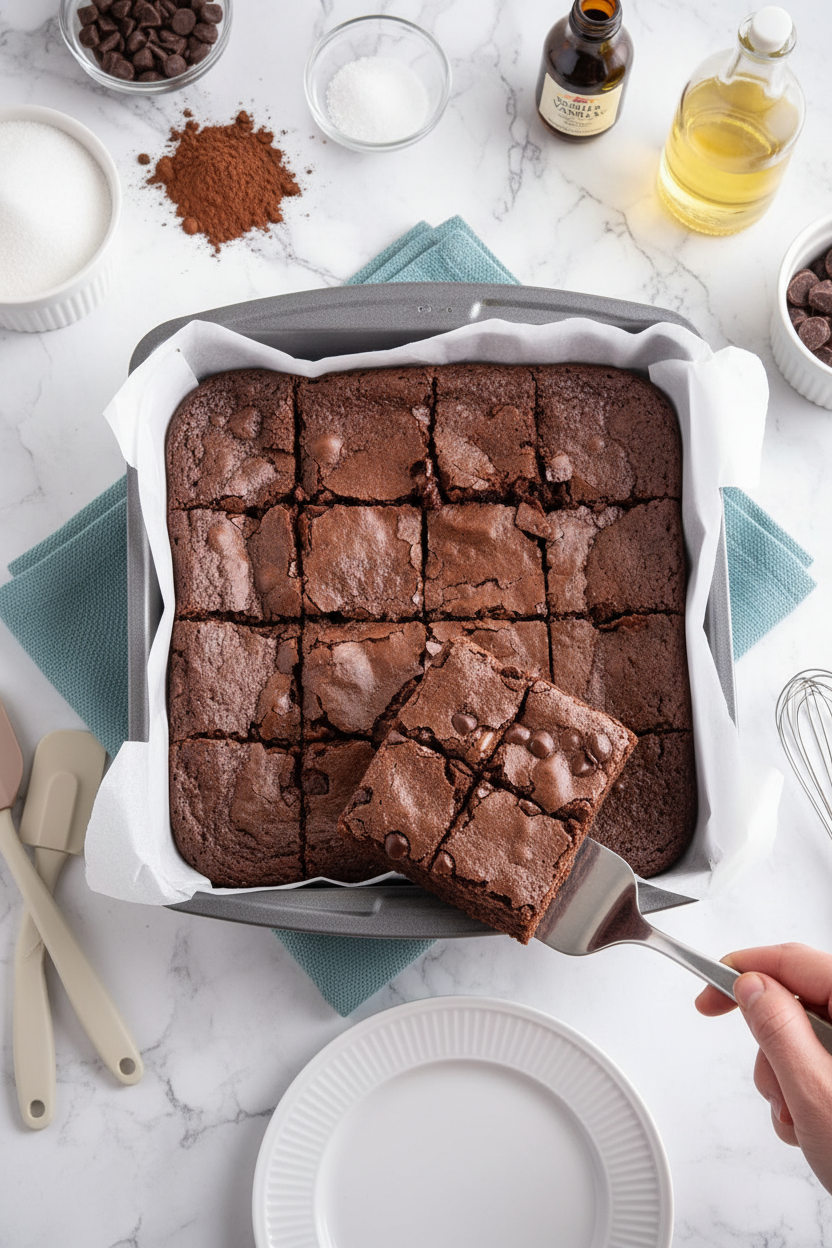
- Step 3: Pour that beautiful batter into your pan. It will be thick and lovely. Now, the best part! Sprinkle those dairy-free chocolate chips on top. They will melt into little pools. Bake for about 30 minutes. A toothpick should come out mostly clean. What’s your favorite brownie texture: super fudgy or more cake-like? Share below!
- Step 4: Patience is important here. Let the pan cool on a rack. I know, it’s so hard to wait! The smell is incredible. But cutting warm brownies makes a mess. Once they’re cool, slice them up. Then, enjoy your creation.
Cook Time: 30 minutes
Total Time: 45 minutes
Yield: 24 brownies
Category: Dessert, Snack
Three Tasty Twists to Try
This recipe is like a perfect blank canvas. You can dress it up so many ways. Here are three of my favorite ideas. They are all simple and fun. I think you’ll love them.
- Swirl It: Drop spoonfuls of peanut butter on the batter. Use a knife to swirl it around.
- Crunch It: Stir a handful of crushed walnuts right into the batter. It adds a nice little crunch.
- Spice It: Add a teaspoon of cinnamon with the dry ingredients. It tastes like a chocolatey hug.
Which one would you try first? Comment below!
Serving with a Smile
A brownie is happy all on its own. But sometimes, you want to make it special. For a real treat, top a warm square with a scoop of dairy-free vanilla ice cream. The melt is dreamy. A sprinkle of sea salt on top is also wonderful. It makes the chocolate taste even deeper.
What to drink? A cold glass of almond milk is my classic choice. For the grown-ups, a little glass of cherry port wine is lovely. It pairs so well with dark chocolate. Which would you choose tonight?
Keeping Your Brownies Fresh and Fudgy
Let’s talk about keeping these brownies yummy. First, cool them completely. Then, store them in a sealed container. They will stay fresh on the counter for three days.
You can freeze them, too. Wrap each brownie tightly in plastic wrap. Then, put them all in a freezer bag. They will keep for three months. Thaw them on the counter when you are ready.
I once reheated a frozen brownie in the microwave. It was so warm and gooey. It felt like a fresh-baked treat on a cold day. Batch cooking matters because a sweet treat is always close by.
Have you ever tried storing it this way? Share below!
Simple Fixes for Common Brownie Troubles
Sometimes brownies can be tricky. Do not worry. Here are easy fixes. First, if your brownies are too cakey, you may have over-mixed. Just stir until the flour disappears.
Second, if the middle is gooey but the edges are burnt, your oven might be too hot. An oven thermometer helps. I remember when my first batch burned. I learned to check my oven’s temperature.
Third, if your brownies stick to the pan, grease it well. Use that dairy-free spray. Getting these steps right builds your confidence. It also makes sure every bite is perfect.
Which of these problems have you run into before?
Your Brownie Questions, Answered
Q: Can I make these gluten-free? A: Yes. Use a good gluten-free flour blend. Make sure it is a 1-to-1 substitute.
Q: Can I make the batter ahead? A: You can mix it and bake it right away. The batter does not like to sit.
Q: What can I use instead of canola oil? A: Any neutral oil works. Try melted coconut oil for a light flavor.
Q: Can I make a smaller batch? A: Yes. Just cut all the ingredients in half. Use a smaller pan, like an 8×8.
Q: Any optional tips? A: Add a handful of chopped walnuts. It gives a nice crunch. Fun fact: The first brownie recipe was published in a cookbook in 1896!
Which tip will you try first?
From My Kitchen to Yours
I hope you love baking these brownies. Sharing food is one of life’s great joys. It connects us all. I would be so happy to see your creations.
Please share a photo of your finished tray. Let me know how your family liked them. Your stories make my day brighter.
Have you tried this recipe? Tag us on Pinterest! Happy cooking! —Chloe Hartwell.
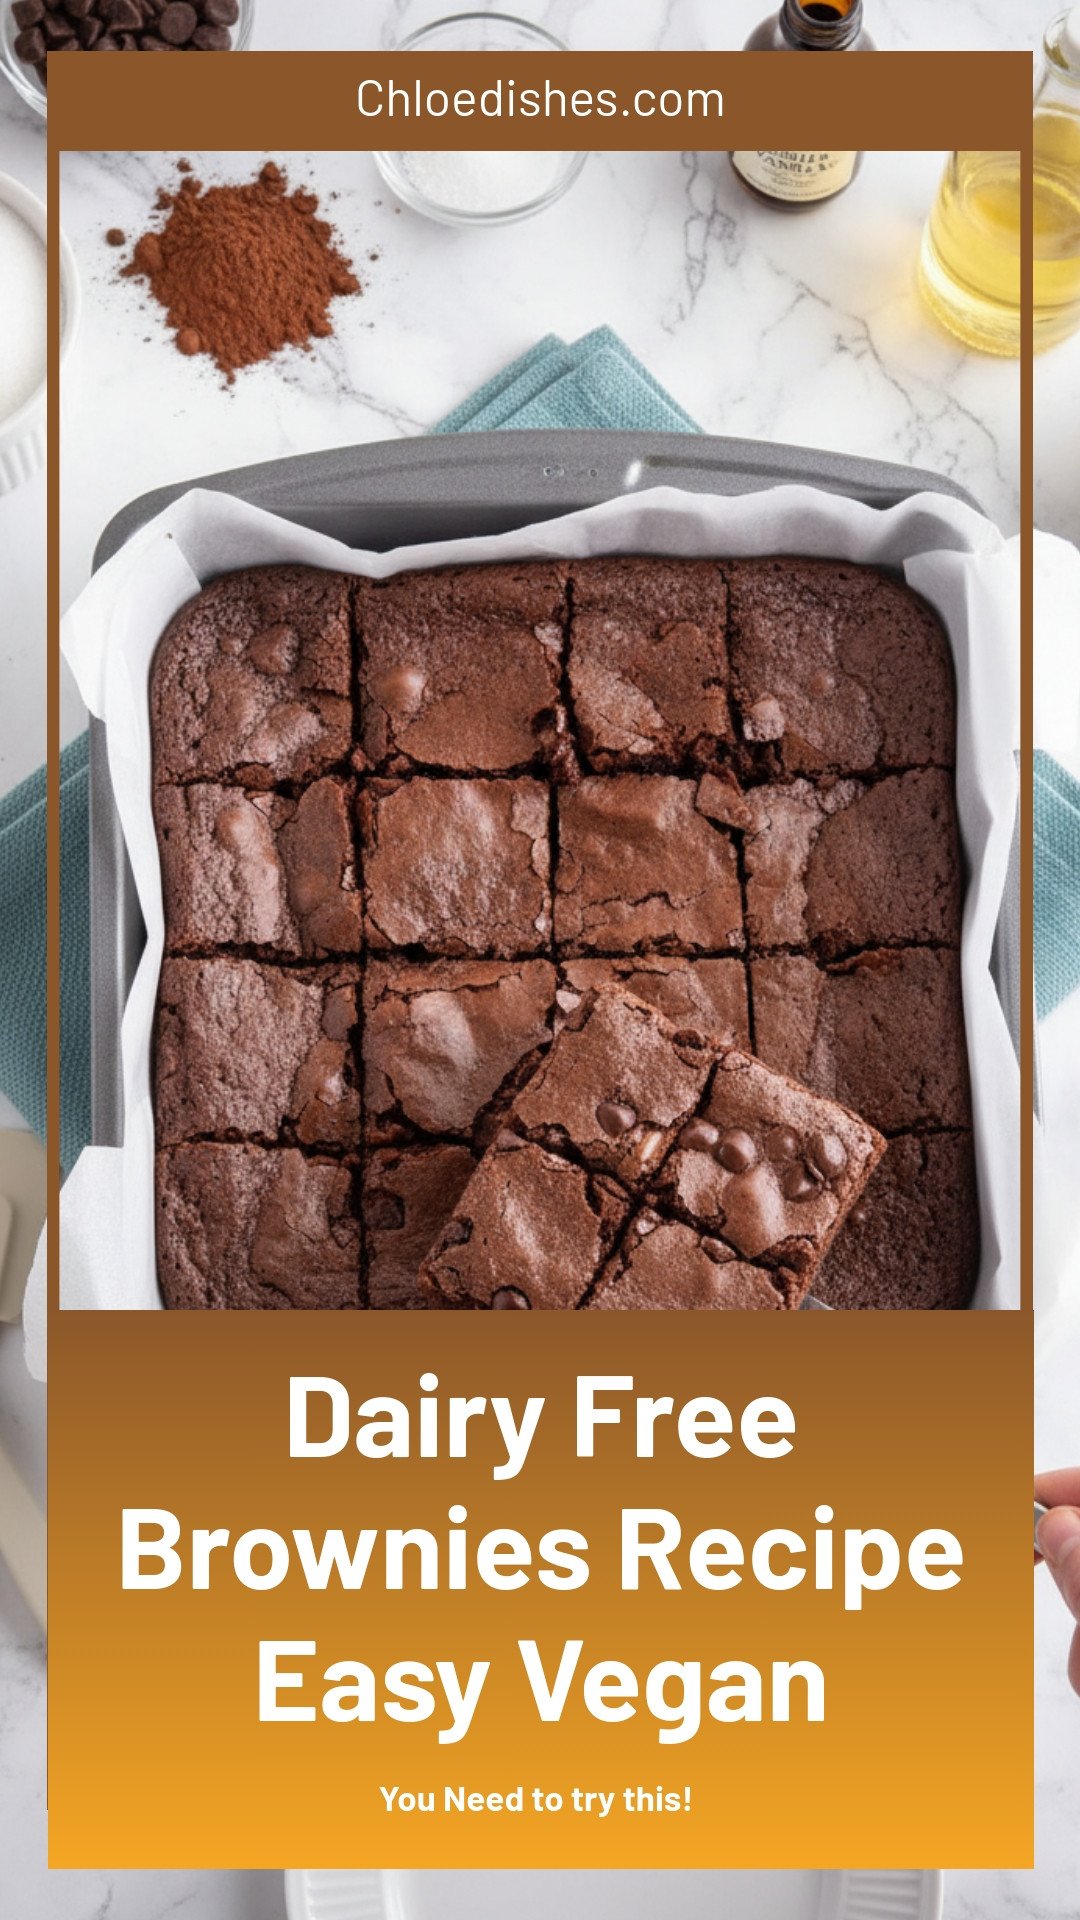

Dairy Free Brownies Recipe Easy Vegan
Description
The easiest, fudgy vegan brownies! Made in one bowl with simple ingredients. Rich, chocolatey, and perfect for any dairy-free diet.
Ingredients
Instructions
- Preheat your oven to 350° and grease a 13×9 baking pan with a dairy-free non-stick spray. Avoid using a glass baking pan, if you can.
- In a large bowl, mix the sugar, flour, baking cocoa and salt until completely combined. Next, beat the eggs, oil and vanilla extract to the dry ingredients with a hand mixer or whisk until they’re mixed and there are no lumps remaining.
- Once your batter is mixed, transfer the greased 13×9 and sprinkle dairy-free chocolate chips on top. Pop it in the preheated oven for 30 minutes, or until a toothpick inserted in the center comes out clean.
- Remove the finished brownies from the oven and places them on a wire rack in the pan to cool. When they’ve cooled completely, slice and serve.
Notes
- Nutrition information is not provided in the text.


Leave a Reply